

Page 1
SANITATION
LIST E D
COMMERCIAL
POWERED FOOD
PREPARING
EQUIPMENT
9 9 0 2 1 5 5
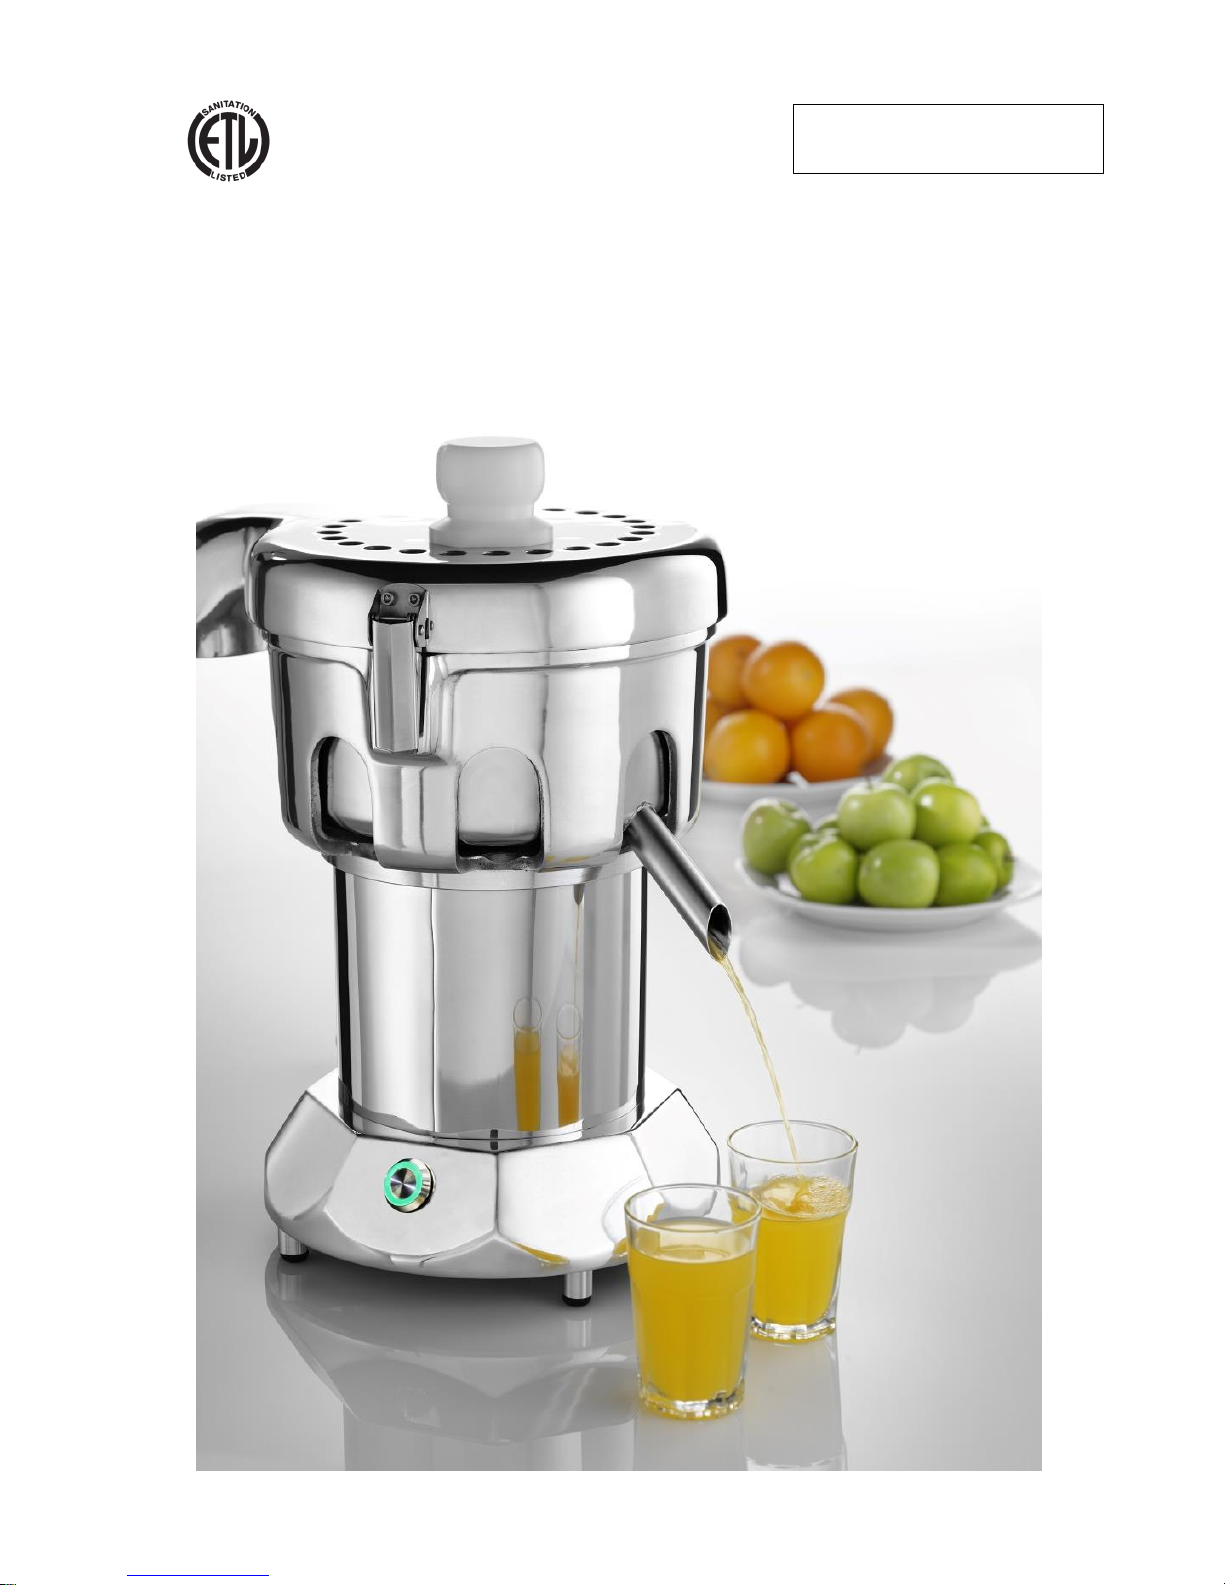
Ruby2000 Mk iii
JUICE EXTRACTOR
PLEAS E ENSURE TO REA D
THIS MANUA L
BEFORE OPER A
TING YOUR JUI CER.
USER
MANUAL
Page 2
Page 3
Page 4

INSTRUCTIONS:
Follow these instructions for safe, trouble free
juicing
.
STEP 1.
Upon unpacking your juicer
perform an
initial inspection.
Make
sure that the
juicer
is free of dam-
age
that
may have occurred during transport, and that all parts
have been supplied.
Your box
should
contain the
following
items;
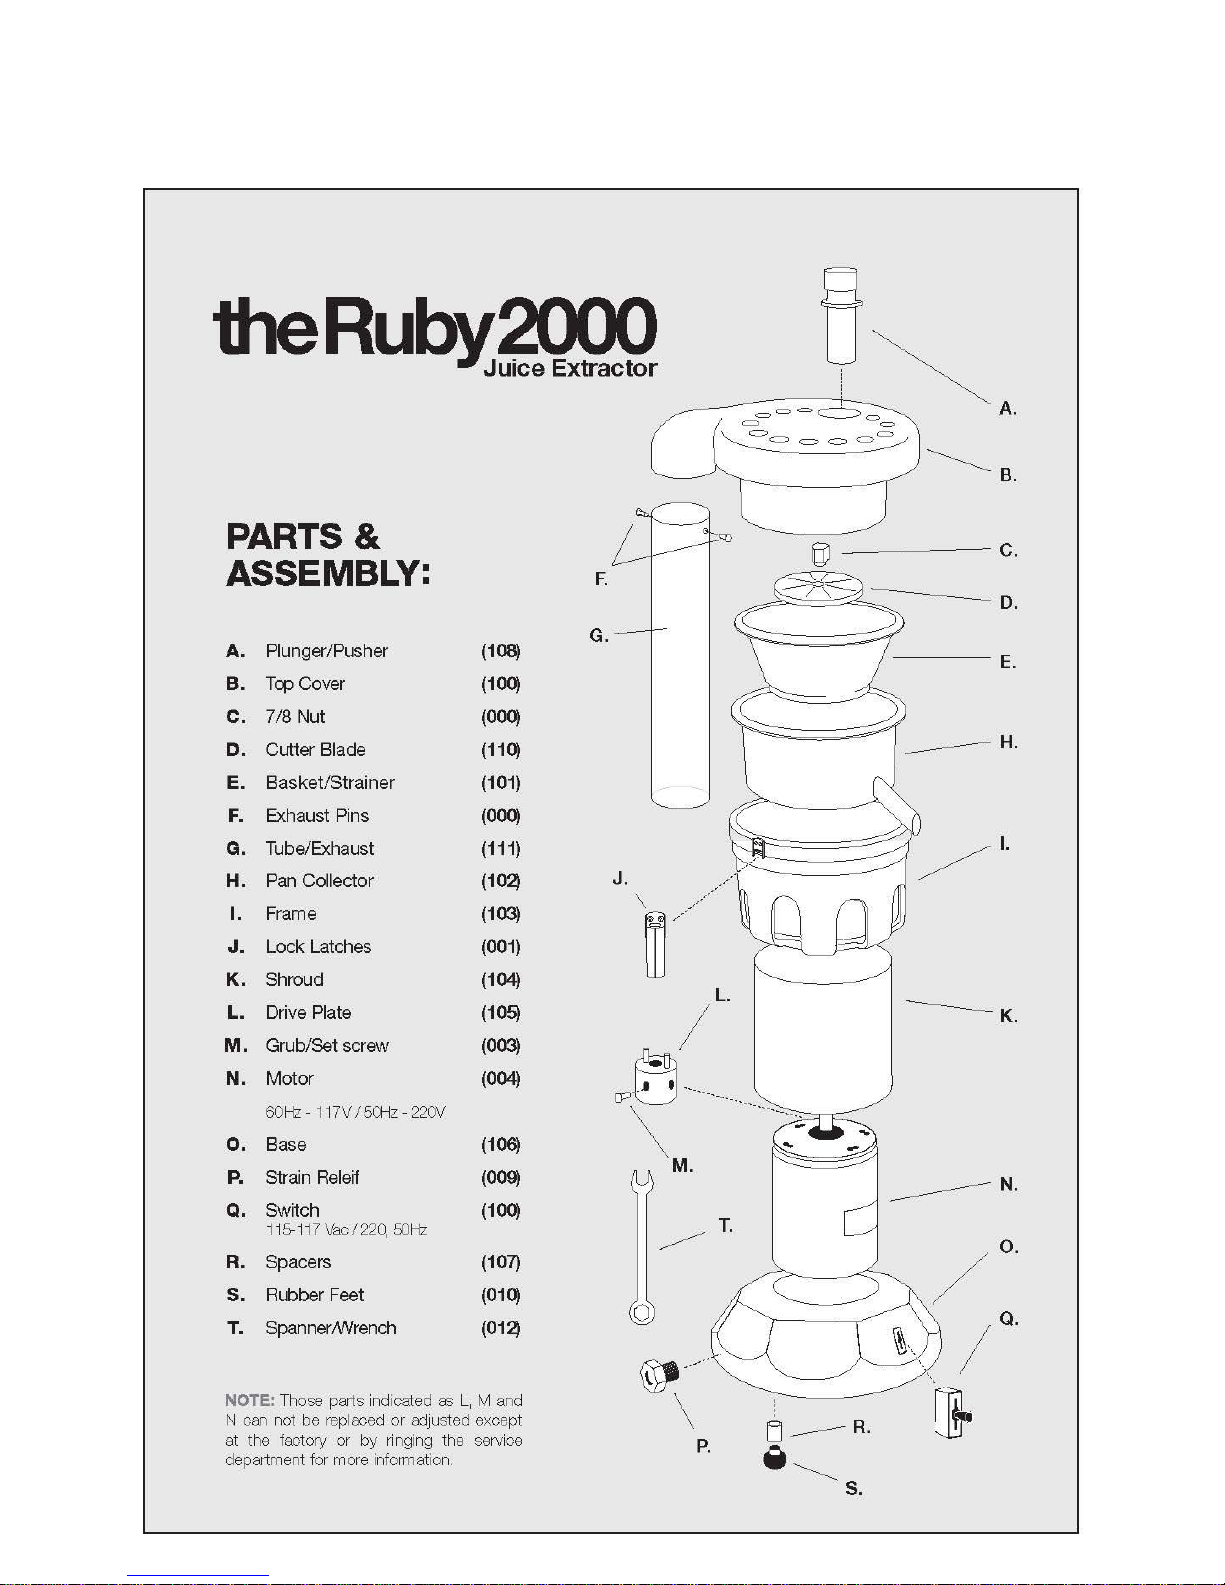
1 x
Ruby
2000 juicer
1 x
Exhaust Tube
(111)
1 x
7/8
combination spanner/wrench
(020)
1 x
Pusher / Plunger
(108)
Envelope containing User’s Manual & Warranty
Card
STEP 2.
Fill in the warranty card and return to our office within
7 days of purchase.
STEP 3.
It is now time to look for a place to set up your juicer.
We
recommend a working area
of
approximately
500mm
x 500mm.
You
also require a
220 V, 10 amp Power supply.
The Ruby
2000 MkIII
has 8 positions
for the
juice
spout and 2 for the
exhaust
tube,
making
it
suitable
for most locations.
STEP 4.
Once you have found a suitable location for your juicer remove the top cover.
You should see the 7/8 locking nut that holds the cutting blade and strainer in
place. Loosen this with your wrench removing it along with the strainer, blade
and collection pan. Locate the juice spout in the hole that best suits your
workspace. Replace the strainer making sure it locks into position over the 2
pins. Replace the blade, turning it till it locks into place. Replace the 7/8 nut,
tightening it firmly with your wrench.
STEP 5.
Replace
the lid and fasten the lock
latches
on each
side.
These latches are adjustable.
To tighten the latches turn th e
hooks
clockwise and to loosen them do the opposite.
Important - do not over-tighten the
latches,
this
will
stretch or
break
them.
STEP 6. Plug in your
juicer,
making
sure
step 4
has been
completed and the juicer is switched off.
You may now turn on the
juicer. Your juicer should
run smoothly.
STEP 7. You are now ready to
make your first
juice.
Page 5

CLEANING INSTRUCTIONS:
Because fruits and vegetables contain natural substances that will build up and stain
your filter if left unclean, it is important that you follow this set of cleaning instructions.
STEP 1. Find a suitable container that you can soak your filter in. It will be a good idea if you obtain one solely for
this purpose. Container size about 33cm in diameter and 23cm deep.
STEP 2. In about 4 Litres of hot water dissolve 250grams (1 cup) of DET10* Cleaner/Sanitiser (or) dishwashing
detergent such as Cascade or other specified by supplier.
For best results, it’s important to ensure to make a fresh batch of solution each week
STEP 3. Rinse your filter under a stream of water removing as much of the pulp stuck to it as possible. Place the
filter directly into the solution. It is important that you do not scrub or brush the filter with any abrasive cleaning
aids. Allow it to soak overnight.
STEP 4. In the morning thoroughly rinse the filter.
STEP 5. Follow these instructions after each day of business to avoid build up on your filter.
Note: you may also clean the blade, nut and collection pan in this solution to remove build up and staining.
*DET10 Cleaner/Sanitiser can be purchased from Nutrifaster (10kg drum)
POINTS TO CONSIDER
Do not leave your filter in an area where it can be damaged.
Do not wash it along with your pots, pans or other cooking utensils. This can often
damage the filter basket.
Do not scrub or brush the filter with any abrasive cleaning aids
If your filter basket is not cleaned and maintained your juicer will not function properly.
If during the day you are stopping to empty pulp from within the filter too frequently ,
your cleaning procedures must be reviewed. If you experience continuous clogging, then
is best for you to contact an authorized service technician.
Do not leave water or juice on the top of the motor hub. Over a period of time this liquid
can make its way into the bearings damaging them.
MAINTENANCE
You should have your machine serviced at least once a year. Like most things if you
have your juicer serviced regularly, expensive repairs may be avoided.
Your blade over time will wear out. The blade can be re-sharpened for better yield.
Your juicer should only be serviced by an authorized technician.
Do not alter your Ruby juicer in any way or form. This will void any warranty.
Bearings do not require lubrication.
Page 6

Page 7

Page 8

Unit 7, 62-66 Newton Road, Wetherill Park, NSW, 2164
P: 02 9729 2011 │F: 02 9729 2012 │E: sales @ nutrifaster.com.au
W W W . N U T R I F A S T E R . C O M . A U
■ Australian Warranty: 24 months parts / 12 months labour
 Loading...