

Page 1

6.5QT(6L) Multi Cooker
PKPC45
User Manual
Page 2

Please read these important safety instructions before use and retain
user manual for future reference
Important Safeguards for Your Multi-Cooker
● To eliminate a choking hazard for young children, remove and safely discard the protective
cover that is fitted to the power plug on the appliance.
● Carefully read all instructions before operating the Multi-Cooker and save for future
reference.
● Remove any packaging material and promotional stickers before using the Multi-Cooker for
the first time.
● Do not place the Multi-Cooker on the edge of a bench or table during operation. Ensure the
surface is level, clean and free of water and other substances.
● Do not use on a sink drain board.
● Do not place the Multi-Cooker on or near a hot gas or electric burner, or where it could touch
a heated oven.
● Position the Multi-Cooker well away from walls, curtains and other heat or steam sensitive
materials. Minimum of 20cm distance.
● If using plastic utensils, do not leave inside the appliance when hot or on sauté setting.
● When using the Multi-Cooker, provide adequate space above and on all sides for air
circulation.
● Always ensure the Multi-Cooker is properly assembled before use.
● Never plug in or switch on the Multi-Cooker without having the removable cooking bowl
placed inside the stainless steel housing.
● Use only the removable cooking bowl supplied. Do not use any other bowl inside the
stainless steel housing.
● Do not place food or liquid directly into the stainless steel housing. Only the removable
cooking bowl is designed to contain food or liquid.
● Never operate the Multi-Cooker without food and liquid in the removable cooking bowl.
● Ensure that the food or liquid to be cooked fills half or more of the removable cooking bowl
before switching on the appliance.
1
FOR HOUSEHOLD AND INDOOR USE ONLY
Page 3

● The glass lid has been specially treated to make it stronger, more durable and safer than
ordinary glass, however it is not unbreakable. If struck extremely hard it may break or
weaken, and could at a later time, shatter into many small pieces without any apparent
cause.
● Extreme caution must be used when the appliance contains hot food, hot oils and liquids.
● Do not move the appliance during cooking.
● Always have the glass lid placed correctly into position on the removable cooking bowl
throughout operation of the appliance unless stated in the recipe to have it removed.
● Do not touch hot surfaces. Use handles to move the Multi-Cooker and dry pot holders or
oven mitts to remove the removable cooking bowl and lid when hot.
● Do not place the removable cooking bowl when hot on any hot surface that may be affected
by heat.
● Avoid sudden temperature changes. Do not place frozen or very cold foods into the
removable cooking bowl when it is hot. Do not place removable cooking bowl when hot into
cold water.
● Do not use the removable cooking bowl in a conventional oven. Do not place the removable
cooking bowl onto a heat gas or electric burner.
● Do not use a damaged or cracked removable cooking bowl. Replace before using.
● Avoid scalding from escaping steam when removing the glass lid from the removable
cooking bowl when hot by carefully lifting the lid angled away from yourself.
● Do not allow water from the lid to drip into the stainless steel housing, only into the
removable cooking bowl.
● Do not place anything, other than the lid, on top of the Multi-Cooker when assembled, when
in use and when stored.
● Always switch the Multi-Cooker to the ‘Off’ position, then switch off at the power outlet, then
unplug and allow to cool, if appliance is not in use, before cleaning, before attempting to
move the appliance, dissembling, assembling and when storing the appliance.
● Keep the stainless steel housing, removable cooking bowl and glass lid clean. Follow the
cleaning instructions provided in this book.
● The Multi-Cooker is not intended to be operated by means of an external timer or separate
remote control system.
2
Page 4

Important Safeguards for All Electrical Appliances
● Fully unwind the power cord before use.
● Do not let the power cord hang over the edge of a bench or table, touch hot surfaces or
become knotted.
● To protect against electric shock do not immerse the power cord, power plug or motor base
in water or any other liquid.
● This appliance is not intended for use by persons (including children) with reduced physical,
sensory or mental capabilities, or lack of experience and knowledge, unless they have been
given supervision or instruction concerning use of the appliance by a person responsible for
their safety.
● Children should be supervised to ensure that they do not play with the appliance.
● It is recommended to regularly inspect the appliance to avoid a hazard. Do not use the
appliance if power cord, power plug or appliance becomes damaged in any way. Return the
entire appliance to the nearest authorised Kambrook Service Centre for examination and/or
repair.
● Any maintenance other than cleaning should be performed at an authorised PyleUSA
Service Centre.
● This appliance is for household use only.
● Do not use this appliance for anything other than its intended use. Do not use in moving
vehicles or boats. Do not use outdoors. Misuse may cause injury.
● The installation of a residual current device (safety switch) is recommended to provide
additional safety protection when using electrical appliances. It is advisable that a safety
switch with a rated residual operating current not exceeding 30mA be installed in the
electrical circuit supplying the appliance. See your electrician for professional advice.
● SAVE THESE INSTRUCTIONS.
3
Page 5

WARNING!
• Do not cover and allow the Multi-Cooker cool fully before storing.
• The surfaces of the Multi-Cooker will become hot during use. Do not touch; wear oven
gloves when handling the appliance during and immediately after use and long handled
utensils when checking the food.
• Do not use Multi-Cooker near or under surfaces that are heat sensitive or those that may be
damaged by steam.
• To prevent burns, remove lid slowly and with the underside of lid angled away from you to
allow any steam to escape gradually. Do not reach over the appliance while it is working.
• Do not heat or pre-heat the Multi-Cooker when empty.
• Only use with the parts supplied.
• The removable bowl will not withstand sudden temperature changes. Always ensure the
bowl is at room temperature before adding hot or cold items.
FOOD SAFETY
• Thoroughly defrost frozen meat, poultry, fish and seafood in the refrigerator before cooking.
Keep raw meat and poultry separate from cooked foods.
• Always wash hands after handling raw meat and poultry, before handling any ready to eat
foods.
• Wipe and disinfect surfaces that have been in contact with raw meat and poultry.
• Use separate utensils for handling raw meat/poultry and cooked food or wash them
thoroughly between use.
• Multi-Cooker cook food at much lower temperatures than conventional cooking, always
ensure that cooking times are adjusted for raw and chilled foods such as meat and poultry to
ensure they are cooked until piping hot throughout.
• To check whether meat, particularly poultry is cooked, use a temperature probe or pierce the
flesh with a skewer or fork; the juices should run clear.
4
Page 6
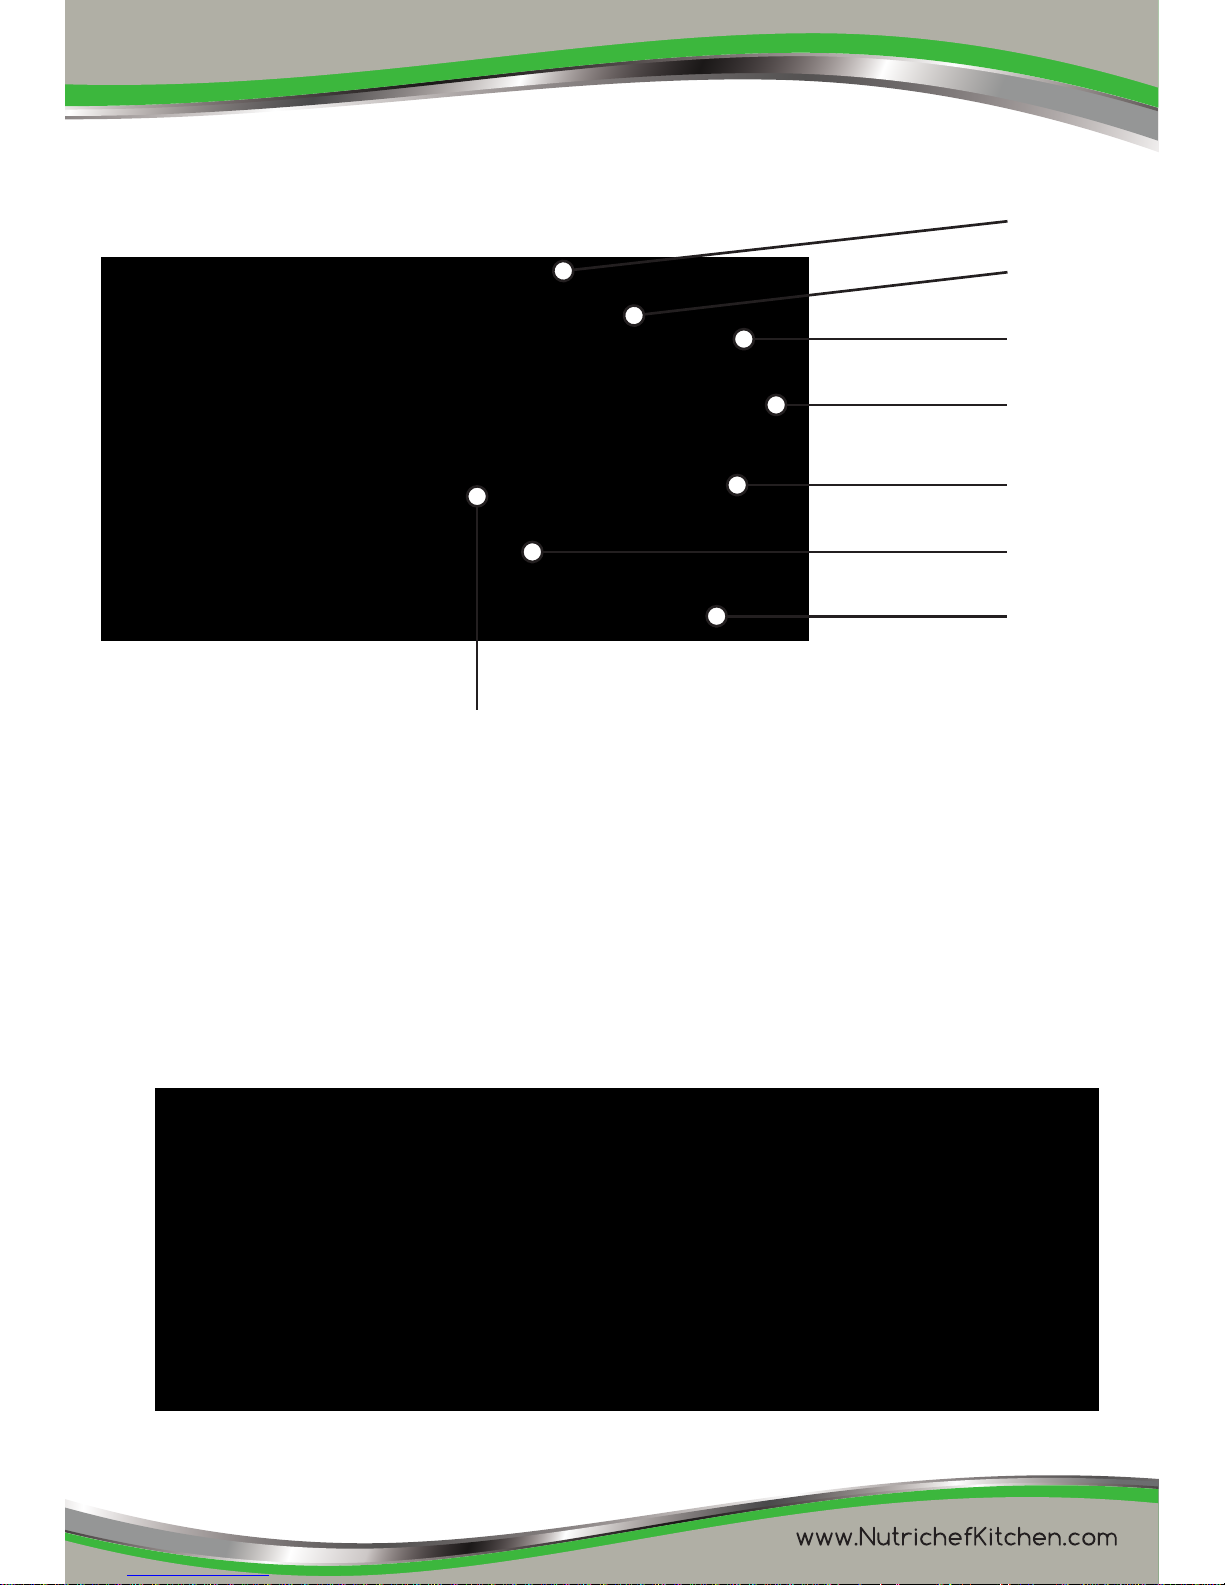
PARTS
1. Lid handle
2. Glass lid
3. Removeable Inner pot
4. Side handle
5. Housing
6. Control panel
7. Base
8. Arrow indicated setting selected
Accessories:
1. Sous Vide rack(SUS 304)
2. Roast Rack (SUS 304)
5
1
2
3
4
5
6
7
8
Page 7

Before First Use
1. Remove all packing materials and literature. There is a thin, clear overlay on the control
panel. Gently remove the clear piece.
2. Wash the removable inner pot and rack in the dishwasher or with warm soapy water. Rinse
and dry thoroughly. Lid must be washed with warm soapy water, rinse and dry. Lid and
housing CANNOT go in dishwasher.
3. Before placing the removable cooking bowl in the stainless steel housing, ensure the
exterior is clean and dry.
NEVER immerse the housing in water or any other liquid.
NOTE: A minimal smell and smoke will occur from the initial use. It comes from the
protective substance applied to the heating elements during the manufacturing. This is
normal and harmless.
How To Operate
Before placing the inner pot in the housing, make sure the unit is clean and dry.
1. Plug in the unit, the power will be on. Place inner pot in the housing.
2. Press “Menu” to choose your desired function. Keep pressing Menu until the arrow on the
display screen points to your desired setting.
3. Press “Timer/Temp” once if you want to change temperature of Bake, Roast, Sauté.
The temperature number will be flashing. Press “+”and “-” to increase or decrease the
temperature.
4. Press “Timer/Temp” again to set your desired time. The Time will be flashing . press “+” and
“-” to increase or decrease time.
5. Press “Start/Stop” to start the cooking process. The appliance will also start heating in 10
seconds without pressing it.
NOTE: DURING COOKING, IF YOU WANT TO ADJUST THE TIME AND TEMPERATURE
YOU CAN PRESS “TIMER/TEMP” THEN “+” & “-” TO MAKE ADJUSTMENT AND PRESS
“START/STOP” TO RESTART THE HEATING.
6. When it is finished, press”Start/Stop” to stop heating and unplug the power to shut off.
NOTE: THE INNER POT CONSISTS OF A NONSTICK SURFACE. TO AVOID SCRATCHING
THE NON-STICK SURFACE, PLEASE USE WOODEN OR PLASTIC UTENSILS.
6
Page 8

PRESET FUNCTION
This function allows you to begin cooking food up to 24 hours later in half hour increments.
You can use the “Preset “ setting with the slow cook, steam, rice, stew, roast and keep warm.
CAUTION: Perishable foods such as meat and poultry products, fish, cheese and dairy
products cannot be left at room temperature for more than 2 hours. (No longer than 1 hour
when the room temperature is above 90°F.) When cooking these foods, do not set the delay
time function for more than 1-2 hours.
1. After you choose the desired function, time and temperature, press “Preset”.
2. Press “+” and “-” to increase or reduce the time. Press and hold for rapid increase/reduce.
3. When the setting is finished, press “Start/Stop” to start preset process. The heating will start
after the preset time is finished.
4. The preset time is 2 hours. During preset function if you want to adjust the time you can
press “Preset” then press “+” & “-” to make adjustment and press “Start/Stop” to restart the
preset function.
5. The preset time will show on the control panel until it has counted down. It will then switch to
the chosen setting.
Using the Sous Vide Function
A. Preparation
1. Make sure that the power outlet is switched off and that the multi-cooker is unplugged from
the power outlet.
2. Sit the Multi-Cooker on a stable, level, heat-resistant surface, at least 75cm (30”) above the
floor, with at least 5cm (2”) space all round it.
3. Keep it away from cupboards, curtains, anything combustible, and anything that might be
damaged by heat or steam.
4. To vacuum seal the food in the suitable size food saving bags.
5. Fill the pot with water.
6. Put the sealed food pack into the water; ensure the food pack is fully immersed in the water.
7. Use the Sous Vide rack to separate the food pack if a lot packs need be cooked.
B. Cooking the food
1. Cover the lid machine is illuminated.
2. Press “Menu” and chose Sous vide function in LCD screen.
3. The default temperature is 130°F and 8 hours, use the “Temp/timer” to set wanted time and t
emperature.
7
Page 9

4. Press”+” and “-” to add or less temperature and hours figures, the temperature can be
adjusted from 115 to 205°F by 1°F adjustment, and cooking time can add to maximum of 72
hours by 30 minutes adjustment.
5. When the setting is finished, press “Start/Stop” button to start cooking process.
6. When the target temperature is reached the buzzer rings 3 times.
7. Put the sealed food pack into the water; ensure the food pack is fully immersed in the water.
Use the Sous Vide rack to separate the food pack if a lot packs need be cooked.
8. Press "Start/Stop" to start cooking process and time counts down. If want to stop the
cooking, press the “knob” button to stop cooking process. ”
9. If want to re-start the sous vide cooking mode, need to re-set the time and temperature and
then press the “knob”.
Using the Steam Function
1. Plug in the unit.
2. Press the “Menu” button, until the arrow points to “Steam”, select the “Steam” function.
3. Press “Timer/Temp” and ”+” and “-”to adjust cooking time you need, the timer can be
adjusted from 10 mins to 1.5 hours by 10mins. The default time is 30minutes.
4. Press “Start/Stop” button to start working, the machine start steaming. The appliance will
also start heating in 10seconds without pressing it.
5. When it is finished, the unit will beep and turn off automatically. Press” Start/Stop” to stop
heating at anytime.
Unplug the power to shut off.
NOTE: This function is required lid close. Place the rack in the bottom of the inner pot.
Add at least 12oz of water , so the rack is above the liquid. Do not fill the food with water
in the pot more than 2/3 full.
Using the Rice Function
Similar to rice cookers, it will detect the temperature at the bottom. Once it reaches it, it will
display 10 minutes and the countdown will start. Once complete, it will automatically switch to
KEEP WARM. You can not adjust the temperature or time. The display will be blank.
1. Add water to the inner pot.
2. Plug in the unit.
3. Press the “Menu” button, until the arrow points to “Rice”, select the “Rice” function.
8
Page 10

4. Press “Start/Stop” button to start, When it is finished, Press” Start/Stop” to stop heating and
unplug the power to shut off.
NOTE: This function is required lid close. Rinse your rice in the inner pot until the water
runs clear. Tilt the bowl over the sink and pour the starchy water down the drain, while
keeping rice in the pot. For softer rice, let it soak for an extra 10-20 minutes.
Using the Stew Function
1. Prepare your food to be cooked. Place the food inside the inner bowl.
2. Plug in the unit.
3. Press the “Menu” button, until the arrow points to “Stew”, select the “Stew” function.
4. Press “Timer/Temp” and ”+” and “-”to adjust time you need, the timer can be adjusted from 1
to 5 hours by 10mins.
The default time is 2H.
5. Press “Start/Stop” button to start, the machine start cooking. The appliance will also start
heating in 10seconds without pressing it.
6. When it is finished, the unit will beep and turn off automatically. Press” Start/Stop” to stop
heating at anytime.
Unplug the power to shut off.
NOTE: This function is required lid close. The timer will not begin to count down unit it
reaches a boil. During the cooking, if you want to adjust the time you can press
“Timer/Temp” then “+” & “-” to make adjustment and press “Start/Stop” to restart the
heating. It will only time count down when the temperature is reached 188 °F.
Using the Yogurt Function
1. Plug in the unit.
2. Press the “Menu” button, until the arrow points to “Yogurt”, select the “Yogurt” function.
3. Press “Timer/Temp” and ”+” and “-”to adjust time you need, the timer can be adjusted from 4
to 8 hours by 30mins.
The default time is 8H.
4. Press “START/STOP” button to start, the machine start cooking.
The appliance will also start heating in 10seconds without pressing it.
5. When it is finished, the unit will beep and turn off automatically. Press” Start/Stop” to stop
heating at anytime.
Unplug the power to shut off.
NOTE: This function is required lid close.
9
Page 11

Using the Slow cook Function
1. Plug in the unit.
2. Press the “Menu” button, until the arrow points to “Slow cooker”, select the “Slow cooker”
function, you can chose “H”(high) or “L”(Low) settings.
3. Press “Timer/Temp” button to start, press “+”and “-” to increase or decrease the time. Press
and hold for rapid increase/decrease. The timer can be adjusted from 4 to 12 hours by
30mins. The default time is 6H(High) & 8H (Low).
4. Press “Start/Stop” to start the cooking process. the machine start cooking. The appliance
will also start heating in 10seconds without pressing it.
5. When it is finished, the unit will beep and go to Keep Warm for two hours. Press” Start/Stop”
to stop heating at anytime. Unplug the power to shut off.
NOTE: This function is required lid close. This has bottom and side heating. The control
panel will only display the time. During the cooking, if you want to adjust the temperature you can press “Timer/Temp” then “+” & “-” to make adjustment and press
“Start/Stop” to restart the heating.
Using the Keep warm Function
1. Plug in the unit.
2. Press the “Menu” button, until the arrow points to “Keep warm” button , select the “Keep
warm” function.
3. Press “Timer/Temp” button to start, press “+”and “-” to increase or decrease the time. Press
and hold for rapid increase/decrease. The timer can be adjusted from 1 to 8 hours by
30mins. The default time is 2H.
4. Press “Start/Stop” button to start, the machine start cooking. The appliance will also start
heating in 10seconds without pressing it.
5. When it is finished, Press” Start/Stop” to stop heating at anytime. Unplug the power to shut
off.
NOTE: This function is required lid close. This has bottom and side heating. The control
panel will only display the time. During the cooking, if you want to adjust the temperature you can press “Timer/Temp” then “+” & “-” to make adjustment and press
“Start/Stop” to restart the heating.
Keep warm setting will automatically go on after Rice, Slow Cook high and low settings.
It will go on keep Warm for 2H unless it is stopped.
10
Page 12

Using the Saute Function
1. Plug in the unit.
2. Press the “Menu” button, until the arrow points to “Saute” button, select the “Saute” function.
3. Press “Timer/Temp” and ”+” and “-”to adjust temperature and the timer you need, the
temperature can be adjusted from 375 to 395 °F by 5 °F , the default temperature is 390°F .
And the timer you can adjust it from 5mins to 2H by 5mins,the default time is 10mins.
4. Press “Start/Stop” button to start, the machine start cooking. The appliance will also start
heating in 10seconds without pressing it.
5. When it is finished, the unit will beep and turn off automatically. Press” Start/Stop” to stop
heating at anytime.
Unplug the power to shut off.
NOTE: This function is required lid open, you can use a scoop to stir the food. Bottom
heat is used for this setting.
Using the Roast Function
1. Put the food on Roast rack and put them into pot.
2. Plug in the unit.
3. Press the “Menu” button, until the arrow points to “Roast” button, select the “Roast” function.
4. Press “Timer/Temp ”to set your desired time and temperature. Press and hold for rapid
increase/decrease. Press ”+” and “-”to adjust temperature from 300 to 395 °F by 5 °F, the
default temperature is 355°F . And adjust time from 30mins to 3 hours by 10mins; the default
time is 1H.
5. Press “Start/stop” button to start working, the machine start roasting. The appliance will also
start heating in 10seconds without pressing it.
6. When it is finished, the unit will beep. Press” Start/Stop” to stop heating.
Unplug the power to shut off.
NOTE: This function is required lid close. This has bottom and side heating.
Using the Bake Function
1. Prepare your food to be baked. Place the batter in the inner bowl or in a pan that will fit
inside the inner bowl. If using a pan, place the rack on the bottom. Place prepared pan on
the rack.
2. Plug in the unit.
11
Page 13

3. Press the “Menu” button, until the arrow points to “Bake” function, select the “Bake” function.
4. Press “Timer/Temp ”to set your desired time and temperature. Press ”+” and “-”to adjust
temperature from 230 to 355°F by 5°F, the default temperature is 320°F . And adjust time
from 20mins to 4 hours by 5mins, the default time is 1H.
5. Press “Start/Stop” button to start working, the machine start baking. The appliance will also
start heating in 10seconds without pressing it.
6. When it is finished, the unit will beep and turn off automatically. Press” Start/Stop” to stop
heating at anytime.
Unplug the power to shut off.
NOTE: This function is required lid close. This uses bottom and side heating. Place
batter or dough directly in the inner pot or in a separate pan that fits in the inner pot.
Use the temperature and time per your recipe. During the cooking, if you want to adjust
the time and temperature you can press “Timer/Temp” then “+” & “-” to make adjustment and press “Start/Stop” to restart the heating.
CLEANING & MAINTENANCE
Clean after each use.
1. Switch off and unplug the Multi-Cooker and allow to cool completely.
2. Wash detachable parts (removable bowl and lid) in hot water with a little washing up liquid.
Rinse and dry thoroughly. Suitable for the dishwasher.
3. Wipe the external surface of the Multi-Cooker with a soft damp cloth and dry surfaces with a
soft dry cloth. Do not use detergent or abrasives as these may scratch the coating. Never
immerse the cooker body in water.
4. Any other servicing should be performed by an anthorized service representative.
RECYCLING ELECTRICAL PRODUCTS
Do not dispose of electrical appliances as unsorted municipal waste, use
separate collection facilities. Contact your local government for information
regarding the collection systems available. If electrical appliances are disposed
of in landfills or dumps, hazardous substances can leak into the groundwater
and get into the food chain, damaging your health and well-being. When replacing old
appliances with new once, the retailer is legally obligated to take back your old appliance for
disposal at least for free of charge.
12
 Loading...