

Page 1
NO.1
NO.2
PS-8322
注:A4大小,105g铜版纸黑色双面印刷,根据虚线对折,封面在前.L7621KBU(PS-8322)-F38-07620-004 设计:陈鸿辉
NO.3
MULTIMEDI A SPEAKER SYST EM
How to u se the remote c ontrol
Thank you for choosing our product!
Please read the Manual carefully before using.
SPEC IFICATIONS
Speaker Units: 1 X 8" Woo fer, 2 X 3" Tweeter
Output Power (RMS): 80 Watts + 30 Watts X 2
Power Supply: ~110 V 60 Hz
High-Quality Multimedia Speaker with built-in Amplifier.
Full Audio Spectrum Performance, Ideal for your Favorite Entertainments
Specially Designed Woofer Cabinet For Excellent Performance of Bass
Remote Controller & 3.5mm Stereo Cable included
Woofer 20Hz - 1 70 Hz
Tweeter 120Hz - 20KHz
Speaker: W314xH89 5x D3 98 ( mm)
Distortion Rate
Package Contents:
Speaker 1 PCS
3.5mm Input Cable
FM Antenna
Remote Controller
User Manual
Wired Microphone
1 PCS
1 PCS
1 PCS
1 PCS
1 PCS
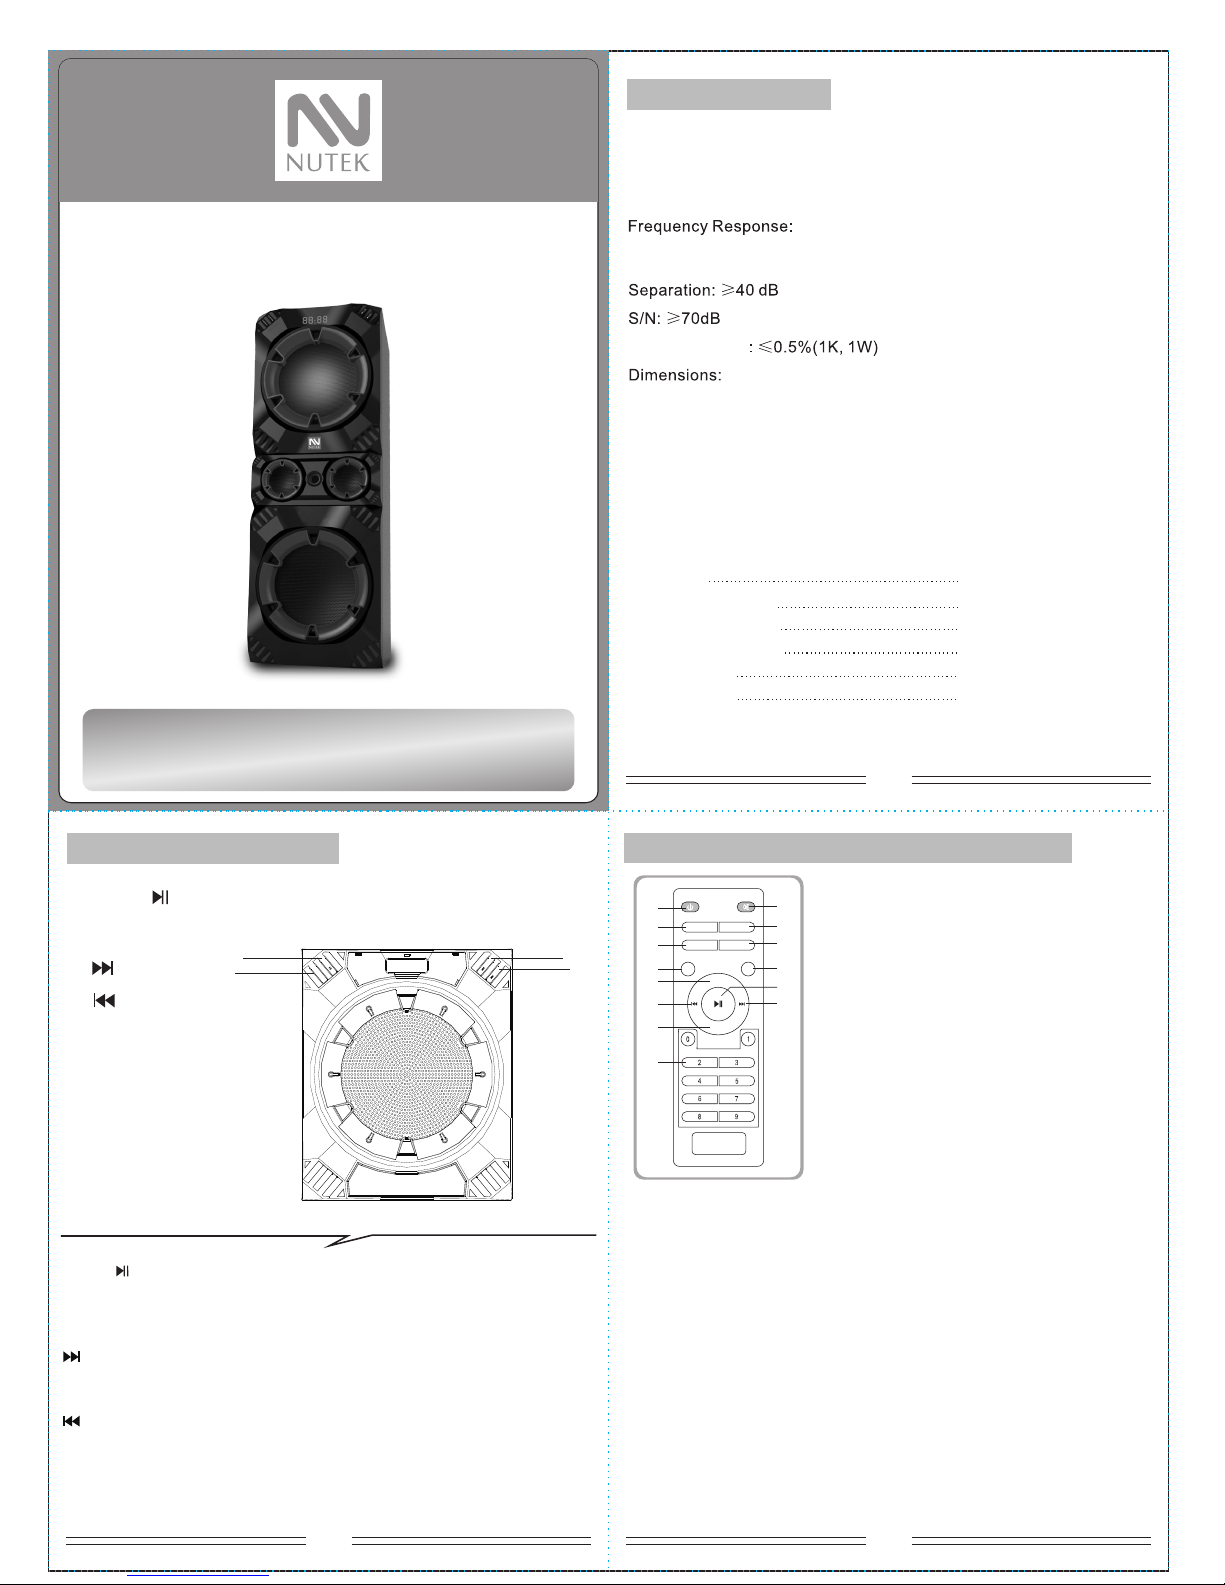
PLAYBACK CONT ROLLER
HOW TO USE THE R EMOTE CONTR OLLER?
1. ST-BY
2. SOURCE
3. TONE
4. TUNING-
5. VOL+
6. PREVIOUS
7. VOL-
8. 0~9
9. MUTE
10. LED effect
11. MEMORY
12.TUNING+
13. PLAY/PAUSE
14. NEXT
VOL+
LED
TONE MEMORY
TUNE+
TUNE-
VOL-
SOURCE
(1)
(2)
(5)
(3)
(4)
(6)
(8)
(7)
(9)
(10 )
(11)
(12 )
(14 )
(13 )
1. Press “ST-BY” LED showing “AU18”, it is AUX mode playing state.
2. “MUTE” means to activate or deactivate mute.
3. “SOURCE” means you can choose AUX, Multi-media, MEMORY CARD,
FM, BT input mode, at the same time, the LED will show “Au18” means AUX
mode, “Du18” means Multi-media mode. “87.5” means FM mode, “Bl18”
means BT mode.
4. “TONE” means you can choose “TREBLE” and “BASS” “VOL+/-” means
you can increase or decrease volume of “ TREBLE ” or “BASS”.
5. When enter into FM mode, press “MEMORY” the number on the LED will
Blink. this means the machine is under save channel state. You can change
the blinking number by pressing “NEXT” or “PREV”, press “PLAY/PAUSE”
you can save the channel into same number. it will enter into automatic search
channel and automatic save channel when pressing “MEMORY” for 3-5
seconds (noted: the channel which you saved before will be deleted when you
press “MEMORY” for 3-5 seconds.
1.
2. SOURCE
/
VOL-
/
VOL+
3.
4.
ST-BY/
: In MEMORY CARD /B T Mode, s ho rt press to p la y or pause.
In FM Radio M od e, short pr es s to search F M ch annels
automat ic ally. In AU X Mo de, short p re ss to mute.
SOURCE: Tu rn t o the MEMOR Y CARD/ BT/FM/A UX M ode as you wa nt .
/VOL+: In ME MO RY CA RD/BT Mod e, short pr es s to play the n ex t song.
In FM Radio M od e, short pr es s to play the n ex t FM channe l.
In all Mode s, l ong press t o in crease th e vo lume.
/VOL-: In ME MO RY CA RD/BT Mod e, short pr es s to play the p re vious
song. In FM R ad io Mode, sh or t press to pl ay t he previo us
FM channe l. I n all Modes , lo ng press to d ec rease the v ol ume.
ST-BY/
ST
-BY/
SOURCE
/
V
O
L+
/VO
L-
(1)
(2)
(3)
(4)
Page 2
NO.5
NO.7
NO.6
NO.4
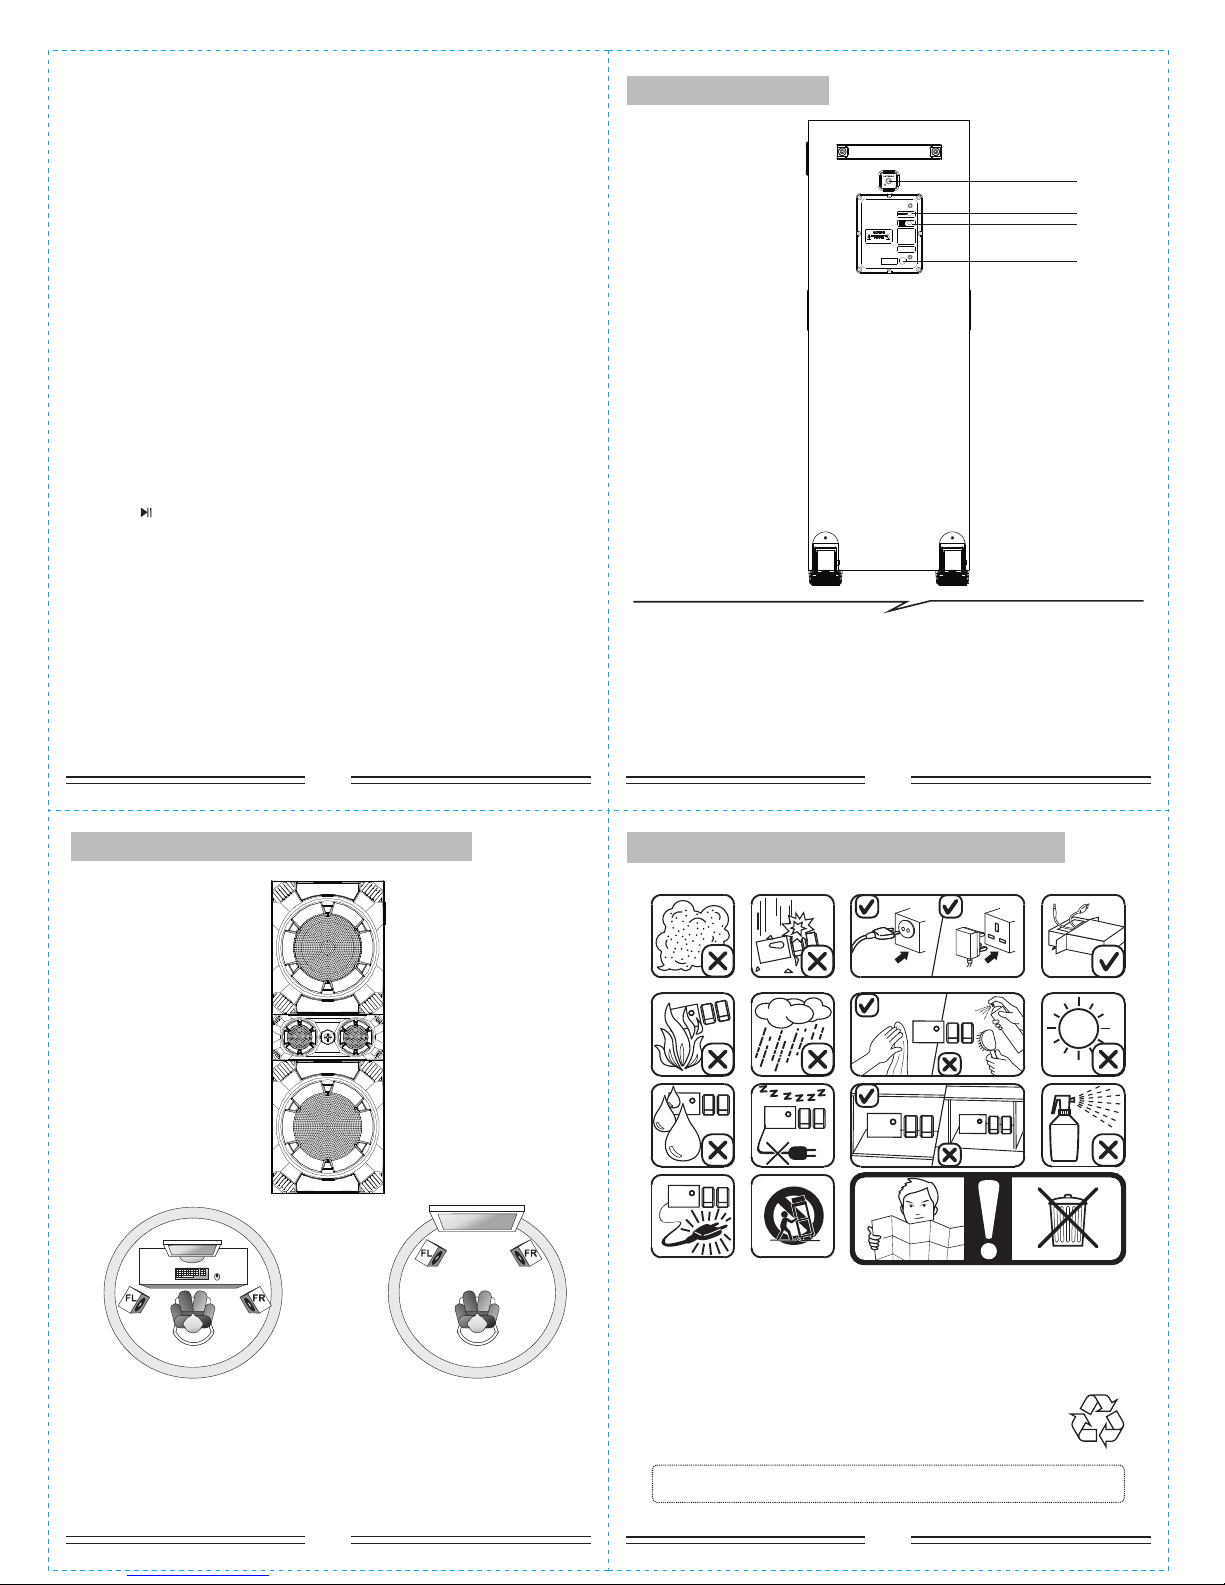
1. ANTENNA
2. AUX/MULTI-MUDIA INPU T:
Connect to am pl ify the sound
from others d ev ices.
3. AC IN: AC Power co rd
(3)
(1)
(2)
(2)
6. When entering into MEMORY CARD mode. “NEXT” means next song;
“PREV” means previous song; “PLAY/PAUSE” means play/pause; pressing
the number “0-9” on the remote control, you can choose the corresponding
song.
7. VOL+/- means you can increase or decrease volume.
8.“TUNING-” means decrease the frequency of channel selection. Press
“TUNING-” for a long time means decrease the frequency of channel
selection continuously
9.“TUNING+” means increase the frequency of channel selection. Press
“TUNING+” for a long time means increase the frequency of channel
selection continuously.
10.“PLAY/PAUSE” means play/pause for MEMORY CARD.
11.“PREV” means previous song for MEMORY CARD.
12.“NEXT” means next song for MEMORY CARD.
13. Press “SOURCE” buttons on the remote to convert to Bluetooth input
mode, LED display right bottom start to flashing (2 seconds) to search the
Bluetooth device. Turn on the BT Mode on your mobile first and search the
device named "PS-8322" to pair it. It will sound out a TICK while the devices
get paired successfully, then you can play music with the PLAYBACK
CONTROLLER that contains multi-functions as we mentioned above.
Press “ ” for 3 seconds to disconnect the devices in BT Mode.
14. LED: Short press to change 7 LED effects.
BACK SIDE PANEL
DIAG RAM FOR THE IDE AL PLA CEMENT
Ideal Placements
for the Speakers
FL - Fr ont L eft
FR - Fr ont Rig ht
SPEAKER
Place the Main Speaker any position on the floor. No directional
requirement for the bass effect.
PAY ATTENTIONS TO THE FOLLOWING CASES
*If the R emote C ont ro lle r do not wo rk, ple ase c ha nge a n ew b att ery.
Thank y ou!
Page 3

FCC Part 15.19 Warning Statement
THIS DEVICE COMPLIES WITH PART 15 OF THE FCC RULES. OPERATION
IS SUBJECT TO THE FOLLOWING TWO CONDITIONS: (1) THIS DEVICE MAY
NOT CAUSE HARMFUL INTERFERENCE, AND (2) THIS DEVICE MUST
ACCEPT ANY INTERFERENCE RECEIVED, INCLUDING INTERFERENCE THAT
MAY CAUSE UNDESIRED OPERATION.
FCC Part 15.21 Warning Statement
NOTE: THE GRANTEE IS NOT RESPONSIBLE FOR ANY CHANGES OR MODIFICATIONS
NOT EXPRESSLY APPROVED BY THE PARTY RESPONSIBLE FOR COMPLIANCE. SUCH
MODIFICATIONS COULD VOID THE USER’S AUTHORITY TO OPERATE THE
EQUIPMENT.
FCC Part 15.105 Warning Statement
Note: This equipment has been tested and found to comply with the limits for a Class B digital device,
pursuant to part 15 of the FCC Rules. These limits are designed to provide reasonable protection against
harmful interference in a residential installation. This equipment generates, uses and can radiate radio
frequency energy and, if not installed and used in accordance with the instructions, may cause harmful
interference to radio communications. However, there is no guarantee that interference will not occur in
a particular installation. If this equipment does cause harmful interference to radio or television
reception, which can be determined by turning the equipment off and on, the user is encouraged to try
to correct the interference by one or more of the following measures:
—Reorient or relocate the receiving antenna.
—Increase the separation between the equipment and receiver.
—Connect the equipment into an outlet on a circuit different from that to which the receiver is
connected.
—Consult the dealer or an experienced radio/TV technician for help.
RF warning statement:
The device has been evaluated to meet general RF exposure requirement.
To maintain compliance with FCC's RF exposure guidelines, this equipment should be installed and
operated with a minimum distance of 20cm between the radiator and your body.
 Loading...