

Page 1
APS-687TWE
.
FCC COMPLIANCE
This device complies with part 15 of the FCC Rules. Operation is subject to the following two conditions:
(1) This device may not cause harmful interference, and
(2) this device must accept any interference received, including interference that may cause undesired operation.
This equipment has been tested and found to comply with the limits for a Class B digital device, pursuant to part 15 of the FCC Rules. These limits are designed
to provide reasonable protection against harmful interference in a residential installation. This equipment generates, uses and can radiate radio frequency energy
and, if not installed and used in accordance with the instructions, may cause harmful interference to radio communications. However, there is no guarantee
that interference will not occur in a particular installation. If this equipment does cause harmful interference to radio or television reception, which can be
determined by turning the equipment off and on, the user is encouraged to try to correct the interference by one or more of the following measures:
—Reorient or relocate the receiving antenna.
—Increase the separation between the equipment and receiver.
—Connect the equipment into an outlet on a circuit different from that to which the receiver is connected.
—Consult the dealer or an experienced radio/TV technician for help.
Warning!
Changes or modifications not expressly approved by the part responsible for compliance could void the use's authority to operate the equipment
NOTE:The manufacturer is not responsible for any radio or TV interference caused by unauthorized modifications to this
equipment. Such modifications could void the user's authority to operate the equipment.
PATENTED: www.voxxintlcorp.com/company/patents
Owners Guide
Deluxe 7 Channel LED
Remote Start System
With Keyless Entry
Table Of Contents:
Features and Options Page 2
Your "Spread Spectrum" Transmitters Page 3
Keyless Entry Page 3 - 4
Optional Remote Function Channels Page 4
Optional Additional Remote Channel 4 Page 4
Optional Additional Remote Channel 5, 6, 7 Page 5
Valet Override, Programming & Safety Control Switch Page 6
Vehicle Service / Remote Start Override Mode Page 6
Turbo Timer Operation Page 6 - 7
Remote Starting The Vehicle Page 7 - 8
Automatic Start Timer Operation Page 9 - 10
Telematic Upgrade Page 10
Programmed Transmitter Notication (PTN) Page 10
Programming New or Replacement Transmitters Page 11
Features And Function Setting Chart Page 12
FCC COMPLIANCE
This device complies with Part 15 of the FCC rules and with RSS-210 of Industry Canada.
Operation is subject to the following two conditions:
1. This device may not cause harmful interference, and
2. This device must accept any interference received, including any interference that may
cause undesired operation.
Warning!
Changes or modications not expressly approved by the party responsible for
compliance could void the user’s authority to operate the equipment
NOTE: The manufacturer is not responsible for any radio or TV interference caused by
unauthorized modications to this equipment. Such modications could void the
user’s authority to operate the equipment
PATENTED: www.voxxintlcorp.com/company/patents
Page 1
128-9446
1 of 12
Page 2

Deluxe 7 Channel LED Remote Start System
With Keyless Entry
FEATURES :
1 Five Button LED Programmable RF Transmitters
1 Five Button Programmable RF Transmitters
Seven Channel Receiver (capable of accepting 4 transmitters)
Code Hopping Technology
External Superheterodyne Antenna w/PushButton Switch and LED
Safe Start RF Control (Double Push Of RF Transmitter)
Selectable Automatic Timed Start Mode
Keyless Entry Outputs (-)
On-Board Start Relay
On-Board Accessory Relay
3 On-Board Ignition Relays
On-Board Parking Light Relay
Ignition 2 and 3 Relay Selectable On or Off During Cranking
Ground Output While Running / Shock By-Pass / GM VAT Output
Tach Signal Learning Circuit
Two ( + ) and Two ( - ) Safety Shutdown Circuits
Alarm By-Pass Output
Channel 3 Output for Remote Trunk Release (relay required)
Channel 4, 5, 6, and 7 Output to Control Optional Accessories
Selectable Steady or Flashing Parking Lights for Run Indication
Selectable Run Times
Selectable Door Lock Output Pulse Timing
Optional Illuminated Entry Output (Relay Required)
Vehicle Horn Activation Output For R/S Annunciation
External Activation Control Input
Turbo Timer Mode
OPTIONS:
Telematic Upgrade Ready
Plug In Flash Logic By-Pass Capable
Remote Power Window Control
Multiple Vehicle Capable
WARNING! Be certain that the vehicle is outdoors before using this or any
remote vehicle starting device. A running engine produces
dangerous carbon monoxide fumes which can be harmful or fatal
if prolonged exposure occurs.
DO NOT remote start the vehicle if the car is garaged.
Page 2
128-9446
2 of 12
Page 3
1 2
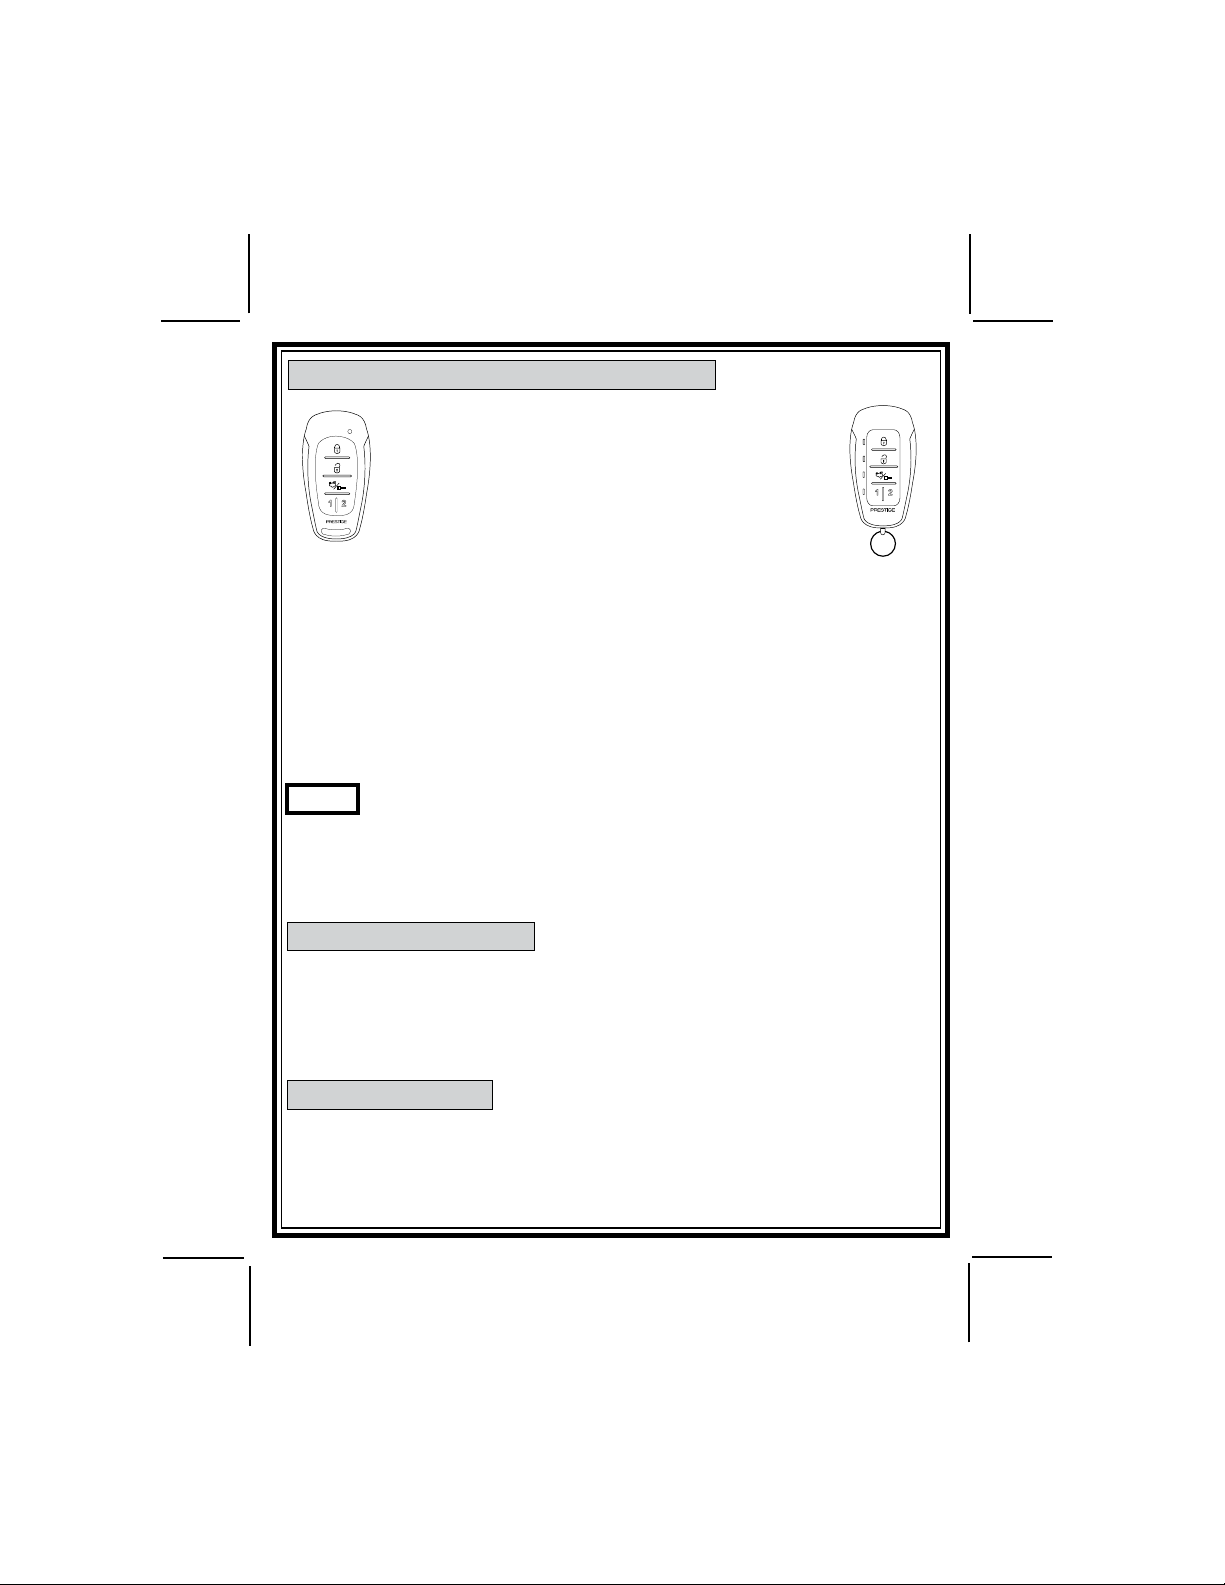
YOUR “SPREAD SPRECTUM" TRANSMITTERS
The transmitters included with your new security
system use the most advanced and secure form
of radio frequency transmission available on any
current automotive security system. Some of today’s
sophisticated auto thieves use a device known as a
1 2
code grabber, which will receive and store the signal
from your keychain transmitter and re-transmit at a
later time to disarm your system.
Your Spread Spectrum transmitters will shift frequencies making it impossible for a theif to grab and rebroadcast your code.
If your transmitter button is pressed more than fty times while it is out of
range of the vehicle (children playing with your keys), the transmitter will
not operate when you return to the vehicle, and will need to be re-aligned
to the receiver. To do this, simply press the lock/unlock button two times
within a one second time period. The system will now respond to that
transmitter each time a button is pressed.
For reference the transmitter packaged with your system may not appear
exactly as shown This depiction is for reference only.
NOTE: As an option, this system has the ability to operate the vehicle's
horn which may require some additional parts. If this feature is installed,
the vehicle's horn will beep once when you lock the doors, twice when you
unlock the doors, twice when the Remote Start feature is activated, and
will beep during the car nder mode to allow you to nd the vehicle more
easily in a crowded parking lot.
THE LED TRANSCEIVER:
Shown above right, will respond with an LED ash when any command is
issues. Press the lock button, and when the vehicle receives the command,
it will report back that the function was executed by ashing the corresponding LED, Lock, Unlock, Trunk, or in the case of Remote Start the LED will
ash once every 10 seconds while the vehicle is running under it's control.
KEYLESS ENTRY
1. To lock your vehicle, exit the vehicle, close all doors, hood and trunk,
then simply press the lock button of your keychain transmitter. To unlock
your vehicle, simply press the unlock button of your keychain transmitter.
As a keyless entry unit, for your convenience, the parking lights will ash
Page 3
128-9446
3 of 12
Page 4
once when the doors are locked and twice when the door are unlocked.
If the optional illuminated entry feature has been added, the interior light
will turn on when the doors are unlocked and remain on for 30 seconds or
until the ignition is turned on.
Holding the lock/unlock transmitter button for 3 seconds will activate the
car nder mode causing the parking lights to ash and the optional horn to
beep for 30 seconds Activating these button's a second time for 3 seconds.
or pressing any other transmitter button while the car nde mode is active
will cancel this mode.
NOTE: This system has the ability to unlock the drivers door with the rst
press of the unlock transmitter button and then unlock all other
doors when the unlock button is pressed a second time. This optional feature may require additional components. Consult your
installation center to determine if this feature has been added
to your vehicle. Additionally this system can be programmed to
automatically lock and unlock the doors with the turning on and
off of the ignition key.
ADDITIONAL REMOTE FUNCTION (CHANNEL 3)
This system has an additional feature that can be connected to a number
of different optional accessories. Some of the more common uses for this
channel are:
Remote Trunk Release
Remote Window Closure
Remote Garage Door Interface
To activate the optional accessory, press and hold the trunk/key button on
the keychain transmitter for four seconds.
NOTE: The feature that has been added to channel 3 will always be
activated using the same transmitter button that remotely starts
the vehicle. There is no way to move the channel 3 function to a
different transmitter button.
ADDITIONAL REMOTE FUNCTION (CHANNEL 4)
This system has an additional feature that can be connected to a number
of different optional accessories. Some of the more common uses for this
channel are:
Can Be Set Up To Activate Rear Window Defogger
During Remote Start If Vehicle Is So Equipped
Remote Window Closure
Rear Hatch Release
Page 4
128-9446
4 of 12
Page 5
Right Or Left Slider Doors in An Equipped Van
To activate the optional accessory, press the option button on the keychain transmitter. The optional accessory will immediately engage.
ADDITIONAL REMOTE FUNCTION (CHANNEL 5)
This system has an additional feature that can be connected to a number
of different optional accessories. Some of the more common uses for this
channel are:
Remote Trunk Release
Remote Window Closure
Rear Hatch Release
Right Or Left Slider Doors in An Equipped Van
To activate the optional accessory, press the option button on the keychain transmitter. The optional accessory will immediately engage.
ADDITIONAL REMOTE FUNCTION (CHANNEL 6)
This system has an additional feature that can be connected to a number
of different optional accessories. Some of the more common uses for this
channel are:
Rear Hatch Release
Driver Priority Settings In Vehicles So Equipped
To activate the optional accessory, press the option button on the keychain transmitter. The optional accessory will immediately engage.
Right Or Left Slider Doors in An Equipped Van
ADDITIONAL REMOTE FUNCTION (CHANNEL 7)
This system has an additional feature that can be connected to a number
of different optional accessories. Some of the more common uses for this
channel are:
Rear Hatch Release
Right Or Left Slider Doors in An Equipped Van
Driver Priority Settings In Vehicles So Equipped
Second Driver Priority Settings In Vehicles So Equipped
Page 5
128-9446
5 of 12
Page 6

To activate the optional accessory, press the option button on the keychain transmitter. The optional accessory will immediately engage.
NOTE: If your system utilizes the transmitter shown, the second option
button may be congured to operate additional accessories.
Please consult your installing retailer for more information concerning
the options available.
PUSH-BUTTON LED RECEIVER
VALET/OVERRIDE/SAFETY CONTROLSWITCH
The Push-Button LED switch located in the receiver allows you to
temporarily disable the remote starting function of the system. This is
recommended whenever the vehicle is being serviced.
To place the system in the service mode:
1) With the system disarmed/unlocked, and the ignition switch off, Press
and Hold the Push-Button, found on the windsheild receiver, in.
2) Turn the ignition switch on, off, on, off, on, off.
3) The LED begins to ash two short ashes followed by one long
ashes and continues this pattern until returned to normal mode of
operation.
This means the unit into the R/S Override mode indicating that the remote start is in the service mode and will not start from RF or any other
input Car Connection, Car Link or otherwise.
To exit the service mode:
1) With the system disarmed, Press and Hold the Push-Button, found on
the windsheild receiver, in.
2) Turn the ignition switch on, off, on, off, on, off.
3) The LED turns off indicating that the R/S unit is fully functional one
again.
TURBO TIMER MODE
This system provides a means to cool down the vehicles turbo charger,
if so equipped, by allowing the vehicle to continue to run for a prescribed
period of time every time the vehicle's engine is turned off. This feature
requires the system to be set up for turbo timer during installation. Consult with your installation center to be certain this feature was activated
Page 6
128-9446
6 of 12
Page 7
and how long the vehicle will continue to run, 3, 5, or 10 minutes after the
ignition switch is turned off.
TO ACTIVATE THE TURBO TIMER
Anytime the ignition key is in the on position for more than 15 seconds:
1) Place the gear selector in park.
2) Set the parking, (hand), brake.
3) Be certain your foot is off the brake pedal.
4) Press the receiver's program/Push-Button switch 2 times within 5
seconds. The parking lights will ash two times indicating the mode was
successfully entered.
If your parking lights ashed four times, this indicates the turbo mode was
on and is now turned off.
With the turbo timer mode selected on, after you've arrived at your
destination, while the engine is still running, set the parking brake, pause
2 seconds, then turn the ignition switch to the off position. The engine will
continue to run the allotted time according to the selection during
installation.
If you do not want the vehicle to continue to run for one cycle, simply step on
the vehicle's brake, release the parking brake, or activate the transmitter's
start button two times in succession.
Any of these will cause the engine to turn off.
REMOTE STARTING THE VEHICLE
The system WILL NOT start the vehicle if any one of the following condi-
tions exists:
1. The Vehicle Hood Is Opened.
2. The Gear Selector Is In Any Gear Other Then Park.
3. The Brake Is Depressed.
4. The System is in the remote start override mode.
Page 7
128-9446
7 of 12
Page 8

WARNING! Be certain that the vehicle is outdoors before using this or
any remote vehicle starting device. A running engine produces
dangerous carbon monoxide fumes which can be harmful
or fatal if prolonged exposure occurs.
DO NOT remote start the vehicle if the car is garaged.
TO REMOTE START THE VEHICLE
Press and release the trunk/key button of your keychain transmitter two
times within 2 seconds.
The vehicle will start and remain running for the pre-programmed time
selected.
As a visual indication, the parking lights will ash or turn on dependent on
the programming set up by your installation center.
When using the LED transmitter, the LED along side the start button will
ash every 10 seconds while the vehicle is running under control of the
remote start.
When you arrive at your vehicle, unlock it with the key or by pressing and
releasing the unlock button of your keychain transmitter.
Enter the vehicle and turn the ignition key to the on position.
CAUTION! Do not turn the key to the start position. This will cause the
starter motor to engage with the already running engine which
could result in damage. Step on the brake pedal to disengage
the remote start unit. The vehicle will continue to run but now
on it's own power.
NOTE: The engine will stop running before the expiration of the
pre-programmed run timer or if you complete any of the following:
1. Press and release the trunk/key button of your keychain transmitter
two times within 2 seconds.
2. Depress the brake pedal.
3. Open the hood.
4. Place the system in Remote Start Override Mode
5. Race the engine to above 4000 RPM.
Page 8
128-9446
8 of 12
Page 9

OPERATING ON AUTOMATIC START UP TIMER MODE
The system has the ability to automatically start the vehicle every 2 or 4
hours over a 48 hour period. This feature is especially useful in cold
climates where the only means to keep the engine and engine uids warm
is to periodically start the engine.
WARNING! Be certain that the vehicle is outdoors before using this
or any remote vehicle starting device. A running engine
produces dangerous carbon monoxide gases which can be
harmful or fatal if prolonged exposure occurs.
DO NOT remote start the vehicle if the car is garaged.
TO BEGIN THE AUTOMATIC START UP TIMER
1. Turn the ignition key on then off.
2. Within 10 seconds, activate the RF start command two times. (Push the
second channel button of your keychain transmitter 4 times).
The parking lights will ash 4 times indicating the timed start mode is
activated.
The vehicle, on a 2 or 4 hour interval basis, will automatically start, run for
the pre-programmed run time, then shut off.
This will continue for 48 hours.
NOTE: The automatic start up timer can also be initiated from the
keychain transmitter.
To do this:
1. Start the vehicle using the keychain transmitter by pressing and
releasing the trunk/key button transmitter button 2 times.
2. Shut off the vehicle using the keychain transmitter by pressing and
releasing the trunk/key transmitter button 2 times.
3. Within 10 seconds of step 2, activate the RF start command two
times.
(Push the trunk/key button of your keychain transmitter 4 times).
Page 9
128-9446
9 of 12
Page 10

The parking lights will ash and the siren will chirp 4 times indicating the
timed start mode is activated.
CANCELING THE AUTOMATIC START UP TIMER
To cancel the automatic start up timer do one of the following;
1. Start the vehicle manually with the use of the ignition key and depress
the brake pedal.
2. Remote start the vehicle using your keychain RF transmitter.
3. Shut off the vehicle using the keychain transmitter by pressing and
releasing the trunk/key transmitter button 2 times.
TELEMATIC UPGRADE:
This system has the ability to have a telematic upgrade module connected
to it. This is an upgrade that can give you control of certain functions of your
vehicle from a Telephone, or in some cases a computer interface. Please
check with your installation center for most recent Telematic Upgrades.
If you had a Telematic Upgrade installed, the manual supplied with the
upgrade unit will provide a operators manual advising of the features of
the system and means available to control these features of your vehicle.
PROGRAMMED TRANSMITTER NOTIFICATION (PTN)
Every time after Disarm when the ignition key is turned on, the unit's
LED will report the number of transmitters programmed into the system.
This safety feature will alert you if an unauthorized transmitter has been
programmed into your vehicle's security system without your knowledge.
Typical from the factory, there will be a 2 ash, pause, repeated 3 times
indicating that two transmitters are programmed into the system. If you
note additional ashes, there may heve been an additional transmitter
added without your knowledge or authorization. If you notice a change
in the transmitter LED report pattern, you can correct this by looking up
how to erase and reprogram your transmitters found in the transmitter
programming guide. This reprogram operation will erase all unauthorized
or unwanted transmitters.
Page 10
128-9446
10 of 12
Page 11
Programming New Or Replacement Transmitters (BANK 1)
Transmitter Model Name Are Found On Back Of The Transmitter
Case. Batteries CR2032 Are Also Indicated There
1) Turn the ignition key to the on position.
2) Press and release the valet/programming switch 3 times (Horn Beeps).
3) Press the Lock Button of each transmitter you want programmed until
you hear a chirp from the horn or the parking lights ash.
4) Turn the ignition switch off.
The above action programs the Lock, Unlock, Start/Trunk, and Option 1
buttons which are typical for most systems.
For additional channel programming beyond the option 1 button, you can
use any unused button or combination of buttons not in use.
In other words, to access option channel 5, 6, 7, you would do the
following:
From step 3 above:
a) Press and release the valet/programming button 4 additional
times to get to channel 5, then Press any unused transmitter button
or button combination to program.
b) From a, press and release the valet/programming button 1 time to
get to channel 6, then press any unused transmitter button or button
combination to program.
c) From b, press and release the valet/programming button 1 time to get
to channel 7, then press any unused transmitter button or button
combination to program.
Note: Not all systems have channels above 3, check with your installation
center for options your system may or may not have.
Note: Certain systems have the ability to utilize channels 6 & 7 for
driver priority programming. For driver priority, the vehicle must
be equipped with this feature, and the optional feature must
be set up and installed by your installation center. Once this
feature is added when the unlock button of transmitter 1 is used,
it will set driver 1 priority, and when the unlock button of transmitter 2 is used it will set driver 2 priority. In this situation, the
unlock button can be programmed into two receiver channels,
unlock, channel 2 and driver priority 6 or 7. In no other
Page 11
128-9446
11 of 12
Page 12

circumstance will the system allow a transmitter button to be programmed into 2 receiver channels at the same time.
This remote has the ability to operate 2 Prestige Alarms From A Single
Transmitter. To toggle on and off vehicle one or two,,,
Press the Trunk/Key button + the Lock button for 5 seconds.
The LED ashes 2 times. Release the buttons, to select 2nd vehicle mode.
Program this transmitter into the second vehicle's system. Any time you
are in 2nd vehicle when the transmitter is operated, the LED will ash twice
for each function. When in in the prime vehicle mode, the LED will ash
once for each function.
Transmitter Battery Replacement
1) Remove the 00 Phillips head screw from the rear case.
2) Separate the case halves by inserting a small plastic tool in the top right slot.
3) Carefully slide the CR2032 from the 155SP, or the two 2025's for the 15BER-
15SP battery or batteries out from under the battery clip and dispose of properly.
4) Insert fresh batteries with the (+) side up away from the PCB.
5) Close the case in reverse of disassembly.
FUNCTION SETTING CHART
To be completed by installer:
Door Lock Timer 1 Sec. 3.5 Sec. 1 Sec/Dbl 1 Sec.
Parking Lights Steady Pulsed
Run Time ___________Minutes
Accy Lock On Off
Accy Unlock Dr. Door All Doors Off
NOTE: Two step unlock is an option and may not have been installed.
To purchase replacement transmitters
or to get additional product information go to:
www.prestigecarsecurity.com
©2015 Voxx Electronics Corp., 150 Marcus Blvd. Hauppauge, N.Y. 11788 1289446
Page 12
128-9446
12 of 12
 Loading...