

Numatic SSIVD 1800 DH, SSIVD 1800 AP, SSIVD 1800 PH Owner's Manual
SWARF ENGINEERING VACUUM
SSIVD 1800 DH
SSIVD 1800 PH
SSIVD 1800 AP
Owner Instructions
Warning! Read instructions before using the machine
www.numatic.co.uk
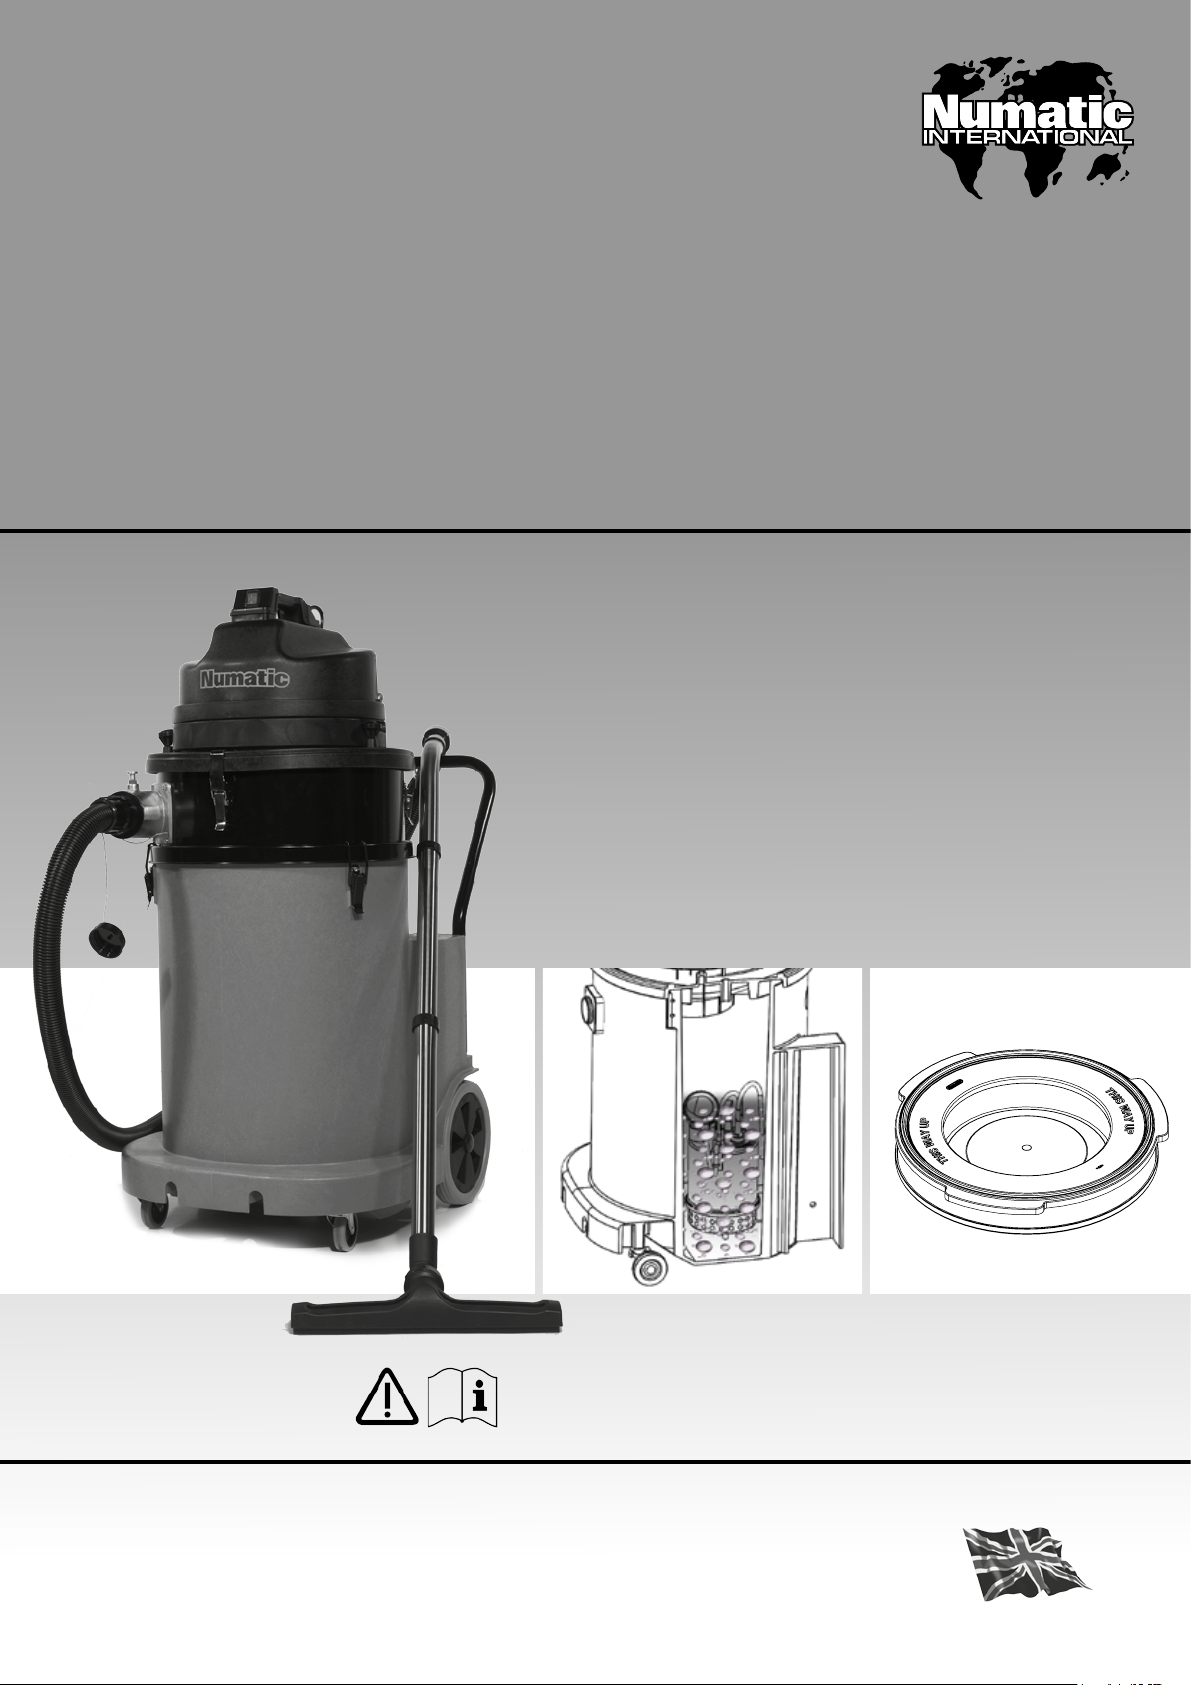
Thank you for purchasing the Numatic Specialised Engineering Separator Swarf Vacuum, the product has been
123
designed specically to cater for the removal of swarf particlulates and coolant combined.
The swarf / coolant is drawn into the machine via the cyclonic entrance and once inside falls into a
collection basket where the coolant will drain through into the bottom drum assembly.
These instructions cover our complete range of Swarf Separator Vacuum products.
SSIVD 1800 DH (Dump hose)
The vacuum has a hose tted with a bung, allowing the machine to be drained into a suitable
environmentally approved collection point, or returned to the cutting machine for further use.
SSIVD 1800 PH (Pump hose)
The vacuum is tted with a pump allowing the operator to remove the coolant from the machine as required by
the green On/O switch tted on the handle assembly, allowing the machine to be drained into a suitable
environmentally approved collection point, or returned to the cutting machine for further use.
SSIVD 1800 AP (Auto Pump)
The vacuum is tted with an auto pump enabling the machine to remove the coolant through a 10 metre dis-
charge hose, allowing the machine to be drained into a suitable environmentally approved collection point, or
returned to the cutting machine for further use.
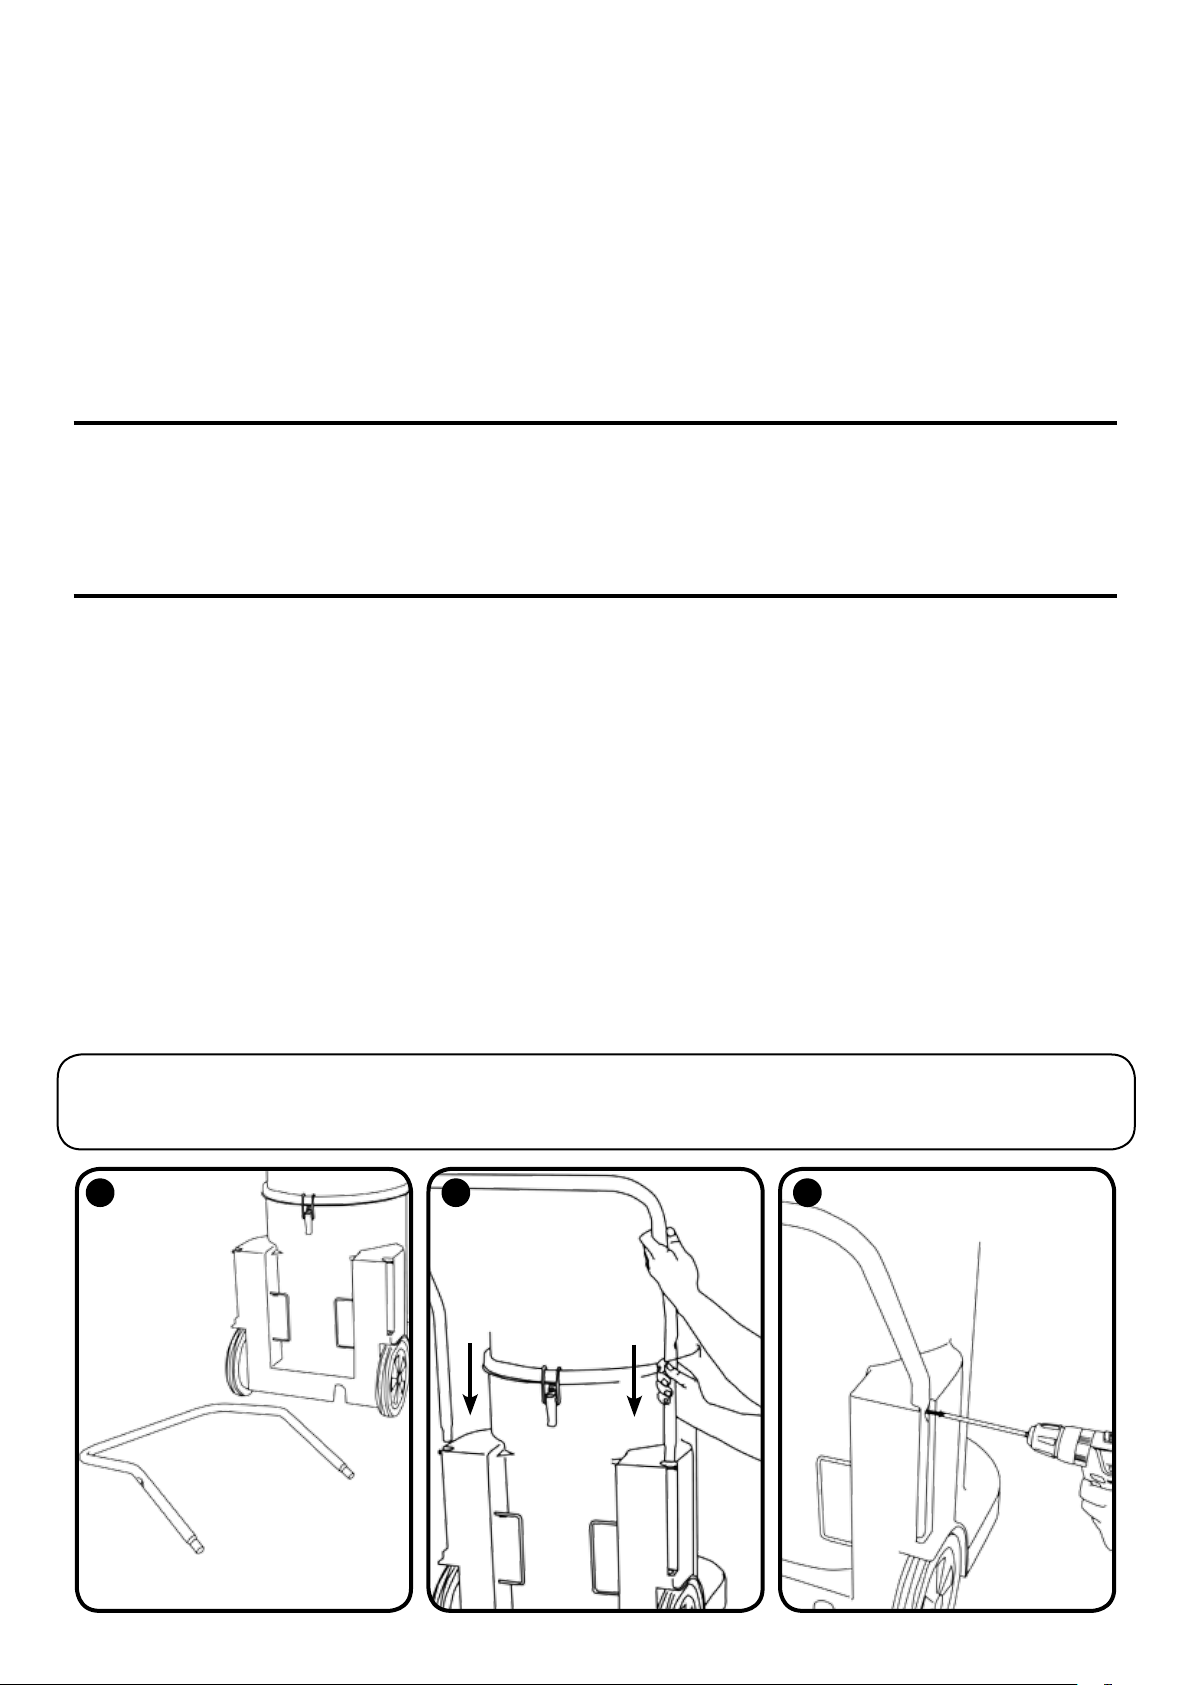
Fitting the handle

123
456
Assemble the wand, oor tool and hose.
Assembling the vacuum
Fit the reducer / adaptor to the cyclonic inlet and connect the suction hose.
Open.
Drainage hose
10 metre hose.
Closed.
Storage of DH / PH hose.
DH / PH hose closure.
Connection of AP hose.

Located on the rear is the power lead
from the pump, connect the lead into
socket on the top of the machine.
PH / AP machine - Connect powered pump
DH version (Dump Hose).
PH version (Pumped Hose).
Operating the vacuum
Once plugged in to the power supply proceed to turn on the blue switch tted to the
handle of the head assembly (this activates the vac motor).
The vacuum is now ready to use.
Once plugged into the power supply, proceed to turn on the blue switch, tted to the
handle on the head assembly (this activates the vac motor)
The vacuum is now ready to use.
 Loading...