

NTI USB2-C5-LC Installation Manual
USB2-C5-LC
USB 2.0 Extender
Installation Manual
These instructions are provided to provide a quick installation of the USB2-C5-LC USB 2.0 Extender. The included
CD contains and application for connecting the Sender to the Receiver after the CAT5 cable has been installed
between them. Drivers for the Sender and Receiver will install automatically once these components are connected.
The drivers support 3 language interfaces: English, simplified Chinese and traditional Chinese. The application will
display the language compatible with the operating system of the computer it is being installed on. It supports
Windows XP 32 bit and 64 bit, Windows Vista 32 bit and 64 bit and Windows 7 32bit and 64 bit. Before installing
applications, the firewall of the antivirus software running in the computer and the firewall that comes with the
operating system should be disabled.
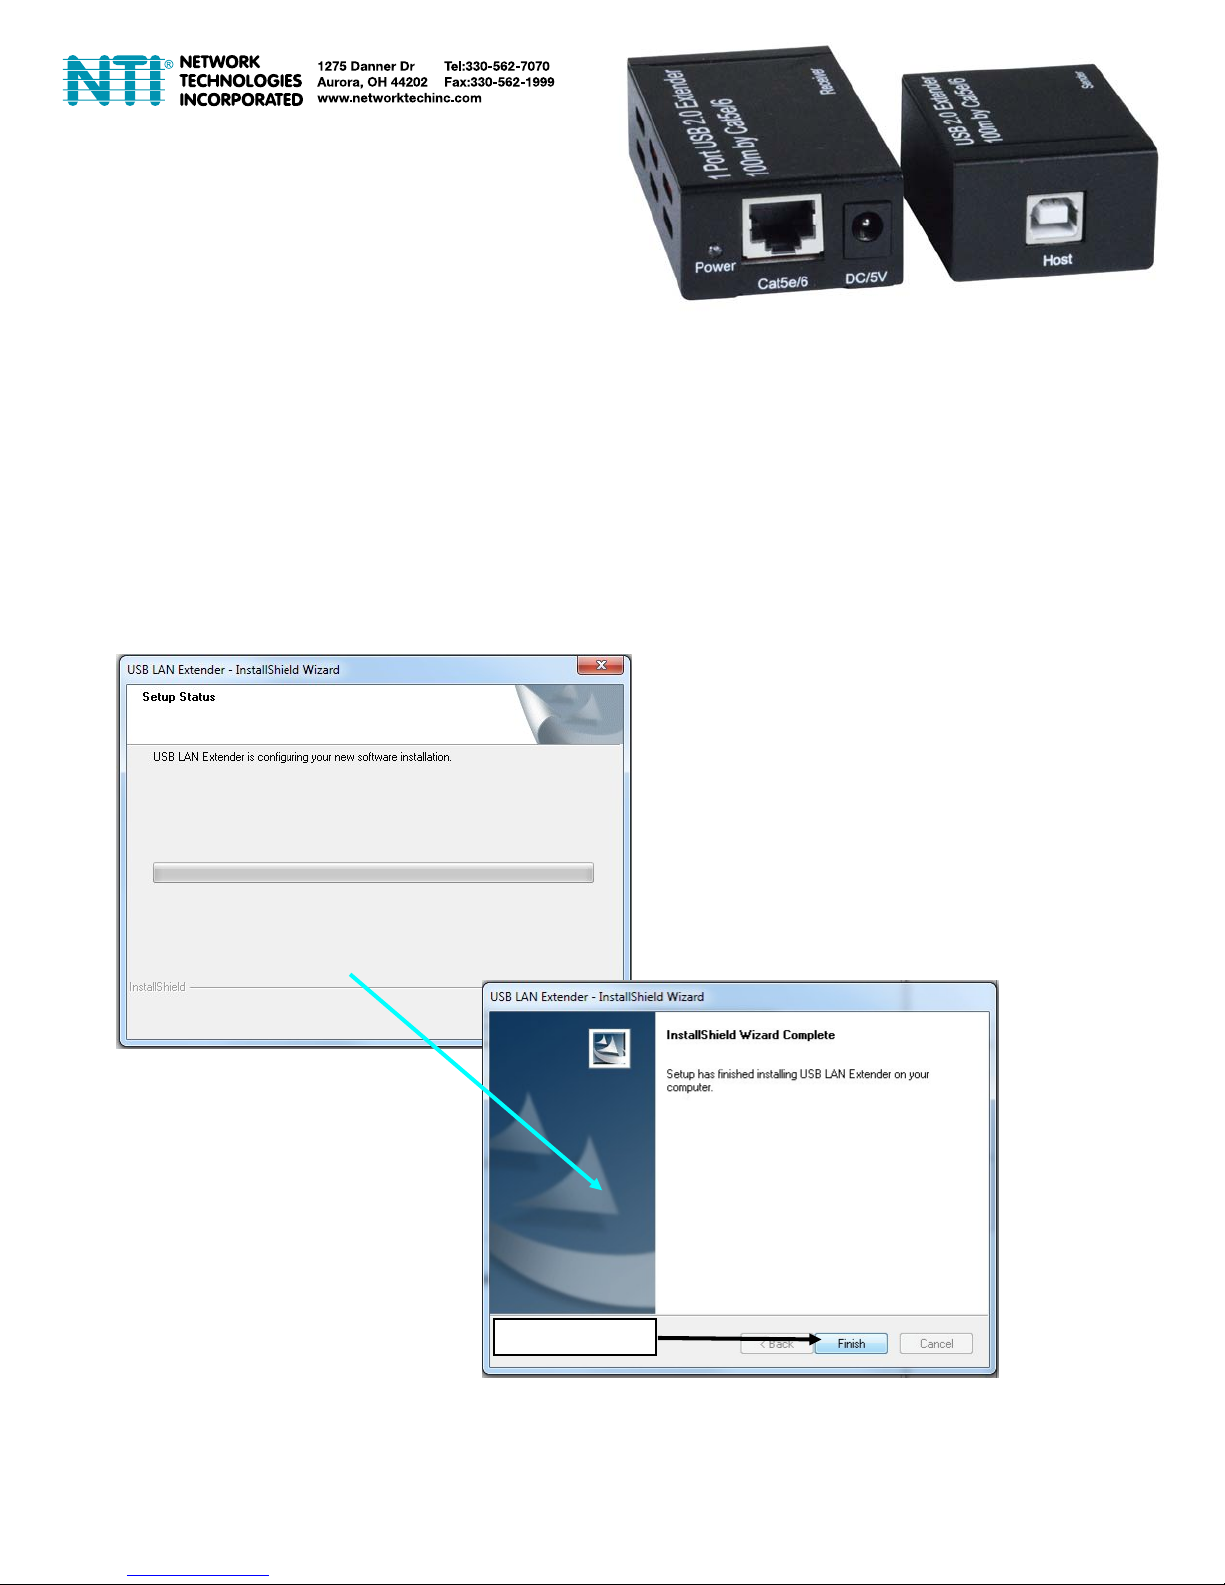
Step 1:Install the Application
Click the install application on the CD and the following interface will appear:
Click “Finish”
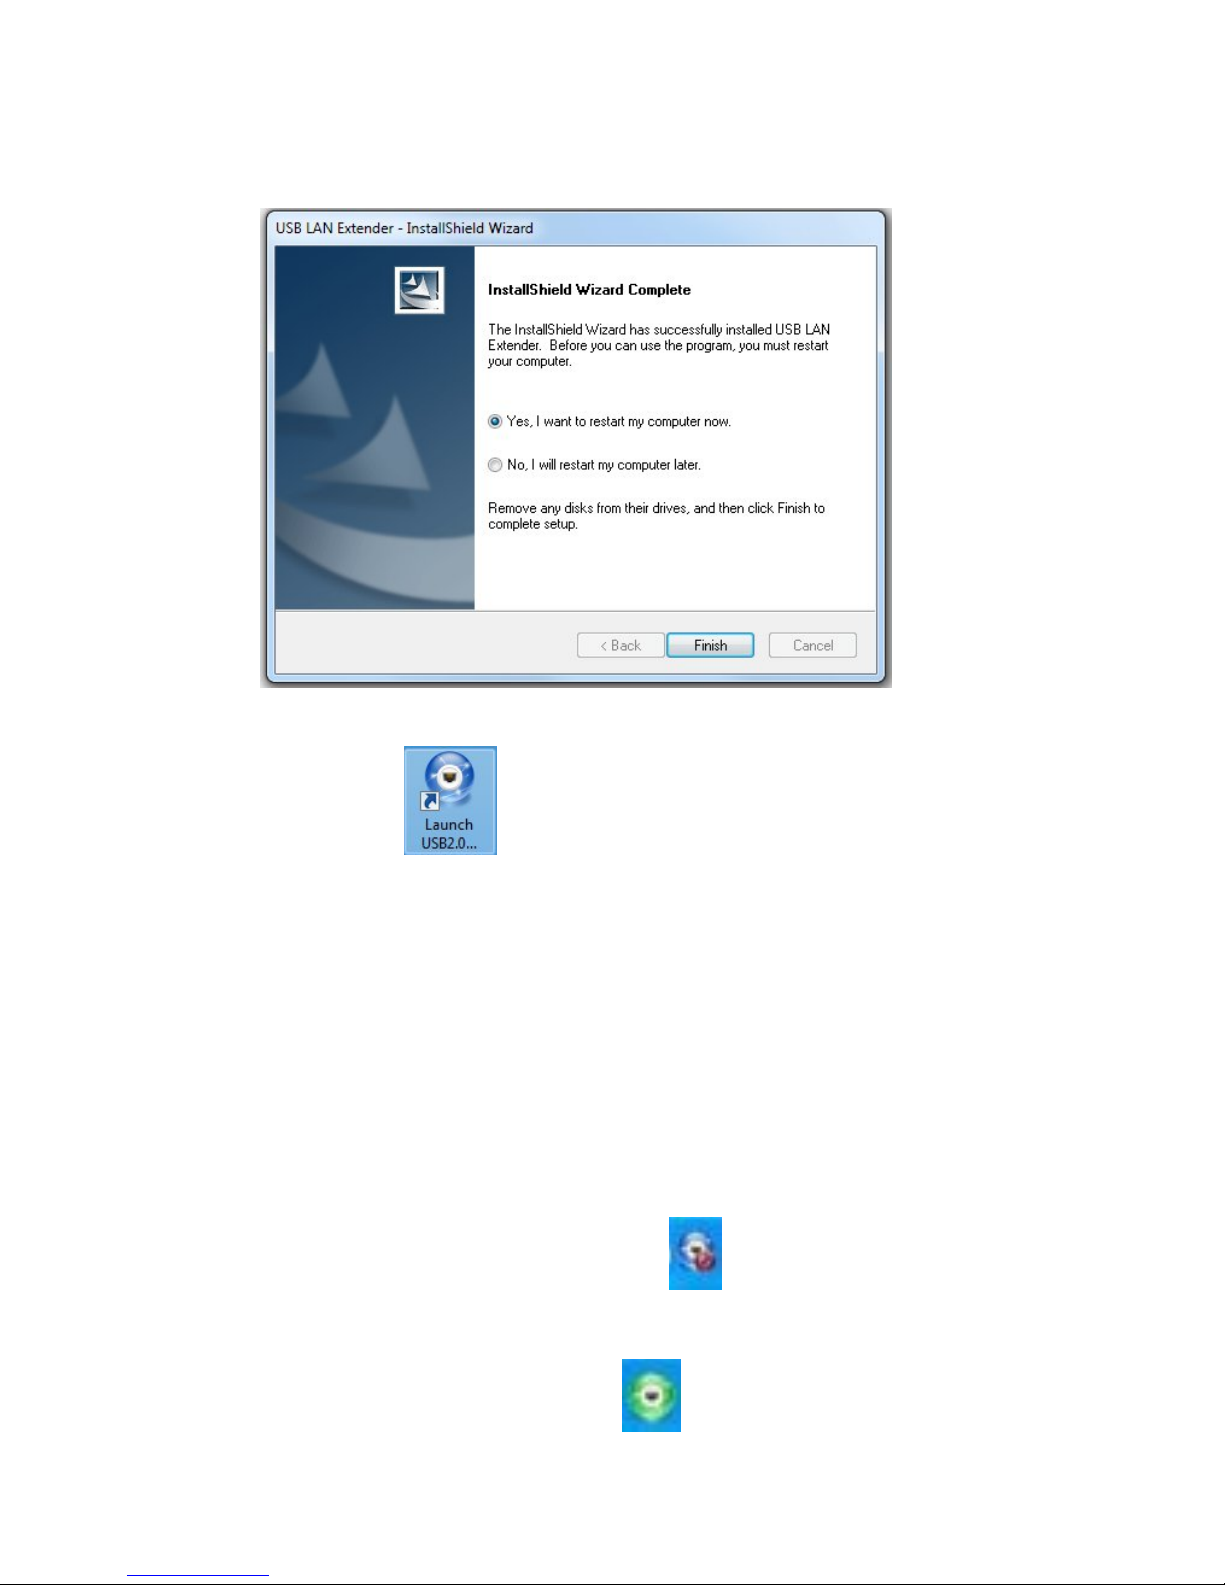
Click the “Finish” button and the restart the computer interface appears:
Click the “Finish” button to complete the installation process of the application, and the computer will restart. After
the computer restarts, the icon will appear on the desktop.
Step 2:USB2.0 Extender #2 Driver Installation for Sender
After restarting the computer, connect the Sender to the USB port of the computer
and “Found New Hardware“ will appear in the bottom corner of the screen. Then it will change to “Installing New
Hardware” followed by “New Hardware is Ready to Use”.
If a window appears calling for new hardware installation, follow the prompts to install it.
Step 3: Driver Installation for Receiver
1. Double-click on the “Launch USB 2.0…” icon on the desktop.
2. The round portion will appear in the tray at the bottom right. Notice the red dot. This indicates the Receiver
is not connected.
3. Connect the supplied 5V power supply to the Receiver.
4. Connect the Receiver to the Sender using a CAT5 cable. If the drivers for the Receiver to install automatically,
then you will be prompted to install them. Follow the prompts to install the drivers.
5. Once the drivers are installed, the icon will change to
You are now ready to connect a USB device to the receiver.
 Loading...