

Page 1
Page 2
Page 3

Page 4

Wiring and Configuration Instruction
This ENVIROMUX Sensor is intended for connection to an NTI ENVIROMUX-MINI-LXO /-16D / -5D/-2D for use in detecting changes
in the environment. When properly connected, the sensors will provide signals to the ENVIROMUX that with proper configuration will
result in alert messages being sent to the administrator of the ENVIROMUX. The sensor has screw terminals for easy user
connections.
The sensors used with the ENVIROMUX-16D/-5D and -2D can be powered by the ENVIROMUX and don’t requir e an external power
supply. Sensors models without the “–P” are used for these models (i.e. ENVIROMUX-IMD).
Sensors used with the ENVIROMUX-MINI-LXO/-MICRO-T(RHP) or ENVIROMUX-1W require an external power supply. To include a
12VDC AC adapter order model with “-P” (i.e. ENVIROMUX-IMD-TAA2-P).
Access Screw Terminals
See the image below for instruction to open the case to access the screw terminals.
Installation-with External Power Supply (ENVIROMUX-MINI-LXO)
1. Connect two 16-26 awg wires (not supplied) from any set of dry contacts (see below) on the ENVIROMUX-MINI-LXO (set 1-5).
2. Connect the other end of those two wires to the switch terminals “N.C” on the sensor. (Apply one wire to each terminal, it doesn’t
matter which wire goes on which terminal.)
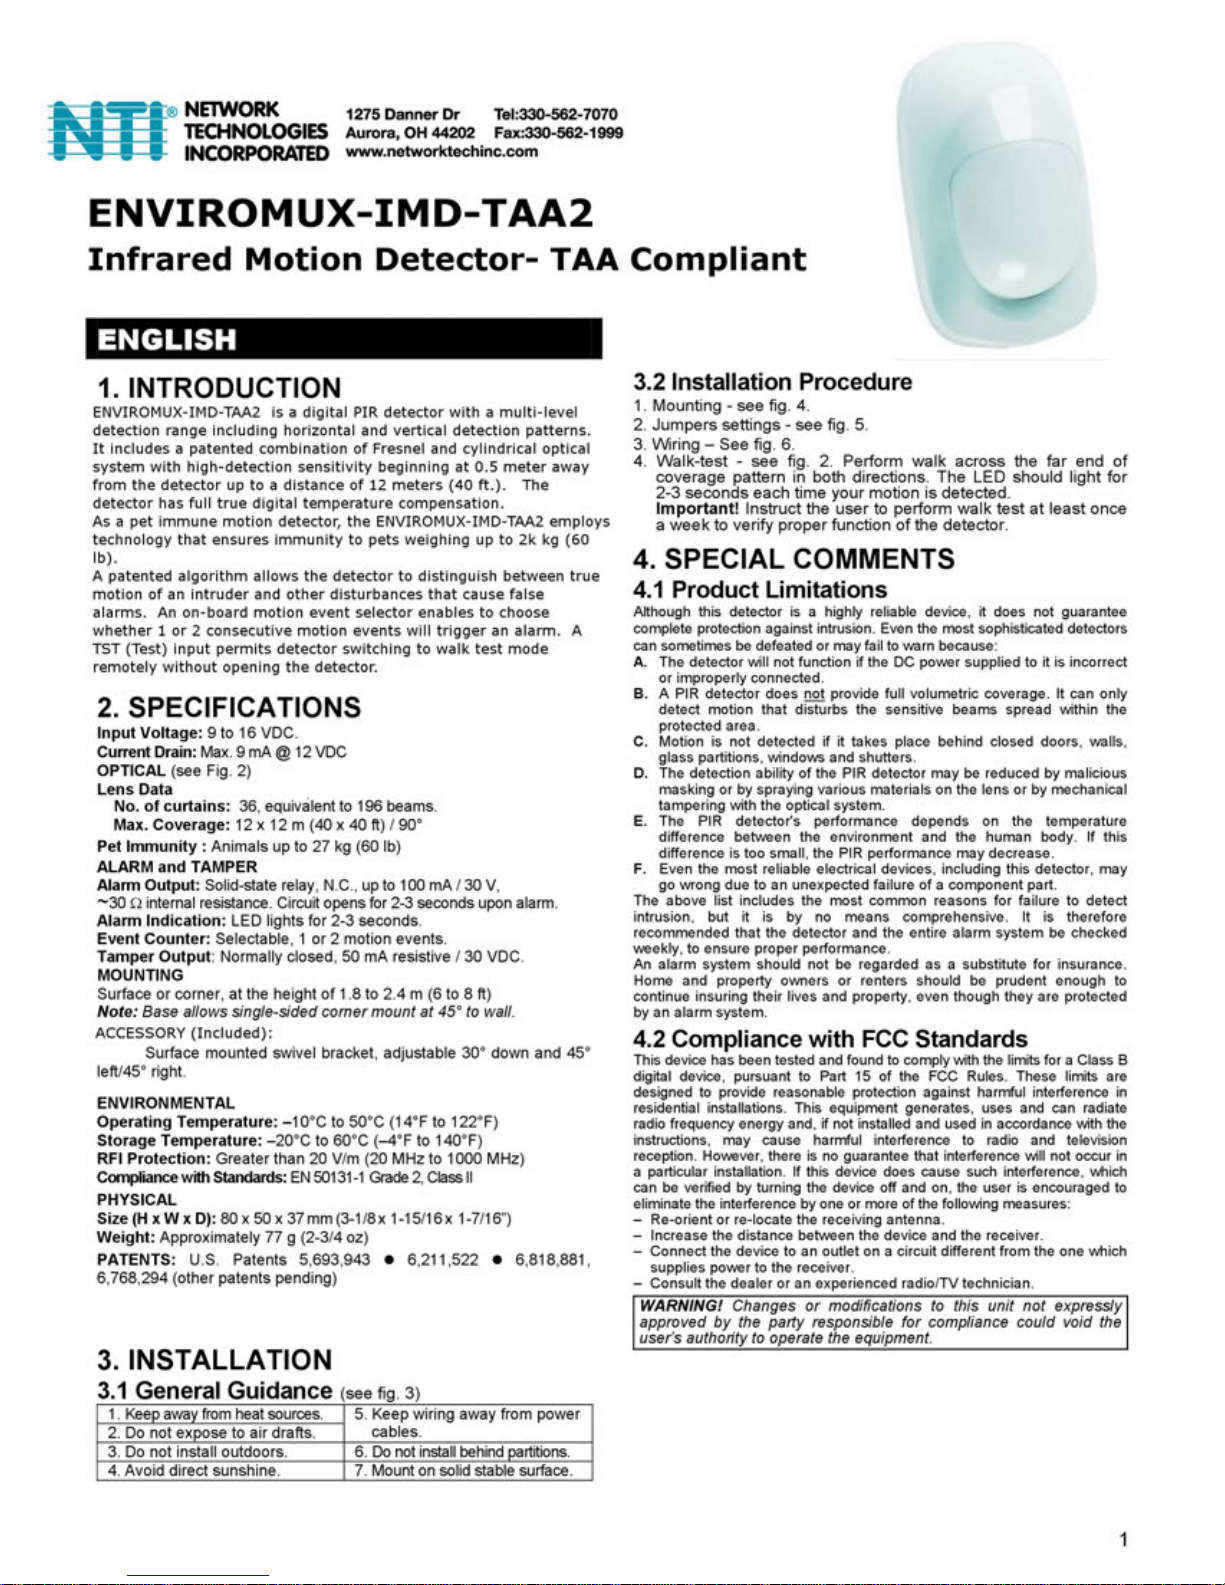
ENVIROMUX-IMD-TAA2
Loosen screw
(approx. 4-5 turns) to
open case
4
Page 5

)
3. Connect the AC adapter wire labeled “PLUS 12” to the “+12” marked in the image below.
4. Connect the AC adapter wire labeled “NEG” to the terminal labeled “—“ (negative) as shown in the image bel ow.
ENVIROMUX-IMD-TAA2(-P
Tamper
Contacts
Wire to contact
terminals)
NEG
+12
5. Be sure to tighten terminals to secure each conductor to the terminal block.
6. Mount the sensor as needed.
5
Page 6

Installation- ENVIROMUX-16D / -5D / -2D
Using RJ45 Sensor Socket
If an RJ45 Sensor socket is available, a contact sensor can be connected to it using a CAT5 cable. Connect the CAT5 cable as
indicated in the image below. Connect the white/orange and orange (ALARM) wires to the contact terminals of the sensor.
If the sensor does not have a tamper feature, or you do not wish to use it, simply omit the connection to pin 5.
APPLICATION NOTE: The wire gauge specified for connection is 16-26 awg. This will support a connection up to 1000
feet between the sensor and the ENVIROMUX.
Using DIGITAL IN Terminals
The ENVIROMUX-16D has 8 sets of terminals for connecting contact sensors. The ENVIROMUX-5D / 2D have 5 sets.
1. Connect two 16-26 awg wires (not supplied) to the “
In“ terminals (see next page) on the ENVIROMUX.
2. Connect the other end of those two wires to the contact terminals “N.C” on the sensor. (Apply one wire to each terminal, it
doesn’t matter which wire goes on which terminal.)
+” and “-“ (“+” and “ “ on the ENVIROMUX-5D / 2D) of any set of “Digital
6
Page 7

Note: Using 16-26AWG wire, the sensor can be mounted up to 1000 feet away from the ENVIROMUX.
3. Connect two more 18-22 awg wires (not supplied) between the “12V” and “ “ (ground) terminals and the “+12” and “NEG”
terminals on the sensor.
Note: If the “AUX PWR” terminals on the ENVIROMUX-2D / -5D are already powering another sensor, then an external power
supply may be required to power the new sensor, with power connections made as shown for the ENVIROMUX-MINI-LXO
above. . If the combined power consumption of the two (or more) sensors exceeds 500mA, then an external power supply
will be required.
4. Be sure to tighten terminals to secure each conductor to the terminal block.
5. Mount the sensor as needed according to the type of sensor being connected.
7
Page 8

Operation
1. If the sensor includes an AC adapter, connect the AC adapter to a 120VAC power source. If the sensor is powered by an
ENVIROMUX, the sensor will be powered any time the ENVIROMUX is ON. The sensor has an LED that will illuminate
to indicate the sensor is in alert.
2. Configure the ENVIROMUX to report signals from the connected dry contact sensor as alert detection occurs. (Refer to
ENVIROMUX manual for details on configuration- see also examples on next page.) When an alert condition is detected, the
switch terminals on the sensor will open to generate an alert message from the ENVIROMUX.
The “Normal Status” for the ENVIROMUX-IMDTAA2 should be set to “Closed”.
Example of sensor configuration in ENVIROMUX-2D, 5D, 16D or ENVIROMUX-MINI-LXO using DIGI TAL IN
terminals
8
Page 9

Example of sensor configuration in ENVIROMUX-16D/ -5D/ -2D using RJ45
9
Page 10

Warranty Information
The warranty period on this product (parts and labor) is two (2) years from the date of purchase. Please contact Network
Technologies Inc at (800) 742-8324 (800-RGB-TECH) or (330) 562-7070 or visit our website at http://www.networktechinc.com
information regarding repairs and/or returns. A return authorization number is required for all repairs/returns.
COPYRIGHT
Copyright © 2007, 2016 by Network Technologies Inc. All rights reserved. No part of this publication may be reproduced, stored in a
retrieval system, or transmitted, in any form or by any means, electronic, mechanical, photocopying, recording, or otherwise, without
the prior written consent of Network Technologies Inc, 1275 Danner Drive, Aurora, Ohio 44202.
CHANGES
The material in this guide is for information only and is subject to change without notice. Network Technologies Inc reserves the right
to make changes in the product design without reservation and without notification to its users.
for
Man277 Rev 12/27/16
10
 Loading...