

Page 1
Recycling & Disposal
The packaging of your new fan has a recycle mark on it. Please
dispose of it as recycled paper or by using the “Dual System”.
The symbol on the product or on its packaging indicates that this product
may not be treated as general household waste. Instead it should be handed over
to the applicable collection point for the recycling of electrical and electronic
equipment. By ensuring this product is disposed of correctly, you will help prevent
potential negative consequences for the environment and human health, which
could otherwise be caused by inappropriate waste handling of this product. For
more detailed information about the recycling of this product, please contact your
local council office, your household waste disposal service or the store where you
purchased the product.
UK guarantee
12 months warranty valid only in respect of defects found to be due to faulty
workmanship or material. Proof of purchase is required to validate the guarantee.
This guarantee is no longer valid if the damage has been caused by a fall,
alteration or repair by any unauthorised persons or if the product has been resold.
This guarantee in no way affects your statutory rights.
Technical Data
Model No: MTF-30
Rated Power: 40W
Voltage: 220-240V ~ 50Hz
Ref: IM/MTF30/1602/GU86AA
Product Dims: 368 x 130 x 126 mm (H*W*D)
N.W. 1.8kg
G.W. 2.3kg
© 2016 Newton Stovold Assocs Ltd GU8 6AA
www.nsauk.com .
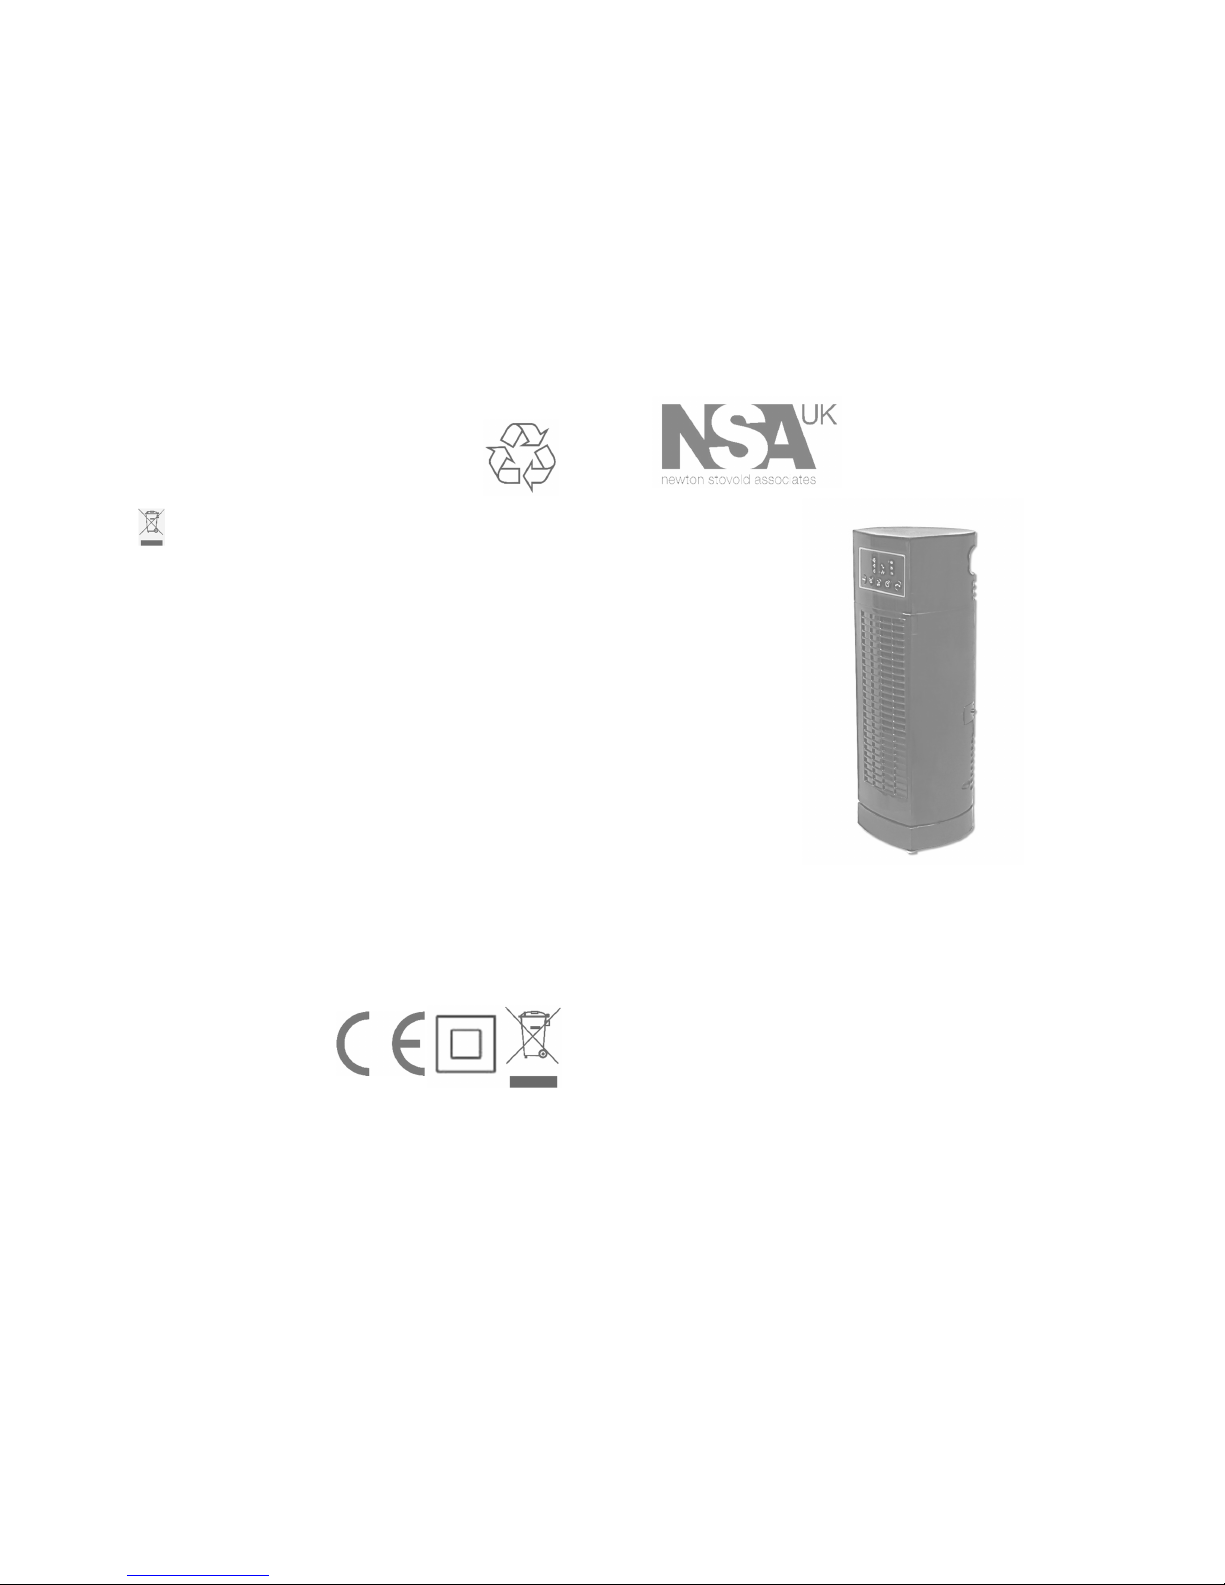
Table Top Tower
Fan
w. 4hr timer
Model MTF-30
Instruction manual
(Feb 2016)
3 speeds
1, 2, 4hr timer
Breeze & Sleep modes
Ocillation
Carry Handle
36.8cm tall
Footprint 13 x 12.6cm
Pre-assembled
Please keep safe for future reference
Please Recycle
8
Page 2

Parts Description
FIG. 1
1. Control Panel w. LED lights
2. Front Grille (Air outflow)
3. Oscillation Base
4. Non-slip feet
5. Back Panel (Air intake)
6. Carry handle
2
Page 3

Control Panel & Operation Guide
A. On / Off
B. 3 Speeds (Low / Med / High)
C. 2 Modes ~ Breeze (Variation)
& Sleep (Gradual Slow Down)
D. 1, 2, 4hr timer
E. Oscillation
FIG. 2
A. On/Off ~ Press once to turn on the unit and press again to turn
off.
B. Speed ~ Press to select Low, Medium and High fan speeds, press
the button until the red LED light indicates the desired speed.
C. Modes ~ Press once to select Breeze mode (Airflow Variation),
press a second time to select Sleep mode (Airflow Reduction),
press again to turn off the mode function. Use in conjunction
with the Timer or Oscillation function. More details on page 5.
BREEZE MODE ~ AIRFLOW VARIATION
Random speed / breeze (96 sec cycles) +
SLEEP MODE ~ AIRFLOW REDUCTION
Speed steps down every 30 minutes
FIG. 3 FIG. 4
Operation Guide (cont’d)
BREEZE
D. Breeze Mode ~ Airflow/Speed Variation (Fig. 3):
This mode imitates the rhythms and tempo of a natural breeze
and will fluctuate at random speed cycles of c. 96 secs
depending on the fan speed set. Use in conjunction with the
1, 2, 4 or 8hr timer and oscillation function.
Hi speed will cause the fan rhythms to be mostly High to Med
speed with occasional lulls of Low speed or no speed.
Med speed will alternate mostly between Med, Lo and Stop with
occasional gusts of High speed.
Low speed will fluctuate between Low, Med and stop with an
intermittent, short gust of high speed.
SLEEP
D. Sleep Mode ~ Gradual Airflow/Speed Reduction (Fig. 4):
This mode will use the set fan speed and step down through
the speeds every 30 minutes ~ eg:
If High speed is selected, then the fan will start in High speed for
30 mins. Then the fan speed will drop to Med speed for 30mins
and then drop to Low speed. The fan will remain at Low speed
indefinitely until manually powered off or the set time is
reached.
When Med fan speed is selected, Sleep mode will start in Med
speed for 30 mins. Then it will drop to Low speed where it will
remain indefinitely, unless the timer is set or the fan is manually
powered off.
Select Sleep mode plus Low fan speed and the fan will remain at
this speed until the unit is manually powered off or the set time
is reached.
D. Timer ~ You can set the run time for 1, 2 or 4 hours duration.
Press the Timer button to move through the timer options. The
LED light will indicate the time selected. If there is no red LED
light showing then the timer is off and operation will be
continuous until the fan is manually powered off.
E. Oscillation (OSC) ~ Press once to activate the oscillation
feature, for wide distribution of air. Press OSC button again to
stop oscillation function.
5
4
Page 4
Cleaning & Care
♦ Unplug the appliance before cleaning.
♦ Do not use any chemical-based solutions for cleaning surfaces.
♦ Slightly moisten a cloth and then wipe off the surfaces of the fan.
♦ In order to remove the dust from the protective fan grille use a vacuum cleaner
upholstery attachment.
♦ Ensure fan is completely dry before storage or reconnecting to the electrical
supply.
♦ Never immerse the fan or fan motor in water or other liquid.
♦ If the fan is not used for long periods, protect with a suitable cover after
cleaning, then store in a dry place.
Compliance
For your safety, this appliance complies with the applicable standards and
regulations (Low Voltage Directive, Electromagnetic Compatibility, Environmental
directives). We reserve the right to make technical changes without prior notice.
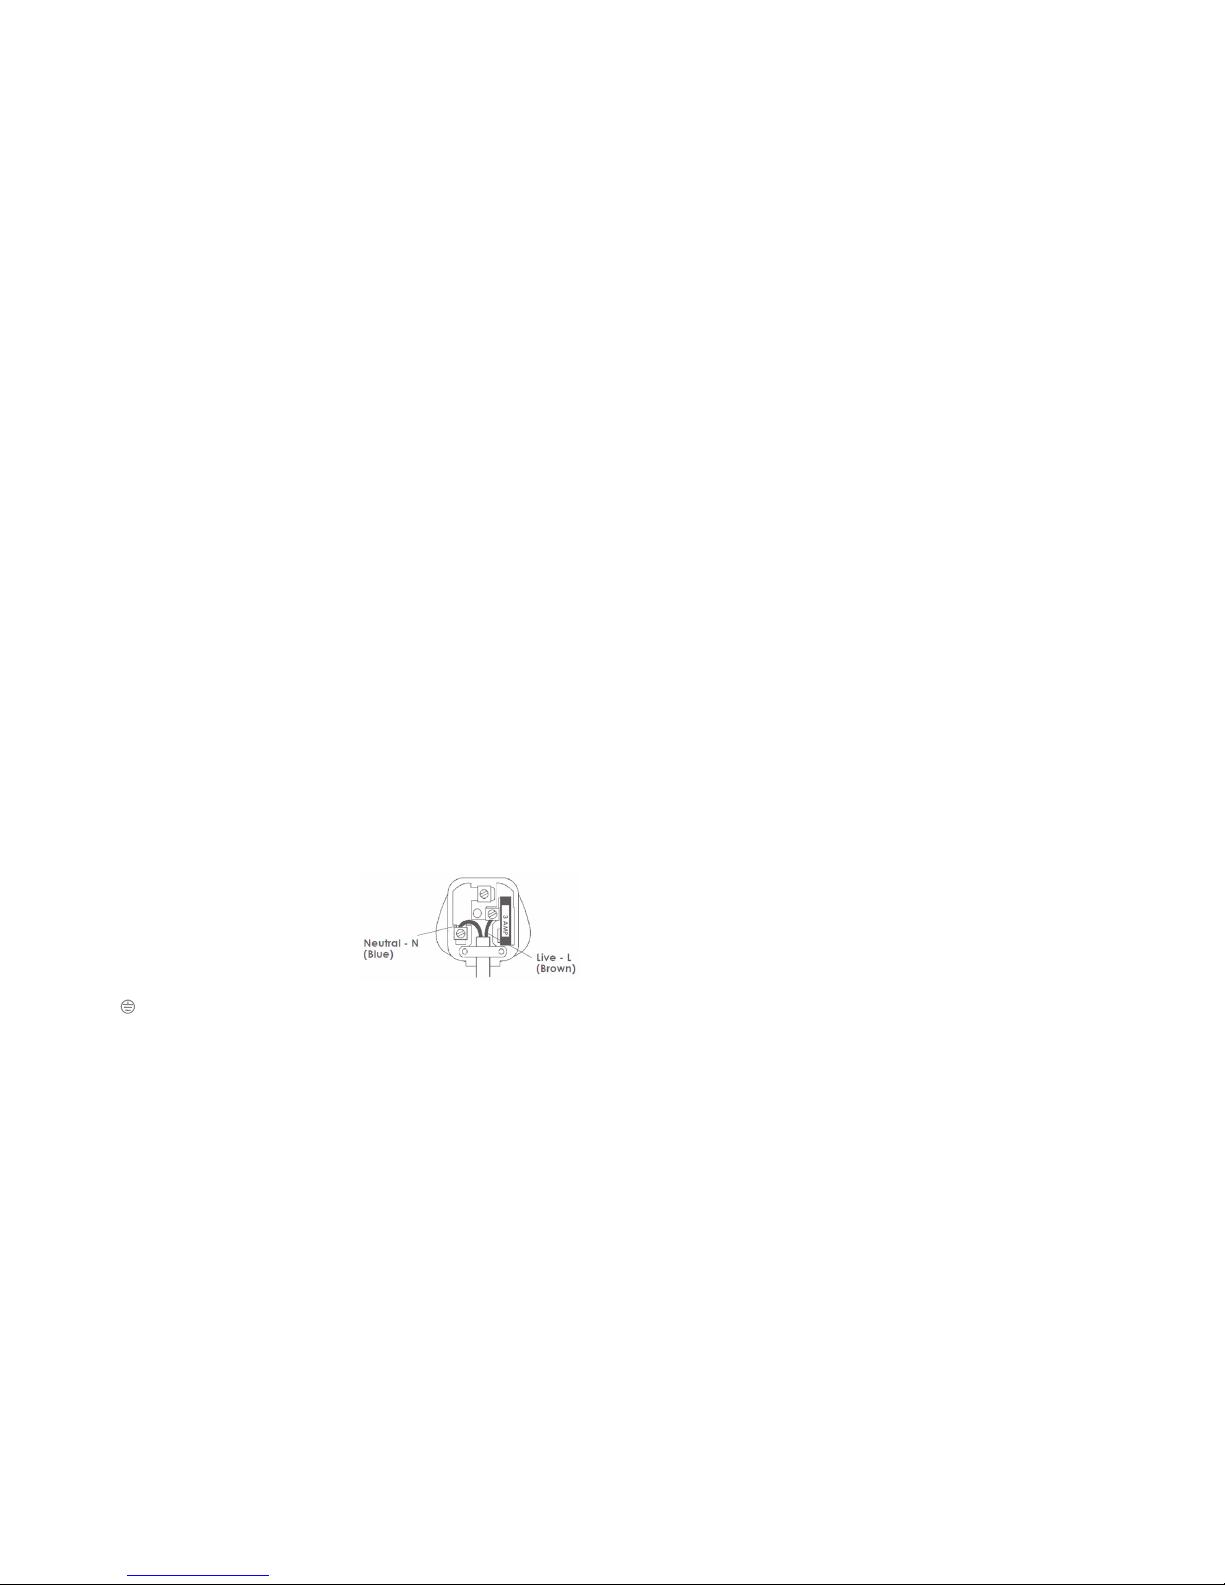
BS plug wiring
Wiring instructions: Should it be necessary to change the plug please note the
wires in the mains lead are coloured in accordance with the following code:
BLUE – NEUTRAL * BROWN – LIVE
As the colours of the wires in the mains lead of this appliance may not
correspond with the coloured markings identifying the terminals in your plug,
proceed as follows:
1. The BLUE wire is the NEUTRAL and must be
connected to the terminal which is marked
with the letter N or coloured BLACK.
2. The BROWN wire is the LIVE and must be
connected to the terminal which is marked
with the letter L or coloured RED.
3. Neither wire is to be connected to the
terminal which is marked with the letter E or
symbol or coloured GREEN OR GREEN
/YELLOW.
4. Always ensure that the cord grip is positioned and fastened correctly.
If a 13A (BS 1363) fused plug is used it must be fitted with a 3A fuse. If in doubt
consult a qualified electrician.
WARNING: If the power cord is damaged it must be replaced by a qualified
electrician to avoid a hazard.
Safety Instructions
Thank you for purchasing this Table Top Tower Fan. Please read this instruction
manual before using your Tower Fan for the first time. Keep safe for future
reference.
CAUTION:
Use the fan only as described in this manual. Misuse may cause a fire or an electric shock.
1. Check the household voltage to
ensure it matches the fans rated
specification before using.
2. Always check the device for visible
damage before use.
3. Always use this devise in
accordance with the instructions.
4. Close supervision is necessary when
this fan is used near children & pets.
5. Do not allow children to play with
any product packaging, such as
plastic bags.
6. This appliance is not intended for
use by persons (including children)
with reduced physical, sensory or
mental capabilities, or lack of
experience and knowledge, unless
they have been given supervision or
instruction concerning use of the
appliance by a person responsible
for their safety. Children should be
supervised to ensure that they do
not play with the appliance.
7. Repairs may only be carried out by
an authorised repair centre;
incorrect handling and faulty repairs
may lead to danger and invalidate
warranty.
8. Arrange the power cord away from
an area where it may be tripped
over.
9. Never position the fan in an area
where it may fall into a bath or
other water container.
10. Never place the power cord
under a carpet or rug.
11. This fan is not intended for use in
wet or damp locations or for
temperatures over 40°C.
12. Do not use the equipment if it has
any damaged parts, or if it has
fallen into water. Return the
product to a service centre for
examination and repair.
13. Do not insert any object into the
grille whilst the fan is operating. It
may cause damage to persons or
property.
14. Do not operate the fan near an
open flame, cooking or heating
appliance or hot surface.
15. Always use your fan on a firm, dry,
level surface away from curtains
and soft furnishings.
16. Disconnect the unit from the
electrical outlet before cleaning,
moving or storing.
17. To disconnect from the power
supply, switch off the power, grip
the plug and pull from the power
socket. Never pull by the cord.
18. This product has been designed
for domestic use only. Any
commercial use, inappropriate
use or failure to comply with the
instructions, the manufacturer
accepts no responsibility and the
guarantee will not apply.
3
6
 Loading...