

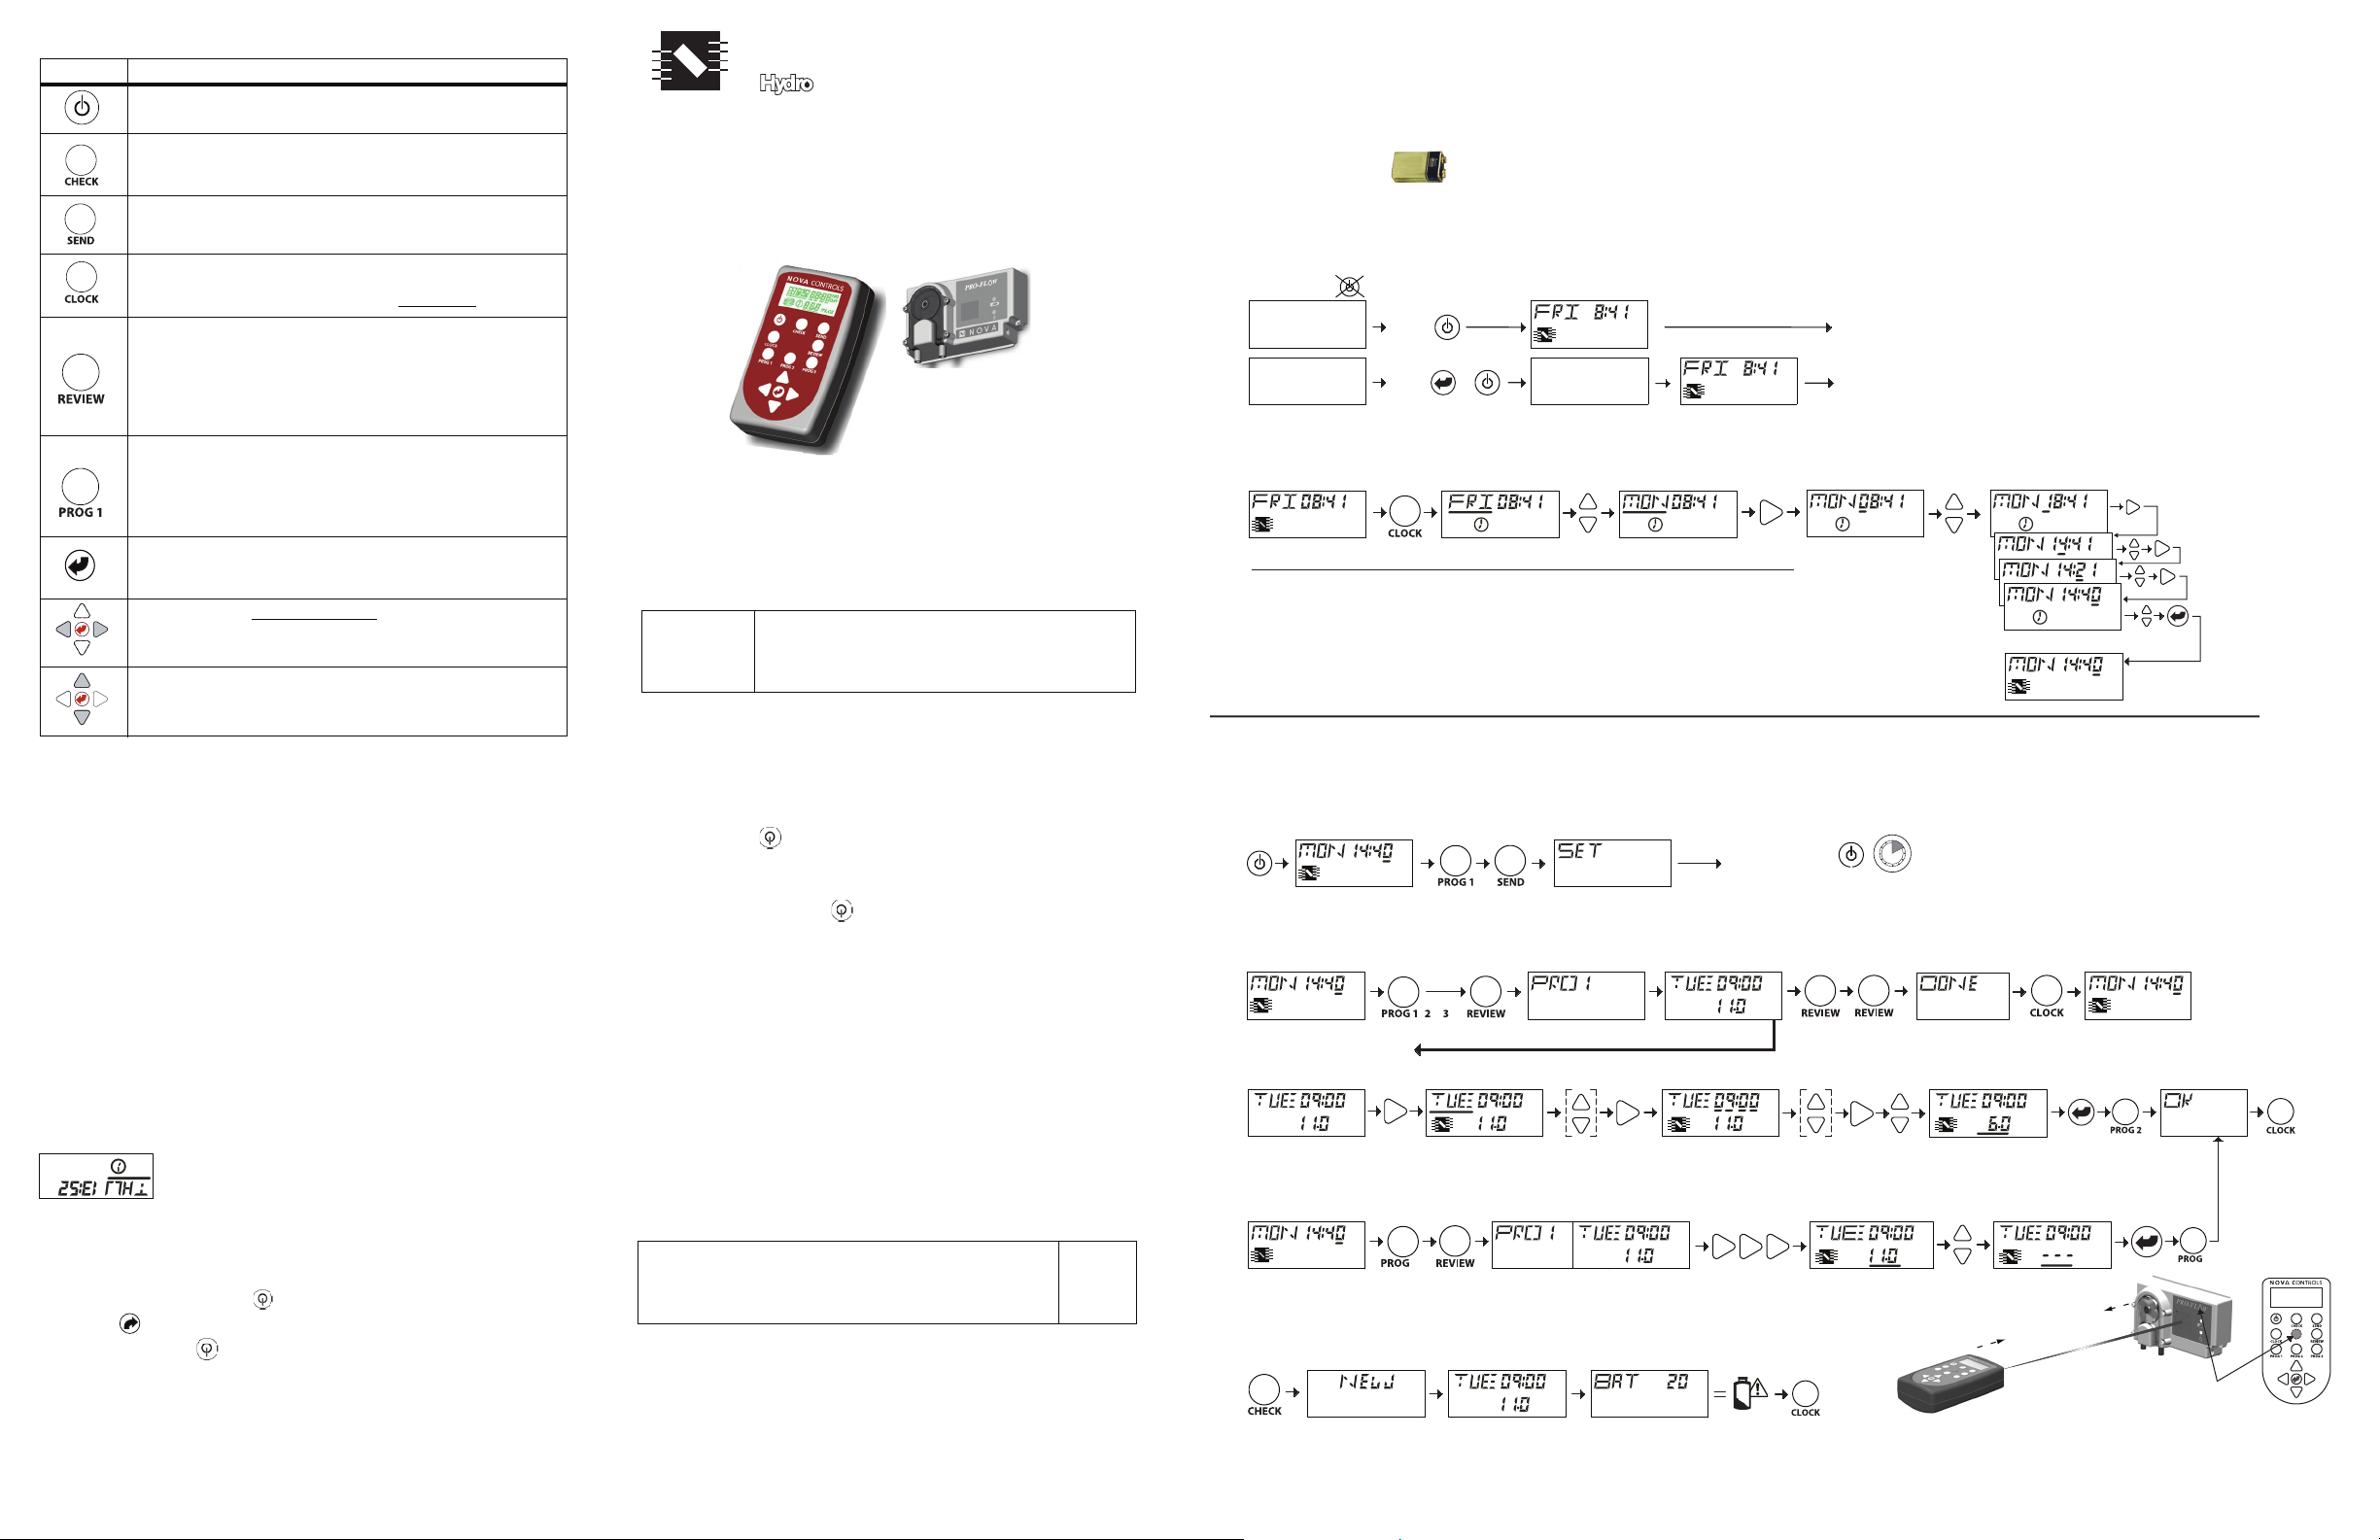
Remote Control Buttons
Button Function
Powe r O N – Press and release.
Powe r O FF – Press & Hold for 2 seconds.
CHECKS dispenser – Places dispenser’s formula on
remote’s screen, checks dispenser’s battery, displays if in
BAT LOW state.
SENDS displayed formula to a dispenser.
TO SEND a saved formula – Press a PROG button, then
press SEND.*
HOME SCREEN shows day & time. Start from the Home
Screen when sending a formula or checking a dispenser.
TO SET day & time, press CLOCK to underscore
REVIEW displays programmed events in a formula. Each
press of REVIEW moves to the next event in that formula.
(1) TO REVIEW A SAVED FORMULA – Press PROG button,
then press REVIEW.
(2) TO REVIEW DISPENSER’S FORMULA–Press CHECK,
then press REVIEW.
PROG buttons store formulas in remote’s memory.
* PROG 1 – Holds factory pre-set formula (on a new remote).
TO SAVE A FORMULA – With formula displayed, press and
hold a PROG button for 2 seconds (overwrites previous
formula).
SAVES programming changes. NOTE: Press after each
event is changed. To save a Formula or Day/Time, continue
pressing until
RIGHT ARROW UNDERSCORES
make it “editable.” LEFT/RIGHT ARROWS move the
underscore to the right or left.
UP/DOWN ARROWS SCROLL through available choices for
programming the day, time or dosage.
DONE ( or the Home Screen) displays.
day.
the event displayed to
NOVA
LEADING THE WAY
A Systems Company
CONTROLS
REMOTE PROGRAMMER
User’s Guide
This
Pro-Flow Remote Programmer User’s Guide
how to set-up and use the hand-held Remote Programmer to
check, revise, save, and send formulas to a Pro-Flow dispenser.
Additional information about the system can be found in the
Pro-Flow Drain Cleaning Reference Manual
Note
#
Copyright 2005 Nova Controls, Inc. 20-08171-00 Rev D
Store the Remote Programmer in a cool, dry place.
Do not leave it in direct sunlight or near high heat.
For technical assistance or product ordering,
contact your authorized product representative
explains
, p/n 20-08363-00.
Quick Start Guide to Remote Programming
First-Time New Remote Set Up
- Ersteinstellung Neue Fernbedienung - Nouvelle Installation à Distance pour la Première Fois -Instalación a Distancia por Primera Vez
-Installi per la prima volta il nuovo telecomando - Instalação à Distancia pela Primeira Vez
1. Install Battery
- Bringen Sie die Batterie an - Installez la batterie - Instale la batería - Installi la batteria - Instale a bateria
2. Choose ml. or oz.
- Wählen Sie ml oder Unze - Choisissez le ml ou l'once - Elija en ml o en onzas - Scelga il ml o l'oncia - Escolha em ml. ou em onç
Power OFF
Set Day & Time
3.
- Stellen Sie Tag und Zeit ein - Sélectionnez le jours et l'heure' - Fije el día y la hora - Regoli il giorno e l'ora - Ajuste o dia e a hora
Clock Home Screen
DAY - TAG - JOUR - DÍA - GIORNO - DIA
SUN - Sonntag - Dimanche - Domingo - Domenica - Domingo
MON - Montag - Lundi - Lunes - Lunedì - Segunda
TUE - Dienstag
WED - Mittwoch - Mercredi
THU - Donnerstag - Jeudi - Jueves - Giovedì
FRI - Freitag - Vendredi
SAT - Samstag - Samedi - Sábado - Sabato
PROGRAMMING
(Default)
Home Screen (oz.)
OZ. =
or
ML
+
=
- Mardi - Martes - Martedì - Terça
- Miércoles - Mercoledì - Quarta
- Viernes - Venerdì - Sexta
Home Screen (ml.)
ml.
- Quinta
- Sábado
- Hauptmenü
- Écran À la Maison
- Pantalla Inicial
- Schermo Domestico
- Tela Inicial
Current Day & Time
- Programmierung - Programmation - Programación - Programmazione - Programação
to sections “7. Prime the Pump.” and “8. Test the Dispenser.”
until
SET displays. If COM BAD displays, see Troubleshooting. Go
SEND
. Hold remote in place
point remote at dispenser, and press
After setting the CLOCK, stand within 4 ft. (1.2 m) of dispenser,
2.1 Send Factory Pre-Set Formula to Dispenser
BAT LOW
button for 2 seconds.
POWER
button . The Home Screen
POWER
and time (also called the Home Screen).
button to save and exit.To exit without saving
changes, press
ENTER
(e) When current day and time display (i.e.
column where appropriate (i.e.
CHECK
the status of a formula. A back-up
WED 18:30), press the
again to display the CLOCK day
CLOCK
08:25).
Repeat for all four numbers. Leave a zero in the left-hand
UP
or
DOWN
arrows until correct number displays.
RIGHT
arrow. Move underscore to first number in TIME.
UP
/
DOWN
arrows until the current day displays.
set displays, with day underscored.
CLOCK
HRS
button.
00:00 - 23:59.
ML flashes, followed by a day & time.
POWER
POWER
ML , press and HOLD
OZ , press
button .This turns the remote on
ENTER
button , while
button to turn on remote.
(d) Press
(c) Press
(b) Press
CLOCK
(a) With remote on, press
format,
3. Set the 24-hour clock with local day and time in military
and sets it to metric.
also pressing
(b) To select
(a) To accept
10 oz (300 ml), dispensed at midnight, 7 days a week.
. That pre-set formula is:
PROG 1
is saved as
Each remote is shipped with a factory pre-set formula that
FACTORY PRE-SET FORMULA
BEFORE turning on the remote:
OZ. is the default. If ML is preferred, skip to Step b
remote,
2. Set unit of measurement during remote power-on. In a new
SEND
to a dispenser. The remote
and displays information about the dispenser’s
1. Insert 9-volt battery (included). Secure the battery cover.
2. Set Up a New Remote Programmer
Remote turns off automatically after 2 minutes of inactivity.
Tur n Off : Press and hold the
displays first, then the Home Screen.)
(current day and time) displays. (If the battery is low,
Tur n On: Press the
1.1 Basic Operation
remote is off or the battery is replaced.
lithium battery saves programs and clock settings when the
SEND
a formula or
settings load into a dispenser automatically whenever you
measurement (oz or ml) and the clock (day & time). Clock
Before using a new remote, you must set the units of
(including the factory pre-set) can be saved in the remote.
formula to create new formulas. Up to three formulas
Saturday). If desired, the installer can edit events in the pre-set
dosage). The pre-set formula has seven events (Sunday Each product dose is called an event (event = day + time +
#
Note
multiple Pro-Flow dispensers.
formula and battery life. Just one remote is needed to program
also
CHECKS
programs for the installer to
The Remote Programmer (“the remote”) stores formulas/
1. Overview
SEND Pre-Set Formula =
- Envíe la Fórmula Preestablecida - Trasmetta La Formula Prestabilita - Evie a Fórmula Pré-ajustada
Power
ON
Home Screen
REVIEW / CHANGE a Formula - Formel Ansehen/Verändern - Passez en revue/Changez une formule - Revise/Cambie una fórmula
- Riveda/Cambi una formula - Reveja/Mude uma fórmula
Home Screen
CHANGE a Formula
- Formel Verändern - Changez une formule - Cambie una fórmula - Cambi una formula - Mude uma fórmula
HRS
ml. oz.
DELETE an Event
- Einen Fall löschen -Supprimer un événement -Suprimir un acontecimiento -Cancellare un evento -Suprimir um evento
Home Screen
CHECK Dispenser
- Überprüfen des Dispensers - Vérifiez Le Distributeur - Compruebe El Dispensador
- Controlli L'Erogatore - Verifique O Distribuidor
10 OZ (300 ML), 00:00 HRS, SUN - SAT
()()
HRS
ml. oz.
x
HRS
ml. oz.
ml. oz.
- Voreingestellte Formel Senden - Envoyez La Formule Préréglée
Hold 2 Sec.
12
1
11
2
10
3
9
8
4
Power OFF
ml. oz.
ml. oz.
HRS
DAYS
=
HRS
HRS
7
5
6
, ...
PRIME Pump
ml. oz.
HRS
ml. oz.
HRS
4 ft. (1.2 m)
line of sight
2 Sec.
HRS
ml. oz.
Hidden Prime Buttons
2 Sec.
x
88 888 8 8 8
888
HRS
:
8
DAYS
.
ml.
oz.
- Produkt Ausaugen - Amorcez la pompe
- Prepare la bomba - Inneschi la pompa
- Apronte a bomba
3. Send a Formula to a Dispenser
1. Making sure that the remote is powered on, has a clear lineof-sight, is within 4 ft. (1.2 m) of the dispenser, AND displays
the HOME screen, point the remote directly at the dispenser
and either:
SEND
(a) Press
(b) Press any
press
formula as the
SET displays to indicate that programming is successful.
2.
If
COM BAD
3.
to send the last program displayed on the screen, or
PROG
button that has a saved formula, then
SEND
. A new remote contains the factory pre-set
PROG 1
displays, see
button.
Section 4. Troubleshooting.
4. Troubleshooting
4.1 COM BAD displays instead of SET
The formula was NOT successfully downloaded. The most likely
reasons are:
• The remote is too far from the dispenser.
• The remote is not pointed directly at the dispenser, but is
angled more than 7° to the right or left of the dispenser.
• There is an obstruction between the remote and the dispenser.
• The dispenser is in bright light or sunlight.
• The remote did not display the Home Screen before SEND was
pressed.
4.2 Remote’s factory pre-set formula is accidentally lost
Quick recovery is possible by aiming the remote at a brand new
dispenser (that is powered on) and pressing
CHECK
. This should
upload the pre-set formula to the remote’s display. Press and hold
PROG 1
for 2 seconds to save the displayed formula.
5. On-Going Service / Checking Dispenser Status
During service calls, press
dispenser and display it on the remote. If communication is
successful, the following sequence displays on the remote:
NEW
1.
MON 09:00 8 OZ
(or whichever is the first event in the current
program). Press
change the dispenser’s formula, you can either:
• Create or delete an event(s) and send the new formula or
• Replace the dispenser’s formula with saved formula
from the remote.
2. If dispenser uses a battery pack,
remote if the battery has 28 days or less of remaining life.
(The dispenser also monitors its own battery life without need
for a remote. The dispenser’s
flashes when the remaining battery life is less than 28 days.)
CAUTION
,
If you are within range of a dispenser and press
CHECK
viewed and it will be replaced by the dispenser’s
program.
3. After changing the product container, you may need to prime
the pump. See the instructions in sections “7. Prime the
Pump.” and “8. Test the Dispenser.” to make sure that the
Pro-Flow dispenser is operating properly.
CHECK
to retrieve information from a
REVIEW
to see all events in that formula. To
BAT XX DAYS displays on the
BAT LOW LED intermittently
, the remote will LOSE the last program
6. Customized Programming
Create custom formulas by reviewing a formula, adding or
deleting events in the formula, then saving the revised formula to
a PROG button. To add or delete events, you must first make the
displayed formula “editable” by pressing the
underscoring the DAY
PROG 1
holds the factory pre-set formula. To avoid overwriting the
, TIME or DOSAGE.
RIGHT ARROW
factory pre-set, save additional custom formulas to the
PROG 3
buttons.
A formula can be temporarily modified and sent to a dispenser
without being saved. The temporary formula remains in the
remote until another formula is used or the remote is powered off.
NOTE
#
CAUTION
When Saving
Formulas!
,
• You can only edit or delete the event that you are
currently viewing on the remote’s screen.
• Because each event is unique, each must be
separately edited or deleted.
• You must save a new formula to a
will be lost when the next formula is displayed.
• If you accidentally press
communication distance and angle to a dispenser,
the dispenser’s program will upload to the remote
and replace the previously displayed formula.
• Saving a new formula to a
previously saved formula (even the factory pre-set
formula). Before saving, verify that the
location is empty or that you no longer need the old
formula. There is no “undo” if a formula is lost.
CHECK
PROG
and are within
PROG
button deletes the
Programming Options
Choose from 7 days, 8 times, & 12 dosage amounts (metric or SAE):
DAY: SUN, MON, TUE, WED, THR, FRI, SAT
TIME: 00:00, 03:00, 06:00, 09:00, 12:00, 15:00, 18:00, 21:00
DOSAGE (ml): 30, 60, 90, 120, 150, 180, 210, 240, 270, 300, 330, 360
DOSAGE (oz): 1, 2, 3, 4, 5, 6, 7, 8, 9, 10, 11, 12
6.1 Review a Formula
REVIEW
creating custom formulas. Pressing
displays the events in a formula and is the first step to
REVIEW
displays whichever of
the following occurred last:
• The formula displayed before the remote was turned off.
• A dispenser’s formula downloaded with
• The
NOTE
#
PROG
button that was most recently pressed.
You can only REVIEW events that were previously
programmed.
Pressing REVIEW will not show days that have no
events programmed.
CHECK
A formula review begins with the first programmed event, starting
on Sunday at
00:00 HRS (midnight). If there are no programmed
events on that day, it does not display. After all programmed
events in the formula have been reviewed, the screen displays
for a few seconds, then cycles back to the first event.
PROG
To review a formula saved to a
1. Press
2. Press
pressing
PROG 1, 2
REVIEW
or
3. PRO x
to see the first programmed event. Continue
REVIEW
to see the next events.
button:
flashes on the screen.
3. To e xit and return to the Home Screen, press the
button at any time during the review.
PROG 2
button or it
PROG
button.
CLOCK
and
and
DONE
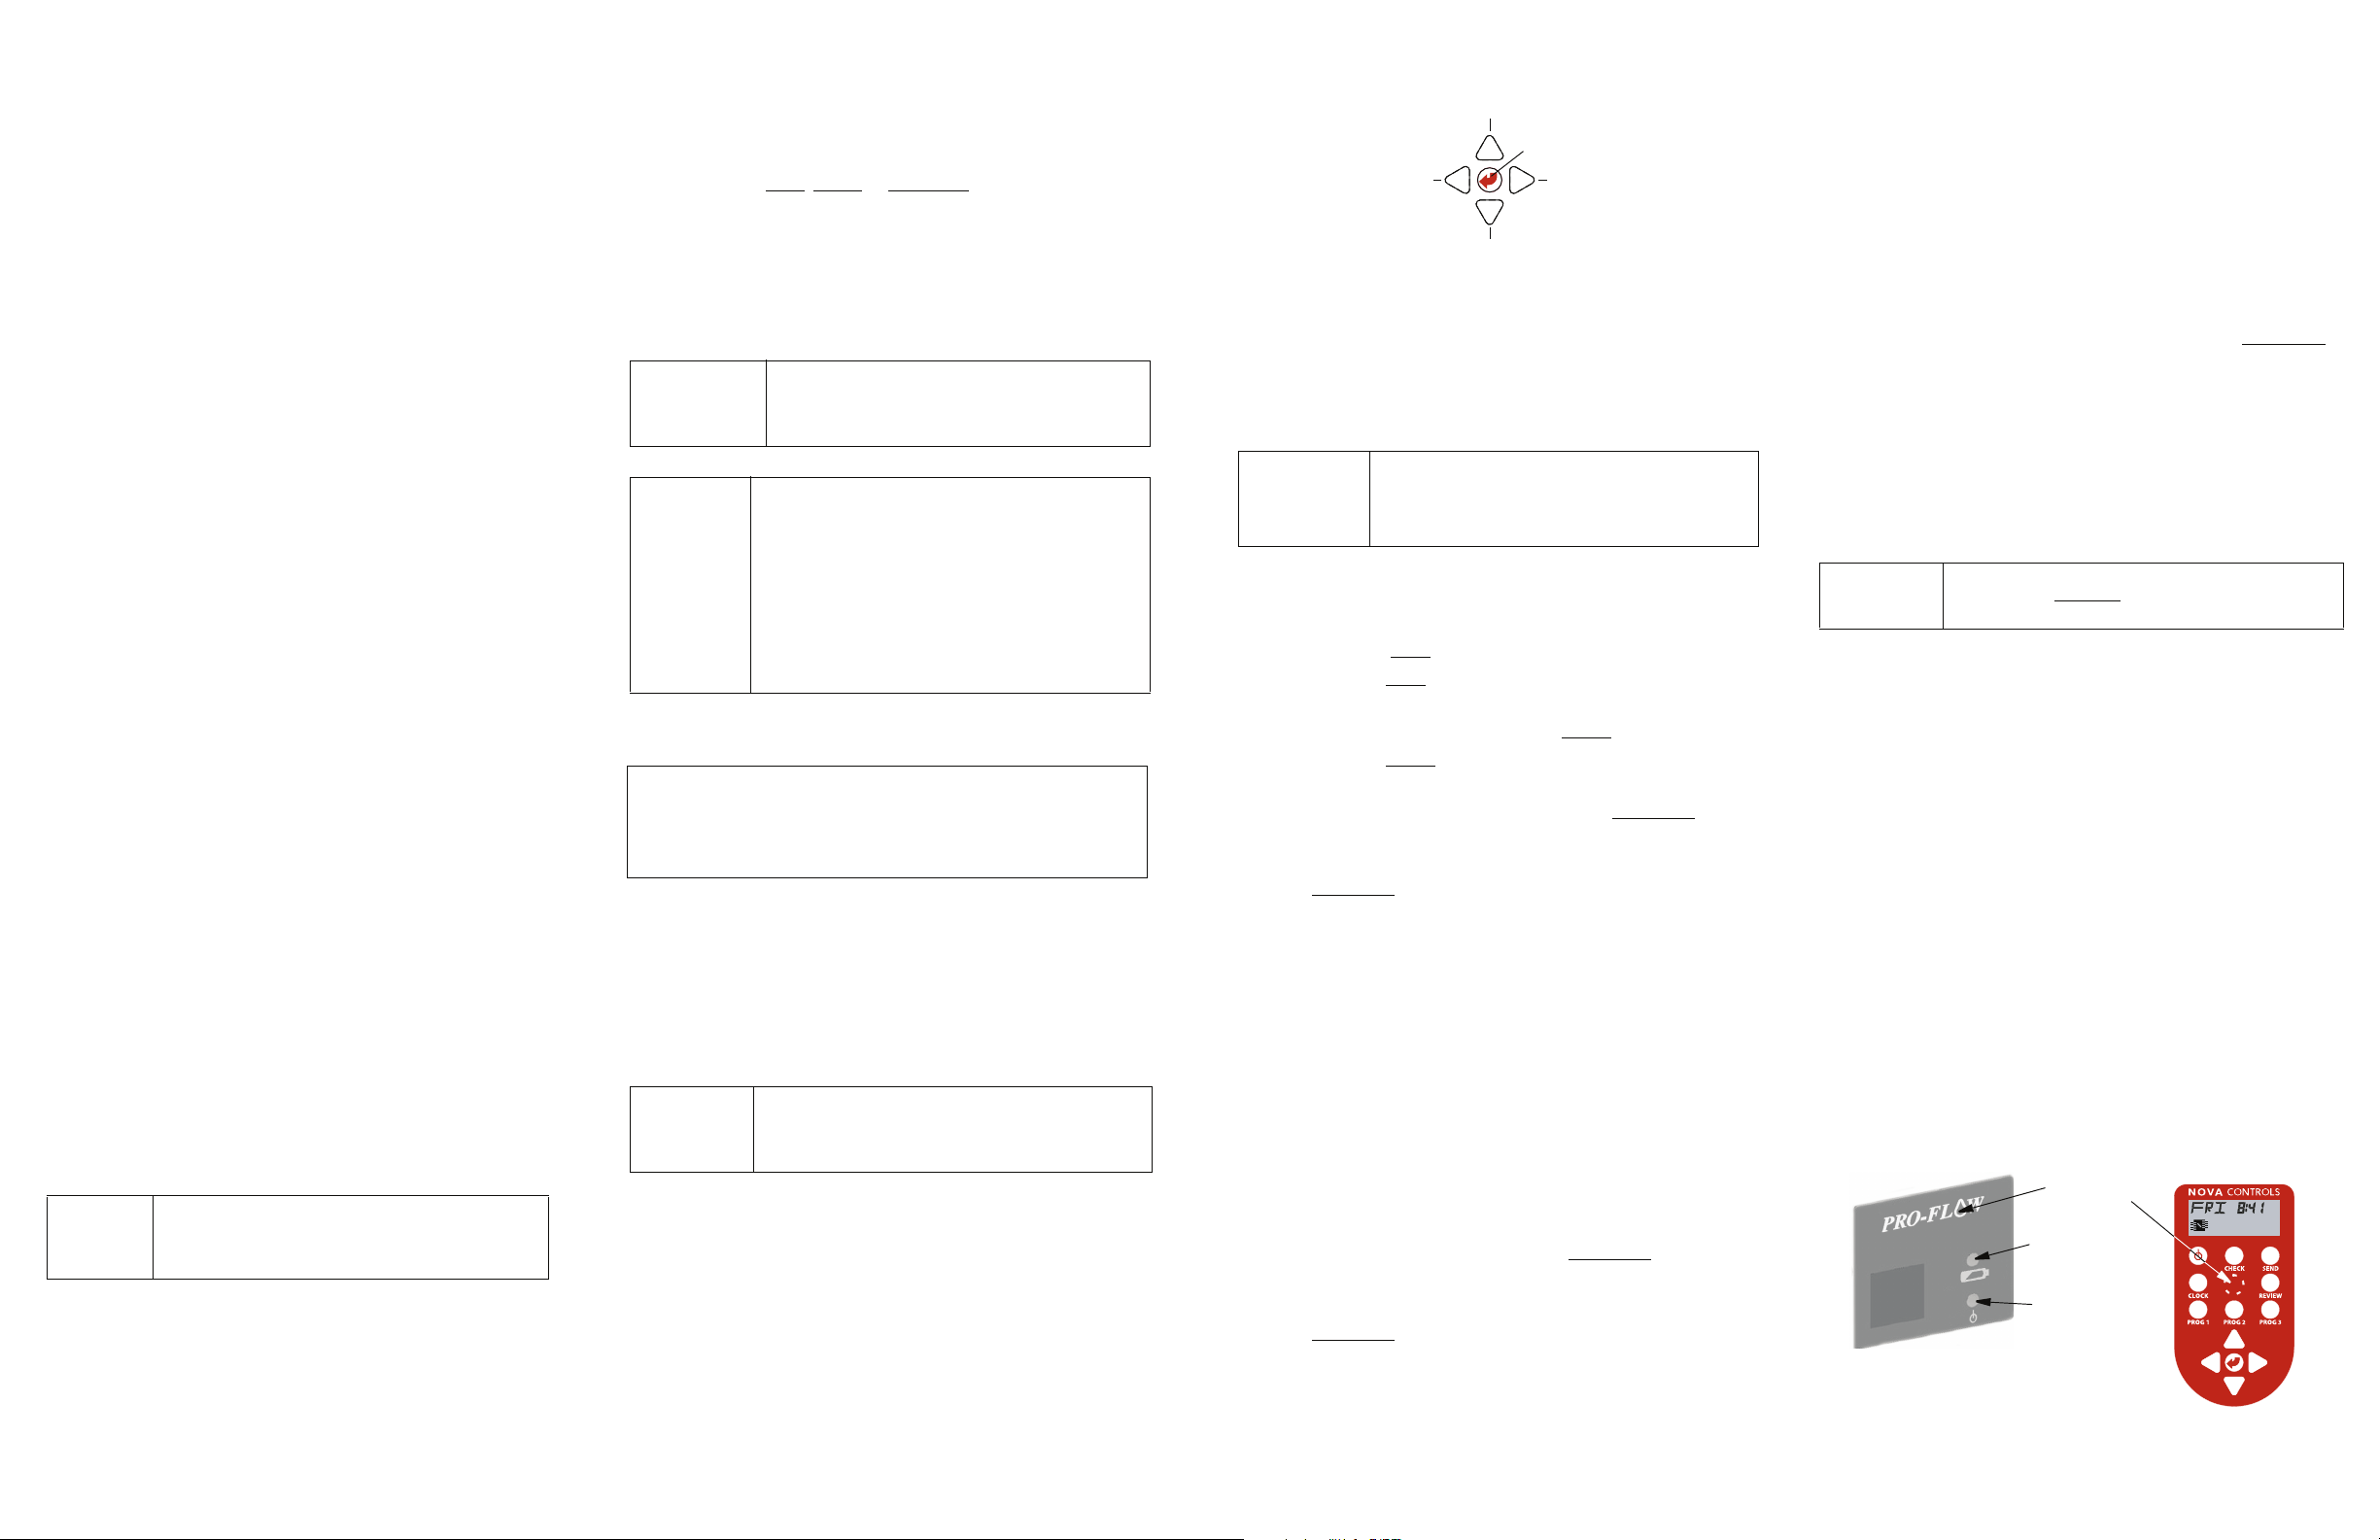
Programming Navigation Buttons
Increases / Moves Value Forward
LEFT ARROW
Moves
underscore
back
Decreases / Moves Value Backward
6.2 Create Custom Formulas
To add or delete events and customize your formulas, you must
first place the formula in the remote’s display by pressing the
REVIEW
button. (See Section “6.1 Review a Formula.” ). Add an
event by revising an existing event, or delete an existing event by
setting the dosage to zero (- - -
IMPORTANT!
)
Creating a new event (by changing the Day, Time or
Dosage of an existing event) does NOT delete the old
event--it ADDS another event to the formula. If the old
event is no longer needed, it MUST be manually
deleted from the formula.
6.2.1 Add a New Event
To add a new event:
1. With any event displayed, press the
underscore the DAY
2. To change the DAY
the correct day.
3. Press the right arrow to under score TIME
4. To change the TIME
the correct dispensing time.
5. Press the
RIGHT ARROW
Select the correct amount by pressing the
ARROWS
.
6. With DOSAGE
event.
IMPORTANT
DELETE
: You have added a new event and must now
the old event if it is no longer needed. See Section
“6.2.2 Delete an Event.”
7. When you have saved each event and no underscore displays,
choose one or more of the options from Section “6.2.3
Review, Save and Exit Options.”
6.2.2 Delete an Event
To delete an event, the dosage must be set to zero (- - - ). To delete
all events on a single day, you MUST zero-out the dosage for
EACH event that is scheduled for that day:
1. Press
REVIEW
until the event you wish to delete displays
onscreen.
2. Press the
3. Press the
RIGHT
UP or DOWN
dosage amount) to “zero-out” the dosage.
4. With DOSAGE
work and delete that event.
5. When you have saved each event and no underscore displays,
choose one or more of the options from Section “6.2.3
Review, Save and Exit Options.”
UP ARROW
ENTER / SAVE
RIGHT ARROW
Underscores
next item
DOWN ARROW
),
as explained below.
RIGHT ARROW
.
, press the UP or
DOWN ARROW
.
, press the UP or
DOWN ARROW
to underscore the DOSAGE amount.
UP or DOWN
still underscored, press
ENTER
to save that
arrow to underscore DOSAGE.
arrow until - - - displays (indicates no
still underscored, press
ENTER
to save your
to
to reach
to reach
6.2.3 Review, Save and Exit Options
Choose one or more of the following actions to complete your
customized programming:
(a) Add or delete another event in the same formula –
Press
REVIEW
and follow the steps in the previous sections
to add or delete another event.
(b) Review your changes – Press
REVIEW
to see each new,
saved event within the formula. Verify that events you just
added appear correctly and that you no longer see events
that you deleted. Make corrections as needed.
DONE
plays when all events in the formula have been reviewed.
(c) Send the formula without saving it – With DOSAGE
CLOCK
underscored, press
SEND
then press
(See also Section“3. Send a Formula to a
to return to the Home Screen,
Dispenser.”)
(d) Save the new formula to a Program button – Press and
PROG
hold a
button for two seconds. OK displays to let you
know that the formula was successfully saved.
(e) Exit to the Home Screen – Press
CLOCK
. Your new for-
mula is ready to send.
Note
#
Pressing the
only when the DOSAGE
after saving a formula to a
CLOCK
button exits an “editable” event
is underscored or OK displays
PROG
button.
7. Prime the Pump
To fill the empty product supply tube (when the Pro-Flow is
first installed or after the product container is changed), start
Prime by pressing either:
PRIME
• The dispenser’s “hidden”
toggle button (behind the
droplet on the Pro-Flow label) or
PRIME
• The remote’s hidden”
toggle button (in the center of the
remote keypad).
PRIME
To stop Prime, press one of the hidden”
toggle buttons
again. If Prime is not manually stopped, it will stop automatically
after 30 seconds.
8. Test the Dispenser
1. Verify that the green Power-on light flashes once per minute
to indicate that the dispenser has power.
2. Set the dispenser’s clock to the current day and time by
CHECK
pressing the remote’s
button.
Pro-Flow Dispenser and Remote Functions
Dispenser (front panel)
Hidden Prime
Buttons
Ye l l o w
Low Battery
LED
Green
Power-On
LED
Remote Programmer
(Home Screen Displayed)
dis-
 Loading...