

Page 1
NNoovvaa DDaarrkkrroooomm
EEqquuiippmmeenntt LLttdd
UUnniitt 11AA HHaarrrriiss RRooaadd
WWeeddggnnoocckk IInndduussttrriiaall
EEssttaattee
WWaarrwwiicckk CCVV3344 55JJUU
TTeelleepphhoonnee
0011992266 440033009900
FFaaxx
0011992266 449999999922
EE--MMaaiill
ssaalleess@@nnoovvaaddaarrkkrroooomm..ccoomm
WWeebbssiittee
hhttttpp::////wwwwww..nnoovvaaddaarrkkrroooomm..ccoomm
Nova
Monochrome
B&W Print
Processor
OPERATING INSTRUCTIONS FOR THE
It’s packed with
hundreds of
products for the
serious darkroom
worker … and it’s
FFRREEEE!!
Just call, fax, write
or e-mail for your
own personal
copy.
HHAAVVEE YYOOUU GGOOTT
OOUURR LLAATTEESSTT
CCAATTAALLOOGGUUEE??
Washing Wash your finished print in your usual apparatus
ensuring that there are plenty of changes of water
throughout the wash time.
Note:- Nova manufacture vertical wash units ideal for this
purpose. Consult your Nova catalogue for further
information. Approximate wash times in all Nova washers are
as follows:-
Cold water 3 - 4 minutes 50 minutes
(15°C or less) (RC papers) (Fibre papers)
The clip needs only a rinse in clean water and a light shake
before re-use.
Replenishment Your Nova MONOCHROME system is
designed to allow you to keep stock/working chemicals in the
unit whilst not in use. Replenishment should take place at the
end of a printing session and also during the session if you are
doing a long print run.
It is recommended that you replenish each of the chemicals
after producing approximately 5 full size prints from
negatives or equivalent area. Actual times to replenish will
depend on what your subject matter consists of and how
particular you are about the actual density/contrast level of
your print.
To replenish, simply make use of the appropriate drain tap
into a suitable container (a measuring beaker is ideal for this
purpose). Top up each slot with fresh diluted stock solutions.
ALWAYS REPLENISH DEVELOPER, STOPBATH & FIXER
AT THE SAME RATE!
Replenishment rates:- (ILFORD MULTIGRADE)
Black & White only 15 ml per 10" x 8" print
(NOVA MULTISPEED BW)
10 ml per 10" x 8" print
Maintenance
After approximately 3 months, you should automatically clean
out all the slots. This should be done with the aid of a bottle
brush and warm water to flush them out. If the unit remains
badly stained, then the use of NOVA TARBUSTER Cleaner
will greatly reduce such staining.
NEVER ATTEMPT TO PUT ANY CHEMICAL OTHER THAN
STANDARD B&W WHITE CHEMICALS OR SPECIFIC
CLEANING FLUIDS IN THE MONOCHROME SLOTS..
NEVER USE WATER OR CHEMICALS AT TEMPERATURES
HIGHER THAN 30°C IN THE SLOTS
THE WARRANTY OF THE PRODUCT WILL BECOME NULL
AND VOID IN SUCH INSTANCES.
MONOCHROME MAST. ISSUE 2 01/04
Page 2
The Nova MONOCHROME system is a practical method of producing hand finished quality
BLACK & WHITE prints at 'room temperature'.
Our range is designed to meet the needs of modern processes and make printing a pleasure
not a chore. To enable you to obtain the best results from your new equipment, it is
important that you read the instructions carefully before you proceed.
Remember
All modern photographic materials are capable of excellent results.
Changing from one manufacturer to another will not correct any problems relating to
variables in technique or equipment. The only route to constant quality printing is to reduce
these variables to a minimum.
The following steps will assist you:i) Time the exposure and process sequence accurately.
ii) Use one type of film, paper and chemicals until you are confident enough to experiment.
Setting Up
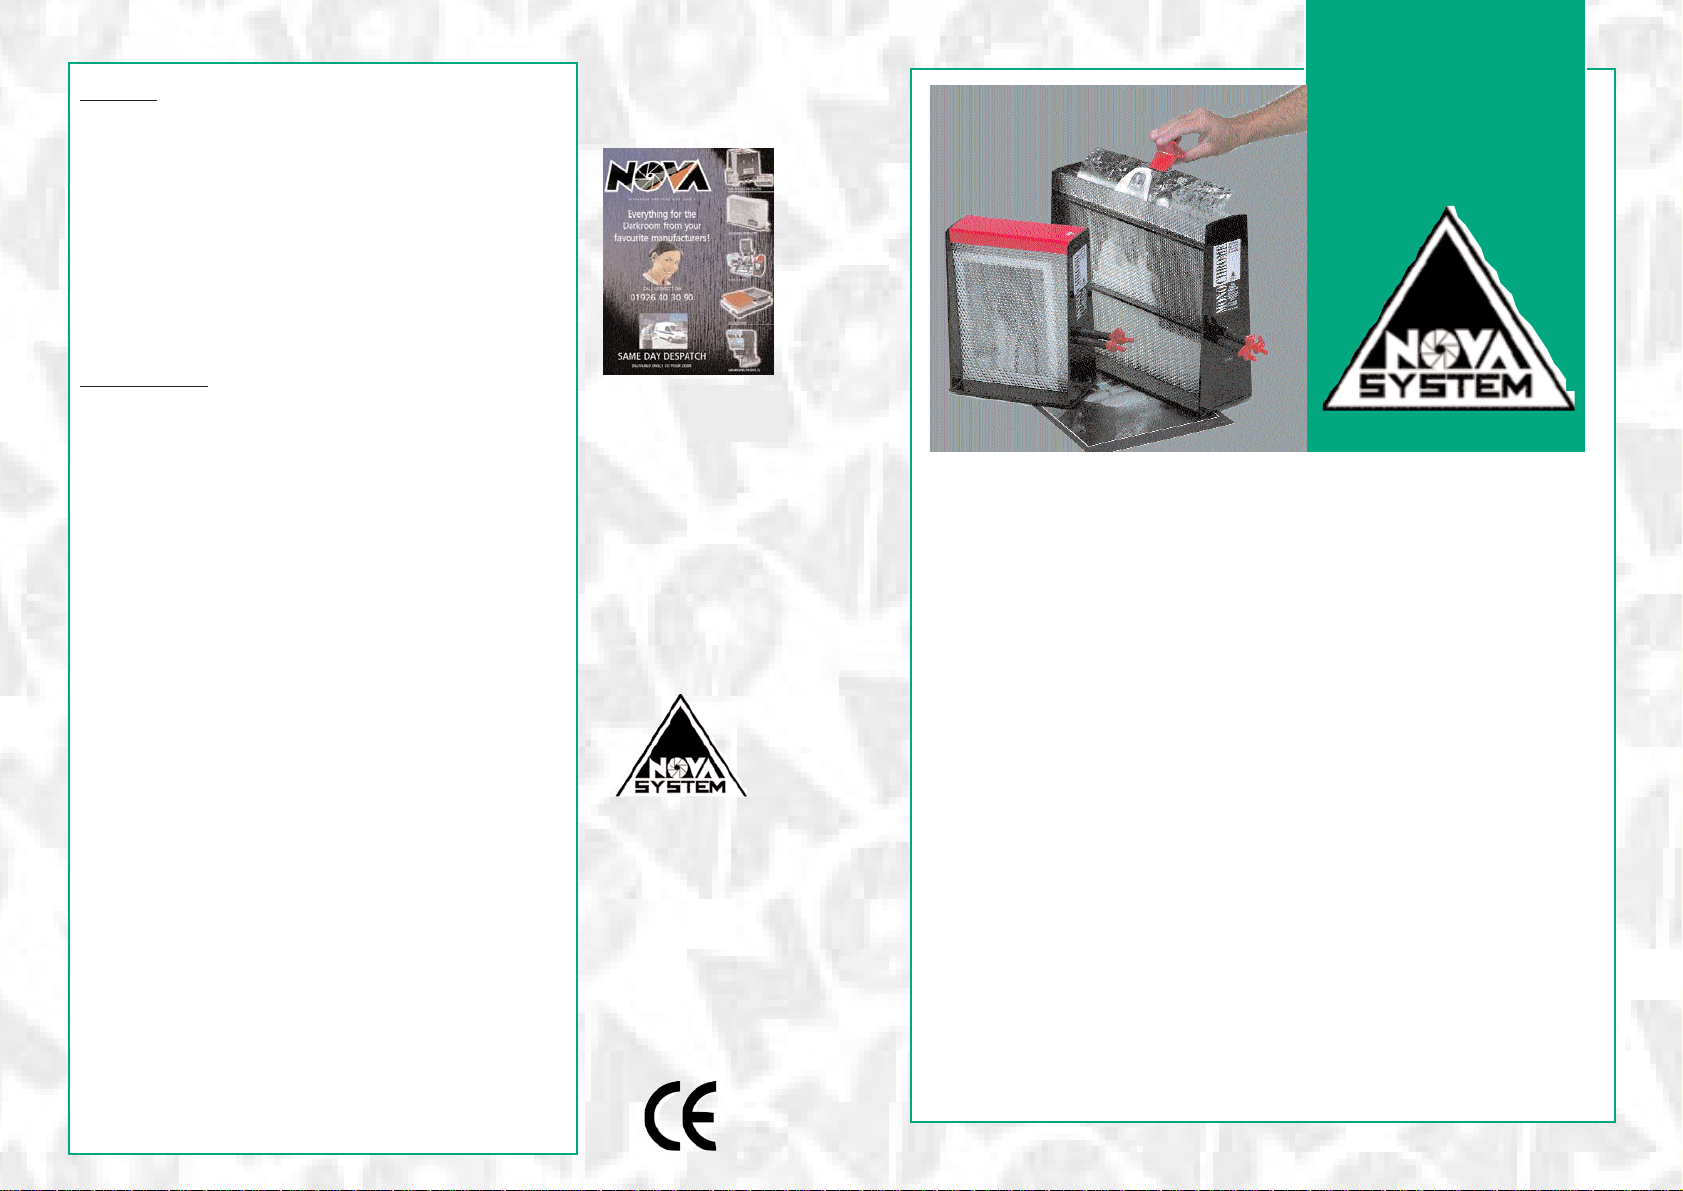
With all Nova Processors it is important to begin by placing your MONOCHROME on a
table / bench as near to your enlarger as possible preferably stood in a shallow dish.
1) Mix up your chemistry to the manufacturers instructions. The 10” x 8” slots have a
chemical capacity of around 900 ml each, the 16” x 12” holds around 1800ml per slot. It is
therefore advisable to mix about one and two litres respectively of each chemical when
starting off, leaving you some chemical for replenishment (see Fig. 1).
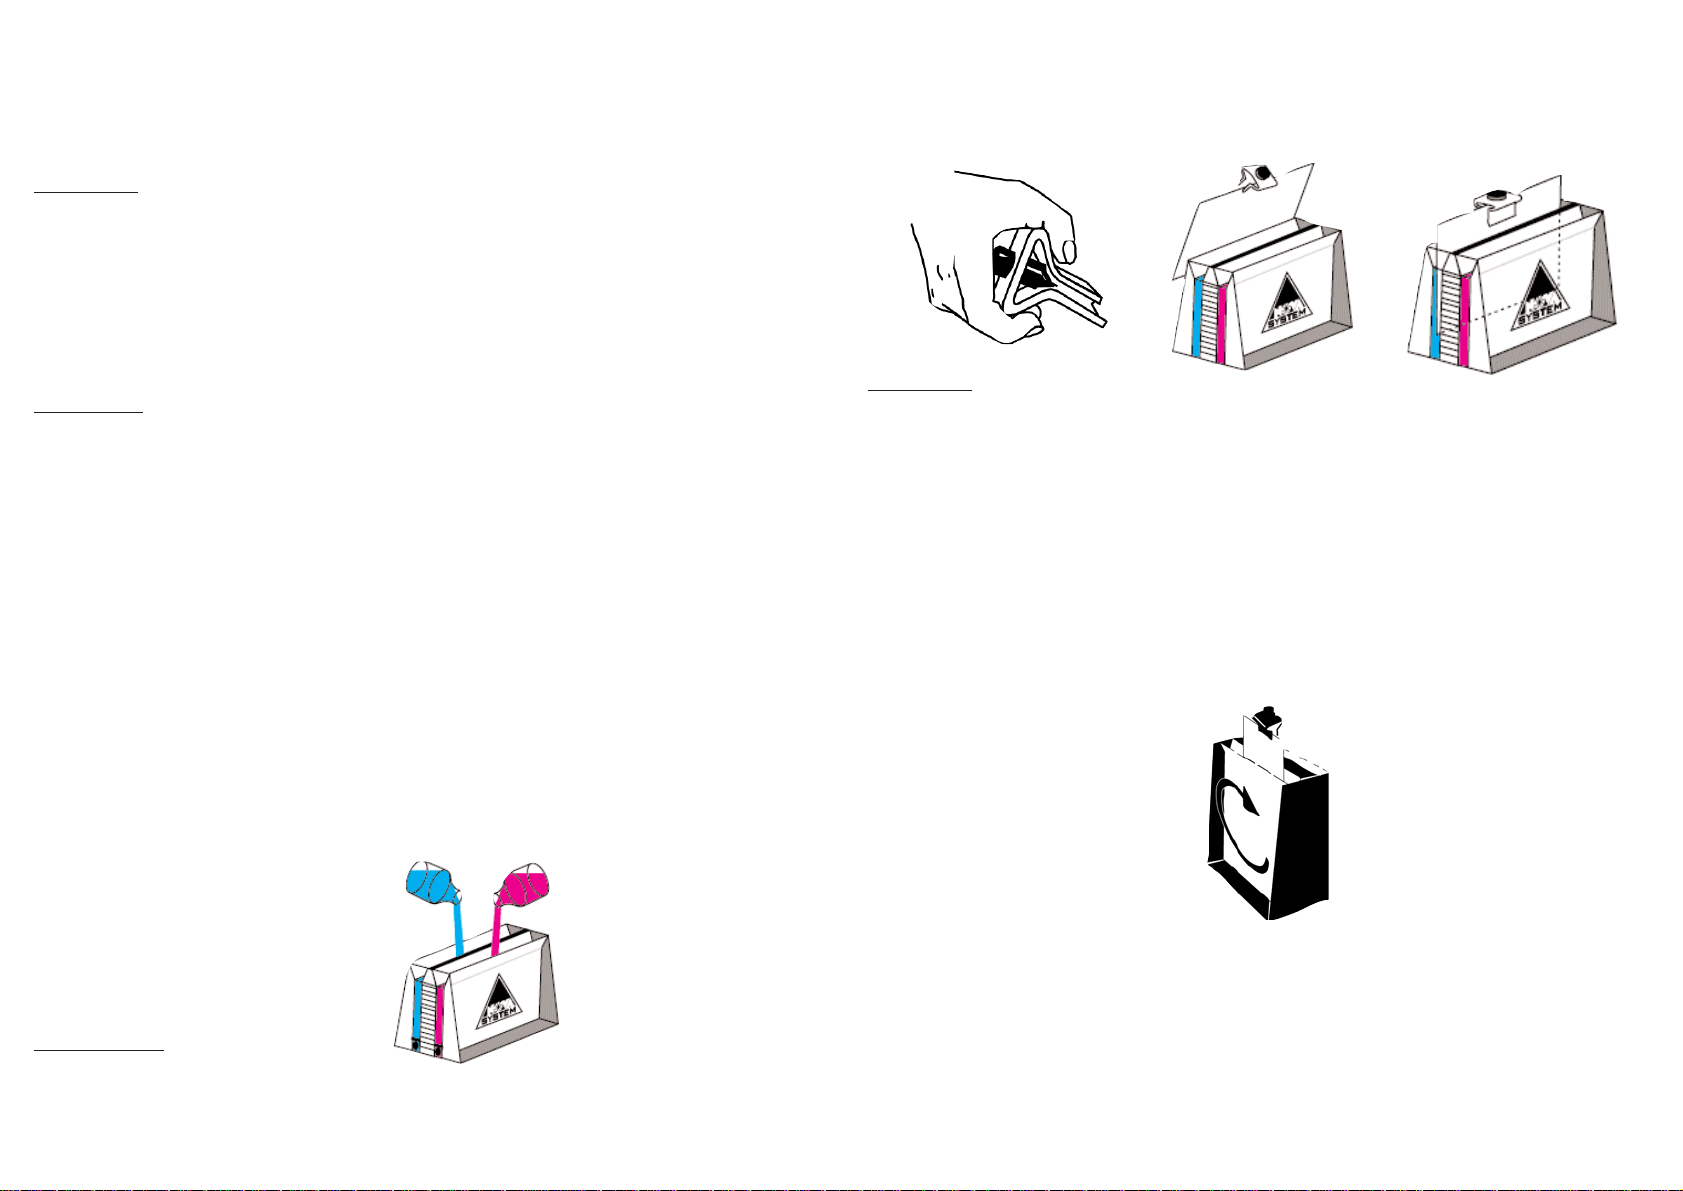
2) To equalise the stresses in the processor, it is very important that you fill each slot with
500ml of chemistry at a time. This means that you will fill the first slot with 500ml of
Developer followed by 500ml of StopBath in slot two, and then 500ml of Fixer in slot
three. Continue in this way using until each slot is filled to the correct working level.
Note:- To measure the correct solution level, each slot must be filled to 5mm above the
top of the print when an agitation clip is suspended in the slot.
NEVER FILL EACH SLOT TO THE TOP IN ONE ATTEMPT OTHERWISE
PROCESSOR DAMAGE MAY RESULT!
3) Check the temperature in the developer slot and consult the time and temperature
chart in the chemical manufacturer's instructions- this will be your process time.
FIG. 1
In Operation
4) Turn off your darkroom light and then expose your print onto the paper on the enlarger
baseboard. Take an agitation clip (supplied) and attach it to the print. Fig. 2
shows a simple and comfortable way of holding the clip.
5) Present the back of the exposed print to the edge of the developer slot (see Fig. 3).
Raise the print until you feel it locate in the slot and then gently lower it into the
chemical.(see Fig. 4)
Fig. 2 Fig. 3 Fig. 4
Developing
6) Agitation must be carried out in a gentle circular motion continuously for the first 30
seconds.(see Fig. 5). Once the print has been immersed in the chemical, do not be afraid to
raise the print half way out of the developer to help agitation. Thereafter, agitation need
only be done every 15 seconds throughout the rest of the development time. This should
last approximately 5 seconds and complete the sequence by raising the print halfway out of
the slot and then lowering back into place.
Note:- When producing small test prints, one may be tempted to make use of the increased
space for agitation. It is advised that this should be avoided and that test prints be
processed in a restricted area of the slot so as to simulate the same processing conditions
as the final print. Failing to do this may give a false indication of density and development
when the end print is produced.
Fig. 5
7) When your development time is complete, you must remove the print from the slot by
making use of the top edge. In curving the print on removal and scraping the back of the
print against this edge you will remove excess chemicals and minimise cross-over
contamination.
8) In the Stopbath:- Locate the print in the stopbath slot and agitate for about 15
seconds. Having done this, remove the print as previously stated.
9) Fixing:- Locate the print in the slot and agitate immediately for the first 20 seconds.
Note:- Room lights can be switched on at this stage.
Thereafter, agitate occasionally for the rest of the fixing time.
 Loading...