

Page 1
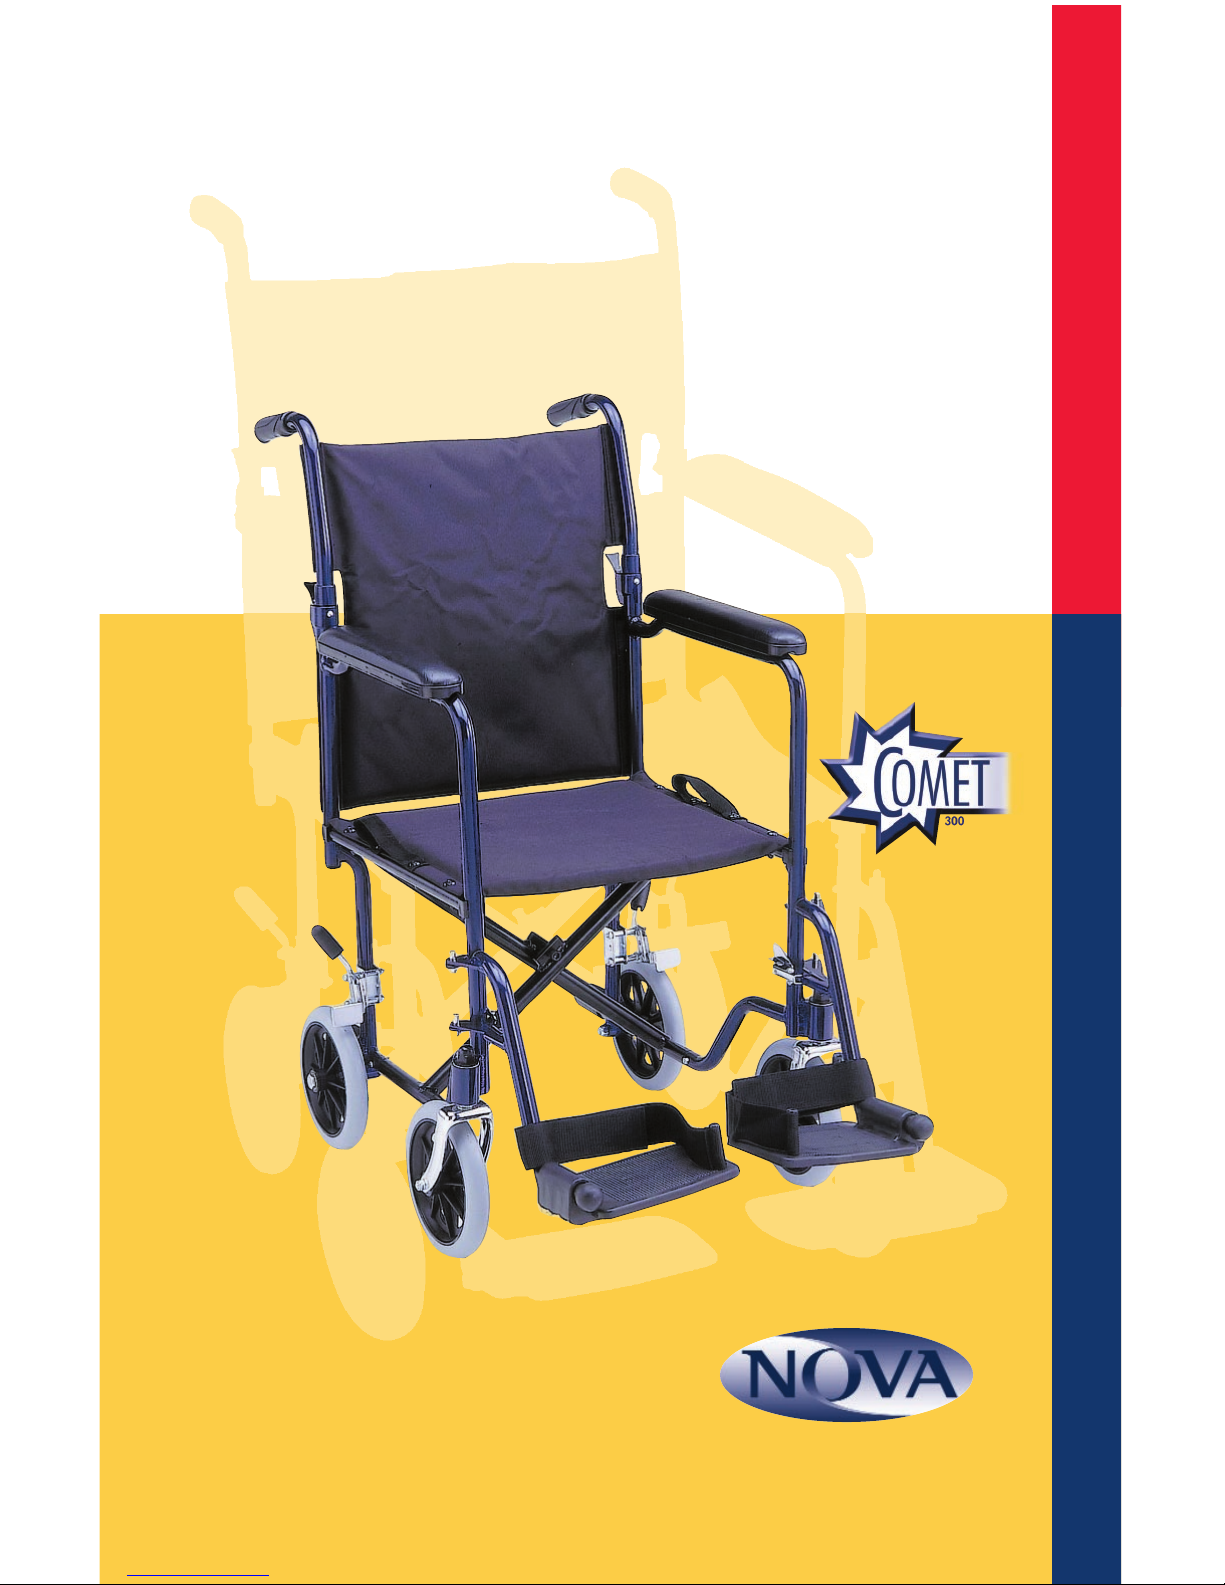
Travel in
comfort and style
ORTHO-MED, INC.
Commitment to Caring
NovaOrtho-Med.com
•Folds Easily
•Lightweight
•Padded for Comfort
Transport Chair Guidebook
Page 2

This transport chair has not been approved as a seat surface to
be used within a vehicle.
Do not operate this wheelchair on streets or roadways.
Do not attempt inclines unassisted.
Engage the wheel locks upon entering or leaving the wheelchair.
Wheelchair must be on a level surface when transferring user to
or from seat.
Footrests should be no less than 2
1
⁄2inches from the floor.
Do not stand on or put pressure on footrests when entering or
exiting the wheelchair.
Do not lean over the top of the wheelchair back. This can cause
the wheelchair to tip over.
Do not use the wheel locks to slow your descent down an incline.
When going down an inclined, changing directions can cause
instability.
WARNING
DO NOT ADJUST, MAINTAIN OR OPERATE THIS TRANSPORT
CHAIR WITHOUT READING, UNDERSTANDING AND FOLLOWING
THE PROPER INSTRUCTIONS INCLUDED WITH THIS PRODUCT.
Page 3

Comet Series
Quick Release
Fold-Down
Back
Locking
Rear Wheels
Folding
straps
Removable
footrests
Padded
Upholstery
& Armrests
Folds quickly for easy
transport and storage
Non-skid footplates
Adjustable
hex screw
Page 4

Usage Instructions
To Open
1. Pull armrests apart to unfold chair.
2. Swing folded-down back up and lock upright into place on back
supports.
3. Attach footrests on each side by inserting the holes onto the
vertical pegs of the frame. Swing footrests inward to lock in place.
To Fold
1. Push button release on both back uprights to fold back down
behind chair.
2. Pull folding straps on outer seat edges towards each other to fold
chair.
3. To remove footrests, pull silver release lever to unlock. Lift the
footrests off the hooks.
To Transfer Patient
1. Push forward on brake handle to lock rear wheels and secure chair
from rolling.
2. Swing footplates up to outer sides or turn both footplates upward
to a vertical position.
To Adjust Length of Footrests
1. Locate tool wrench included with the footrests.
2. Turn wheels so they are in the “wheeled” position (as pictured).
3. Use the tool wrench to slightly loosen the silver hex screw located
on the bottom of the footrests by turning the screw left.
4. Pull on the footplate to desired length. Footrests should be a
minimum of 2
1
/2" from the ground to ensure proper clearance.
5. Re-tighten the hex screw.
6. Repeat on other side.
Page 5

Care and Maintenance
General Care
Wipe off all metal parts at least once a week using a soft cloth. Dry
chair immediately if it is exposed to moisture. Abrasive cleaners or
materials will scratch the surface of the chair.
Tires
Minimal maintenance is required for rubber tires. Wipe with a damp
cloth occasionally. If tires become cracked or worn, replace immediately.
Front Casters
Inspect casters periodically and lubricate them when necessary. To
lubricate, remove the fork and grease the caster bearings. Remove the
wheel from the fork and grease the wheel bearings. The wheel and
fork can be reassembled by tightening the nuts until there is no play
remaining, but the wheel rolls freely. The fork will revolve freely when
adjusted correctly. The caster will flutter if the nut is too loose or be
difficult to steer if the nut is too tight.
Wheels
Inspect monthly for correct tightness. If the wheel seems to be loose
or wobbly, release the lock nut and tighten the axle bolt. Lean chair to
one side and spin adjusted wheel to check for correct adjustments.
Wheel Locks
Wheel locks should be checked for correct locking action before actual use. Pushing the handle completely forward activates the wheel
locks. If the wheel locks are working correctly they will be embedded
into the tire at least 1/8". To adjust wheel locks, loosen nut on carriage
bolt. Slide clamp toward rear wheel until lock shoe is embedded at
least 1/8" into rear tire when lock handle is engaged. Tighten nut to
secure into position.
 Loading...