

Page 1
Rev. 6/23/09
Nostalgia Products Group LLC
1471 Partnership Dr.
Green Bay, WI 54304-5685
Visit Us Online at
www.nostalgiaelectrics.com
©2009 Nostalgia Products Group LLC
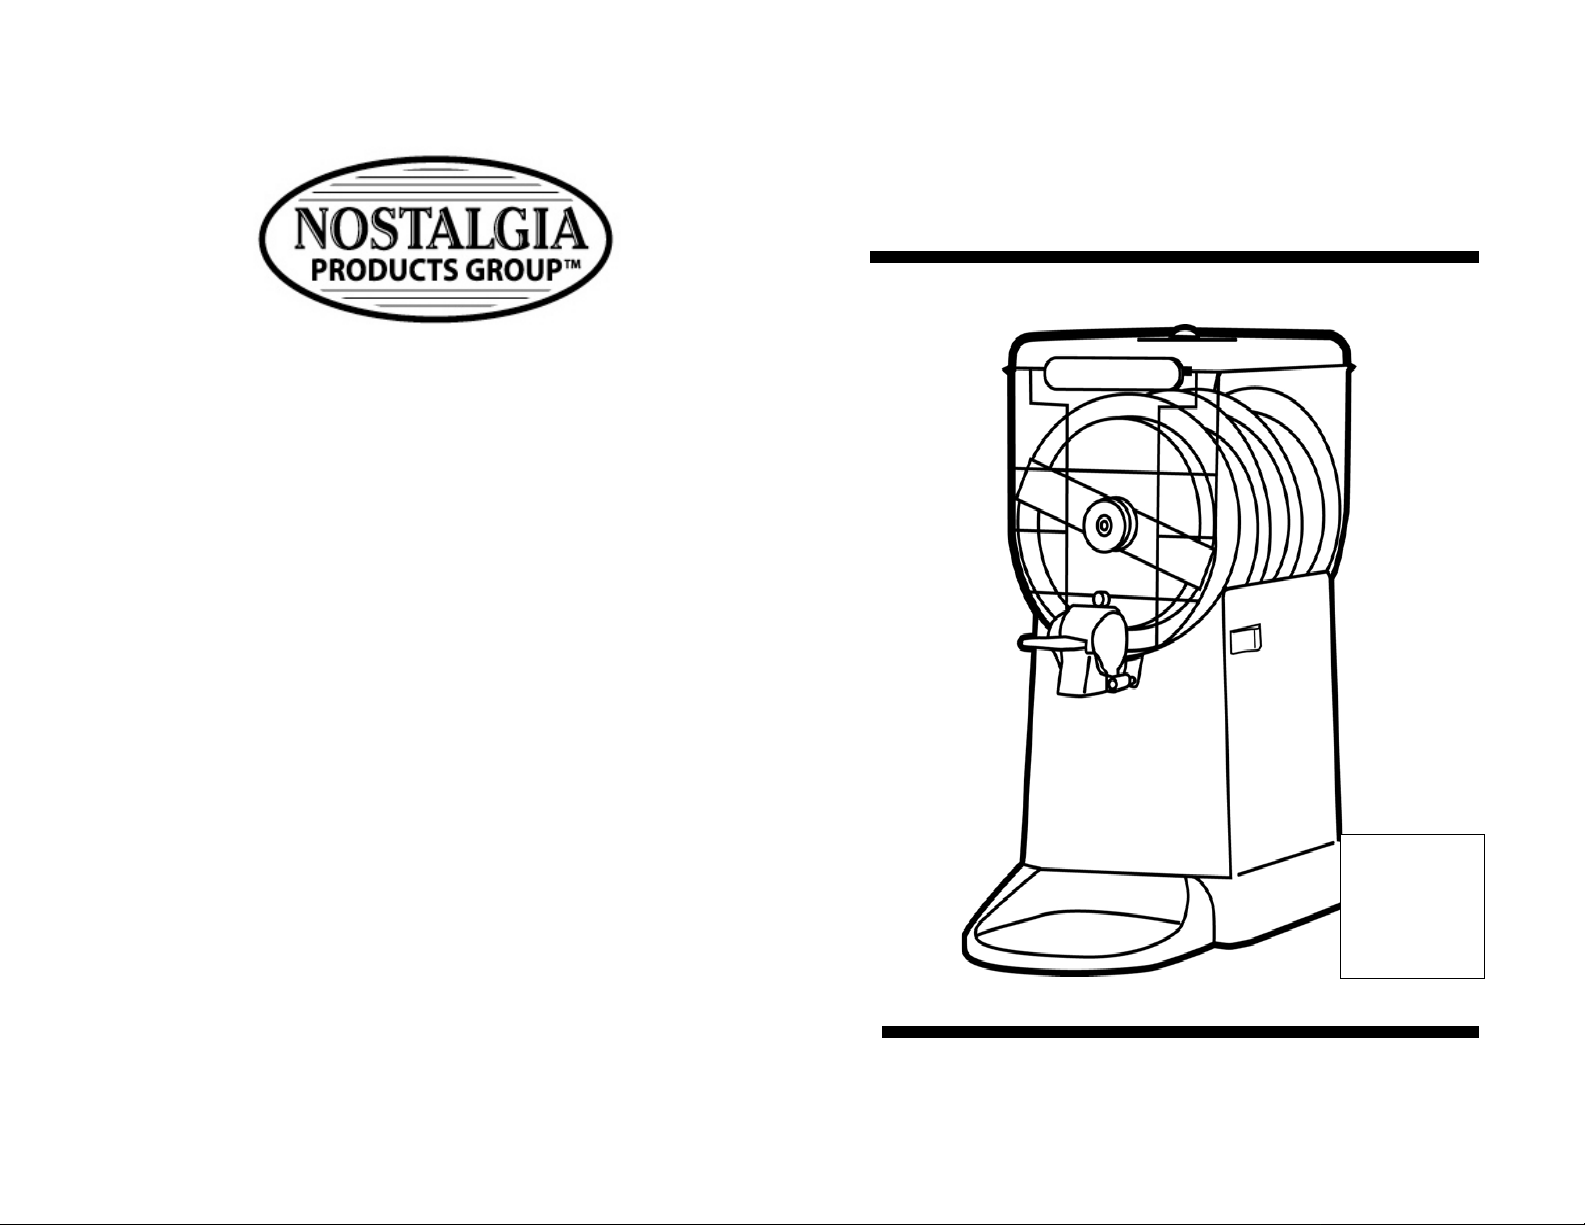
THE SLUSHEASE™
HSM Series
HSM-24 5
HSM-25 0
HSM-250D
HSM-CVS
FOR HOUSEHOLD USE ONLY
Page 2

13
Read These
Instructions
Before Using
This Unit!
Save These
Instructions
RETURNS & WARRANTY
SHOULD YOUR UNIT NOT WORK OR IS DAMAGED WHEN YOU FIRST TAKE IT OUT
OF THE BOX, PLEASE RETURN IT TO THE P L A CE OF PURCHASE IMMEDIATELY.
Should you have any quest i ons, please cont act us via emai l or at the customer servi ce
number lis ted below between the hours of 8: 00 AM and 5:00 PM , M onday through F riday,
Central Standard Time.
Nostalgia Products Grou p LLC
1471 Partnership Dr.
Green Bay, WI 54304-5685
Customer Service
Phone: (920) 347-9122
Web: www.nostalgiaelectrics .com
14
Distribut ed by:
6/23/09 Rev.
To submit a Customer Service inquiry, go t o www.nostalgiaelectrics.com and fill out the
Customer Service Inquiry
form and click the Submit button. A representative will
contact you as soon as pos sible.
THE SLUSHEASE™
HSM Series
Limited Wa rranty
This applianc e i s designed a nd buil t to provide m any years of satisfactory performance
under normal household use. The distribut or pledges to t he original own er that should
there be any def ects in mat eri al or workmans hip during the f i rst 90 days of purchase, we
will repair or replace the unit at our option. Our pledge does not apply to damages caused
by shipping, m i shandling or unit being dropp ed. A product deemed defectiv e ei ther from
manufacturing or being m i shandled is up t o the distributor’s discretion. To obtain s ervice
Customer Service Inquiry
under this warranty, return this unit to Nostalgia Products Group, LLC at the addres s
above, shipping prepaid. You must als o i nclude a copy of t he ori gi nal receipt al ong with
your name, address and phone number. Include a descripti on of the defe ct along with the
date you purc hased the product.
This warrant y does not apply to re-manufactured merchandise.
Please read these instruc tions carefull y. Failure to c omply with these instruct i ons,
damages c aused by improper replacement parts, abus e or m i suse will void this pledge to
you and is being made in place of al l other express ed warranties.
Page 3

1
IMPORTANT SAFEGUARDS
When using electrical appliances, basic safety precautions should
always be followed, including the following:
1. Read all instructions before operating this appliance.
2. DO NOT OPEN THE UNIT LID while unit is running.
3. Do not place hands or fingers inside fill plug hole while unit
is running.
4. To protect against electrical shock, do not immerse cord,
plug, or any part of the main base unit in water or other
liquids.
5. Close supervision is necessary when this or any appliance
is used by or near children.
6. Unplug from outlet when not in use, before removing parts
and before cleaning.
7. DO NOT operate any appliance with a damaged cord or
plug or if the appliance has been damaged in any manner.
Return the appliance to the nearest repair shop for
examination or repair or send back to company as stated in
this booklet in the warranty.
8. The appliance manufacturer does not recommend the use
of any accessory attachments. This may cause injuries.
9. HOUSEHOLD USE ONLY. Do not use outdoors.
10. Do not let the cord hang over the edge of the table or
counter top or touch hot surfaces.
2
IMPORTANT SAFEGUARDS (Continued)
11. DO NOT place on or near a hot gas or electric burner or
in a heated oven.
12. Extreme caution must be used when moving this
appliance.
13. DO NOT use this appliance for other than its intended
use.
14. Extreme caution must be used when inserting the ice
cylinder into the cylinder cage.
15. A unit that is plugged into an outlet should not be left
unattended.
16. A short power supply cord is provided to reduce the risk
resulting from becoming entangled or tripping over a
long cord.
17. This appliance has a polarized plug (one blade is wider
than the other). To reduce the risk of electrical shock,
this plug is indented to fit into a polarized outlet only
one way.
18. Appliance Specifications:
120 Volts
60 Hz
1.25 Amps
15 Watts
ETL Approved
SAVE THESE INSTRUCTIONS!
Page 4

3
IMPORTANT PRECAUTIONS
A. NEVER immerse the main base unit in water.
B. NEVER operate near water or hot temperatures.
C. NEVER leave unattended while in use.
D. NEVER try to fo r ce the locking m echani s m s.
E. Unplug unit from power outlet source when not in use and when
cleaning.
F. DO NOT put in dishwasher, microwave or oven.
G. DO NOT operate this appliance with a damaged cord or plug or
in the event the appliance ever malfunctions.
H. Keep out of the reach of children.
I. ALWAYS have the pour spout in the upright position when
operating your Home Slush-Ease Machine.
J. Use extreme caution when inserting the ice cylinder into the
cylinder cage to avoid pinching fingers or avoid catching on
jewelry.
K. This appliance is NOT A TOY.
L. This appliance is not intended for use by young children or
infirm persons without supervision.
M. Y oung children should be supervised to ensure that they do not
play with this appliance.
4
HOW TO USE YOUR HOME
SLUSHEASE™ MACHINE
Thank you for purchasing the HOME SLUSHEASE™ MACHINE.
This machine will give you a refreshing drink on a hot day and
provide a fun addition to your family party or group gathering.
The Home Slush-Ease™ Machine uses crushed ice or small ice
cubes from your freezer. This machine is designed for kitchen or
home bar use but can be used anywhere such as:
Family Room
Dorm Room
Office
Club House
The HOME SLUSHEASE™ MACHINE is easy to use,
just follow these step by step instructions, in the
following pages.
Page 5

5
BEFORE FIRST USE
It is recommended that after unpacking your Home Slush-Ease™
Machine, you take the unit apart and clean all parts, to remove any
packing debris.
1. First remove blue mixing chamber by unlocking it from the motor
base. (See Below)
6
4. Pull the 2 white end plugs (front and back) out to release
the aluminum/auger mixing mechanis m from mixing
chamber. (See Illustration)
NOTE: DO NOT attempt to remove
plugs completely from unit.
End Plug
5. Lift out the aluminum/auger mixing mechanism from mixing
chamber. (See Below)
Levers Locked Levers Unlocked
2. Next, remove lid from mixing
chamber by depressing the tab
over the motor and sliding lid
to lift off. (See Right)
3. Then, slide mixing chamber off the base as pictured below.
6
Aluminum/auger mixing mechanism in mixing chamber, and being lifted out
6. Now remove the white lid with the motor chuck off of the auger.
(See Below)
Page 6

7
7. Remove the aluminum cylinder from the plastic auger cage and lift
off the cap on the aluminum cylinder. (You may need to use the cap
opener located on the back of the unit under the motor.)
8. Now parts are all ready to wash in warm soapy water, towel dry.
USING YOUR HOME SLUSHEASE MACHINE™
1. Fill aluminum ice cylinder with small or broken pieces of ice. Be sure
to fill both sides of the aluminum cylinder equally. Do not fill past Fill
Line. NEVER attempt to remove the divider in the cylinder.
NOTE: For best results use crushed ice or small pieces of ice.
2. Add 7 tablespoons (4 oz) of table salt. Add 2 to 4 teaspoons (20 ml)
of room temperature water. (THIS IS VERY IMPORTANT TO THE
FREEZING OF BEVERAGES).
3. Place the lid back on the aluminum canister. (Make sure the lid is on
tight and secure). See A below.
4. Place aluminum cylinder into the auger cage so that the lid of
the aluminum canister is facing toward the top of lid as shown
in picture B below .
5. Place cage lid on cage, making sure the teeth are aligned
properly to lock into place. You may need to turn it so that the
teeth align properly.
A
B
6. Place assembled cylinder cage into the
blue mixing chamber. (Make sure to align
grooves and notches for the cage to fit
correctly into the blue mixing chamber.)
8
7. You may
need to rotate the cylinder
cage slightly to enable the cylinder cage
to drop down into the mixing chamber.
8. Push both front and
back end plugs
into cylinder cage, to lock into mixing
chamber.
Front End Plug
Illustration A Illustration B
9. After positioning the blue mixing chamber onto motor base (see
Illustration A) you may need to rotate the cylinder cage while
pushing the mixing chamber back toward the motor, so they lock in
to place and are fitted correctly (see Illustration B).
10. Once the unit is together, lock the mixing chamber into the unit.
Levers Unlocked Levers Locked
11. Place lid back onto mixing chamber, make
sure, lid is locked at the spout end with tabs
and at the motor end with lid clip. UNIT WILL
NOT OPERA T E WI TH THE LID OFF, AS
A SAFETY SHUT OFF.
Page 7

9
USING YOUR HOME SLUSHEASE™ MACHINE
Continued
12. Place the unit on a level counter top. Attach the cup holder by
snapping into place Illustration A. Make sure the dispenser handle is in
the UP position as shown below, in Illustration B. Then plug unit into
the electrical cord provided as shown in Illustration C.
Illustration A Illustration B Illustration C
13. Lift the fill cap from the top of the lid.
14. Pour beverage into unit. DO NOT fill
Past fill line. NOTE: Be sure to use sugar
based beverages. (Sugar substitute drinks do
not freeze well – such as diet drinks.)
15. Allow mixture to mix for up to 25 minutes until you reach the desired
16. Pull slush dispenser handle forward to dispense.
NOTE: If slush gets too thick, or does not dispense well, add more
liquid in the fill cap opening in lid OR turn unit to OFF position, wait 3
seconds then switch to REMIX MODE for 1 minute – then back to OFF
for 3 seconds and then back to FREEZE MODE.
For be st results, see SUGGESTIONS A ND REC IPES, AN D HELP FUL
HINTS on page 11, and 12.
consistency.
10
SUGGESTIONS AND RECIPES
Your Home Slush-Ease™ Machine will give you many
opportunities to experiment and be creative with a variety of
liquids.
Measurements – equivalents
Salt cup OR 4 ounces OR 12 tsp
Warm Water 1 fill cap full OR 4 tsp
When inserting the ice cylinder into the cylinder cage unit,
try laying it on its side and slide it in. The fit is tight and this
may avoid pinching fingers or catching jewelry.
NOTE; Drinks with a high sugar or corn syrup base will crystallize
faster and produce a thicker slush such a fruit punch. Carbonated
drinks will work, but will set up slower and will not be as thick. Diet
sodas and drinks will not work.
We recommend adding pre-chilled liquid to your Slush-
Ease™ Machine; this will hasten the slush making process.
You may find that adding a full 2 liter (64 oz.) liquid drink
does not give you as firm a slush, as using less (1 1/2 – 1
3/4 of the bottle).
REMINDER: 64 ounces of liquid does not
slush. You are creating slush and the liquid has solidified into ice.
A towel placed under your Home Slush-Ease™ Machine
when you are making slush drinks will help with clean-up.
You should expect some dripping.
Use your imagination, have fun!
produce 64 ounces of
Page 8

11
HELPFU L TI P S
When inserting the ice cylinder into the cylinder cage unit, try
laying it on its side and slide it in. The fit is tight and this may
avoid pinching fingers or catching jewelry.
NOTE: Drinks with a high sugar or corn syrup base will crystallize
faster and produce a thicker slush. Carbonated drinks w ill se t up s lower
and will not be as thick.
We recommend adding pre-chilled liquid to your Slush-Ease™
Machine; this will hasten the slush making process.
You may find that adding a full 2 liter (64 oz) liquid drink does
not give you as firm a slush, as using less (1 - 1 of the
bottle).
REMINDER: 64 ounces o f liquid does not
You are creating slush and the liquid has solidified into ice.
A towel placed under your Home Slush-Ease ™ Machine when
you are making slush dr ink s w ill help with clean-up . You s hould
expect some dripping.
produce 64 ounces of slush .
12
CLEANING
1. Make sure the unit is unplugged before cleaning.
2. Carefully disassemble your Home Slush-Ease™.
The following parts can be submerged in water:
Lid and fill plug
The mixing chamber with pour spout
Ice Cylinder and cap
Cage and lid
3. The Motor unit should be wiped clean with damp cloth
or sponge and dried with soft towel.
Refer to breakdown (ILLUSTRATION below) for item
identification.
 Loading...