

Page 1

All products are trademarks of Nostalgia Products Group, LLC.
Worldwide design & utility patented or patents pending.
© 2012 Nostalgia Products Group, LLC.
www.nostalgiaelectrics.com
(rev. 03/11/13)
Page 2
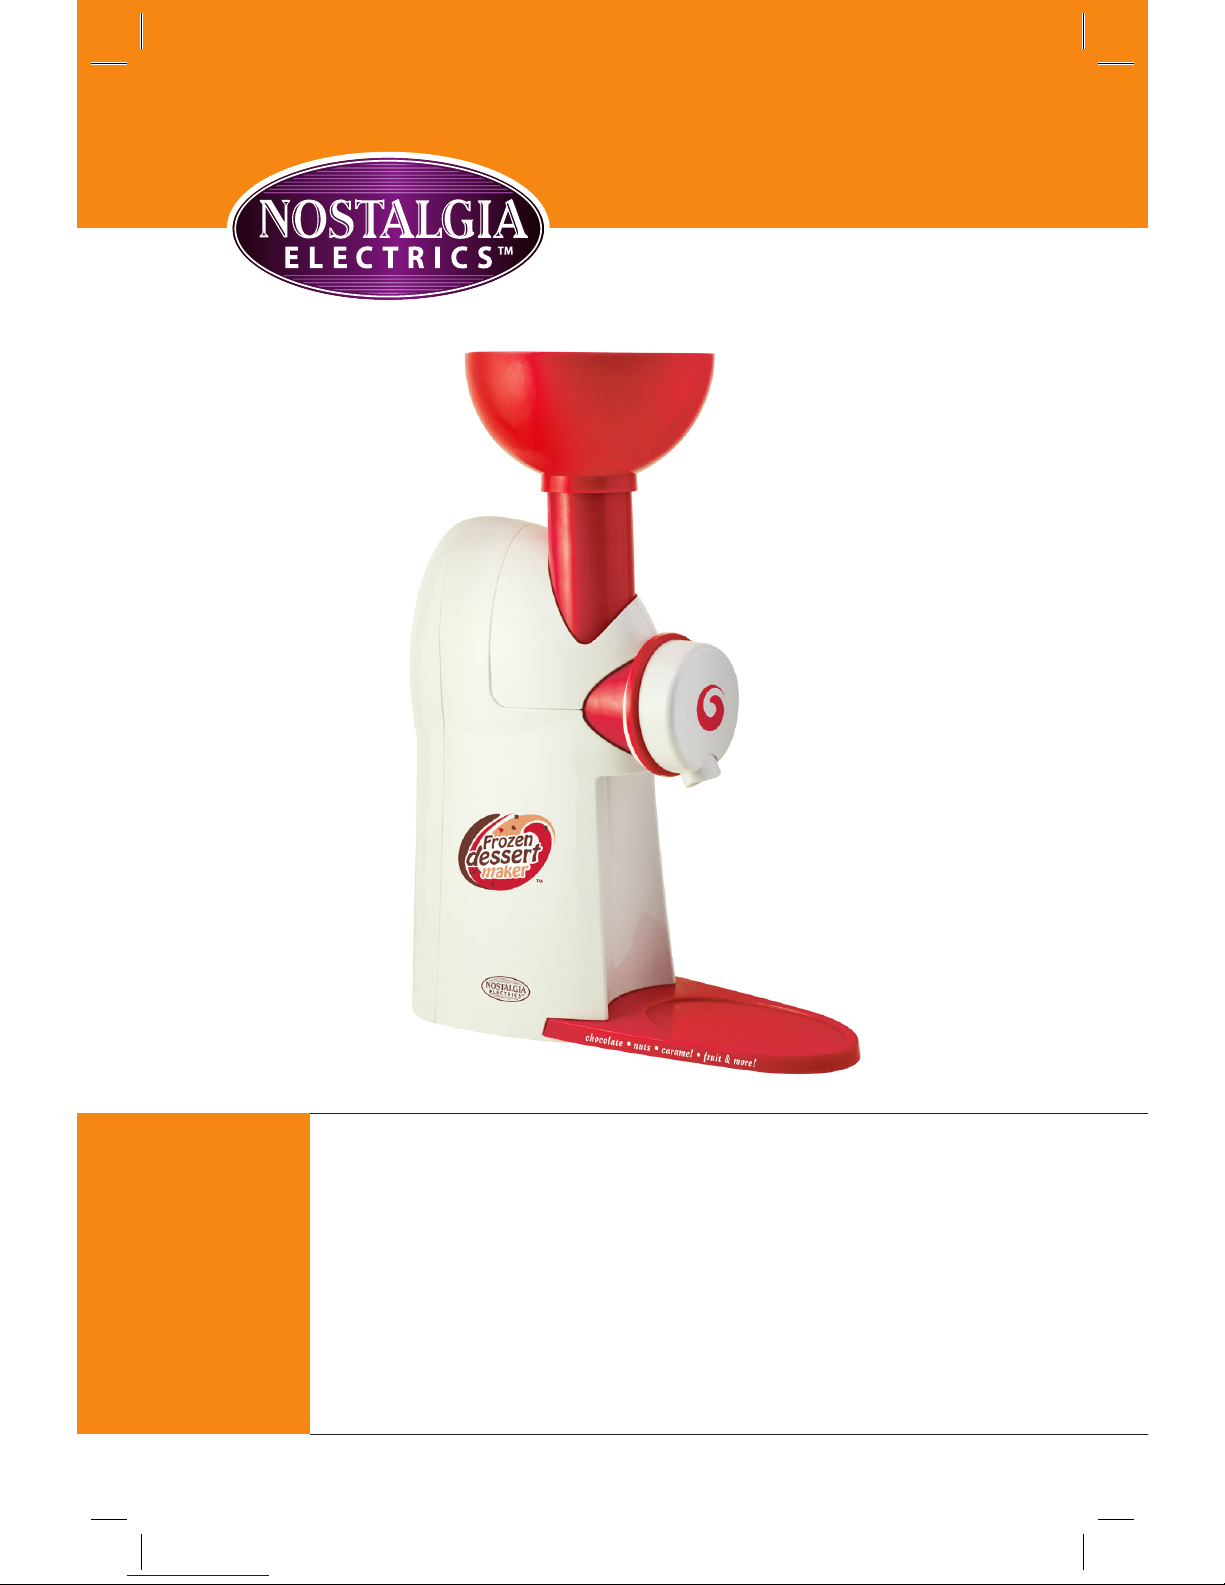
FDM100
Frozen Dessert Maker
Instructions and Recipes
Page 3

Page 4
ENGLISH
2
Make every day a party!
Visit www.nostalgiaelectrics.com for more fun products.
CONTENTS
IMPORTANT PRECAUTIONS . . . . . . . . . . . . . . . . . . . . . . . . . . . . . 3
IMPORTANT SAFEGUARDS . . . . . . . . . . . . . . . . . . . . . . . . . . . . . 3
INTRODUCTION . . . . . . . . . . . . . . . . . . . . . . . . . . . . . . . . . . . . 4
PARTS & ASSEMBLY . . . . . . . . . . . . . . . . . . . . . . . . . . . . . . . . . . 5
HOW TO OPERATE . . . . . . . . . . . . . . . . . . . . . . . . . . . . . . . . . . 7
HELPFUL TIPS . . . . . . . . . . . . . . . . . . . . . . . . . . . . . . . . . . . . . 7
CLEANING & MAINTENANCE . . . . . . . . . . . . . . . . . . . . . . . . . . . 8
RECIPES . . . . . . . . . . . . . . . . . . . . . . . . . . . . . . . . . . . . . . . . . 9
RETURNS & WARRANTY . . . . . . . . . . . . . . . . . . . . . . . . . . . . . . . 13
SAFETY
Your safety and the safety of others is very important.
We have provided many important safety messages in this manual and
on your appliance. Always read and obey all safety messages.
This is the safety alert symbol.
This symbol alerts you to potential hazards that
can hurt or kill you and others.
All safety messages will follow the safety alert symbol.
All safety messages will tell you what the potential hazard is, tell you how to reduce the
chance of injury, and tell you what can happen if the instructions are not followed.
Page 5

ENGLISH
3
IMPORTANT PRECAUTIONS
1. NEVER immerse base in water.
2. NEVER use near water.
3. NEVER use an abrasive sponge or cloth on the appliance.
4. NEVER use a scouring pad on the appliance.
5. NEVER leave appliance unattended while in use.
6. Unplug unit from outlet when not in use and during cleaning.
7. DO NOT operate this appliance with a damaged cord or
plug, nor if the appliance ever malfunctions.
8. DO NOT put in a dishwasher.
9. This appliance is for use with food and liquids only.
10. Keep out of reach of children.
11. This appliance is NOT A TOY.
12. Unsupervised young children and cognitively challenged
individuals should never operate this appliance.
13. This appliance is not intended for use by persons with reduced physical, sensory or mental
capabilities, or lack of experience and knowledge of how to operate this appliance.
14. Young children should be supervised while in proximity of the
appliance to ensure that they do not play with it.
IMPORTANT SAFEGUARDS
Basic safety precautions should always be followed when using
electrical appliances, including the following:
1. Read all instructions before operating this appliance.
2. DO NOT touch moving parts.
3. To protect against electrical shock, do not immerse cord, plug
or any part of this appliance in water or other liquids.
4. To avoid re or shock hazard, or damage to the unit, this unit should
be plugged into a polarized 120 Volt AC outlet ONLY.
5. Close supervision is necessary when any appliance is used near children.
6. Unplug from outlet when not in use, before removing parts and before cleaning.
7. DO NOT operate any appliance with a damaged cord or plug, nor if
the appliance has been damaged in any manner. Return the appliance
to the nearest repair shop for examination or repair.
8. DO NOT operate the unit continuously for more than 15 minutes. Allow it to rest for 5 minutes
before using again. After three cycles, allow the unit to cool completely before using again.
9. The manufacturer does not recommend the use of accessory
attachments. The use of attachments not recommended or sold by
the manufacturer may cause re, electric shock or injury.
Page 6

ENGLISH
4
10. DO NOT use outdoors. FOR HOUSEHOLD USE ONLY.
11. Make sure the Chute, Grinder and Dispenser are securely locked in place before operating.
12. Use the Plunger to force ingridients into the Shaft. NEVER use
your hands to force ingredients into the unit.
13. DO NOT use ngers to scrape food away from Dispenser
while unit is operating. This may result in injury.
14. DO NOT let cord hang over edge of table or countertop. Position the appliance
as close to the outlet as possible to prevent injury due to tripping over cord.
15. DO NOT place on or near a hot gas or electric burner, nor in a heated oven.
16. Check unit for presence of foreign objects prior to use.
17. DO NOT use the appliance for other than its intended use.
18. An appliance that is plugged into an outlet should not be left unattended while in operation.
19. A short power-supply cord is provided to reduce the risk of
becoming entangled or tripping over a long cord.
20. Longer detachable power-supply cords or extension cords are available and
may be used if care is exercised in their use. Exception: An extension cord or
longer detachable cord is not recommended for use with this appliance.
21. If a long detachable power-supply cord or extension cord is used: 1) The marked
electrical rating of the cord or extension cord should be at least as great as the
electrical rating of the appliance 2) If the appliance is of the grounded type,
the extension cord should be a grounding 3-wire cord and 3) The longer cord
should be arranged so that it does not drape over the countertop or table top
where it can be pulled on by children or tripped over unintentionally.
22. This appliance has a polarized plug (one blade is wider than the other). To reduce the risk of
electrical shock, this plug is intended to t into a polarized outlet only one way. If the plug
does not t fully into the outlet, reverse the plug. If it still does not t, contact a qualied
electrician. Do not attempt to modify the plug in any way.
SAVE THESE INSTRUCTIONS!
INTRODUCTION
With the FROZEN DESSERT MAKER, you can create delicious frozen
fruit desserts or ice cream treats at home, at any time. The FROZEN
DESSERT MAKER works with a variety of frozen fruits including:
• Strawberries, Bananas, Blueberries, Raspberries
You can also use store-bought ice cream and your favorite toppings, such as:
• Candies, Cereal, Cookies, Fruit, Nuts
Make nutrient-rich frozen fruit as a guilt-free snack, or indulge in a frozen ice
cream treat with your favorites nuts or candies. The Recipes section oers a
variety of tasty options, or you can create your own recipes. The options are
virtually endless, so be creative and enjoy your FROZEN DESSERT MAKER!
Page 7

ENGLISH
5
PARTS & ASSEMBLY
PARTS
• Before rst use, wash Drip Tray, Chute, Grinders, Chute Cover, Plunger
and Dispenser in warm, soapy water with a non-abrasive moist
sponge or cloth. Dry thoroughly with a non-abrasive towel.
• Wipe the Base with a damp, non-abrasive cloth and dry thoroughly.
DO NOT immerse the Base or cord in water or any other liquid.
Base
Drip Tray
Toppings
Grinder
Dispenser
Chute
Plunger
Chute Cover
Fruit Grinder
Page 8

ENGLISH
6
ASSEMBLY
1. Insert the Toppings Grinder OR the Fruit Grinder into the Chute.
2. Be sure the gasket is properly placed inside the Dispenser. Then, screw the Dispenser to the
Chute by placing on the front and turning counterclockwise until the opening faces down.
3. Insert the narrow end of the Grinder into the Base of the unit. Turn counterclockwise to
lock the Chute assembly in place. Make sure the Chute, Grinder and Dispenser are properly
assembled and axed to the Base.
4. Place the Chute Cover over the Chute assembly.
5. Insert the Plunger into the Chute and place the Drip Tray
under the Dispenser at the bottom of the Base.
Page 9

ENGLISH
7
HOW TO OPERATE
• Place the FROZEN DESSERT MAKER on a stable, waterproof
surface near an electrical outlet before starting.
• Always make sure that the cord is away from a water source.
• For fruit sorbet, insert the Fruit Grinder. For ice cream treats, insert the Toppings Grinder.
• Plug in the unit.
• Place a small bowl or serving dish on top of the Drip Tray directly below the Dispenser.
• Remove the Plunger from the Chute and turn the unit ON.
• For a fruit dessert, freeze your desired fruit for 24 hours. Remove from freezer
and allow to thaw slightly (approximately 15 minutes depending on the type
of fruit). Insert frozen fruit slowly into the top of the Chute. DO NOT overll
the Chute. DO NOT place fruit with pits, honey or ice into the Chute.
• For a soft-serve ice cream dessert, place 1 scoop of ice cream into the Bowl at the top of
the Chute. Add 1 tablespoon of the desired mix-in treats. Repeat until Chute is lled. DO NOT
place fruits with pits, caramels, gummy candies or other sticky confections into the Chute.
• Apply steady pressure on the Plunger to slowly press the contents
down through the Chute. DO NOT apply too much force to the
Plunger. Slowly and gently push the ingredients through.
• The mixture will dispense into your bowl. If using more than one type of fruit, ice cream
avor or topping, alternate adding the dierent types to allow them to mix properly.
You may also choose to stir the mixture before serving to ensure it is evenly mixed.
• Repeat the process until you have created the amount of frozen dessert desired.
• DO NOT operate the unit continuously for more than 15 minutes.
Allow the motor to rest for 5 minutes before using again. After three
cycles, allow the unit to cool completely before using again.
• If the mixture stops dispensing, the Chute may be clogged. Turn unit o
IMMEDIATELY and unplug from electrical outlet. Remove the Dispenser by
turning clockwise and take out the Grinder. Wipe clean and reassemble unit.
• NEVER try to force fruit through the Chute if it is not dispensing.
• Unplug unit from outlet when nished. Follow the directions in
the Cleaning & Maintenance section to clean unit.
HELPFUL TIPS
NEVER leave the unit unattended while operating.
BURNING ODOR
During rst use, you may notice a slight burning odor; this is normal with most new
appliances. The odor is caused by the residues burning o the motor. If the smell
persists or smoke appears, turn the unit o immediately and discontinue use.
DISPENSER
Make sure the clear gasket is properly axed inside the Dispenser.
This will prevent fruit from leaking out of the Dispenser.
Page 10

ENGLISH
8
CLOGGING
Certain types of ingridients may clog the Chute and Dispenser. DO NOT put toppings in rst;
this may cause clogging. If mixture stops owing, turn the unit o IMMEDIATELY and unplug
from electrical outlet. Remove the Dispenser by turning clockwise and take out the Grinder.
Rinse or wipe clean and reassemble unit. Soft-serve mixtures may also not ow if the ice
cream is too soft. DO NOT put soft or melting ice cream in the FROZEN DESSERT MAKER.
FRUIT INGREDIENTS
When making sorbet, fruit should be frozen for a minimum of 24 hours
before placing in the FROZEN DESSERT MAKER. Allow fruit to thaw for
approximately 15 minutes (time may vary depending on the type of fruit).
The following frozen fruits work best:
• Berries, Peaches, Pears, Apples, Mangos, Melons, Bananas (should be over-ripe and
peeled before freezing; DO NOT freeze un-peeled bananas), Pineapple (peeled, cored and
cut into long, thin slices)
If using a variety of fruits or berries per batch, alternate adding the dierent fruits to allow
them to mix properly and ensure proper consistency.
DO NOT place fruit with pits, honey or ice in the FROZEN DESSERT MAKER.
MIX-IN INGREDIENTS
For best results, chop the mix-ins before placing in the Chute.
• Candies, Cereal, Cookies, Fruit, Nuts
DO NOT USE:
• Caramel candies, gummies or other sticky ingredients, ice, dried fruits, or fruits with pits
CLEANING & MAINTENANCE
1. Make sure the unit is unplugged before cleaning.
2. Before rst use and continuing after each use, wipe o
unit with a damp cloth and dry thoroughly.
3. Remove the Plunger and Chute Cover.
4. Turn the Chute clockwise to remove from the Base.
5. Turn the Dispenser clockwise to unscrew from the Chute. Remove the Grinder.
6. Wash Drip Tray, Chute, Grinder, Chute Cover, Plunger and Dispenser in warm, soapy water
with a non-abrasive moist sponge or cloth. Dry thoroughly with a non-abrasive towel.
7. Wipe the Base with a damp, non-abrasive cloth and dry thoroughly.
DO NOT immerse the Base or cord in water or any other liquid.
8. To prolong the life of your FROZEN DESSERT MAKER, hand-washing parts is advised.
Dishwasher use is not recommended. NEVER place the Base in a dishwasher.
9. Reassemble the unit and insert the cord into the storage area in the Base.
NOTE: Any other servicing should be performed by an authorized service representative.
Page 11

ENGLISH
9
RECIPES
Whether you keep it simple with just a few ingridients or combine an assortment
of your favorite fruits or candies, your FROZEN DESSERT MAKER can create a variety
of delicious fruit sorbets and ice cream treats that the whole family will love.
The FROZEN DESSERT MAKER produces a sweet, creamy soft-serve that is delicious on
its own. Add your favorite spices–like cinnamon, ground espresso or cocoa powder–to
enhance the avor. You may also mix in honey, sugar or articial sweeteners with the
prepared mixture for a sweeter snack. Or, freeze yogurt and add alternately with your
choice of fruit. These recipes are just a starting point; the varieties are practically endless!
To make your own sorbet, use the following recipes and the Fruit Grinder to make
two servings. For ice cream or frozen yogurt treats, use the recipes on pages 11-
12, the Toppings Grinder and ½ cup ice cream + 1 tbsp. topping(s) per serving.
PINEAPPLE STRAWBERRY SORBET
• ½ Cup Strawberries,
frozen
• ½ Cup Pineapple,
frozen
Allow the strawberries and pineapple to
thaw for approximately 15 minutes.
Following the directions in the HOW TO OPERATE
section, place ¼ cup strawberries into the chute.
Add ¼ cup pineapple. Repeat.
CHOCOLATE BANANA SWIRL SORBET
• 2 Over-ripe Peeled
Bananas, frozen
• 1 oz. Semi-sweet
Chocolate, shaved
Allow bananas to thaw for approximately 15 minutes.
Following the directions in the HOW TO OPERATE
section, insert 1 banana into the chute.
Add 1 ounce semi-sweet chocolate shavings.
Insert remaining frozen banana.
Stir to combine.
VERY BERRY SORBET
• 1 Cup Mixed Berries,
frozen (raspberries,
blueberries,
strawberries,
blackberries)
Allow berries to thaw for approximately 15 minutes.
Following the directions in the HOW TO OPERATE
section, place berries into the chute.
Stir to combine.
Page 12

ENGLISH
10
CINNAMON BANANA GRANOLA CRUNCH SORBET
• 2 Over-ripe Peeled
Bananas, frozen
• 1 Tsp. Cinnamon
• ¼ Cup Granola
Allow bananas to thaw for approximately 15 minutes.
Sprinkle with 1 teaspoon of cinnamon.
Following the directions in the HOW TO OPERATE
section, insert bananas into the chute one at a time.
Stir to combine. Garnish with granola.
MANGOLICIOUS SORBET
• 1 Cup Mango,
chopped and frozen
• 2 Tsp. Honey
Allow mango to thaw for approximately 15 minutes.
Following the directions in the HOW TO OPERATE
section, place mango into the chute.
Divide mango sorbet into two serving bowls.
Stir 1 teaspoon of honey into each.
MELON-BERRY SORBET
• 1 Cup Watermelon,
chopped and frozen
• ¼ Cup Blueberries
Allow watermelon to thaw for approximately 15 minutes.
Following the directions in the HOW TO OPERATE
section, place watermelon into the chute.
Garnish with blueberries.
HAWAIIAN SORBET
• ½ Cup Mango,
chopped and frozen
• ½ Cup Fresh
Pineapple, cored,
chopped and frozen
Allow mango and pineapple to thaw
for approximately 15 minutes.
Following the directions in the HOW TO OPERATE
section, place ¼ cup mango into the chute.
Add ¼ cup pineapple. Repeat.
Page 13

ENGLISH
11
CHOCOLATE COVERED STRAWBERRY ICE CREAM
• Vanilla ice cream
or frozen yogurt
• Fresh strawberries
• Mini semi-sweet or
milk chocolate chips
MEGA MINT ICE CREAM
• Mint chocolate
chip ice cream
• Chocolate mint
candies
• Drizzle with
mint syrup and
chocolate sauce
CREAMY CAMPFIRE S'MORES ICE CREAM
• Chocolate or
vanilla ice cream
• Chopped milk
chocolate bars
• Crushed graham
cracker pieces
• Mini marshmallows
PEANUT BUTTER PRETZEL ICE CREAM
• Vanilla or chocolate
ice cream
• Pretzel sticks
• Candy-coated peanut
butter pieces
Page 14

ENGLISH
12
SWEET PECAN FROZEN YOGURT
• Vanilla frozen yogurt
• Crushed pecans
• Drizzle with honey
CINNAMON BUN ICE CREAM
• Vanilla ice cream
• Chopped
cinnamon buns
• Chopped pecans
• Additional
cinnamon to taste
CHERRY CHEESECAKE FROZEN YOGURT
• Vanilla frozen yogurt
• Refrigerated
cream cheese
• Chopped, pitted
cherries or canned
cherry pie filling
• Crushed graham
cracker pieces
RAZZLE DAZZLE BERRY FROZEN YOGURT
• Raspberry
frozen yogurt
• Fresh raspberries
• Orange zest
Page 15

ENGLISH
13
RETURNS & WARRANTY
SHOULD YOUR UNIT NOT WORK OR IF DAMAGED WHEN YOU FIRST TAKE IT OUT
OF THE BOX, PLEASE RETURN IT TO THE PLACE OF PURCHASE IMMEDIATELY.
FROZEN DESSERT MAKER / FDM100
Should you have any questions, please contact us via email or at the
customer service number listed below between the hours of 8:00 AM
and 5:00 PM, Monday through Friday, Central Standard Time.
Distributed by:
Nostalgia Products Group, LLC
1471 Partnership Dr.
Green Bay, WI 54304-5685
Customer Service
Phone: (920) 347-9122
Web: www.nostalgiaelectrics.com
Customer Service Inquiry
To submit a Customer Service inquiry, go to www.nostalgiaelectrics.com, ll
out the Customer Service Inquiry Form and click the Submit button.
A representative will contact you as soon as possible.
This appliance is designed and built to provide many years of satisfactory performance
under normal household use. The distributor pledges to the original owner that
should there be any defects in material or workmanship during the rst 90 days of
purchase, we will repair or replace the unit at our option. Our pledge does not apply
to damages caused by shipping, mishandling or unit being dropped. A product
deemed defective either from manufacturing or being mishandled is up to the
distributor’s discretion. In order to obtain service under this warranty, please contact
Nostalgia Products Group, LLC at the telephone number listed above or by lling
out the Customer Service Inquiry Form located at www.nostalgiaelectrics.com.
This product is not recommended for use outside of North America. The warranty
is void if products are exported outside of the USA, Canada or Mexico.
This warranty does not apply to re-manufactured merchandise.
Please read these instructions carefully. Failure to comply with these instructions,
damages caused by improper replacement parts, abuse or misuse will void this
pledge to you and is being made in place of all other expressed warranties.
For more information, visit us online at www.nostalgiaelectrics.com.
Like us on Facebook at www.facebook.com/NostalgiaElectrics.
Page 16

 Loading...