

Northstar Trailers SPORTSTAR II WG User Manual
NORTHSTAR TRAILERS
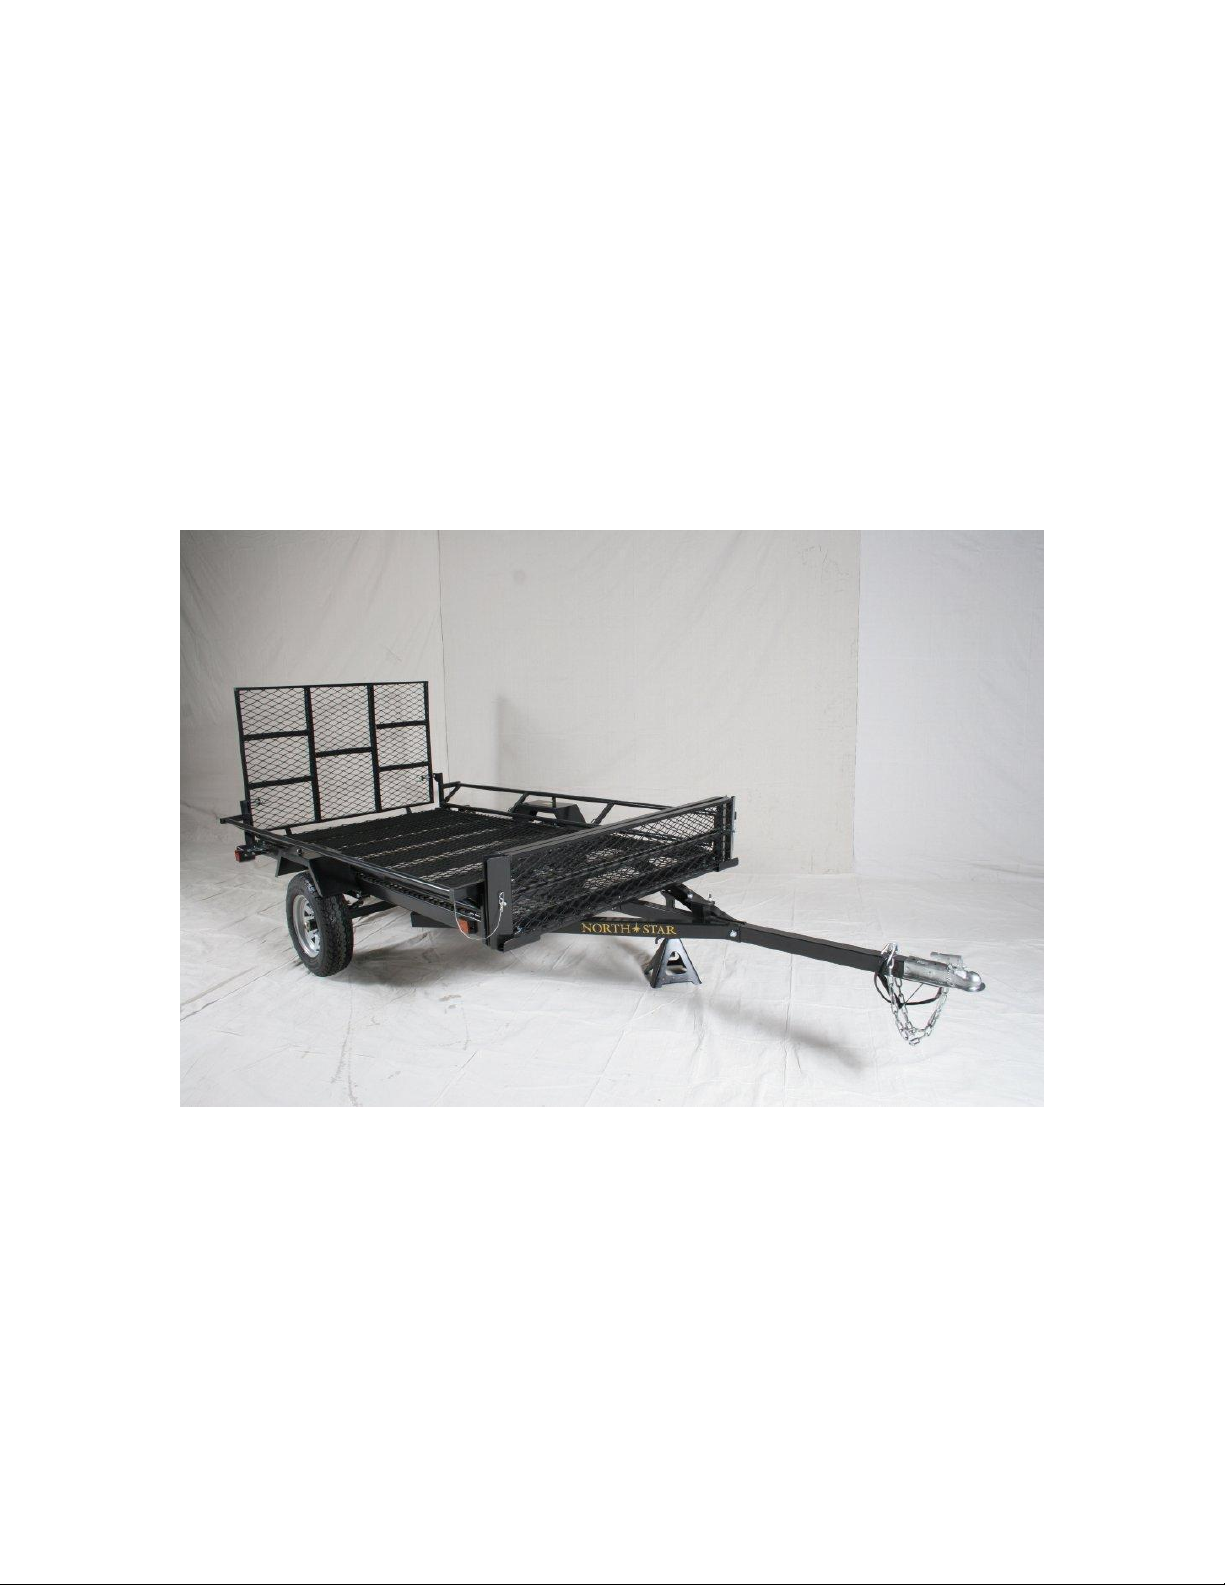
Assembly Guide for SPORTSTAR II Trailer (with gate)
Congratulations! You are the proud owner of a NORTHSTAR trailer. Please follow
the instructions and steps in this manual for proper assembly.

TRAILER PARTS LIST
Part
No.
Part Description
Qty.
1
Frame (deck)
1
2
Tongue (with wiring harness)
and Coupler (hitch)
1
3
Side-Rail
2
4
Rear Corner Bracket
2
5
Front Corner Bracket w/ramp
tray 2 6
Ramp
2 7 Wheel and Hub Assembly
2
8
Leaf-Spring
2
9
Axle 1 10
Fender
2
11
Tongue Side Brace
2
12
Wiring Harness
1
13
Rear Gate
1
Part
No.
Description
Qty.
A
U-Bolt
4 B Spring Plates
2 C Locknut
8 D 3 ½” threaded Pin-Bolt
5
E
3 5/8” threaded Pin-Bolt
2
F
Side-Rail/Gate-Pin
8 G Ramp-Pin
2 H Large Nut
9 I Large Lock-Washer
2
J
Small Lock-Washer
22
K
Flat-Washer
22
L
Small Bolt 1”
22
M
Cotter-Pin
15
N
Spare Tire Lug Nut
2
O
Taillight/Brake Light
2
P
Running Light
2 Q Taillight/Brake Light L-Bracket
2 R License Plate Bracket
1
S
Retaining Cable with Cotter-Pin
2
T
Small Brass Screw (included in
bag with blue wire connectors)
4
U
Wire Connector
8
HARDWARE
Make sure that all parts, as listed above, are included in your shipment. If any parts
are missing please contact NORTHSTAR at 1-855-375-3088.
Other tools needed for assembly: grease gun, flathead screwdriver, socket set,
wrench set, small zip ties, small rubber mallet.

IMAGES OF PARTS AND HARDWARE
[

This trailer requires inverted assembly. (Assembled upside-down). Start by turning
the trailer frame upside-down so the trailer deck is facing the ground. Use a table
robust enough to support the weight of the trailer frame and high enough to elevate
the frame to waist-height, or place the corners of the frame on buckets, or use
sawhorses to elevate each end.
CAUTION: This trailer is heavy. More than one person is required to flip the trailer
frame and assembly this trailer. Personal injury may occur if you try to assemble this
trailer alone.
 Loading...