

Page 1
M 157471A
ITE M NUMBERS: 157471,
TM
157472
Owner’s Manual
Pr essur e Wa sher : Machine that cleans dirty
surf aces with hig h pressur e wat er .
WARNING
Read this manual.
Serious injury or death can result if safety instruc tions are not fol lowed.
Engine is shipped without oil.
- Before starting engine, fi ll engine oil.
- See en gine m anual for engine oil requirements.
Closely inspect all components.
-If you have damaged components then: Contact the freight
com pany that de liv ered the unit and file a c laim.
-If you have mis sing components then: Cont ac t Customer
Serv ic e at 1-8 00- 270-0810.
Any Questions, Comments, Problems or Parts Orders
Call Nor thStar Custom er Service 1-800-270-0810
2003 K-Bar Industries
Page 2
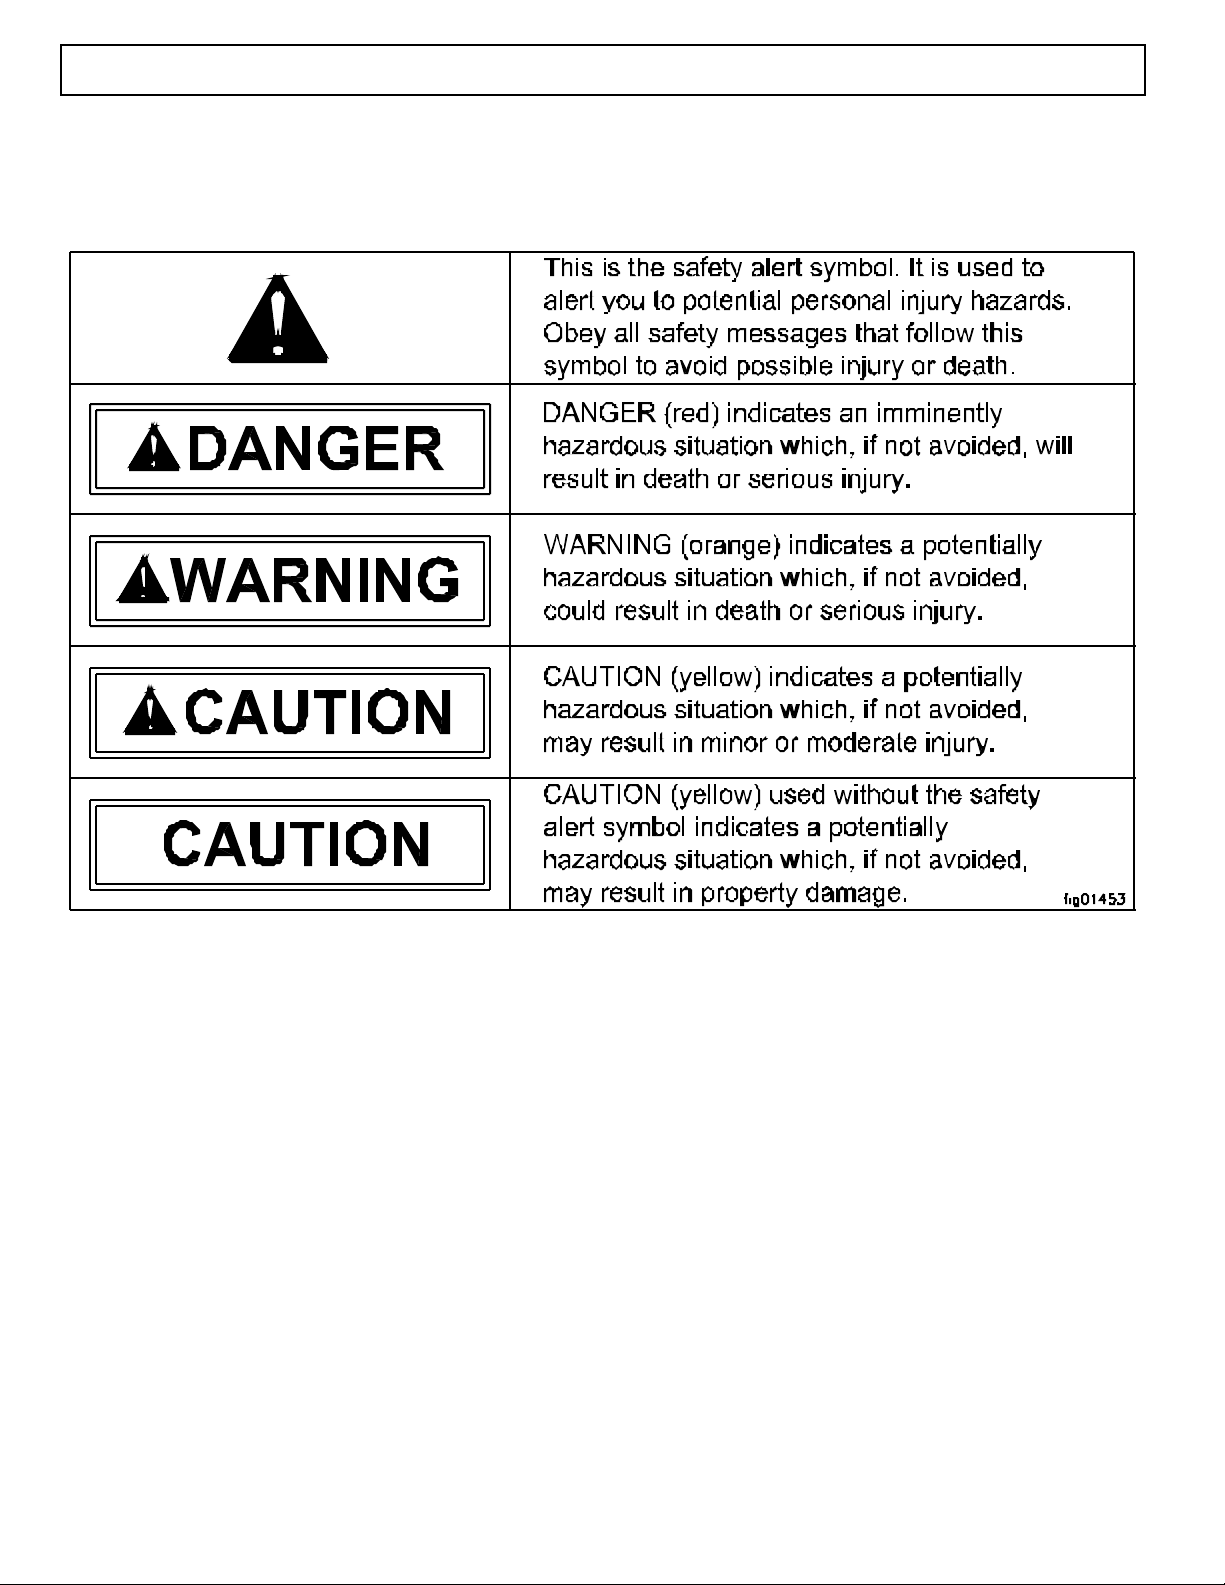
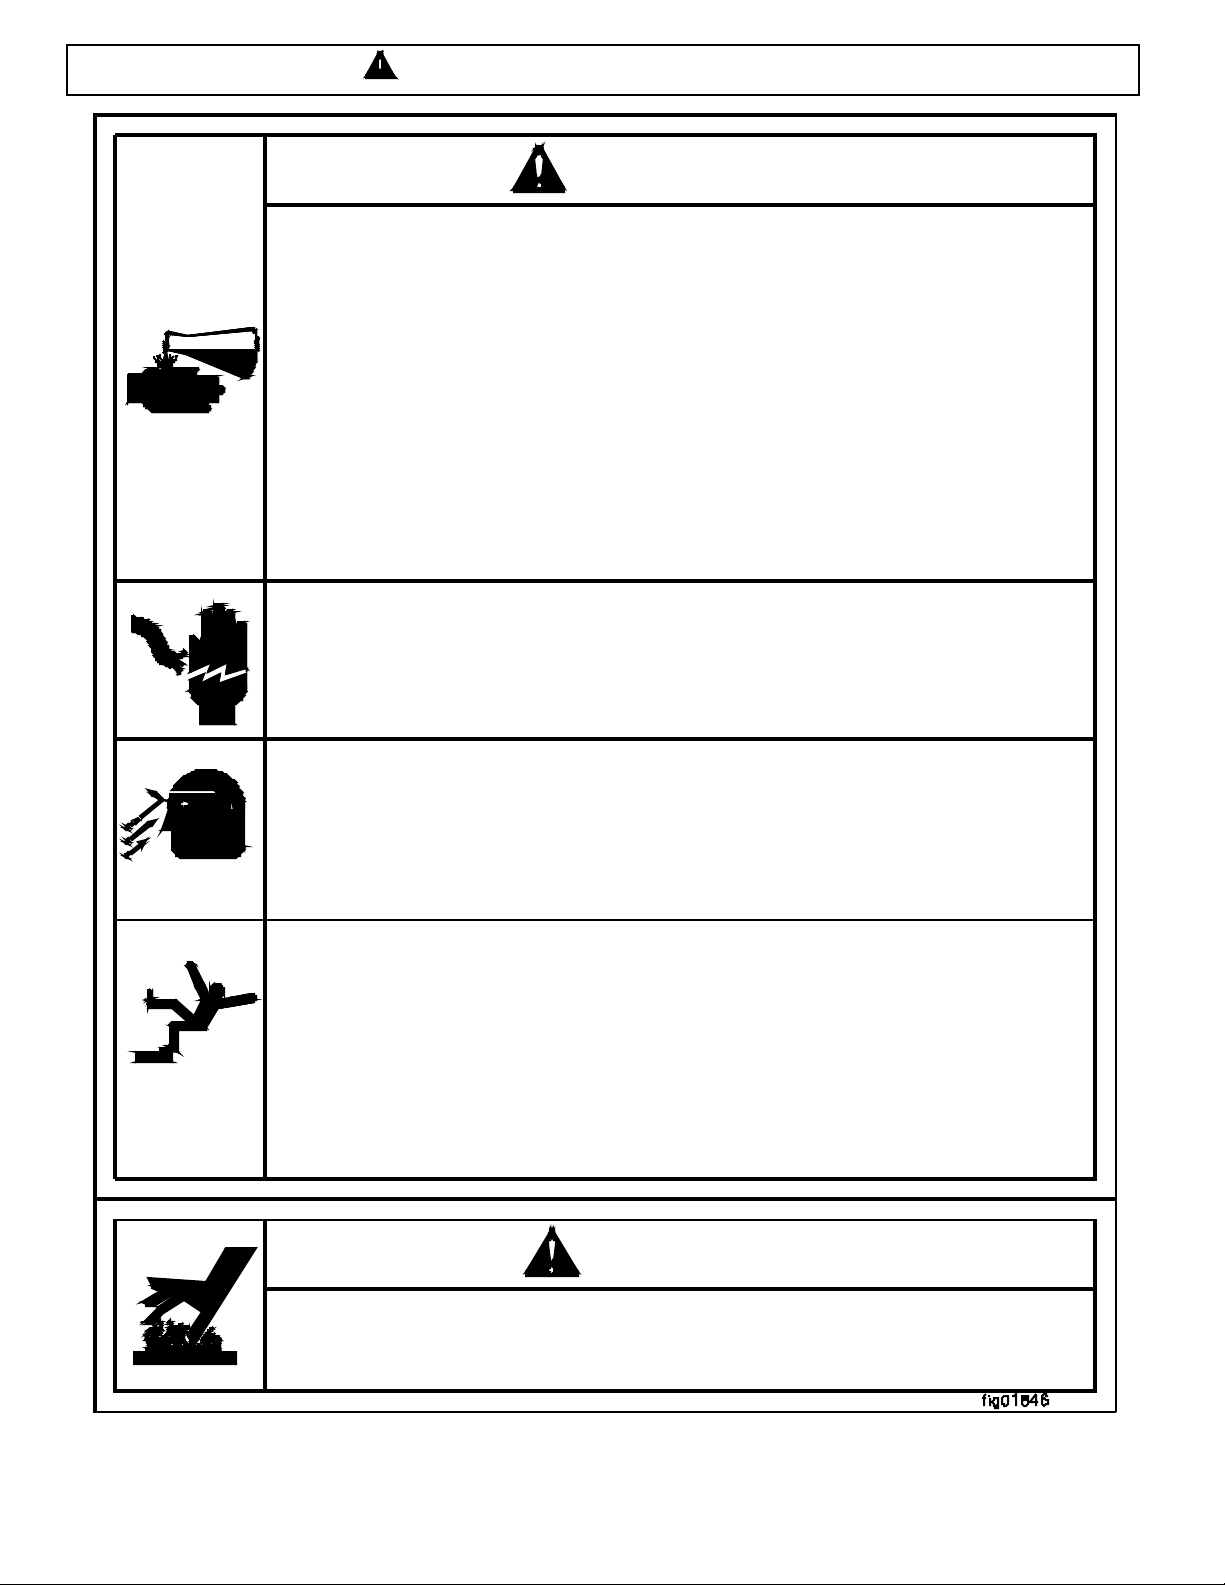
Hazard Signal Word Definitions
2
Page 3
T able of Contents
Important Safety Rules.....…...................................... 4-5
Warning Label Locations......…................................. 6
Unpacking………………………………………………….. 7
Machine Component Identification……………………… 8
Pump Component Identification..…………..…………… 9
Operation Instructions…........................…................ 10-13
Water Supply……………….…………………………..10
Start-Up Instructions……………………..…………… 10
Shut-Down Instructions……………..…………………10
Spray Gun Safety Lock…………………….………….11
Attaching the Pressure Hose……..………………….. 11
Attaching the Lance……………………………….….. 12
Operating the Nozzle………………...………..……… 12
Applying Chemicals..………………….……………….13
Maintenance....................................…………………. 14-15
Maintenance Mode……………………………………. 14
Maintenance Schedule……………………….………. 14
Cleaning/Replacing the Nozzle Orifice…...………… 14
Engine Oil Change….……………………………..….. 15
Storage....................................……………………….. 15
Long Term Storage…………………………………….15
Winter Storage………………………………………… 15
Troubleshooting .............................…......…….............. 16
Specifications and Accessories..........…….......…......... 16
Parts Explosion .......................................……............... 17
3
Page 4
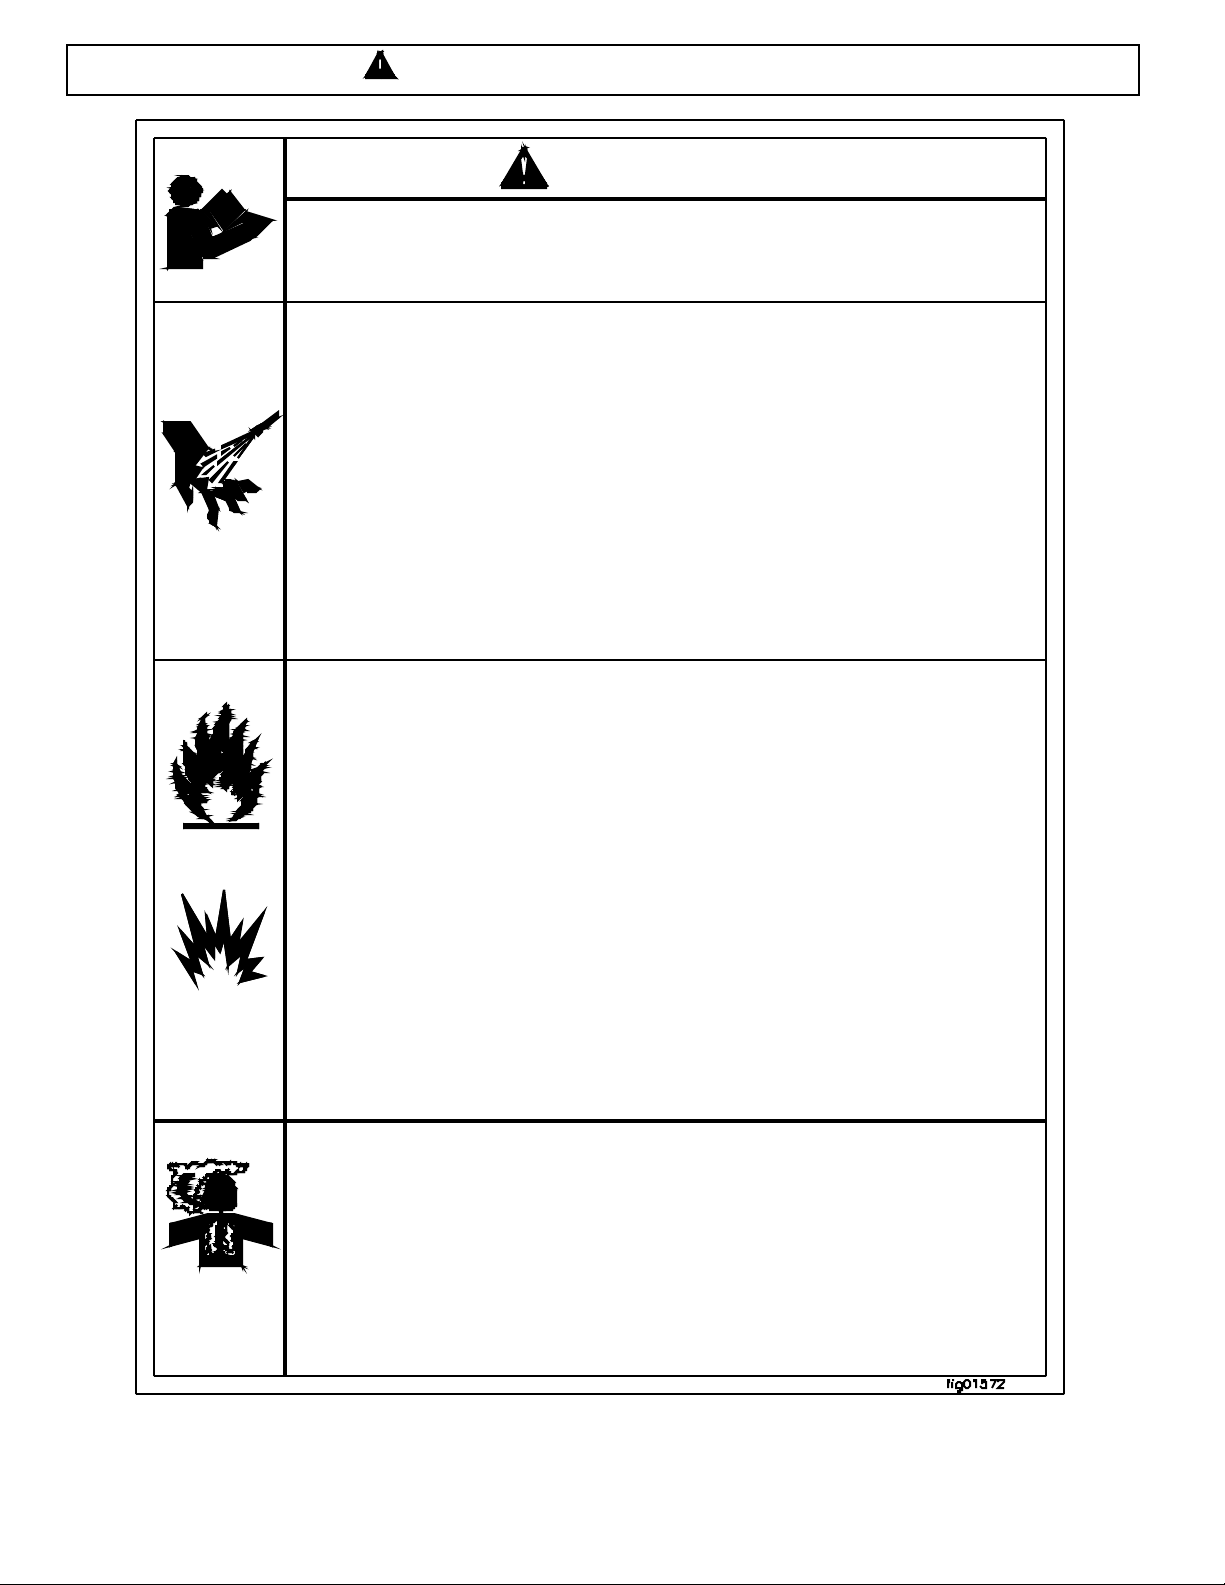
Important Safety Rules
WARNI NG
1.) Read ow ner's manual completely.
Serio us inju ry or d ea th can resu lt if saf et y instr uct ions ar e n ot followed. You mus t be
16 or older to operate this machi ne. Keep untrained people away.
2.) Sk in pun c t u r e hazard .
High pressure fluid can inj ect under skin resulting in serious injury including
amputat i on. Do not dir ect spray a t peopl e or animals.
-If ski n injection happens, seek IMMEDIATE surgical treatment.
-Do not check for leaks wi th hand. Instead, use a piece of cardboard to check for
leaks.
-Do not us e unit i f ext erior hos e dam age i s evi dent. Make sure all fittings are tight
before starting. Relieve system pressure befor e servicing.
-Know how to sto p engi ne and bl eed pr ess ur es quickl y. Be thoroughl y familiar w i th
th e contro ls .
-Make sure accessories meet the unit's temperature and pressure limi ts.
-Stop engine, bleed pressure, and engage spray gun safety lock before leaving unit
unattended.
3.) Ri sk of fire and explosi on.
Hot exhaust fumes from engine can cause fire. Gasoline is highly flammable and
expl os ive. You can be burned or seriously injur ed when handling fuel .
-Position muffler at least 7 feet from combustible objects.
-Befor e adding fuel, stop the engine and keep heat, sparks, and flame away. D o not
add fue l when en gine is run ning or st ill hot. No smoking near en gine.
-Do not pump fuel directly into engine at gas station. Static charge can build and
ignite fuel. Use a UL approved fuel container to transfer gas to the engine. Wipe up
fuel spills immediately.
-Only store and handle fuel outdoors. Gasoline vapors can ignite if they collect
inside an enclosure. Explosion can result.
-Do no t change or add to exhaust system . Fire can result.
-Do not c hange or add fuel tank s or fuel l ine s. Fi re can result.
-Bef ore e ach use, check f uel ta nk and f uel lines for l eaks . Any fuel l eak is a f i r e
hazard. Fix any fuel leaks before starting engine.
-During transportation take precautions to make sure pressure washer will not tip
over and cause a fuel l eak fire hazard.
4.) Poisonous gas.
Thi s machine gives off c arb on monoxide, a poisonous gas that c an k ill y ou. You
CANNOT smell it, see it, or tast e it.
-ONLY run m achine outdoors and away from air intak es.
-NEVER run machine inside homes, ga rages, sheds, or other semi- enclosed spaces.
These spaces can trap poisonous gases, EVEN IF you run a fan or open doors and
windows.
If you sta rt to fe el sick, di zzy, or weak while using this machine, shut it of f and get to
fresh air RIGHT AWAY. See a doctor. You may have carbon monoxide poisoning.
Save T hese Instruct ions
4
Page 5
Important Safety Rules
WARNING
5.) Risk of exposure to dangerous chemicals.
Ser ious injury or death can result if chemical manufacturer instructions are not
followed.
-Wear protective gloves when handling and cleaning with chemicals.
-Understand all safety hazards and firs t aid for all chemicals being used.
-When cleaning filters, check if chemicals have been used and take any
precautions that are recommended by the chemical manufacturer.
-Different chemicals may interact dangerously with each other, always follow
chemical manufacturer directions before switching chemicals.
-Calculate the correct amount of chemical to mix, dispose of excess chemical
per the manufacturer instructions.
-Never spray flammable liquids.
6.) Risk of electrocution.
Electricity can kill you. Keep water away from electrical outlets and electrical
devices.
7.) Flying objects.
Small particles may fly out while s praying. Wear safety glasses. Serious eye
in jury can occur.
Make sure nozzle is secur e before squeezing trigger. If noz zle is not secure it
will become a projectile.
8.) Fall hazard.
Pressure washer creates puddles and slippery surfaces. Keep good footing
and balance. Serious injury can occur.
-Wear footwear cabable of maintaining a good grip on wet surfaces.
-Gun kicks back. Ho ld with both h and s.
-Do not overreach or stand on unstable supports.
-Do not stand on ladders or scaffolding.
-Do not place pressure washer on soft or unstable ground.
CAUTION
1.) Hot muffler.
You can be burned by muffler. Do not touch.
Save T hese Instruct ions
5
Page 6
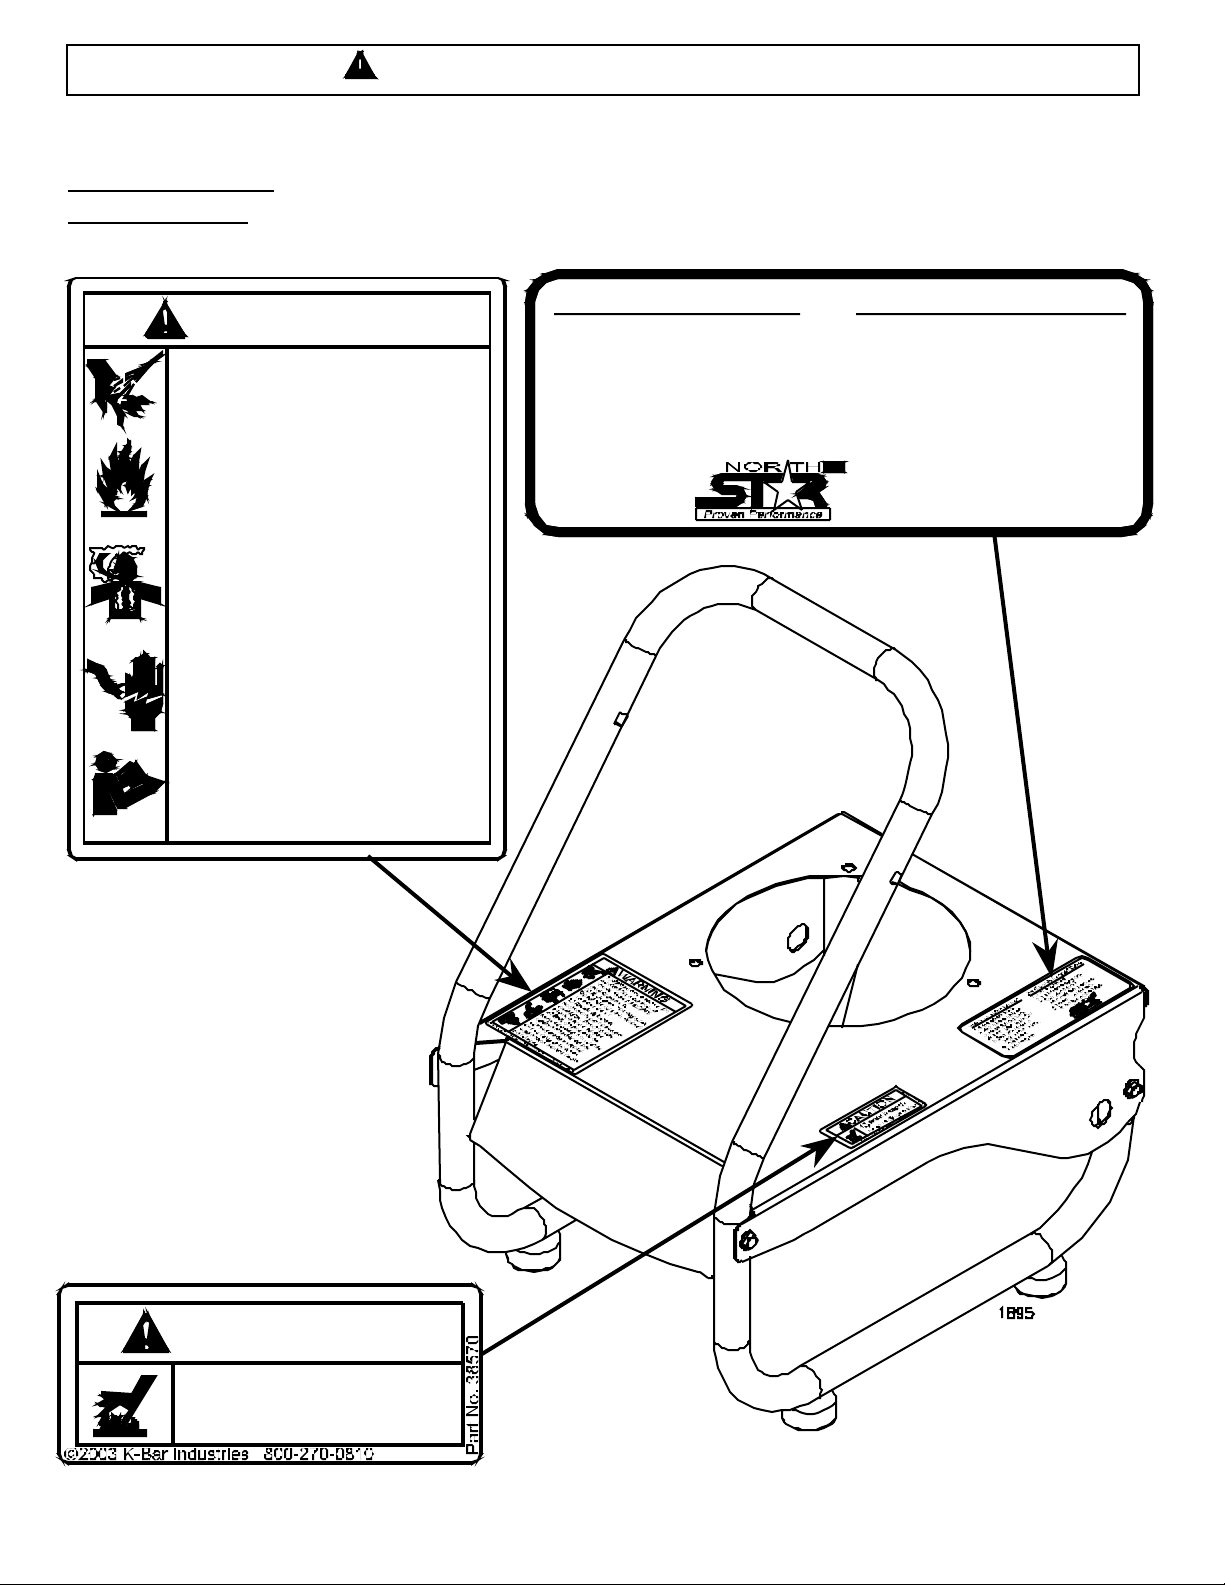
War ning Label Locations
t
Call 1-800-270-0810 to order new labels.
Instruction Label: Par t No. 32538
Warning Label: Part No. 38570
WARNING
1.) Skin puncture hazard. Do
not direct spray at people or
animals. Seek IMMEDIATE
surgical treatment.
2.) Risk of fire and explosion.
Do not add fuel when engine is
running or still hot.
3.) Breathing hazard.
Poisonous fumes from engi ne
can kill you. Do not operate
indoors even if ventilated.
4.) Risk of electrocution.
Keep water away from electric
outlets and electric devices.
5.) Read owner's manual.
Serious injury or death can
result if safety instructions are
not followed.
2003 K-Bar Industries 800-270-0810
Part No. 38570
START-UP INS TRUCTIONS
1. Attach garden h ose.
2. At tac h press ure hose.
3. Attach gun and lanc e.
4. Turn water supply ON.
5. Squeez e trigger to
pu r ge air from pum p.
6. Insert nozzle.
7. Start engine.
SHUT-DOWN INSTRUCTIONS
1. Turn engine OFF.
2. T urn w ater s uppl y OF F.
3 . Squeez e trigger to
relieve system pressure.
4. Rem ove garden hos e.
5. Remove pressure hose.
6. Tur n fuel valve OFF
(if equi pped).
CAUTION
1.) Bu rn haz ard.
Do not touch hot muffler.
Engine and pump no
shown for c larit y.
6
Page 7

Unpackin g
r
-Separate and i denti f y the co mpon en t s.
Pressu re Washe
Spray Gu n Lance Owner’s Manual
Pressu re H o se
Any Questions, Comments, Problems or Parts Orders
Call N orthStar Customer S ervice 1-800-2 70- 0810
7
Page 8

Machine Compo nent Identificatio n
1.) Carry Handle
2.) P ressu re Hose
3.) Chemi cal Hose
4.) Water Pump
5.) Engine
6.) Nozzle
7.) S p ray Gu n
8.) Trigger
8
Page 9

Inlet filter
C
Pump Co mpone nt Identificat ion
Water inlet
C hemical h ose
hemical
strainer
Water outlet
9
Page 10

Oper at ion Instruct ions
Water Supply
1.) Make sure water supply is clean. Debris can cause excess pump wear and reduce
performance.
2.) An insuff ic ient wat er s upply will damage your pump. Make sure the water supply is steady and
is 20% over the rated flow of your pump. Us e a stopwatch to time how long it takes to fill a 5
gall on buc ket wit h your garden ho se. T he buc k et m ust be f illed in le ss than 125 seco nds.
3.) The wat er s upply garden hose must have an in sid e diameter of at lea st 5/ 8” . I f the hose is more
than 100 ft. long, t he diamet er m ust be at least 3/ 4” .
4.) Never us e a reservoir tank as a water source. Drawi ng water out of a tank m a y cause pump
cavitat ion and damage to your pump. T his pressure washer i s de s igned for a pressuriz ed water
s ource s uch as a city water faucet. However, the water source pressure m ust not exceed 115
psi (8 bar).
5.) Always use a flexible rubber hose for your water s upply . Do not use rigid p iping.
Start -Up I nstructi on s
1.) Attac h garden ho se to wat er inlet .
2.) Attac h pres s ur e hose to wat er out let and spray gun.
3.) Attac h spray gun to lance.
4.) Tur n wat er supply ON.
5.) Squeeze trigger to pur ge air f r om water pump.
6.) St art engine.
Shut-Down Instructions
1.) Tur n engine OF F .
2.) Tur n wat er supply OFF .
3.) Squeeze trigger to relieve system pressure.
4.) Re move garden hose.
5.) Re move pres sure h ose.
Skin puncture haza rd.
High pressure fluid can inject under skin resulting in serious injury including
amputation. Do not direct spray at people or animals.
-If skin injection happens, seek IMMEDIATE surgical treatment.
-Do not check for leaks with hand. Instead, use a piece of cardboard to check for
leaks .
-Do not use unit if exterior hose damage is evident. Make sure all fittings are tight
before starting. Relieve system pressure before servicing.
-Know how to stop engine and bleed pressures quickly. Be thoroughly familiar with
the controls.
-Make sure accessories meet the unit's temperature and pressure limits.
-Stop engine and bleed pressures before leaving unit unattended.
WARNING
10
Page 11

Oper at ion Instruct ions
p
Spr a y Gu n Saf e t y Loc k
W hen not s praying, use t he spray gun safet y lock to prev ent ac c ident al high pre ssure disch arge.
Spray gun
Spray gun
safety lo ck
A t tachin g th e P ressu re Hose
- T o at t ac h t he pr es sur e hose to the pump, t hr ead t he pr essure hose’ s 22 m m co upler onto t he
water pump ’s outlet hand tight .
- T o at t ac h t he pr es sur e hose to the spr ay gun, t hr ead t he pr essure hose’ s 2 2mm coupler ont o
the spray gun’s inl et hand t ight.
- Note: T he o- rings make the seal so there is no ne ed t o tight en wit h a wrench.
Spray gun
Pressu re ho se
Water pum
22mm coupler
11
Page 12

O per at ion Instruct ions
pler
A t tachin g th e L ance
T ight en spi n-on c oupler hand tight.
Note: T he o- rings make the seal so there is no ne ed t o tight en wit h a wrench.
Spin -on
cou
O p erat i n g the Nozzle
-T wist t he nozzle t o c hange t he spray patt er n f r om a str aight st r eam to a 45o fan.
-Pull t he nozzle back for high pressure; push the noz zle forwar d f or low pressure.
N ozzle
12
Page 13

Oper at ion Instruct ions
A ppl yi ng Ch emical s
1.) Push the nozzle forward for low pre ssure to spray c hemical s onto the cleaning surf ac e.
2.) Start the pressur e wash er ac c ording to t he start-up instruc t ion s.
3.) Sub merg e the che mic al hose and chemica l strainer i n c leaning so lut ion.
4.) Squeeze the spray gun t rigger . The che m ic al injector will draw t he cleaning solution into the water
stream.
5.) A pply chemicals evenly ont o t he c leaning s urface. Allow the c hem icals to react wit h t he dirt, then
clean at high pre ss ur e by pulling t he nozzle backward.
6.) Nev er use mor e c hemical than i s n ecessary to clean the surface.
7.) Rinse ch emical injector by following ste ps 1 t hrough 4 with clean water.
C hemical h ose
Cleaning
solution
C hemical st rai ner
WARNING
Risk of exposure to dangerous chemicals.
Serious injury or deat h can res ul t if chem i cal manufac turer i nstr uctions are not
followed.
-Wear pr otec tiv e gl oves w hen handl ing an d cleaning wit h chemi c al s.
-Under s tand all saf ety haz ards and first aid for all chem i c al s being us ed.
-When c l eani ng filters, check i f chem i cals h ave been us ed and take any
prec autions that are recomm ended by t he chemical manufac turer.
-Di ffer ent chemica l s ma y in te ract da n gerousl y with each other, always fol low
chemical manufacturer directions before switching chemicals.
-Calculate the correct amount o f c hem i cal to mix, dispose of excess chemi cal
p er t he manufactur er ins truct ions.
-Never spray flammable liquids.
13
Page 14

Maintenance
Maintenance Mode
Bef or e performi ng any maint enance o n t he pr essure wa sher, it m ust be placed in ma int enance mode.
1.) Tur n of f engine.
2.) Tur n of f water sup ply.
3.) Squeeze trigger to relieve system pressure.
4.) Unpl ug spark plug wire fro m spark plug. (s ee engine owner’ s manu al)
Maintenance Schedule
What t o Check When To Check What t o Do
Inlet Filt er Each Use Visually inspect and clean inlet f ilt er wit h c lear water.
Visually inspect pressure hose an d hose couplings. Replace
Pressure Hose Each Use
Bolt s Eac h Use Tight en any loo se bolts.
Engine Oil See engine
manual
Pum p O il Never T he pump’ s crankca se i s sealed; oil changes ar e not requir ed.
ho se if any of t he followin g is evident:
ho se coupling is dam aged, wire me sh i s ex pose d or damag ed,
ho se i s per m anently kinked or f lat tened, outer hose cover is
bli stered or loo s e.
See engine ma nual for oil change intervals, see Maint enance
section of t his manual for oil change instr uc t ions.
Cleaning/Replacing the Nozzle Orifice
1.) P lace pr essure wash er in
maint enance mo de. (s ee abov e)
2.) I nsert a 2mm hex wr ench into orifice
and tur n counter- c lockwi se to remove
orif ice f r om nozz le.
- T o c lean orif ice, r em ove any debris
and soak i n descaling s olut ion to
remove hard wat er deposits.
- T o r eplace orifice, order p/n
PD38780 from Nort hS t ar Cust omer
Service, 1- 800-270-08 10
3.) Use 2 mm h ex wrench and turn
clock wise to reinstall orifice.
2mm hex
wrench
14
Page 15

Maintenance
V
En gine Oil Cha nge
1.) Place a suitable co nt ainer on the ground
to c at c h t he use d oil, t hen r emove the
engi ne oil fill cap.
2.) Tip the pr essure wa sher o n it s side to
pour t he use d oil out thr ough t he
engi ne’s o il fill tube.
3.) Please d ispo s e of us ed oil in a man ner
that is co mp at ible wit h t he environment.
We suggest you take used oil in a
sealed c ont ainer to your local rec ycling
cent er or s er vice st at ion for r eclamat ion.
Do not throw it in t he t r ash, pour it on t he
ground, or dump it down the drain.
4.) With the pressure washer in a l evel
po sition, add oi l t o the engi ne. (see
engi ne owner’ s ma nual for t ype of oil
and capacity)
Oil fill tube
St or a ge
Long Term Storage
F ollow the engine owner’ s ma nual for storing the
engine.
Winter Storage
Protect your pump, ho se, and gun from f reezing.
Items nee ded: 12” piec e of garden h ose or equiv alent ,
funnel and RV antif reeze (approximat ely 6 oz.)
1.) F ollow t he stor age instruc tio ns li sted abov e.
2.) Disc onnect sp ar k plug cabl e. Make sure the engine
throttle lev er is in the “ stop” position.
3.) A t t ac h t he gar den hose with f unnel to t he wat er
inlet (see i llust ra t ion).
4.) P our RV ant if reeze into the f unnel; pull t he engine
recoil until antif r eez e c omes o ut of t he wat er out let.
5.) Drain all water f rom t he pressur e hose. Depre ss
tr igger on spray gun t o dr ain all wat er out of the
spray gun/lance.
R
antifreeze
Funnel
Hose
Water inlet
15
Page 16

Troubleshooting
Problem
Engine will not star t SO LUTIO N: A
Low/S ur ging pressure or n o wat er f low SO LUTIO N: B,C, D,E,F,G
No chemical injection SOLUTION: H,I,J,K
Cause Solution
A- Engine start ing instruc t ions not foll owed See engine ma nual for start ing instr uctions
B- Insufficient water supply See water supply section of this ma nual
C- Plugged pump inlet f ilt er See m aint enanc e s ec t ion of t his man ual
D- Nozzle in low pressure position Pull nozz le bac k for high pressure
E- Plugged nozzle orifice Re move noz zle orific e, c heck for block age
F- Worn noz zle orific e Repl ac e nozzle orif ic e
G- Leak in pre s sur e hose Repl ac e pressure hose
H- Nozzle in high pressure position Push nozzle forward for low pre ssure
I- Back pr es sur e from extra long pres sure h ose Use standar d length ho se
J- Leak in che mica l s iphon hose Repl ac e hose – u se ho se c lamp s if nece s sary
K- Chemical str ainer not submerged Make sure str ainer is completely submer ged
Specif ication s and Accessories
Specifications
157471 157472
PSI 2000 PSI 2400
GPM 2.0 GPM 2.0
Max Water Temp
Dimensions (inches)
L x W x H
W eight 50 lb s W eight 52 lb s
16.75 x 13.5 x 19.75 Dimen s ions (i nc hes)
140
F
Accessories
W heel kit , Item# 15 7473 Call N or t her n T ool & Equipment, 1- 800-556- 7885
T he manufacturer reserves the right to make improvements in design
and/or changes in specifications at any time without incurring any
obligat ion to install them on units previous ly sold.
Max Water Temp
L x W x H
140F
16.75 x 13.5 x 19.75
Any Questions, Comments, Problems or Parts Orders
Call Northstar Customer Service 1-800-270-0810
16
Page 17

Par t s Exp losion
Item Part# Description Qty Model Item Part# Description Qty Model
1 38528 Lanc e 1 all 38512 W at er pump, VRX2017V 1 157471
2 38526 Spray gun 1 all
38488 Engine, 4H P Tecumseh 1 157471 9 33488 C hem ic al hose 3ft all
3
37442 Engine, 6H P Tecumseh 1 157472 10 2212 C hem ic al strainer 1 all
4 38506 Bas e 1 all 11 38505 C arry handle 1 all
5 32538 I ns t ruction decal 1 all 12 2215 Rubber f eet 4 all
6 38570 W arning dec al sheet 1 all 13 38523 Pres s ure hose 1 all
7 38541 N ort hSt ar decal 1 all
8
38513 W at er pump, VRX2022V 1 157472
17
 Loading...