

Page 1
LAWRENCE TOWNSHIP PUBLIC SCHOOLS
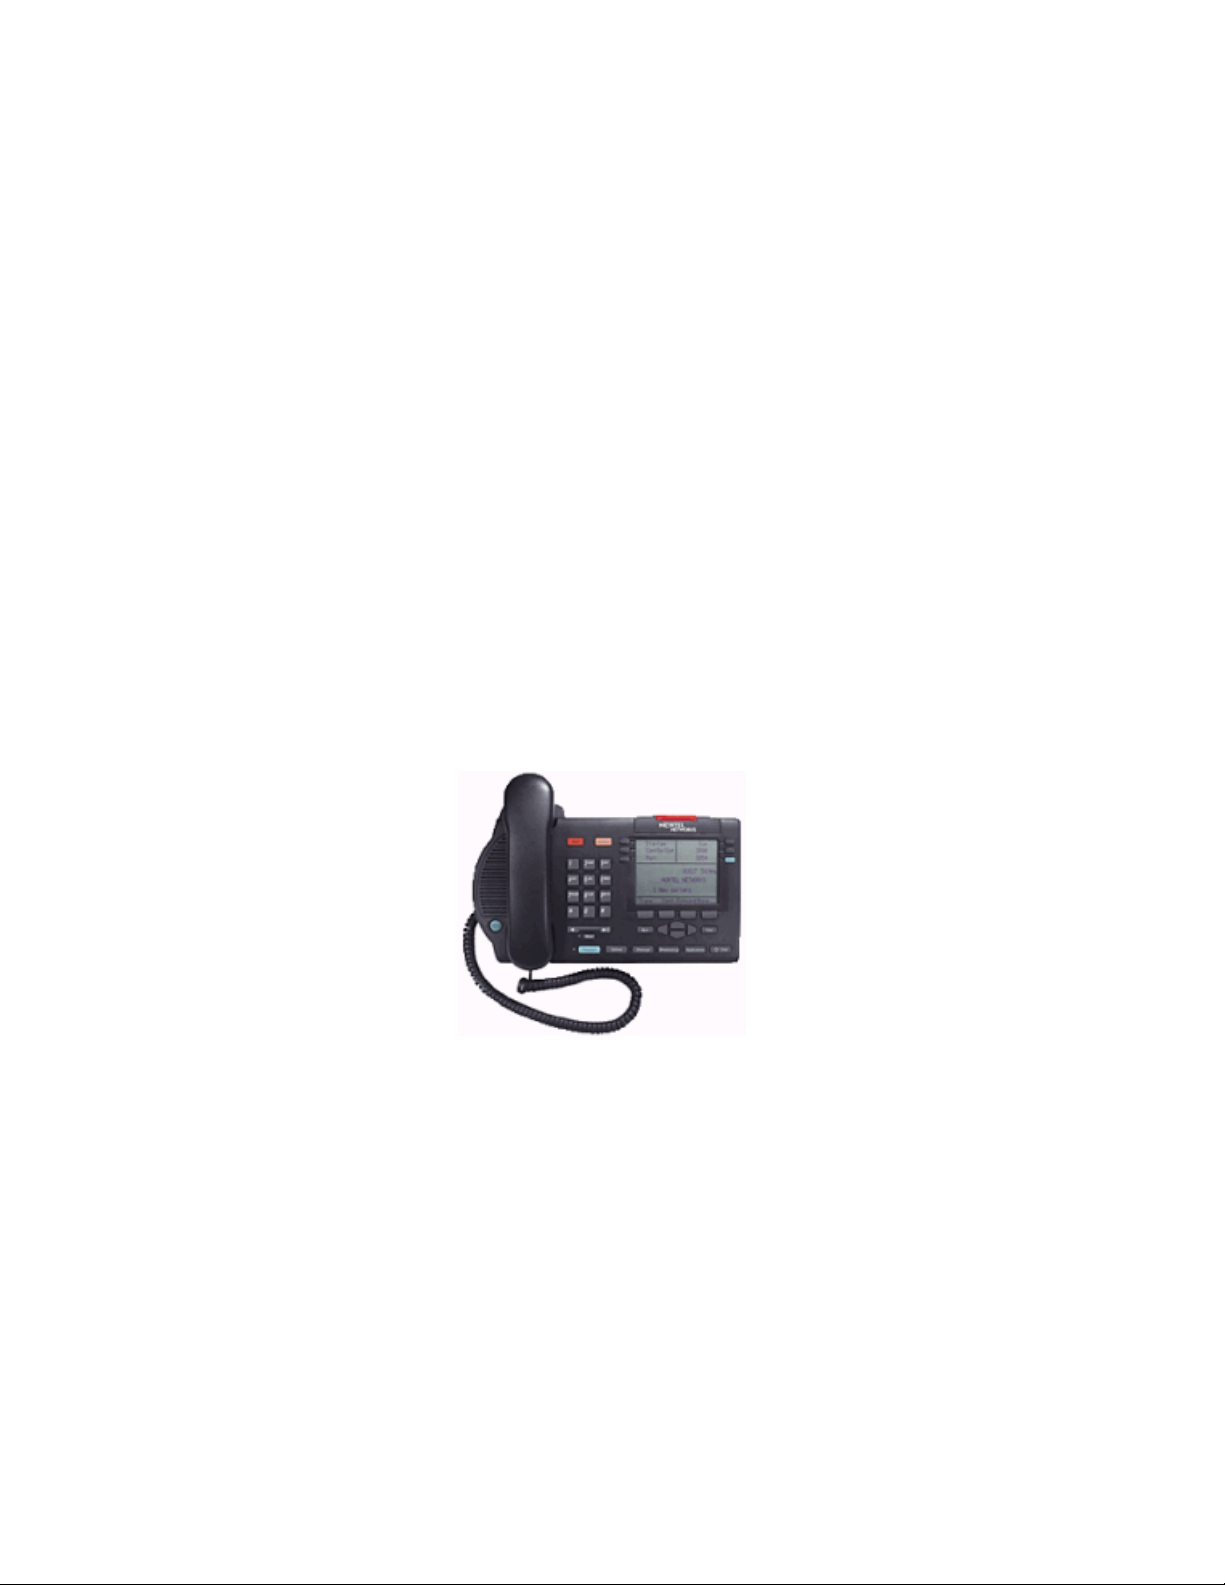
Nortel Networks
PHONE SYSTEM
3904 USER’S
GUIDE
11/11/05
7th Edition
Page 2

Page 3

LTPS 3904 Reference Guide
MAKE A CALL:
1. Lift handset
2. Dial the number – For a number outside the
school district dial 9 first
HANDSFREE:
1. Press your green Primary Extension Key
2. Dial the number
3. Lift handset when party answers or continue
talking handsfree
DISCONNECT CALL:
1. Press the Goodbye key
2. Hang up handset
VOLUME CONTROL:
1. When the telephone is ringing use the
Volume Control located under the numerical
keypad to adjust the ringing volume
2. When on a call use the Volume Control to
adjust the handset volume
LAST NUMBER REDIAL:
1. Without lifting the handset, press your
Extension Key twice
2. When party answers lift handset or just speak
for handsfree
CALL TRANSFER:
1. While on a call Press the Transfer Soft key
2. Dial internal number of person to whom you
wish to transfer the call
3. Announce the call (optional)
4. Press the Connect Soft key
CONFERENCE:
1. Ask 1st party to hold
2. Press Conference Soft key
3. Dial internal or external number of party
you wish to add to the call
4. Announce the Conference (optional)
5. Press Connect Soft key
(You can add up to 5 additional parties besides
yourself)
If the line is busy or there is no answer
press the extension with a flashing phone next to
it, where original party is on hold, to return to the
call
CALL FORWARD:
This allows you to direct your calls to ring at
another line or to your voice mailbox
1. Without lifting the handset, press the
Forward Soft key
2. Dial internal number where calls are to be
forwarded (i.e 5555 for Voice Mail or the
Main Office)
3. Press Done Soft Key
TO CANCEL CALL FORWARD:
1. Without lifting the handset
Press CheckFw Soft key
2. Press CanclFw Soft key
Indicator will go blank and display will show
that phone is no longer forwarded
PROGRAM – PERSONAL DIRECTORY:
1. Press Directory/Log key
2. Press Select Soft key in the directories
menu to select Personal Directory
3. Press AddNew Soft key
4. Enter a new name by using triple-tap text
entry, using the numeric keypad to enter text by
pressing each digit 1 to 3 times corresponding to
the 3 letters each key is marked with.
i.e. For “Dave”, eg., press “3” once for “D,” “2”
once for “A” , press “8” three times for “V”, “3”
twice for “E”
5. Press “Next” Soft key
6. Enter New Telephone Number, including
“9” and the area code, where applicable
7. Press Done Soft Key when completed
When you have finished entering ALL
the names and numbers,
8. Press the Quit key
COPYING A CALLER INTO YOUR
DIRECTORY
1. Press Directory/Log
2. Scroll down to Call Log (Callers List)
3. Press the Select Softkey
4. Scroll down to the entry you wish to copy
5. Press the Copy Key
6. Press the Dir/Log SoftKey
7. You may now go into your Directory/Log’s
Personal Directory and Edit the information
including adding a 9 or a 91 in front of the
number for dialing purposes
Page 4

LTPS 3904 Reference Guide
CALL PARK:
To “park” a call which can then be retrieved
from any phone in the district
1. Press Park Soft key, while on the phone
2. Note the Number that appears on your
display (i.e. 3005)
3. Press OK Soft key, then Goodbye
The caller is now on hold in the system to be
picked up by another individual
4. Inform the other individual through the
overhead (intercom) paging system that they
have a call parked at _ _ _ _
The individual may now go to any telephone in
the district
PICKING UP CALL PARK:
5. Dial the number that is paged over the
loudspeaker and say Hello
CHANGING FEATURE KEY LABEL:
1. Press Options Key
2. Use the Navigation Keys
to highlight Change feature key label
3. Press Select Soft key twice
4. Press the Feature Key you want to change
5. Using the Delete Soft key clear out the
current label
6. Enter your new label using the keypad
7. Press the Done Soft key when complete
8. When you have finished entering all the
names press the Quit key
OPTIONAL FEATURES
INTERCOM:
1. Lift handset,
2. Press Intercom Key
(located in the upper right corner)
3, Dial their 2-digit intercom number.
RING PICK UP:
1. Lift handset.
2. Press the Pickup Soft key
TO PROGRAM AUTODIAL:
1. Without lifting the handset,
Press the Autodial Key,
2. Enter number to be programmed,
including the “9” and area code,
3. Press Autodial Key again.
TO USE AUTODIAL:
1. Press your Primary Extension Key
2. Press Autodial Key of number you wish
to call
3. Call is automatically dialed for you.
For additional help contact a
Technology Department Technician
Ext. 5595
IMPORTANT NUMBERS
Name Number
___________________
___________________
___________________
___________________
___________________
___________________
___________________
___________________
___________________
___________________
NOTES
___________________
___________________
___________________
___________________
___________________
___________________
___________________
___________________
Page 5

How to Set up Your
Voice Mailbox
PLEASE READ DIRECTIONS FOR EACH STEP
BEFORE PERFORMING THE STEP.
There are 3 steps that must be completed
Entering Your Mailbox:
1. Dial 671-5555 from outside the district
Or 5555 from any phone in the district
2. Enter your mailbox number followed by #
3. Enter your password followed by #
My Mailbox Number is ____________#
My Initial Password is _____________#
My New Password is _____________#
Step 1: Changing Your Password:
The first time you login to your mailbox it will
prompt you to change your password
1. Press 84 when prompted
2. Enter your current password,
followed by #
3. Enter your new password, followed by #
Note: The new password must be at least 6-16 digits
long. You may not use # or * as part of your
password. Trivial passwords are not permitted (for
example, 111111, 123456, 654321, or your phone’s
extension)
4. Re-enter your new password,
followed by #.
Step 2: Changing Your Greeting:
After changing your password for the first time
you will need to setup a greeting that people will
hear upon calling your mailbox.
Note: A message is not the same as a greeting. A
message is sent to other people.
1. From the main mailbox menu, Press 82 and
then press 1 for external greeting.
Note: Record only an external greeting. You will only
need to record an external greeting since it also
works as your internal greeting.
2. To record, press 5
3. Record your greeting,
press # when finished
4. To review, press 2
To re-record, press 76 to delete the message
you just recorded then press 5 and record
5. To continue to step 3, press 4
Step 3: Changing Your Personal Verification:
Your personal verification is just your name. It
identifies your mailbox when anyone calls a
school and dials by name, when someone
express messages you, or when someone adds
you to his or her distribution list.
1. Press 82 and then 9
It will tell you that no verification has
been recorded
2. Enter your mailbox number
(if prompted for) followed by #
3. To record, press 5
and speak after the beep
4. Record your Name.
When finished press #
The system will now repeat what you just
recorded
5. To review, press 2
To re-record, press 5
6. To return to messages press 4
Change your
password
Record your
greeting
Record your
personal verification
DON’T
FORGET
THIS STEP!
Page 6

Using your Voice Mailbox
If you have a model number 3904, and the light at the
top of your phone is lit, it means there is a message
for you in your voice mailbox.
Entering your Mailbox:
1. Dial 671-5555
from outside the district
Or 5555
from any phone in the district
2. Enter your mailbox number
followed by #
3. Enter your password
Important:
If you enter your password incorrectly 3 times, you
will be locked out of your mailbox. Please contact the
Technology Department to reset your mailbox
Playing your Messages:
While playing the header (date and time
stamp), You must Press 2 at any time to
start playing your messages.
• To skip backward, 1
• To skip forward, 3
• To repeat the message, 2
• To speed up message, 2 3
• To slow down message, 2 1
• To decrease message volume, 2 4
• To increase message volume, 2 6
• To pause, #
• To continue, 2
• To return to previous message, 4
• To advance, 6
• To play message header, 72
Note: Played messages will be kept for 30 days, Unplayed messages will be kept by the system until they
are played.
Deleting a message:
Enter 76, while the message is playing or
after listening to the message.
If you accidentally delete a message, you can restore
it by going back to it and entering 76 before exiting
the system. After you exit the system, the message you
deleted cannot be retrieved.
Replying to Sender:
To reply to a person, within our system, that sent you
a message:
1. Enter 71 while the message is playing or
after listening to the message
2. To record your reply, Press 5
3. Record. When you are finished press #
4. To send your reply, enter 79
Forwarding Messages:
You can forward a message to another mailbox:
1. Enter 73 while the message is playing or
after listening to the message
2. Enter each mailbox number, to which you
want to forward the message and then
press #
3. To end the list, enter another #
4. To record an introductory message press 5
(Optional)
5. When you have finished recording your
introductory message press #.
6. To review press 2 to re-record press 5
When finished press #.
7. To send the message, enter 79
Setting up a Temporary Greeting:
If you will be out of the office you may set up a
Temporary Greeting so that your External Greeting
is not deleted.
1. Press 82 and then press 3
for temporary greeting
2. To delete a previous temporary greeting,
press 76. To record a new temporary
greeting, press 5
3. Record your greeting,
press # when finished
4. To review, press 2
To re-record, press 76 to delete the message
you just recorded then press 5 to record
5. To set an expiry date press 9
6. Press # for the current month or enter the
current month followed by #
7. Enter a date followed by #
8. Enter a Time followed by #
9. Press 1 for AM, Press 2 for PM
10. To end, press 4
Page 7

Express Messaging:
You can leave a message for someone directly in his
or her mailbox. Express messaging bypasses the
phone on a person’s desk.
1. Dial 5550 in district or 671-5550 from
outside the district
2. Dial the users extension and a # sign,
3. Record your message when prompted,
then press the # key
4. Hang up or press the Goodbye key when
finished
Transferring a call
into a Voice Mailbox (from a 3904):
1. Press the Transfer Soft Key
2. Dial 5552
3. Dial the extension of the voice mailbox you
want to transfer the call into.
When finished press #
4. Press the Connect Soft Key immediately!
Transferring a call
into a Voice Mailbox (from a 3901):
1. Press the Hold key
2. Press the Features key then 1
2. Dial 5552
3. Dial the extension of the voice mailbox you
want to transfer the call into.
When finished press #
4. Press the Features key then 1 immediately!
 Loading...