

Nortel 460, 470, BayStack 460, BayStack 470, BPS Device Management Manual
Enterprise Policy Manager - Device Management Guide
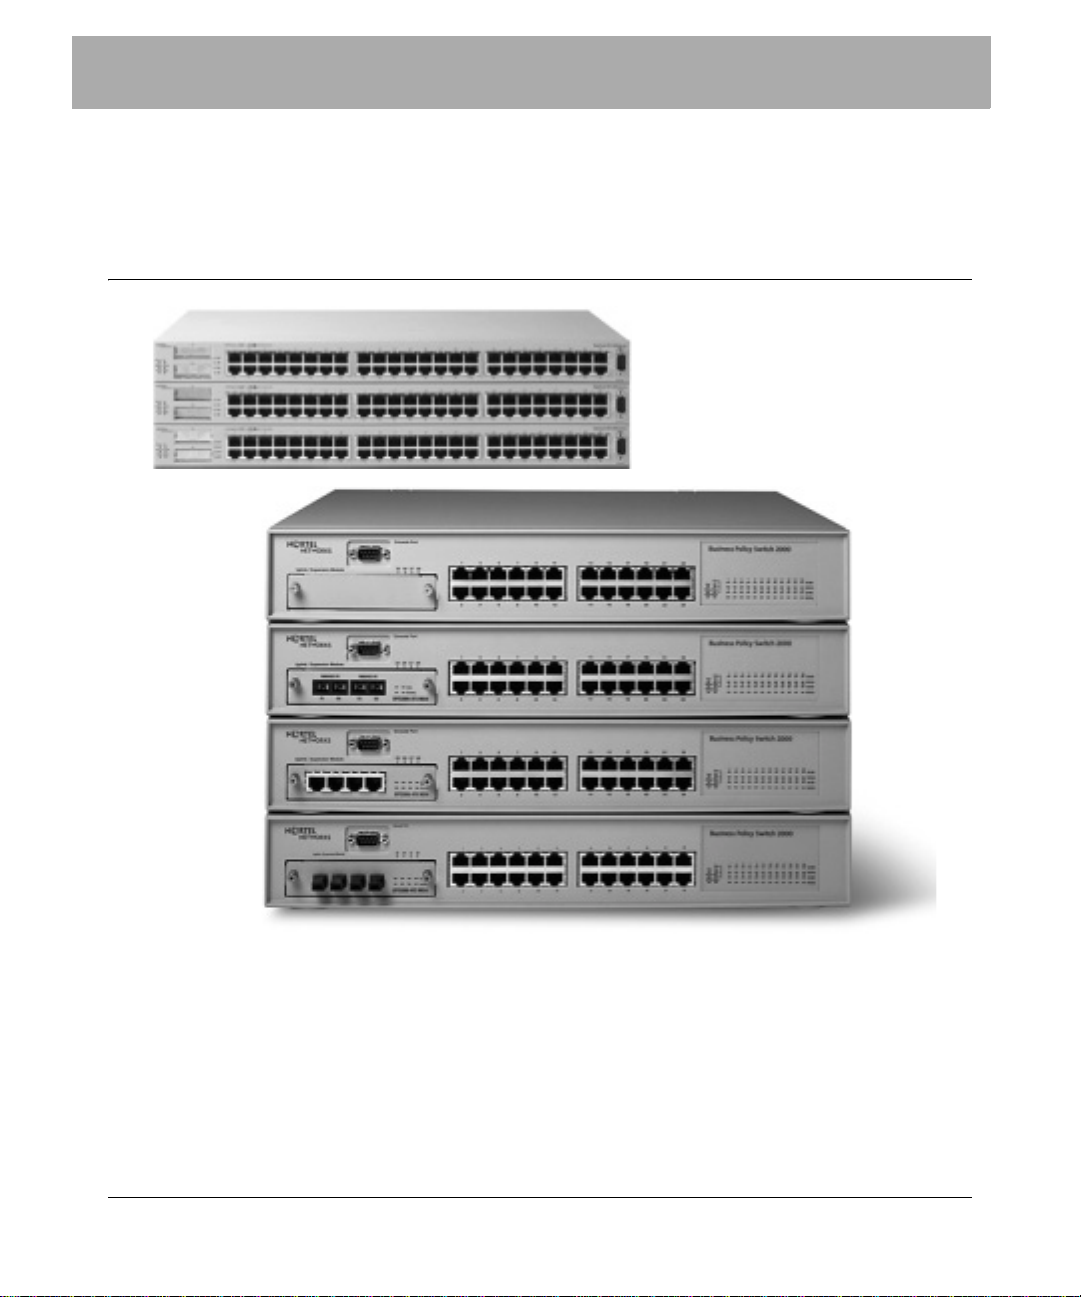
Policy management on the Nortel Ethernet Switch
460, Ethernet Switch 470, and BPS
This guide contains information relating to the configuration of the Nortel
Ethernet Switch 460 (formerly BayStack 460), Ethernet Switch 470 (formerly
BayStack 470), and Business Policy Switch (BPS), to receive policy configuration
from Nortel Enterprise Policy Manager (EPM). It also includes information on the
devices’ compatibility with various policy management objects.
This guide covers the following subjects:

2 Policy management on the Nortel Ethernet Switch 460, Ethernet Switch 470, and BPS
• “Nortel product rebranding” on page 2
• “Nortel product rebranding” on page 2
• “Configuring the device for policy management” on page 3
• “Testing an Ethernet Switch or BPS device’s policy configuration” on page 5
• “Known device limitations for EPM 4.1” on page 6
• “Policy object - device compatibility” on page 7
• “EPM access requirements” on page 8
• “Hardware changes on a policy-enabled device” on page 9
• “Accessing device documentation” on page 9
• “BPS action limitations” on page 10
Nortel product rebranding
Nortel transitioned to new names for many of its products over the course of 2004.
The transition simplifies product naming in order to make it easier for customers
to understand the Nortel product and services portfolio. Table 1 lists the names of
rebranded Nortel products mentioned in this publication.
Table 1 Nortel product rebranding
Products formerly knowm as.... New Nortel Name
Optivity Policy Services (OPS) Nortel Enterprise Policy Manager (EPM)
BayStack Nortel Ethernet Switch
Full details of the Nortel product rebranding process can be obtained from
http://www.nortel.com/products/announcements/rebranding/index.html#faqs.
Supported software
The EPM 4.1 release has been tested to support the BoSS 3.0, 3.1 software, as
well as the BPS version 2.5 software. BoSS 3.1.1 software is required to support
UBP functionality. EPM 4.1 has been tested to support BoSS 3.6 for the Ethernet
Switch 460 and Ethernet Switch 470.
318396-4.1

Policy management on the Nortel Ethernet Switch 460, Ethernet Switch 470, and BPS 3
If you are working with a maintenance release in the EPM 4-series (i.e. post-4.1),
it may have been tested against a newer version of the device software. To verify
the absolute latest supported device software versions, refer to the Release Notes
for Enterprise Policy Manager manual.
Configuring the device for policy management
In order for an Ethernet Switch 460, Ethernet Switch 470, or Business Policy
Switch unit to receive policy configuration from EPM, the devices themselves
must be configured to communicate with the EPM Policy Server. Detailed
instructions for accomplishing this task are included below. Once this is
completed, the devices will report to the EPM Policy Server and they will appear
as icons in the management console. The roles they report are also displayed.
Policy management can be initiated by associating a policy with the device’s
reported role(s).
You must open the Web interface for the device and specify the address and port
number of the EPM Policy Server. You can specify more than one Policy Server.
You must also enable QoS configuration on the device and define its role
combinations.
You must know the IP address and COPS-PR Client Port values for your Policy
Server. You can obtain these values by right-clicking the Policy Server object in
the EPM management console and choosing Properties from the menu.
To configure an Ethernet Switch or BPS unit to accept policy configuration,
follow these steps:
1 Launch the Web interface for the device you want to configure. Open a Web
browser and go to the IP address of the device.
2 In the Access list, navigate to the following location:
Application > COPS > Configuration
3 In the COPS Client Creation area, do the following:
a Type the IP address of your EPM Policy Server in the IP Address field.
b Type the Policy Server COPS-PR Client Port number (specified in EPM)
in the TCP Port field. The default value for this field is 3288.

4 Policy management on the Nortel Ethernet Switch 460, Ethernet Switch 470, and BPS
c Type a priority value in the Priority field.
If you are specifying more than one Policy Server, the priority value sets
the sequential order in which the client connects to the Policy Servers.
d Click the Submit button below the COPS Client Creation area.
An entry for the Policy Server is added to the COPS Configuration Table.
e Repeat steps a through d to specify additional Policy Servers (if required).
4 In the Access list navigate to the following location:
Application > QoS > QoS Advanced > Agent
5 In the QoS Configuration area, choose the Enabled option from the QoS
Policy Server Control drop-down list.
6 Click the Submit button.
7 In the Access list navigate to the following location:
Application > QoS > QoS Advanced > Devices > Interface Config
8 In the Interface Group Creation area, do the following:
a T ype a name for a role combination in the Role Combination field. Do not
use spaces in role combination names.
318396-4.1
The role combination is a common identifier that is used to enforce a
specific set of policies on specific network entities (for example, the print
server, the Web server, employee workstations, etc.). EPM includes a set
of preconfigured roles with policy objects linked to them. You can use
these roles for test purposes. To find the names of these roles, open the
Policy Setup view of the EPM management console.
b Choose an interface class from the Interface Class drop-down list.
Your choice of Trusted, Untrusted, or Unrestricted will depend on the
type of policy actions that will be enforced on the network traffic
controlled under the role combination.
c Click the Submit button below the Group Creation area.
The new interface group is added to the Interface Group table.
d Click the Edit button next to the new entry in the Interface Group table.
The QoS - Interface Group Port Assignment dialog box appears.

Policy management on the Nortel Ethernet Switch 460, Ethernet Switch 470, and BPS 5
e Enable the check box for each port on the device that you want to include
under the new role combination, and then click the Submit button.
f Repeat steps a through e to define additional role combinations.
9 Exit the device’s Web interface.
Testing an Ethernet Switch or BPS device’s policy configuration
In order to check the policy filters installed on your COPS-PR devices, you must
meet the following requirements:
• You must hav e SNMP reporting enabled on your network devices.
• You must enter the SNMP string for each device on the device’s
corresponding object in the EPM management console.
• You must have the EMANATE SNMP master agent (available as a default
EPM installation option) installed with your Policy Server.
1 In the Policy Setup view , drag a policy from the Available Policy Components
tree to the role that is being reported by the device. Enable the policy from the
Options menu.
For example, you can choose the Mark WWW Traffic Best Effort During
Lunch policy to match all Web traffic between 11:30 am and 1:30 pm. You
can remove the schedule from the policy to make it active all of the time.
2 Click the Deploy Changes button on the toolbar to notify the Policy Server of
your changes.
3 In the Device Setup view, right-click on the device and choose Show Device
Report from the menu.
4 In the Device Report dialog box, click the Lookup button next to the Interface
field and choose the interface for which you want to view installed policy
filters.
If the policy was correctly installed on the device, a list of traffic filters
generated by the policy appears in the Filter Set list. If any traffic matching
the filters has passed through the device, the number of affected packets
appears under the Packets column for each filter.
 Loading...