

Page 1
ENG
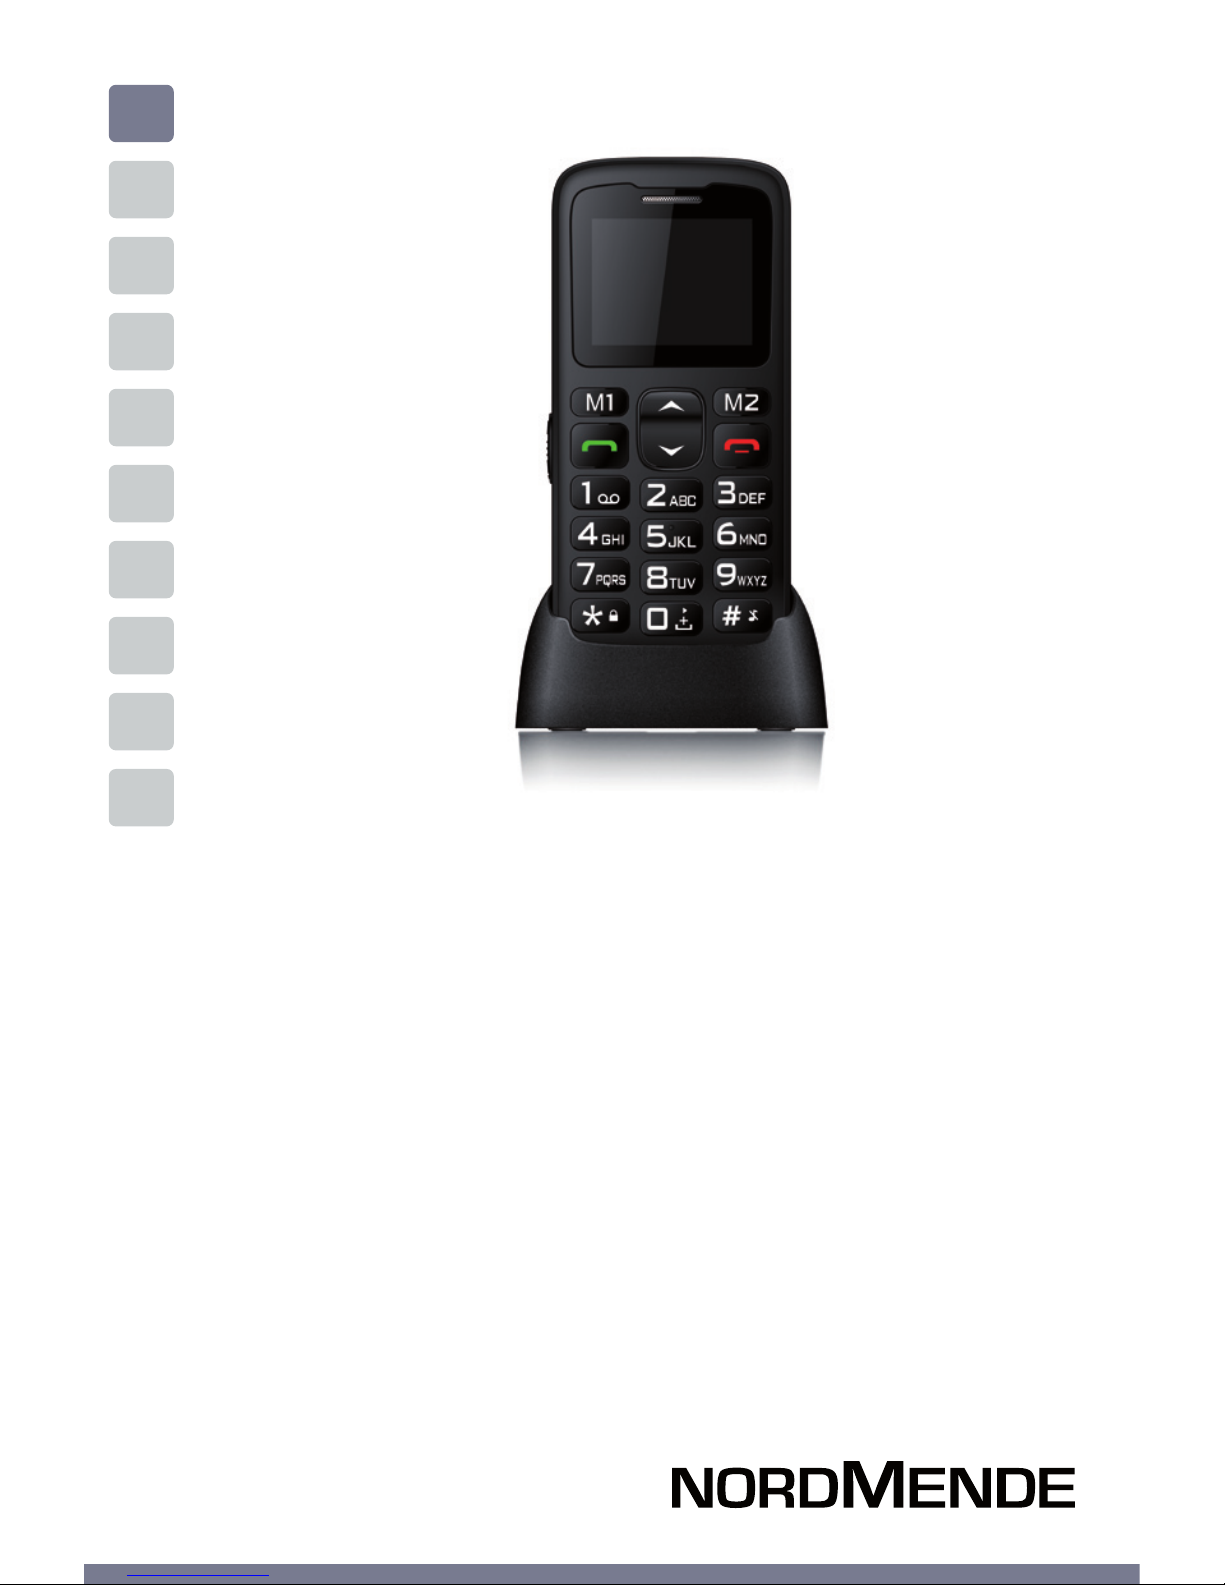
LARGE KEYPAD GSM MOBILE PHONE
USER GUIDE
BIG100S
Page 2

Section 1 THE PHONE ....................................................4
Section 2 INSTALLING THE BATTERY AND SIM CARD ......6
Section 3 PHONEBOOK MANAGEMENT ...........................8
Adding a new contact .................................................9
Making a phone call .................................................... 9
Making a phone call from the phonebook ............. 10
Section 4 MESSAGING .................................................... 11
Writing and sending SMS ...........................................12
Inbox ..............................................................................12
Outbox ...........................................................................13
Dras .............................................................................. 13
Sent messages .............................................................13
SMS settings .................................................................13
Section 5 CALL CENTER .................................................14
View call history ...........................................................15
Call settings ..................................................................15
Section 6 ORGANIZER ....................................................16
Alarm ..............................................................................17
Calendar ........................................................................ 17
Calculator ......................................................................18
Bluetooth (if available) ...............................................18
Section 7 MULTIMEDIA ................................................... 20
FM radio .........................................................................21
Audio Player..................................................................21
Contents
USER GUIDE | page 2
Page 3

Sound recorder ............................................................ 21
Camera ..........................................................................22
Image Viewer ................................................................22
File Manager .................................................................22
Section 8 SETTINGS .......................................................23
SOS setting ....................................................................24
Make a SOS call ............................................................24
Phone Settings .............................................................24
Profiles ........................................................................... 25
Speed dial ..................................................................... 26
Block function ..............................................................27
Key shortcut .................................................................. 27
Network settings .......................................................... 28
Security Settings .......................................................... 28
Restore factory settings ..............................................28
Section 9 SAFETY USING YOUR PHONE ........................... 29
Section 10 TECHNICAL SPECIFICATIONS ..........................32
Section 11 WARNINGS ..................................................... 34
USER GUIDE | page 3
Page 4

SECTION 1
The phone
Basic information, function of keys
USER GUIDE | page 4
Page 5
USER GUIDE | page 5
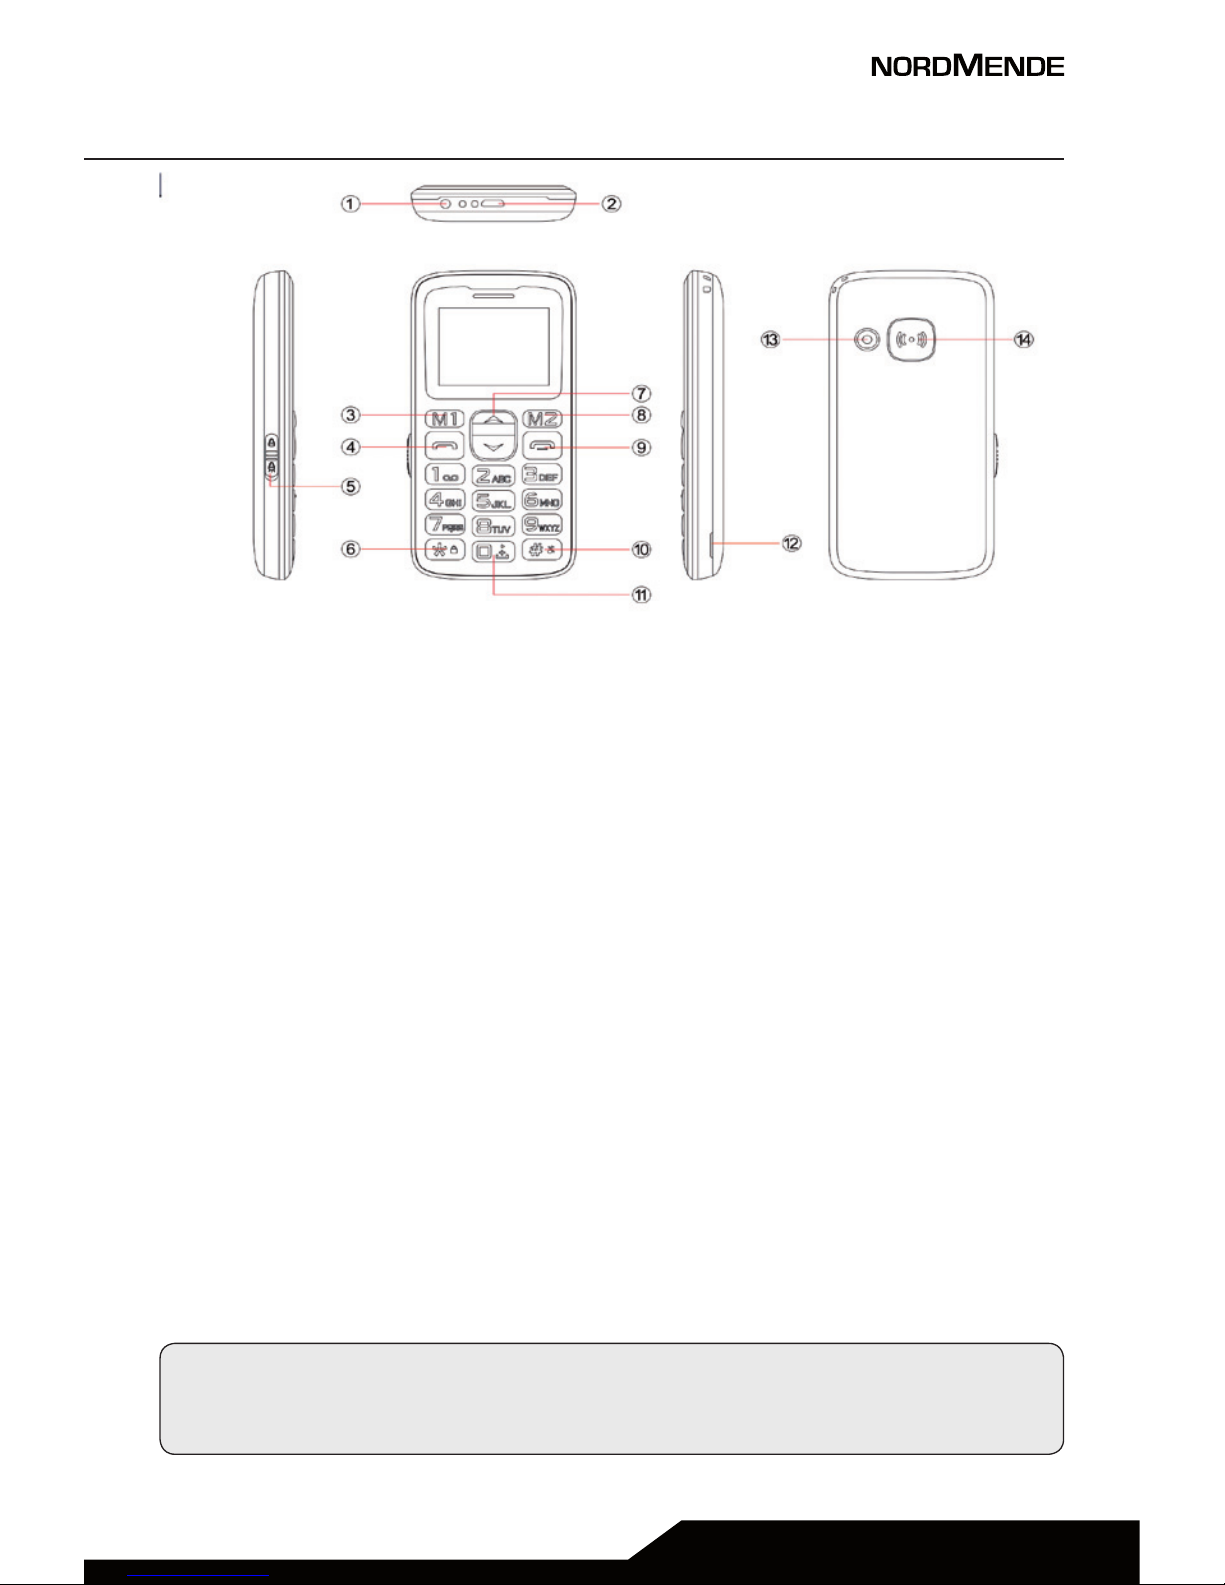
1. Torch LED Light
2. USB port
3. Tasto M1: M1 button, in standby mode press this button to enter
into main menu.
4. Call button
5. Torch switch
6. * key: in standby mode, long press this key to lock/unlock the
keypad; when edit message, press this key to input symbol.
7. Arrow buttons
8. M2 button; In standby mode, press M2 to enter the phonebook
9. End call /power on/power off
10. # key: long press it to change into Silent mode / change input method.
11. 0 key
12. Open the back cover
13. Camera
14. SOS button
Read carefully this manual before using the device for the first time,
and keep this guide in a safe place for future necessity.
Page 6

SECTION 2
Installing the battery
and SIM card
USER GUIDE | page 6
Page 7

USER GUIDE | page 7
1. Remove the battery cover and the battery.
2. Insert the T-Flash card by carefully sliding into the holder
(not mandatory).
3. Insert the SIM card by carefully sliding into the holder.
Make sure the SIM card’s contacts are facing inwards.
4. Insert the battery, sliding it into the battery compartment.
5. Install the battery cover again
NOTE ON MEMORY CONFIGURATION
The phone internal memory (flash memory) is totally dedicated to the device management.
For this reason, the free memory must not be used as it
should be kept free for possible soware updates, or the
warranty will be lost.
To store and play multimedia files, it is therefore necessary
to insert a Micro SD card in the device ( Micro SD card not
included).
Page 8

SECTION 3
Phonebook
management
Adding a new contact, vedi e chiama,
making a phone call, making a phone call
from the notebook
USER GUIDE | page 8
Page 9
USER GUIDE | page 9
1 ADDING A NEW CONTACT
1. Press Menu enter into Phonebook and press OK.
2. Select Add new contact and press OK .
3. Press OK to choose To phone or To SIM.
4. Input Name and number. To change the input method,
please press
5. Press Options to Save or Cancel the contact.
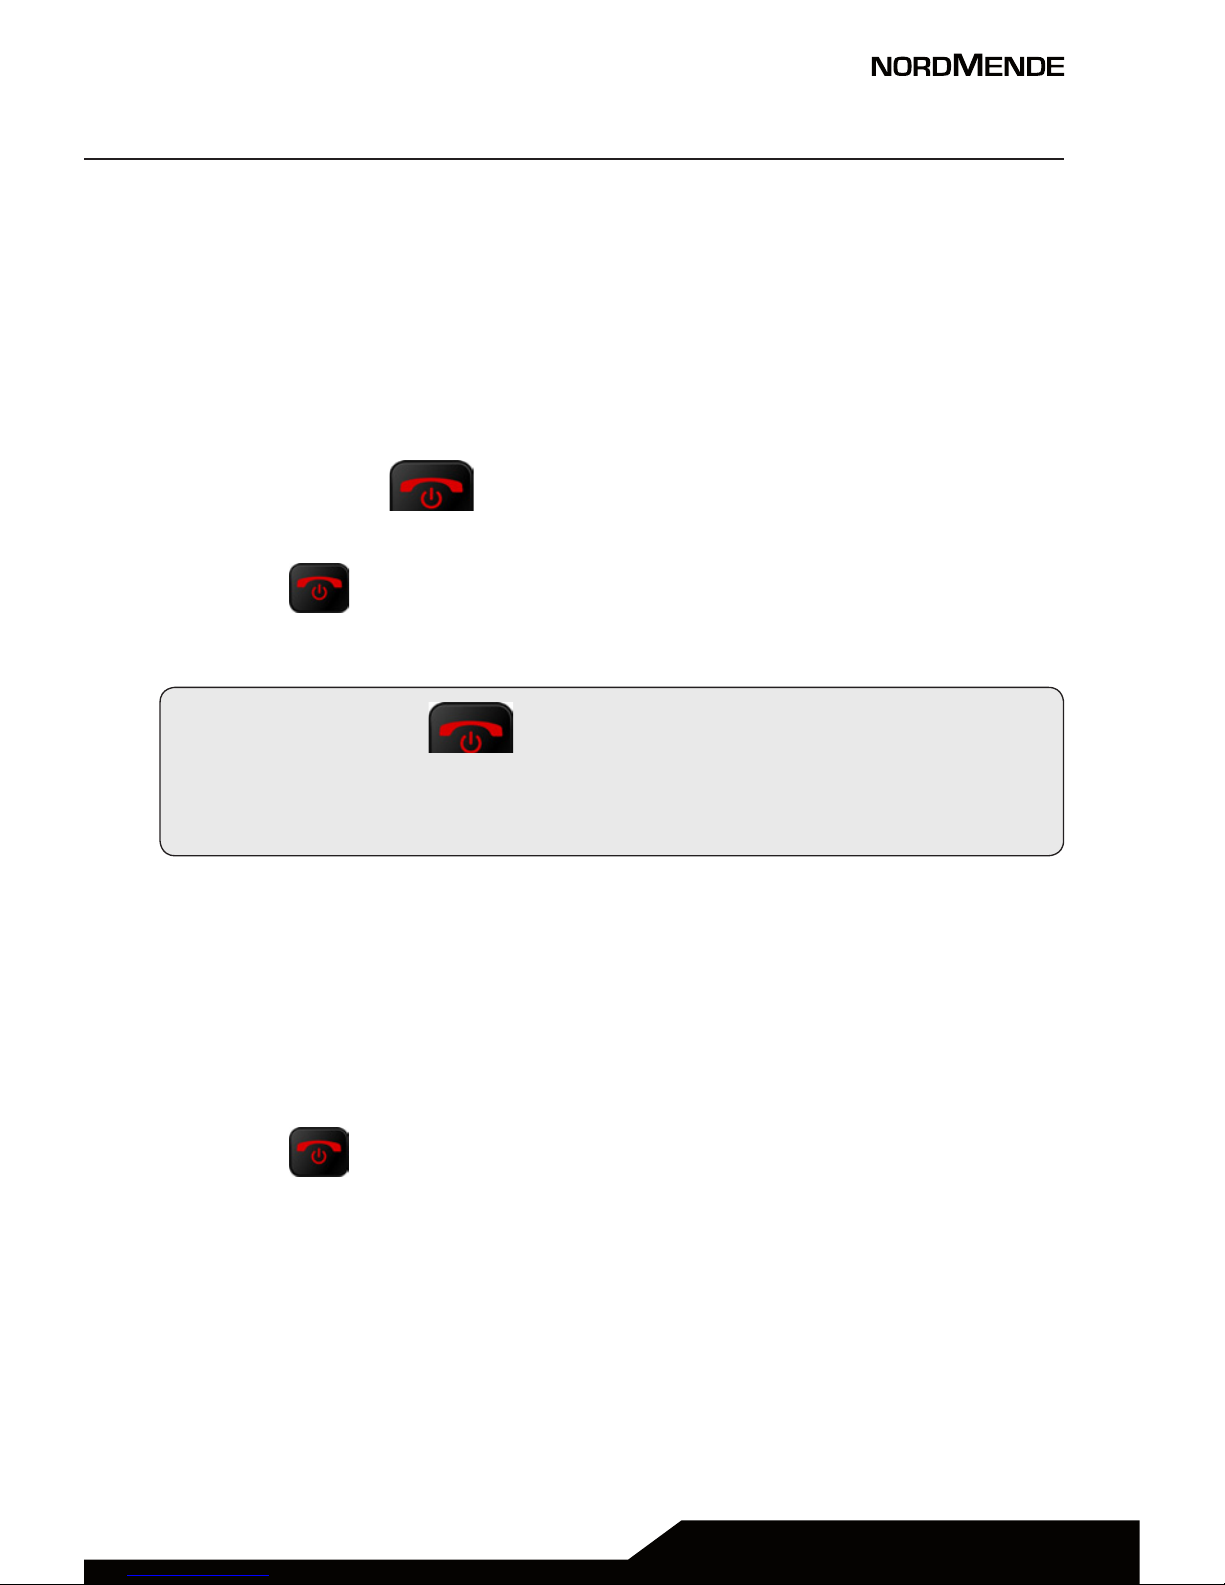
6. Press to return to standby.
Note: Long press to add the international prefix +.
Always add + before the country code before making
international call .
2 MAKING A PHONE CALL
1. In standby mode, input the phone number including the
area code; in case, delete with Clear.
2. Press to dial and press Abort to cancel calling.
Page 10

3 MAKING A PHONE CALL FROM THE PHONEBOOK
1. Press Menu, enter into Phonebook and press OK.
2. Select Search.
3. Use scroll to view the contacts or quick search by
inserting any letter of the name.
4. Press to call the selected contact.
USER GUIDE | page 10
SECTION 3
PHONEBOOK MANAGEMENT
Page 11

USER GUIDE | page 11
SECTION 4
Messaging
Writing and sending SMS, inbox, outbox,
dras, sent messages, SMS settings
Page 12

USER GUIDE | page 12
1 WRITING AND SENDING SMS
1. Press Menu, enter into Message and press OK.
2. Select Write message and press OK.
3. Input the message you want to send; press if you need
to select a symbol; press to change input method.
4. Press Options to send message .
2 INBOX
1. Press Menu, enter into Message and press OK .
2. Select Inbox and press OK.
3. Select a message from the list and press Options > View to
view the message.
You can select others options as described below:
Reply
Input your message and send to the sender.
Call sender
Press Select to call sender.
Forward
Press Select to forward message to other contacts
Delete
Press Select to delete the message.
Delete all
Delete all received messages.
Save to phonebook
Here you can save the sender’s phone number.
3 OUTBOX
SECTION 4
MESSAGING
Page 13

USER GUIDE | page 13
This menu relates to the management of outgoing messages,
which the phone is trying to send, but not yet sent.
4 DRAFTS
Here you can see the messages which you saved as dra.
5 SENT MESSAGES
1. Press Menu, enter into Message and press OK .
2. Select Outbox and press OK .
3. Select a message from the list and press Options to View/
Resend/Edit/Delete/Delete all message.
6 SMS SETTINGS
Here you can check the memory status, setup the SMS preferred storage or decide to save sent message.
Page 14

USER GUIDE | page 14
Call center
View call history, call settings
SECTION 5
Page 15

USER GUIDE | page 15
All received, missed, outgoing calls are saved in call center.
1 VIEW CALL HISTORY
1. Press Menu, enter into Call center and press OK.
2. Select Call history and press OK.
3. Here you can check call logs as below:
Missed calls
Dialed calls
Received calls
Delete call logs
2 CALL SETTINGS
1. Press Menu, enter into Call center and press OK.
2. Select Call settings and press OK.
3. Here you can Activate or deactivate the functions below:
Call waiting
Call divert
Call barring
4. Under advanced settings you can setup the below functions:
Auto redial
Press OK to select the status On/O.
Call time reminder
Press OK to select O/Single/Periodic.
Answer mode
Press OK to select Any key answer or Auto answer in
headset mode.
Page 16

USER GUIDE | page 16
Organizer
Alarm, Calendar, Calculator, Bluetooth (if
available)
SECTION 6
Page 17

USER GUIDE | page 17
1 ALARM
1. Press Menu, enter into Organizer, select Alarm and press OK.
2. Press Edit to select status on/o.
Press & to change the status on/o.
3. Enter the time directly by keypad.
4. Scroll to select repeat times and Alert type.
5. Press Save to activate the alarm, cancel it by press Back in
case the settings are not correct.
6. To Edit the alarm, press Edit; to stop it, press O.
2 CALENDAR
1. Press Menu enter into Organizer, press OK to select Calendar.
Today’s day and date is shown on the display.
2. Press Options to do following settings:
View
Show the event for the selected date.
View all
View all events
Add event
a. Input subject for the event .
b. Enter a start date and time for the event .
c. Enter the end date and time for the event.
d. Enter subject for the event.
Page 18

USER GUIDE | page 18
SECTION 6
ORGANIZER
e. Activate Alarm and repeat times for the event.
f. Enter location for the event.
g. Save the event.
Delete event
Delete the selected event.
Jump to date
Enter the date and press OK.
Go to weekly view
Shown the events of the week according to selected date.
3 CALCULATOR
1. Press Menu enter into Organizer, press OK to select Calculator.
2. Enter the first number and use to enter into the
decimal point.
3. Use to select( + - * ÷) and press OK.
4. Enter the next number and press OK. The result is shown on
the screen.
4 BLUETOOTH (if available)
1. Press Menu enter into Organizer, press OK to select
Bluetooth.
2. Function on/o: Select on/o to enable/disable bluetooth.
3. Visibility: Select on/o to make the phone visible /invisible
to other devices.
Page 19

USER GUIDE | page 19
4. My device: Check the device name and allow you to add new
devices.
5. Search audio device: Search for the available audio device .
6. My name: Name for current device.
Page 20

SECTION 5
SECTION 7
USER GUIDE | page 20
Multimedia
FM Radio, audio player, sound recorder,
camera, image viewer, file manager
Page 21

1 FM RADIO
1. Press Menu, enter into Multimedia, press OK to select FM radio.
2. Press Options to view Channel list.
3. Select Manual input can input the channel you prefer.
4. Select Auto search can auto search your local radio channel.
5. Enter into settings to set up background play.
2 AUDIO PLAYER
1. Before listening to the music, you must add it in the music List.
2. Go to List > Options > Add in order to add music the list,
surfing in the phone memory or sd card memory.
3. Press to play or pause the music.
4. Press & to adjust the volume.
5. Press to move through all the music list and jump to the
next or previous file.
3 SOUND RECORDER
Make a new record
1. Press Menu enter into Multimedia, press OK to select sound
recorder.
2. Select New record to make a new record.
3. Enter into List to view all records.
4. Enter into Settings to setup storage location and audio
quality.
USER GUIDE | page 21
Page 22

4 CAMERA
Press Menu, enter into Multimedia, press OK to select Camera.
Press the “0” button to take the picture.
5 IMAGE VIEWER
Here you can view all the images saved on the phone or on
the SD card.
Press & to move across all the files.
6 FILE MANAGER
Here you can manage the files saved on the phone or on the
SD card.
USER GUIDE | page 22
SECTION 7
MULTIMEDIA
Page 23

USER GUIDE | page 23
Settings
SOS settings, make a SOS call, phone settings, profiles, speed dial, block function,
key shortcut, network settings,
security settings, restore factory settings
SECTION 8
Page 24

USER GUIDE | page 24
1 SOS SETTING
1. Press Menu and enter into Settings .
2. Select SOS settings and press OK.
3. Scroll to Status and setup SOS status on/o.
4. Scroll to Family Numbers to setup SOS number, here you
can setup 5 numbers.
5. Scroll to SOS Sms on/o to choose whether to send SOS
SMS or not.
6. Enter into SOS SMS to edit message.
7. Enter into Warning Tone to control the tone status on or o.
2 MAKE A SOS CALL
Before you make SOS call, please check that the SOS status is
ON and you already completed the SOS settings.
Long press SOS button: the phone will auto send SOS messages to the selected SOS numbers and then call to the selected
SOS numbers one by one; the siren sound is always active until
the call will be answered (if the SOS sound is activated in the
relevant setting).
3 PHONE SETTINGS
1. Press Menu, scroll to Settings.
2. Select Phone settings and press OK.
Then you can setup the functions as described below.
SECTION 8
SETTINGS
Page 25

Time and date
1. Select Set home city and choose your local city.
2. Select Time and date and press OK.
3. Select Set time/date and press OK.
4. Enter Time and date and press Save.
Language
1. 1. Select Language and press OK.
2. Use scroll to select the Language from the list and
press OK.
Preferred input method
1. Selezionare Metodi immissione preferiti e premere OK.
2. Use scroll to select the Language from the list and press
OK.
Display
1. Select Display and enter into wallpaper.
2. Here you can select wallpaper from the phone and memory card.
4 PROFILES
1. Press Menu and scroll to Settings.
2. Select Profiles and press OK.
Then you will see four mode as below:
■ General
■ Silent
USER GUIDE | page 25
Page 26

■ Meeting
■ Outdoor
In questo menu è possibile impostare le suonerie di accensione/spegnimento, di chiamata, ecc.
1. Press Menu and scroll to Settings.
2. Select User profiles and press OK. Select General and press
Option.
3. Select Customize and press Select .
4. Scroll to Alert type and press Options to select Ring only,
Vibration Only, Vibration and ring or Vibration then ring.
Press OK to save.
5. Scroll to Ringtone and press Options to select preferred
ringtone.
6. Scroll to Ringtone volume and press Option, Use to
adjust volume and press OK to save.
7. Scroll to Message and press Option to select a preferred
ringtone for message.
8. Scroll to Message volume and press Option, use to
adjust volume, press OK to save.
Use the same procedure to setup the other modes.
5 SPEED DIAL
M1,M2 and the numerical keys 2-9 can be used for speed dial
some pre-set numbers.
USER GUIDE | page 26
SECTION 8
IMPOSTAZIONI
Page 27

Add speed dial number and Activate the status
Add M1 and M2 speed dial numbers:
1. Press Menu and scroll to Settings.
2. Select Speed dial and press OK.
3. Enter into M1/M2 key to activate the status.
4. Select Set numbers to choose numbers for M1 and M2 keys
from phonebook.
The same procedure can be used to add contacts for the
numerical keys 2-9.
6 BLOCK FUNCTION
You can disable some functions to simplify the use of the
phone.
1. Press Menu, scroll to Settings and press OK.
2. Select Block Function and press OK.
3. Scroll to choose the functions you want to disable and press
Done.
7 KEY SHORTCUT
Here you can set shortcuts for up key and down arrow.
1. Press Menu and scroll to Settings .
2. Select Key Shortcuts and press Ok.
3. Choose Up key to determine relevant functions you like, and
in the same way you can set up shortcuts for down key.
USER GUIDE | page 27
Page 28

8 NETWORK SETTINGS
Decide here if network selection is automatic or manual.
9 SECURITY SETTINGS
Here you can set some security settings for SIM card, phone and
keypad.
1. Press Menu and go to Settings.
2. Scroll to security settings and press OK.
Then you can see sub-menus below:
a. SIM security
Here you can setup PIN lock status on or o and change
the PIN code.
b. Phone security
Here you can setup Phone lock status on/o and change
password (default password 1234).
c. Screen auto lock
Press OK to on/o auto lock.
10 RESTORE FACTORY SETTINGS
Press OK and input password (1234) to reset your phone to the
default factory settings.
SECTION 8
IMPOSTAZIONI
USER GUIDE | page 28
Page 29

USER GUIDE | page 29
SECTION 9
Safety using your
phone
Page 30

USER GUIDE | page 30
In order to use your mobile phone safely and eiciently, please
read the following part before using:
1. Please be careful when you are near chemical plant, gas station and any explosive areas. Even if your mobile phone is in
standby, it will send out some RF signals. Therefore, please
power o your mobile phone if requested.
2. When you are driving, do not use your mobile phone. If
you have to use it, please park your car before having your
phone call.
3. Don’t use your mobile phone in the hospital not to disturb
the normal operations of medical equipment, such as heart
pacemakers, hearing aids, etc. You should observe all the
relevant rules of the local hospital before using.
4. Please power o your mobile phone before the plane take
o, not to disturb the aircra’s electronic equipment. It
is generally dangerous and illegal to use mobile phone on
board of the aircras.
5. Please place your mobile phone and all accessories in places
that cannot be reached by children.
6. Accessories and battery: please use the accessories and battery provided in the gibox. If not, it might damage your
phone and lead to danger. Please do not shortcut, tear down
and adapt the battery. If the phone has excessive temperature, discolor, bulking, leak fluids or you can see other unusual phenomenon, please stop using and change the battery
immediately in order not to aect your safety. Please place
the old batteries in specific recycle spots.
7. Do not charge without the battery. Please power o the mobile phone before removing the battery not to lose the data
inside the phone.
SECTION 9
SAFETY USING YOUR PHONE
Page 31

USER GUIDE | page 31
8. The phone is not waterproof. Please keep it dry.
9. Avoid using the phone in too high or too low temperature.
10. Not throw, fall and beat the phone so as not to damage the
internal or external parts of your phone.
11. Authorized Service: the repair and maintenance of the
phone can be done only by professional people. Please not
tear o the phone on your own.
Page 32

Technical
specifications
SECTION 5
SECTION 10
USER GUIDE | page 32
Page 33

USER GUIDE | page 33
TECHNICAL SPECS
Panel Dimensions 1,8”
Main features TFT color display
Various Dimensions 113.2 x 54 x 13.2 mm
Back cover Black
Camera Sì
Battery Lithium Polymer 700 mAh,
3,7 V
Included Accessories Charger Input: 100-230V~ 50-
60 Hz, Output: 5V DC 500 mA
User Manual
Charging cradle
Battery
Earphone with mic
Note: The phone use GSM band to connect to network.
Please check with your carrier the phone compatibility with
your SIM card.
Page 34

Warnings
SECTION 5
SECTION 11
USER GUIDE | page 34
Page 35

USER GUIDE | page 35
SAR Certification information (Specific Absorption Rate)
The device is compliant to European Union (EU) standards that
limit human exposure to radio frequency (RF) energy emitted
by radio and telecommunications equipment.
These standards prohibit the sale of mobile devices that
exceed a maximum exposure level (known as SAR) of 2.0 W/kg.
During testing, the maximum SAR recorded for this model was
equal to 0.514 W / kg.
During normal use, the actual SAR level can be much lower,
as the device has been designed to emit only the RF energy
necessary to transmit a signal to the nearest base station.
By automatically emitting lower levels when possible, your
device reduces your overall exposure to RF energy.
To avoid damage to your hearing, please do not
listen at high volume for a long time.
Page 36

USER GUIDE | page 36
SECTION 11
AVVERTENZE
INFORMATION ON DISPOSAL OF UNITS
This product bears the selective sorting symbol for
waste electrical and electronic equipment (WEEE).
This means that this product must be handled to
the local collecting points or given back to retailer
when you buy a new product, in a ratio of one to
one (or one to zero if the external dimension is
less than 25 cm) pursuant to European Directive
2012/19/EC in order to be recycled or dismantled
to minimize its impact on the environment.
For further information, please contact your local
or regional authorities.
Electronic products not included in the selective sorting process are
potentially dangerous for the environment and human health due to
the presence of hazardous substances.
The unlawful disposal of the product carries a fine according to the
legislation currently in force.
This product contains batteries covered by
the European Directive 2006/66/EC, which
must not be put in the household waste.
Please be informed about local regulations
regarding the collection of batteries, as their correct disposal helps to prevent negative consequences for the environment and human health.
Page 37

LARGE KEYPAD GSM MOBILE PHONE
BIG100S
Hereby, Aldinet S.p.A, declares that this type of BIG100S,
Brand Nordmende is in compliance with the essential
requirements and other relevant provisions of Directive
R&TTE 1999/5/EC.
The Declaration of Conformity is available at:
Aldinet S.p.A.
Viale Colombo, 8 - 20090 Trezzano S/N (MI) Italy
MADE IN CHINA BY
Aldinet S.p.A.
Viale Colombo, 8 - 20090 Trezzano S/N (MI) Italy
NORDMENDE is a trademark of Technicolor or its ailiates
used under license to ALDINET S.p.A.
 Loading...