

Page 1
quick guide
Nonin Medical, Inc.
13700 1st Avenue North
Plymouth, MN 55441-5443 • USA
Tel: +1.763.553.9968
+1.800.356.8874
Fax: +1.763.577.5521
E-mail: [email protected]
Nonin Medical
B.V.
Prins Hendriklaan 26
1075 BD Amsterdam • Netherlands
Tel: +31 (0)13 - 79 99 040
Fax: +31 (0)13 - 79 99 042
E-mail: infointl@nonin.com
nonin.com
©2013 Nonin Medical, Inc. All trademarks are the property of Nonin Medical, Inc. unless otherwise noted.
Visit nonin.com for more information and video tutorials.
THIS GUIDE IS FOR REFERENCE ONLY. Refer to the Operator’s Manual for complete
information, warnings, cautions and specifications for the product you are using.
Use ONLY with compatible Nonin-branded pulse oximeter sensors.
P/N 9484-001-01
Model 7500/ 7500FO SpO2 Pulse Oximeters
DEFAULT ALARM LIMITS and TIME/DATE
Default Alarm Limits are preset on the Model 7500 oximeters, which may be
adjusted prior to use. Default limits are:
High SpO
2
– Off High Pulse Rate – 200 BPM
Low SpO
2
– 85% Low Pulse Rate – 50 BPM
Caution: Always verify alarm settings when turning on the unit.
To set Time, Date and Alarm Limits in standard mode, turn the oximeter on
and follow these steps:
Press the Limits Button.
Use the + and – buttons to move the value up or down.
Press Limits again to set the value and move to the next setting.
You can also use the Limits button to review current settings by pressing
through each value. You will then see and reset that value with each press.
Patient Security Mode locks Limits, Time, Date and other values. See the
Operator’s Manual on Setting and Releasing Patient Security Mode if in use.
1. Select the proper size Nonin-branded sensor. Place sensor on patient
prior to connecting to the oximeter.
2. Connect Model 7500 Oximeter to wall power, or check battery
level prior to use. Recharge if required. Oximeter runs at least
16 hours on a full battery.
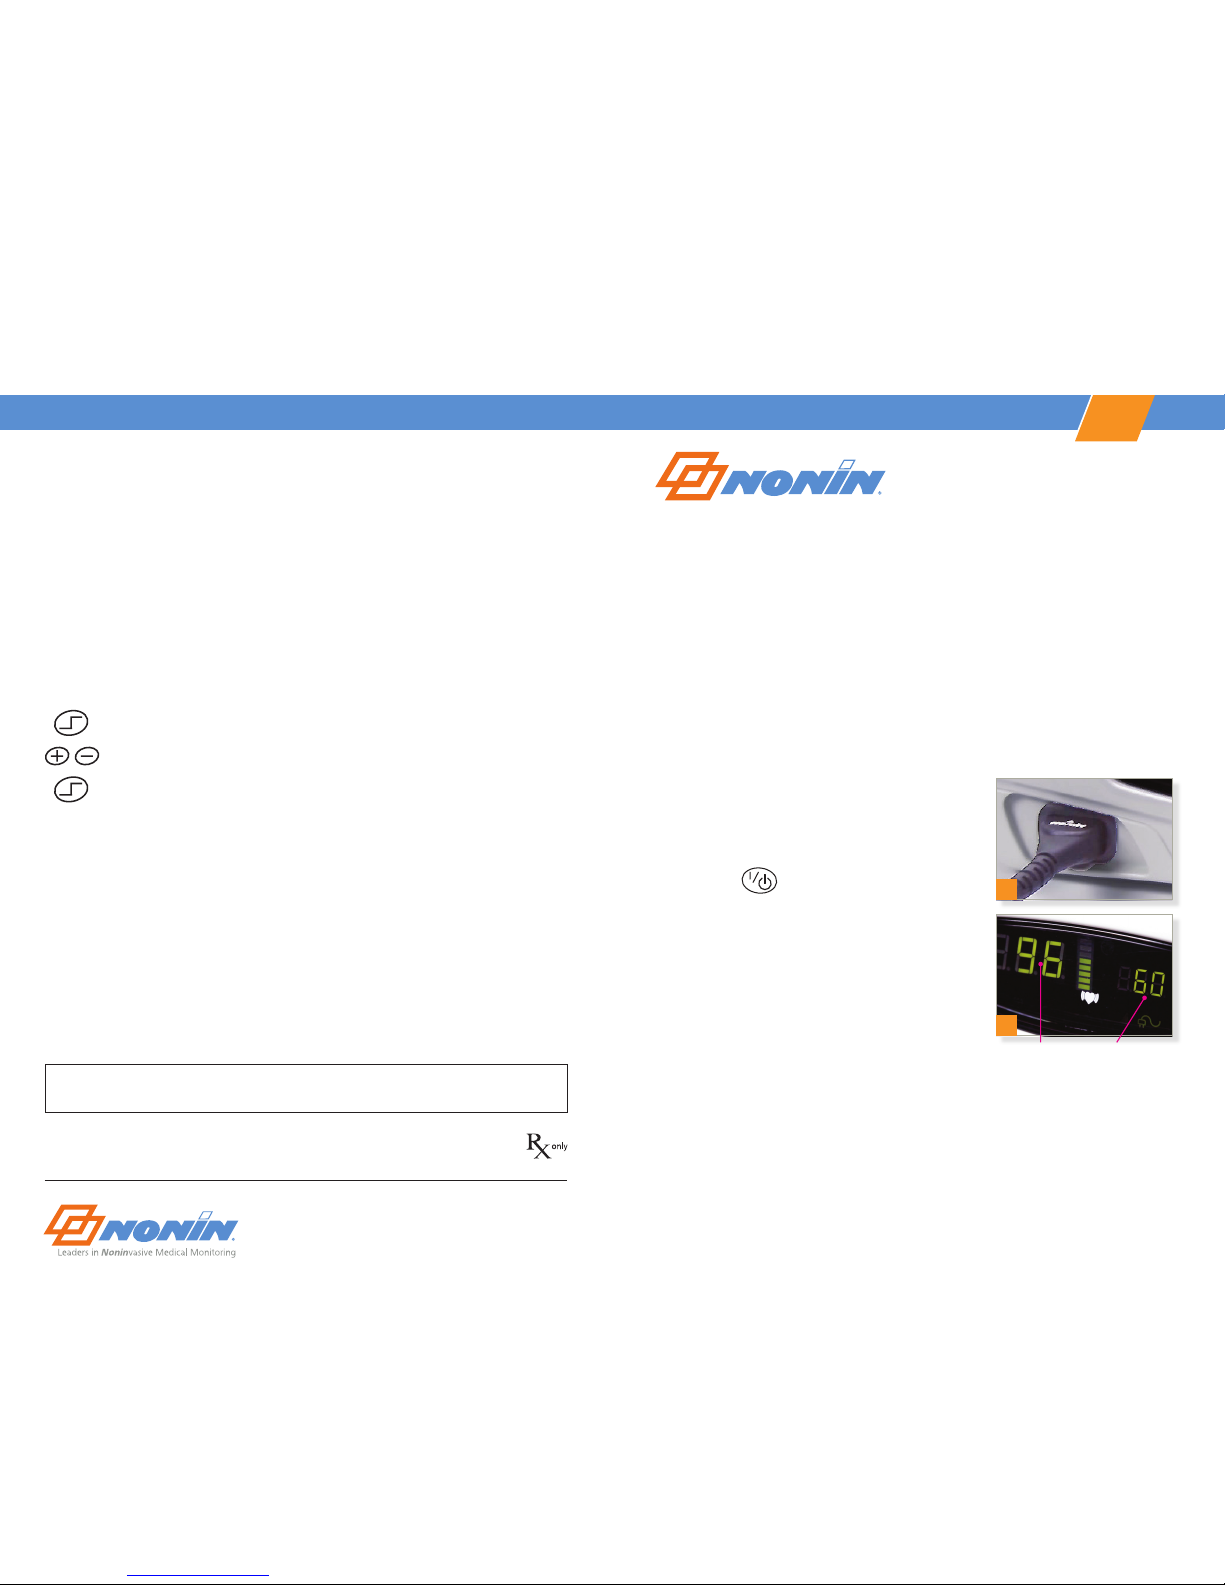
3. Insert the sensor connector into the
sensor port on the oximeter.
4. Turn the oximeter on with the On/ Off /
Standby button. The oximeter will
go through a self-check, then begin
displaying oxygen saturation (
SpO
2
) and
pulse rate.
Do not use oximeter if any LED segments
are missing or displays do not appear
as expected. Refer to the Operator’s Manual
for instructions.
Alarms are disabled for two minutes
to allow time for sensor placement and adjustment.
Model 7500FO for MRI environments requires special sensors and
precautions. Refer to the Model 7500FO Operator’s Manual.
Model 7500/ 7500FO
SpO2 Pulse Oximeters
SpO
2
3
4
Pulse
Rate
Page 2
Model 7500/ 7500FO SpO2 Pulse Oximeters
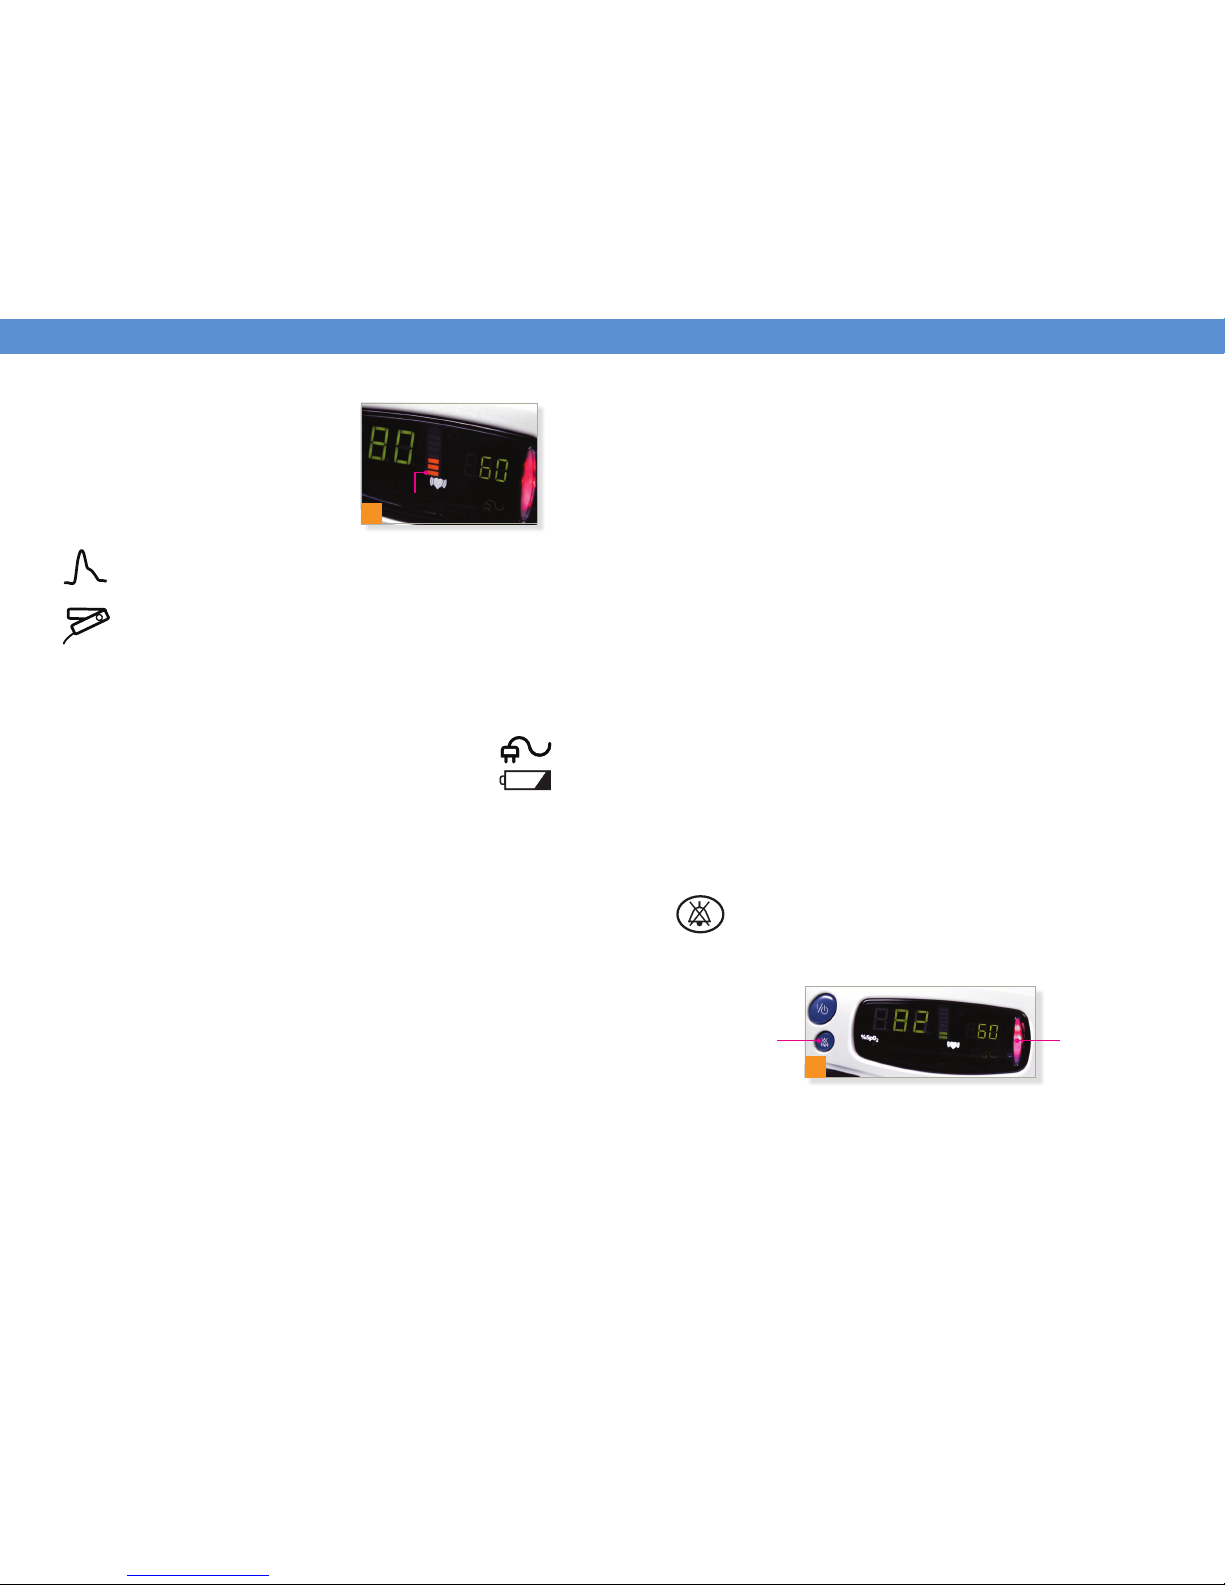
5. Pulse Quality Strength is displayed in
the center of the screen. Marginal signal
quality will be seen as 3-4 amber bars.
Low signal quality will display as 1-2 red
bars and a Low Pulse Signal alarm will
occur.
A Pulse Quality symbol will blink when poor signal is detected,
and remain lighted if poor signal occurs for an extended time.
A Sensor Alarm Symbol may appear if the sensor becomes
disconnected, fails, or is incompatible with the oximeter.
For any of these conditions, check sensor position on the patient, blood
flow at the sensor site, and connection of the sensor plug to the oximeter.
If the situation is not corrected, try a different compatible Nonin sensor.
6. Power Supply is indicated in the lower right by a “plug”
symbol for wall power, or a battery level symbol if operating
on battery only.
The amber battery symbol will blink when battery level is low, and stay on
when critically low. Recharge as soon as possible. The battery will charge
on wall power while the oximeter is in use or turned off.
7. Discontinue Use – Turn the oximeter off with the On/Off button.
Then disconnect the sensor and remove the sensor from the patient. If
operating on battery power, plug the oximeter power supply into a wall
outlet to recharge batteries while not being used. Full re-charge takes
approximately 4 hours for a fully depleted battery.
DATA STORAGE
The Model 7500 Oximeter will record 70 hours of SpO
2
and pulse rate data.
The memory will then overwrite, providing the most current 70 hours of
continuous data. Data can be transferred to Nonin nVISION
®
Software for
storage and analysis. Analog SpO
2
and pulse rate signal can also be sent to
other devices. See the Operator’s Manual for details on data handling.
ALARMS
A. HIGH PRIORITY Alarms – If alarms are enabled, the upper and lower
SpO
2
and pulse rate limits will appear on the screen during start-up, and
an audible and visual alarm will occur if they go out of the limits. Other
conditions may generate a High Priority Alarm.
B. MEDIUM PRIORITY Alarms – This alarm is for conditions like a low
battery, reduced pulse signal strength and other oximeter conditions.
High Priority Alarms Medium Priority Alarms
• 3 Beeps , Pause, 2 Beeps • 3 Beeps every
every 10 seconds 25 seconds
• Red Flashes in • Amber Flashes
Alarm Bar in Alarm Bar
C. You can Silence Audible Alarms for two minutes by pressing the
alarm silence button. A second press will re-enable the
audible alarm. Alarms automatically turn off when the alarm
condition is resolved.
5
Signal Strength
C
Alarm
Bar
Flasher
Alarm
Silence
Button
 Loading...