

Page 1
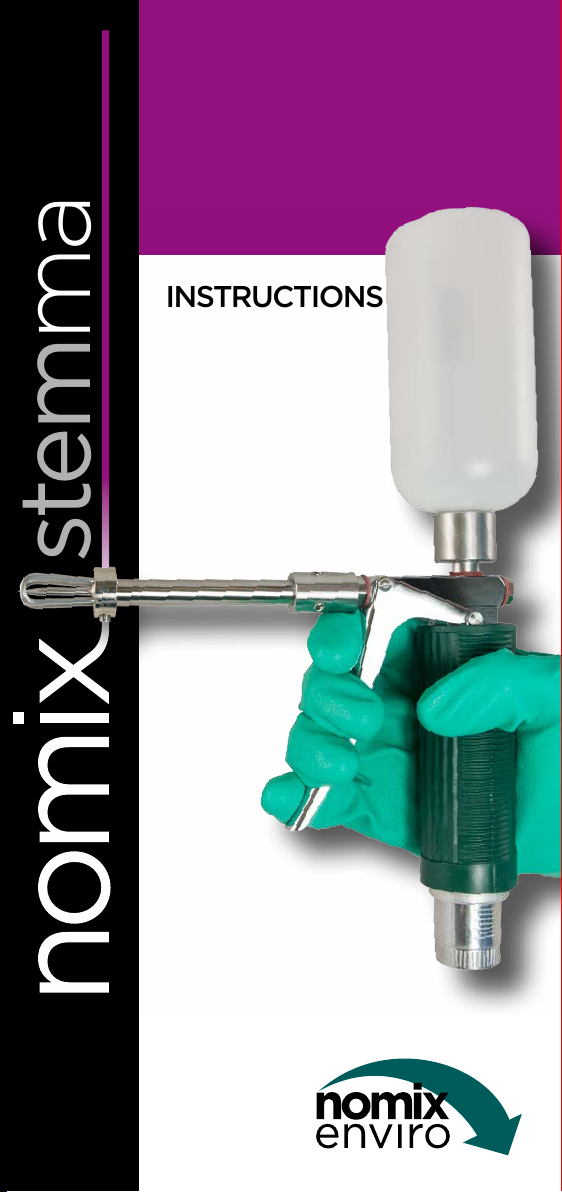
stemmaster
Safe and effective
control of invasive
weed species
INSTRUCTIONS
Page 2
Contents
Section 1:
Introduction 3
Section 2:
Component List 4
Section 3:
Preparing the Stem Master for Use
Personal Protective Equipment (PPE) 6
Connecting the needle 6
Filling the bottle with herbicide 6
Checking for leaks 7
Priming 7
Calibrating 8
Section 4:
Operating the Stem Master 9
Section 5:
Cleaning the Stem Master 10
Section 6:
Storing the Stem Master 11
Section 7:
Servicing 13
Page 3
Section 1: Introduction
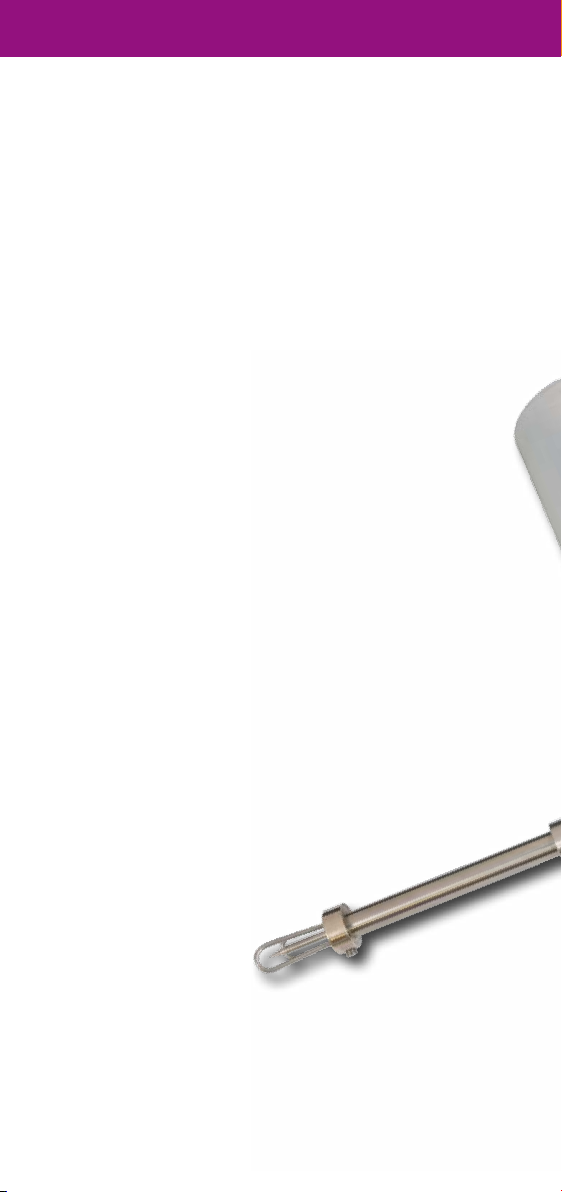
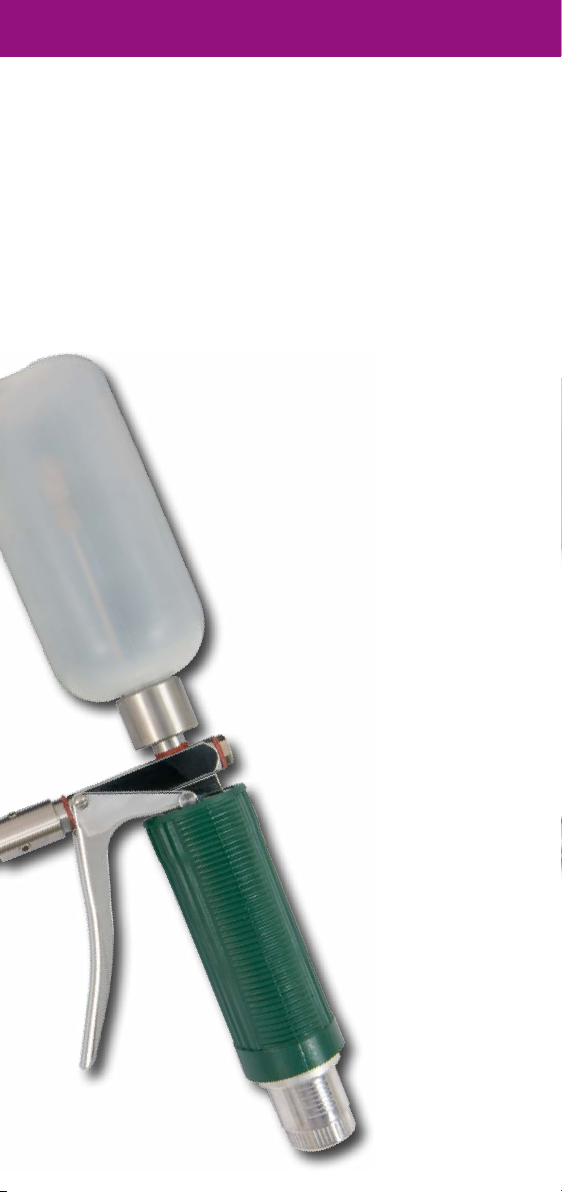
The Stem Master is a highly accurate herbicide
applicator. Based on medical apparatus, it delivers a
calibrated dose of herbicide directly into the stem of
the weed.
We have designed the Stem Master to be robust and
easy to use. It is supplied in a hard case for easy and
safe storage when not in use.
The Stem Master should only be used with label
approved herbicide products.
The Stem Master is supplied with two
inter-changeable needles.
3
Page 4
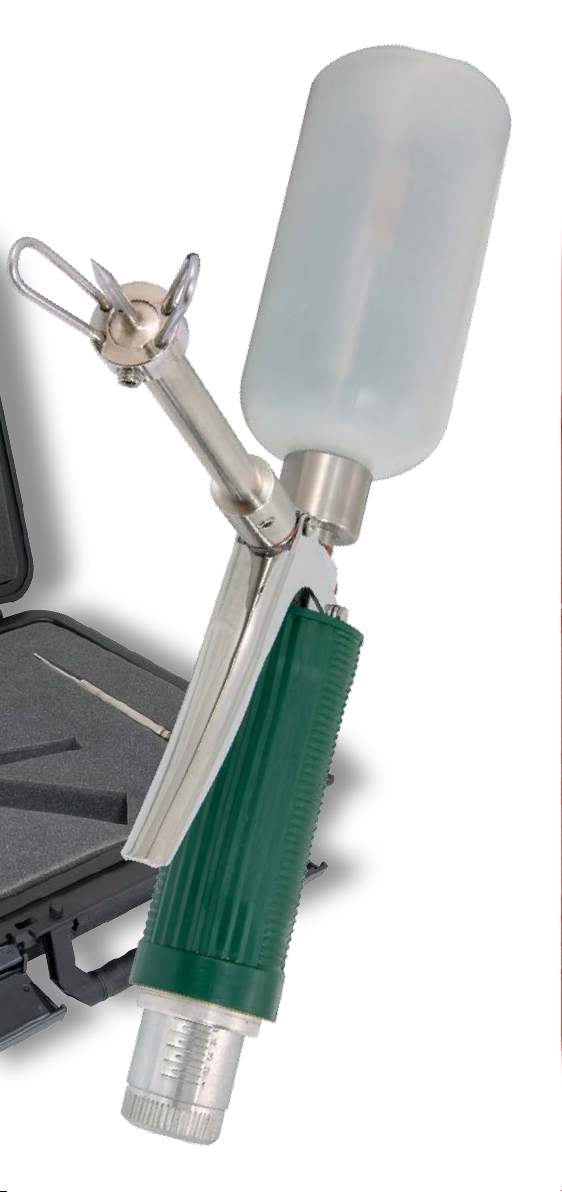
Section 2: Component List
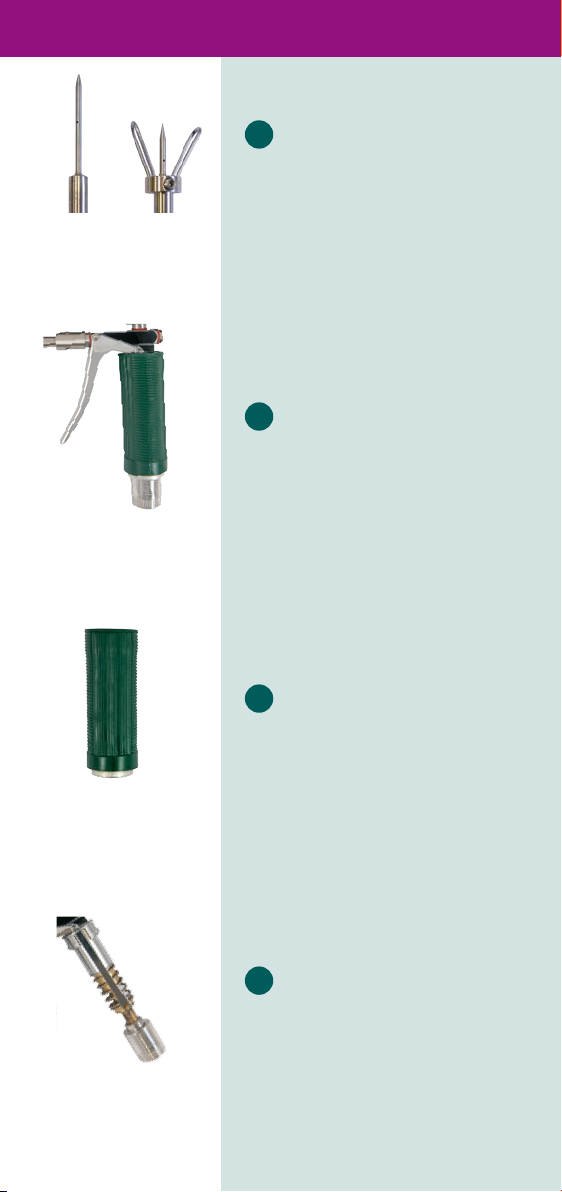
1
Two needles (with guard)
2
Trigger
3
Handle grip
4
Piston assembly
4
Page 5
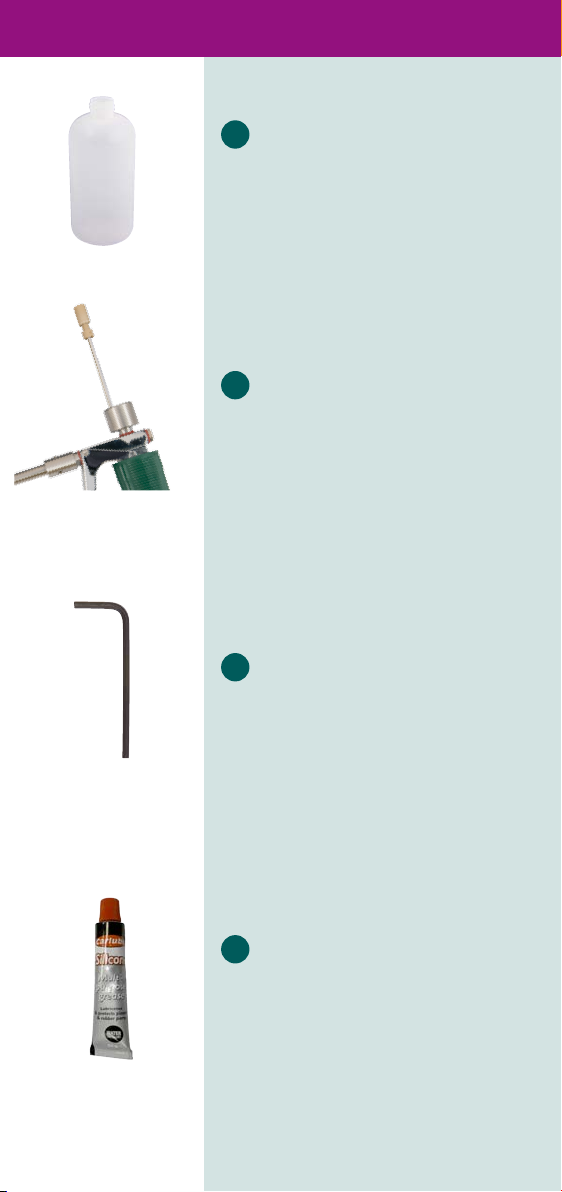
5
Bottle
6
Air Intake Valve
7
Allen Key
8
Grease
5
Page 6
Section 3: Preparing for Use
ALWAYS READ BEFORE USING
THE STEM MASTER
Personal Protective
Equipment (PPE)
The minimum PPE
recommended for use is:
Coveralls
•
Face shield
•
Suitable protective gloves
•
Wellington boots.
•
Always refer to the herbicide
product label for the
recommended PPE.
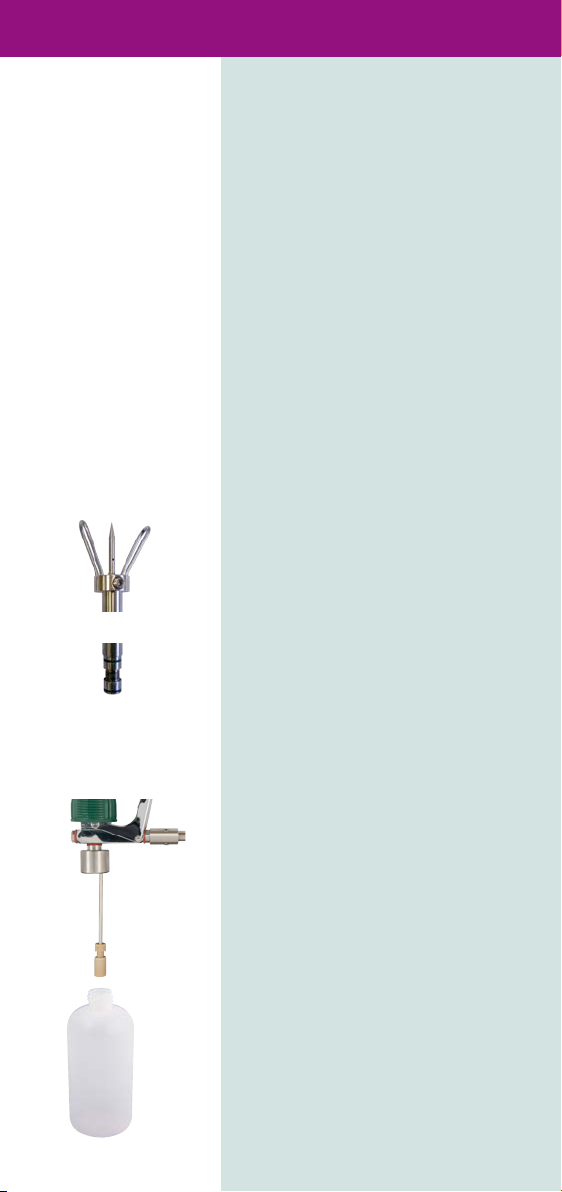
Connecting the needle
Select the appropriate needle
•
Fit the needle guard to the
•
needle and secure it by
tightening the grub screw on
the guard
Smear a light coating of
•
silicone grease on the end of
the needle (where the o ring
is located)
Loosen the three grub screws
•
on the needle adaptor
Insert the needle into the
•
adaptor, so that the hole
in the needle is facing
downwards when the Stem
Master is held upright
Secure the needle by equally
•
tightening the three grub
screws on the needle adaptor.
Filling the bottle with
herbicide
Hold the Stem Master upside
•
down and unscrew the bottle
in a clockwise direction. Place
the Stem Master in a safe
location
6
Page 7
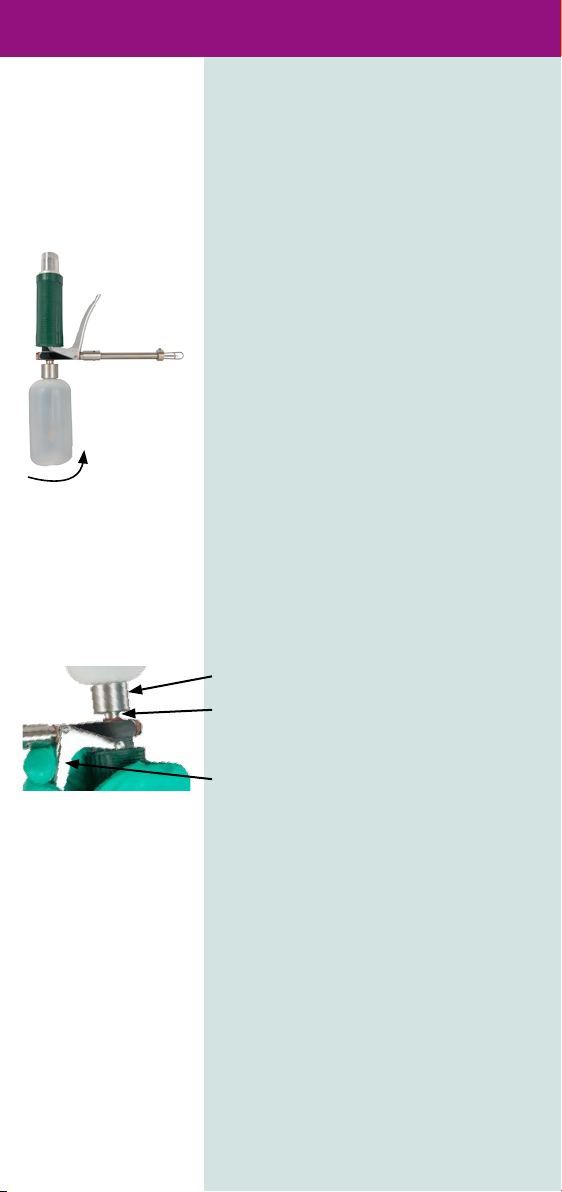
Fill the bottle with the required
•
amount of herbicide (up to
200ml)
Take care to avoid spillages
•
during filling. Follow local
emergency procedures should a
spillage occur
With the bottle on a suitable
•
surface, hold the Stem Master
upside down and insert the air
breather tube into the bottle
Firmly hold the Stem Master and
•
the bottle. Turn the bottle in an
anti-clockwise direction to
tighten.
Checking for leaks
Hold the Stem Master in an upright
position and check carefully for any
leaks around the bottle, trigger and
air intake hole.
If a leak is found:
Bottle – tighten the bottle/cap
Air intake hole – remove the bottle,
decant the herbicide and contact
Nomix Enviro
Trigger – contact Nomix Enviro
Priming
It is important to prime the Stem
Master before use.
Point the needle into a container
and squeeze the trigger between
two and four times, until fluid
emerges from the needle and all air
is expelled from the unit.
Please Note: When the Stem
Master is held in the correct
position, the herbicide delivery
aperture is located on the
underside of the needle.
7
Page 8
Section 3: Preparing for Use (cont.)
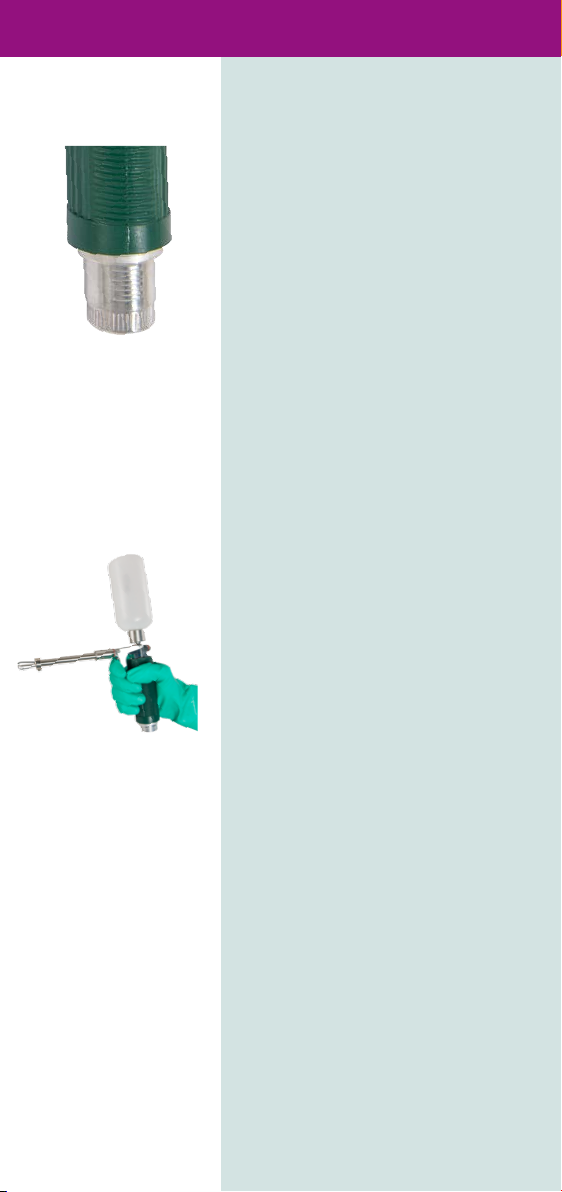
Calibrating
The Stem Master is an accurate
herbicide delivery system,
calibrated by a simple twist
adjustment dial on the end of the
handle grip.
The calibration dial is
•
graduated in 0.5 ml increments
and locks into place in 1 ml
increments
To increase the amount of
•
herbicide applied, turn the
calibration adjustment dial in a
clockwise direction
To reduce the amount of
•
herbicide applied, turn the
calibration adjustment dial in
an anti-clockwise direction
When the trigger is squeezed,
•
the calibrated amount of
herbicide will be dispensed
through the needle
Always calibrate to the
•
product label instructions.
The Stem Master is now ready
to use.
8
Page 9
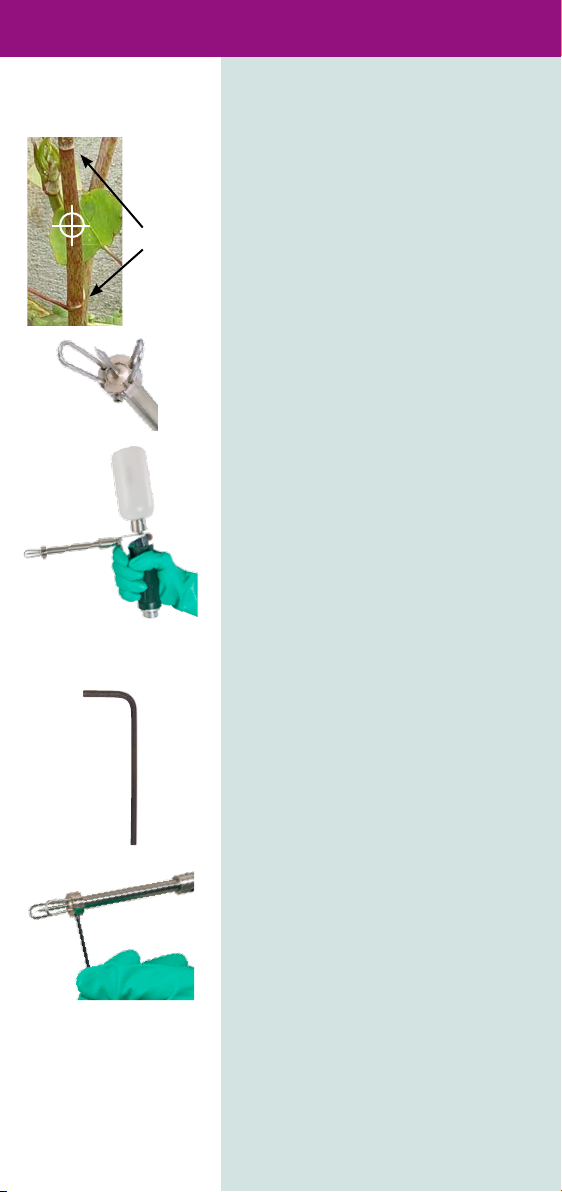
Section 4: Operating
Please Note: The size of the plant
stem should be approximately
30mm in diameter. Plants will
normally ‘take up’ the herbicide
within 20 minutes of the injection.
nodes
Holding the Stem Master upright,
•
insert the needle into the stem,
midway between the lower
nodes
Ensure the needle has pierced
•
the stem on both sides. This
allows any pressurised water in
the stem to escape
Squeeze the trigger and the
•
calibrated amount of herbicide
will be delivered into the
stem cavity
Releasing the trigger
•
automatically reloads the Stem
Master with the calibrated
herbicide dose, ready for the
next application.
SAFETY PRECAUTION: Use the
allen key supplied to tighten the
grub screw on the needle guard,
if it requires tightening. The Stem
Master should not be used without
the needle guard attached.
Always be careful when handling
the Stem Master, as the needles are
extremely sharp.
9
Page 10

Section 5: Cleaning
The Stem Master should be
cleaned at the end of each
day’s use.
Prepare a bowl of soapy water
•
and have absorbent material
available
Turn the Stem Master upside
•
down and unscrew the bottle
by turning it in a clockwise
direction. Place the Stem
Master safely to one side
Decant any unused herbicide
•
back into the original
container and place the Stem
Master bottle safely to one
side
Remove the handle grip by
•
twisting it in a clockwise
direction and pulling it down
to release
Immerse the Stem Master
•
in soapy water, without the
bottle and the handle grip
attached
10
Whilst the Stem Master is in
•
the water, squeeze the trigger
several times
Triple rinse the bottle and
•
clean the handle grip
Allow the bottle, handle grip
•
and Stem Master to dry
Once the Stem Master,
•
handle grip and bottle are
dry, reattach the handle grip
by pushing it onto the piston
assembly and secure in an
anti-clockwise direction
Reattach the bottle by firmly
•
holding the Stem Master and
turning the bottle in an anticlockwise direction.
Page 11
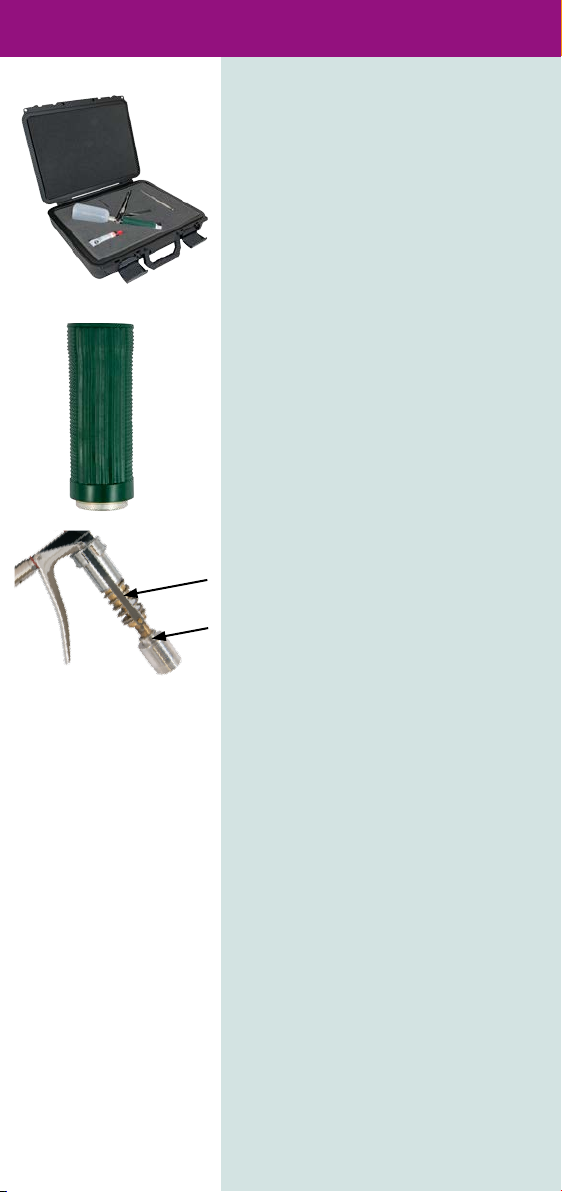
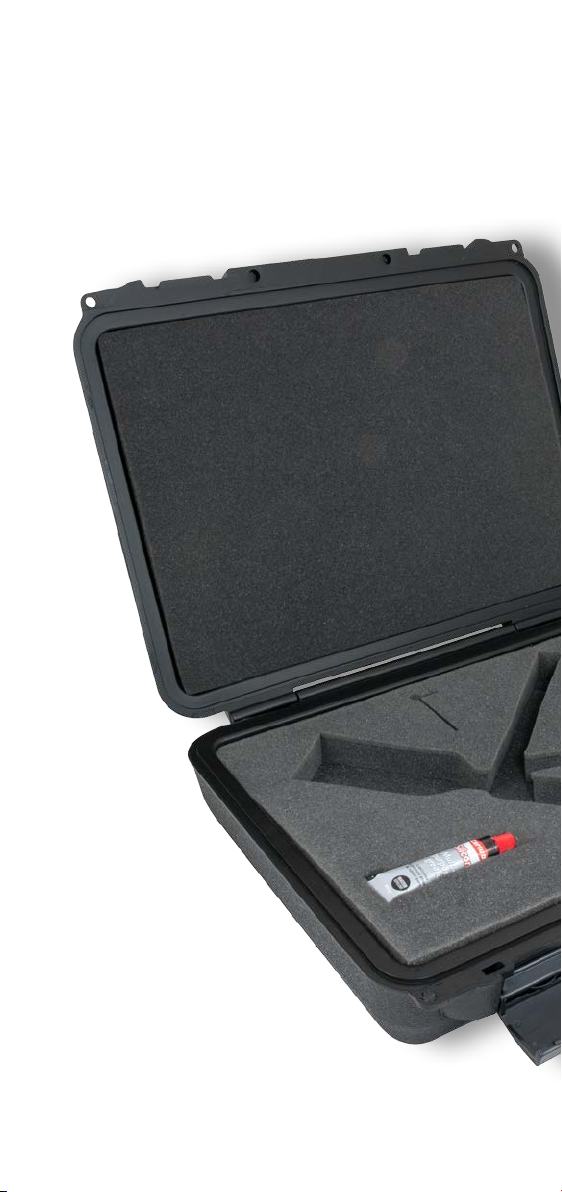
Section 6: Storing
When you are not using the Stem
Master, it should be stored in the
original case supplied. This helps
to avoid damage to the Stem
Master whilst it is not in use.
1) Clean the Stem Master
(following instructions in
section 5).
2) Remove the handle grip by
twisting it in a clockwise
direction and pulling it down to
release.
3) Remove the piston, by applying
a small amount of downward
pressure on the calibration dial.
Detach the piston from the
keyhole slots in the side arms
and pull the piston from the
main body of the Stem Master.
Then remove the spring from the
piston.
4) Wash and rinse the piston and
spring, then allow to dry.
5) Once dry, smear a very small
amount of liquid paraffin or
castor oil onto the piston
and spring, in order to keep the
parts lubricated.
6) Replace the spring onto the
piston and, with the trigger in
the open position, reattach the
piston to the main body. Secure
it by fastening the keyhole slots
in the side arms.
7) Reattach the handle grip by
pushing it onto the piston
assembly unit and secure in an
anti-clockwise direction.
8) Ensure the calibration dial is set
to the 1mm position.
9) Store in the case supplied.
11
Page 12

Section 6: Storing (cont.)
WARNING: Do not dismantle
the Stem Master any further
than the instructions above. The
Stem Master contains intricate
components which if lost, broken
or incorrectly replaced, will render
the unit inoperable and invalidate
the warranty.
If the Stem Master is not
functioning correctly, contact
Nomix Enviro to arrange repair on
01264 388050.
12
Page 13

Section 7: Servicing
We recommend the Stem Master
is serviced by Nomix Enviro on an
annual basis.
13
Page 14
Page 15
Page 16

Nomix Enviro
A division of Frontier Agriculture Ltd
The Grain Silos
Weyhill Road
Andover
Hampshire
SP10 3NT
T: 01264 388050
F: 01522 866176
www.nomix.co.uk
USE HERBICIDES SAFELY.
ALWAYS READ THE LABEL AND
PRODUCT INFORMATION BEFORE USE.
stemmaster
 Loading...