

Page 1
Nokia and Nokia Connecting People are registered trademarks of Nokia Corporation
Page 2

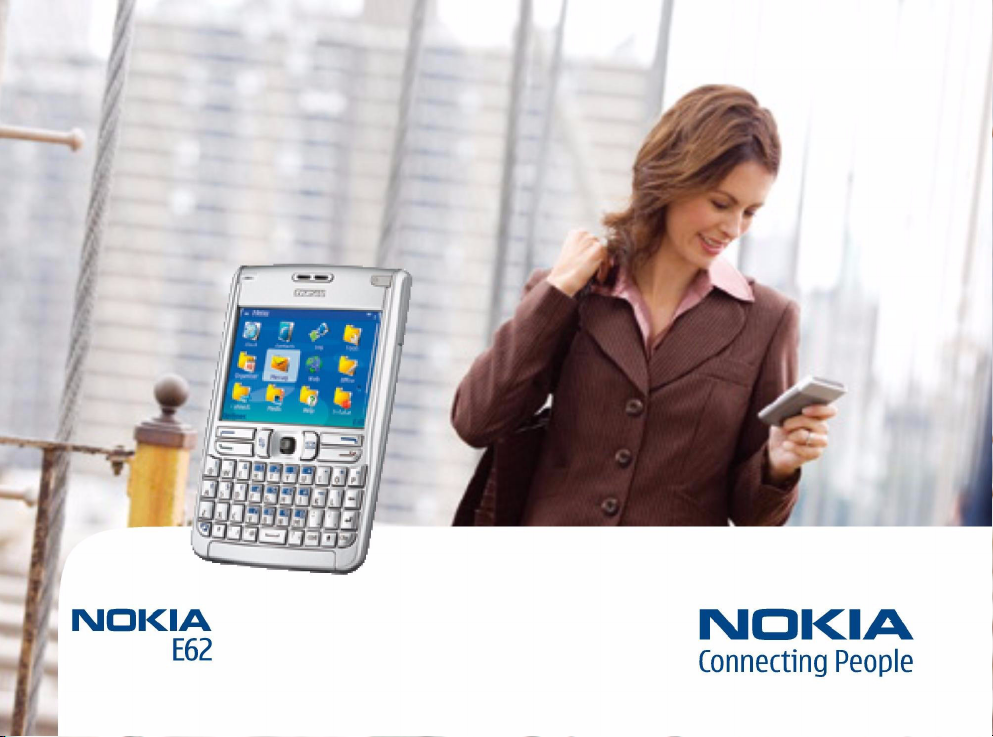
Nokia E62
Synchronizing data
Nokia E62 Synchronizing data
Legal Notice
Copyright © Nokia 2006. All rights reserved.
Reproduction, transfer, distribution or storage of part or all of the contents in this
document in any form without the prior written permission of Nokia is prohibited.
Nokia and Nokia Connecting People are registered trademarks of Nokia Corporation.
Other product and company names mentioned herein may be trademarks or trade
names of their respective owners.
Nokia operates a policy of continuous development. Nokia reserves the right to make
changes and improvements to any of the products described in this document
without prior notice.
Copyright © 2006 Nokia. All rights reserved.
Under no circumstances shall Nokia be responsible for any loss of data or income or
any special, incidental, consequential or indirect damages howsoever caused.
The contents of this document are provided "as is". Except as required by applicable
law, no warranties of any kind, either express or implied, including, but not limited
to, the implied warranties of merchantability and fitness for a particular purpose, are
made in relation to the accuracy, reliability or contents of this document. Nokia
reserves the right to revise this document or withdraw it at any time without prior
notice.
Copyright to the Windows screenshots belongs to Microsoft.
Page 3

Introduction
The purpose of this document is to help you synchronize
the Nokia E62 notes, calendar and contacts information
with a compatible PC or a remote Internet server.
The application uses SyncML technology for remote
synchronization. For information on SyncML compatibility,
contact the supplier of the applications with which you
want to synchronize your device.
The available applications you can synchronize may vary.
Contact your service provider for more information.
Introduction
Copyright © 2006 Nokia. All rights reserved.
3
Page 4

Synchronizing data using Nokia PC Suite
Nokia PC Suite connectivity software for the Nokia E62
must be installed and configured first. For the latest Nokia
PC Suite software, see the Nokia website www.nokia.com
or www.nokiausa.com.
To synchronize data using Nokia PC Suite, do the
following:
1 Connect your Nokia E62 to a PC that has Nokia PC
Suite for the Nokia E62 installed.
2 Open Nokia PC Suite for the Nokia E62 on the PC and
click Synchronize. If you do not have a
synchronization profile, Nokia PC Sync starts a wizard
for defining the synchronization settings.
To move forward in the wizard views, click Next, and
to move backwards, click Back.
Synchronizing data using Nokia PC Suite
Copyright © 2006 Nokia. All rights reserved.
4
3 Select the PC application that you want to use to
synchronize data with your Nokia E62.
4 Click Next, and define the data on the PC that you
want to synchronize with your Nokia E62. The data
options depend on the PC application you selected as
the data source.
Page 5

For the best performance, select only the data that you
want to synchronize.
6 If you need to browse for the Outlook folders to be
used, click Select folders. Otherwise click Next.
Click Browse to look for a location, and Advanced to
define additional settings.
5 Click Next, and select the Outlook profile to
synchronize with (if you are synchronizing with
Microsoft Outlook).
Copyright © 2006 Nokia. All rights reserved.
Synchronizing data using Nokia PC Suite
5
Page 6

7 Click Next, and define the time range for calendar and
to-do items that you select to synchronize.
8 Click Next, and define whether you want to start the
synchronization after you click Finish.
Synchronizing data using Nokia PC Suite
Copyright © 2006 Nokia. All rights reserved.
6
9 Click Finish to close the wizard. If you select to
synchronize after clicking Finish, the synchronization
is started.
Page 7

10 Click Synchronize Now to start the synchronization.
Note that depending on the amount of data you are
synchronizing, the process may take a long time.
11 After the synchronization is completed, click View
report to view a report of the synchronization, or
Close to return to the main screen.
In the main screen, you have the following options:
• Click View Last Report to view a report on the last
synchronization.
• Click Properties to set the synchronization settings.
To create a new PC Suite synchronization profile, click
Properties, then Create new configuration, and define
the synchronization settings. Note that this replaces your
current profile.
Synchronizing data using Nokia PC Suite
Copyright © 2006 Nokia. All rights reserved.
7
Page 8

Creating and editing synchronization profiles
Select Menu→ Connect.→ Sync.
Tip: You may receive the synchronization
settings as a message from your service
provider.
Creating a new profile
Your device has a predefined profile for PC Suite and
Creating and editing synchronization profiles
normally you do not need to modify it.
To create a new profile to connect with another
synchronization server, do the following:
1 Select Options→ New sync profile. A profile creating
wizard opens to help you define the correct settings.
When the device asks if you want to copy an existing
profile, select No.
Copyright © 2006 Nokia. All rights reserved.
8
2 Enter a name for the profile in Sync profile name.
3 Select Applications, and define the following settings
for each application you want to synchronize:
• Include in sync — Select whether to synchronize the
application with this synchronization profile.
• Remote database — Enter the path to the database
with which you synchronize the application.
• Synchronisation type — Select the direction of
synchronization. Select Normal to synchronize data
from the device to remote database and back, To
phone only to synchronize data from the remote
database to your device, or To server only to
synchronize data from your device to the remote
database.
Press Back to return to the profile settings.
Page 9

4 Select Connection settings, and define settings for the
following:
• Server version — Select the SyncML version you can
use with your server.
• Server ID — Enter the server ID of your server. This
setting is only available if you select 1.2 as the
SyncML version.
• Data bearer — Select the data bearer to connect to
the remote database during synchronization.
• Access point — Select the access point to use for the
synchronization connection, or create a new access
point. You can also choose to be asked for the access
point every time you start synchronizing. This setting
is only available if you select Internet as the data
bearer.
• Host address — Enter the address of the server that
contains the database with which you want to
synchronize your device.
• Port — Enter the port number of the remote database
server.
• User name — Enter your user name to identify your
device to the server.
• Password — Enter your password to identify your
device to the server.
• Allow sync requests — To allow synchronization to
start from the remote database server, select Yes.
• Accept all sync reqs. — To have your device ask for your
confirmation before accepting synchronization from
the server, select No.
• Network authentic. — To authenticate your device to
the network before synchronization, select Yes.
Enter your network user name and network
password.
Press Back to return to the profile settings.
5 Press Back to finish creating the profile and save the
settings.
Editing a synchronization profile
Your Nokia E62 contains a profile for Nokia PC Suite, and
the basic setup is done with Nokia PC Suite. You need to
edit these predefined settings only if the settings have
been changed. For detailed information, see the User’s
Guide for Nokia PC Suite or the help for Nokia PC Sync.
Note that some PC Suite profile settings are read-only.
To edit a synchronization profile, select the profile you
want to edit and select Options
The profile settings are described under “Creating a new
profile”.
To delete a profile, select the profile you want to delete
and select Options
→ Delete.
→ Edit sync profile.
Creating and editing synchronization profiles
Copyright © 2006 Nokia. All rights reserved.
9
Page 10

Synchronizing data using the Nokia E62
10
Select Menu→ Connect.→ Sync.
To synchronize data using the Nokia E62, do the
following:
1 Create and/or edit a synchronization profile to fit your
needs. Note that if you are using the PC Suite profile,
Synchronizing data using the Nokia E62
you do not need to edit it to start data
synchronization.
See “Editing a synchronization profile” on page 9.
2 Connect your device to a compatible PC. You can use
a Bluetooth, an infrared, or a data cable connection. If
you are using a data cable, confirm that the PC Suite
mode is selected.
3 Start the synchronization from the compatible PC.
After you have synchronized your device with a computer,
you can view the synchronization log. To open the
synchronization log, select a profile and press Options
Copyright © 2006 Nokia. All rights reserved.
View log. The log shows, for example, the date and time of
the transfer.
→
 Loading...