

Page 1
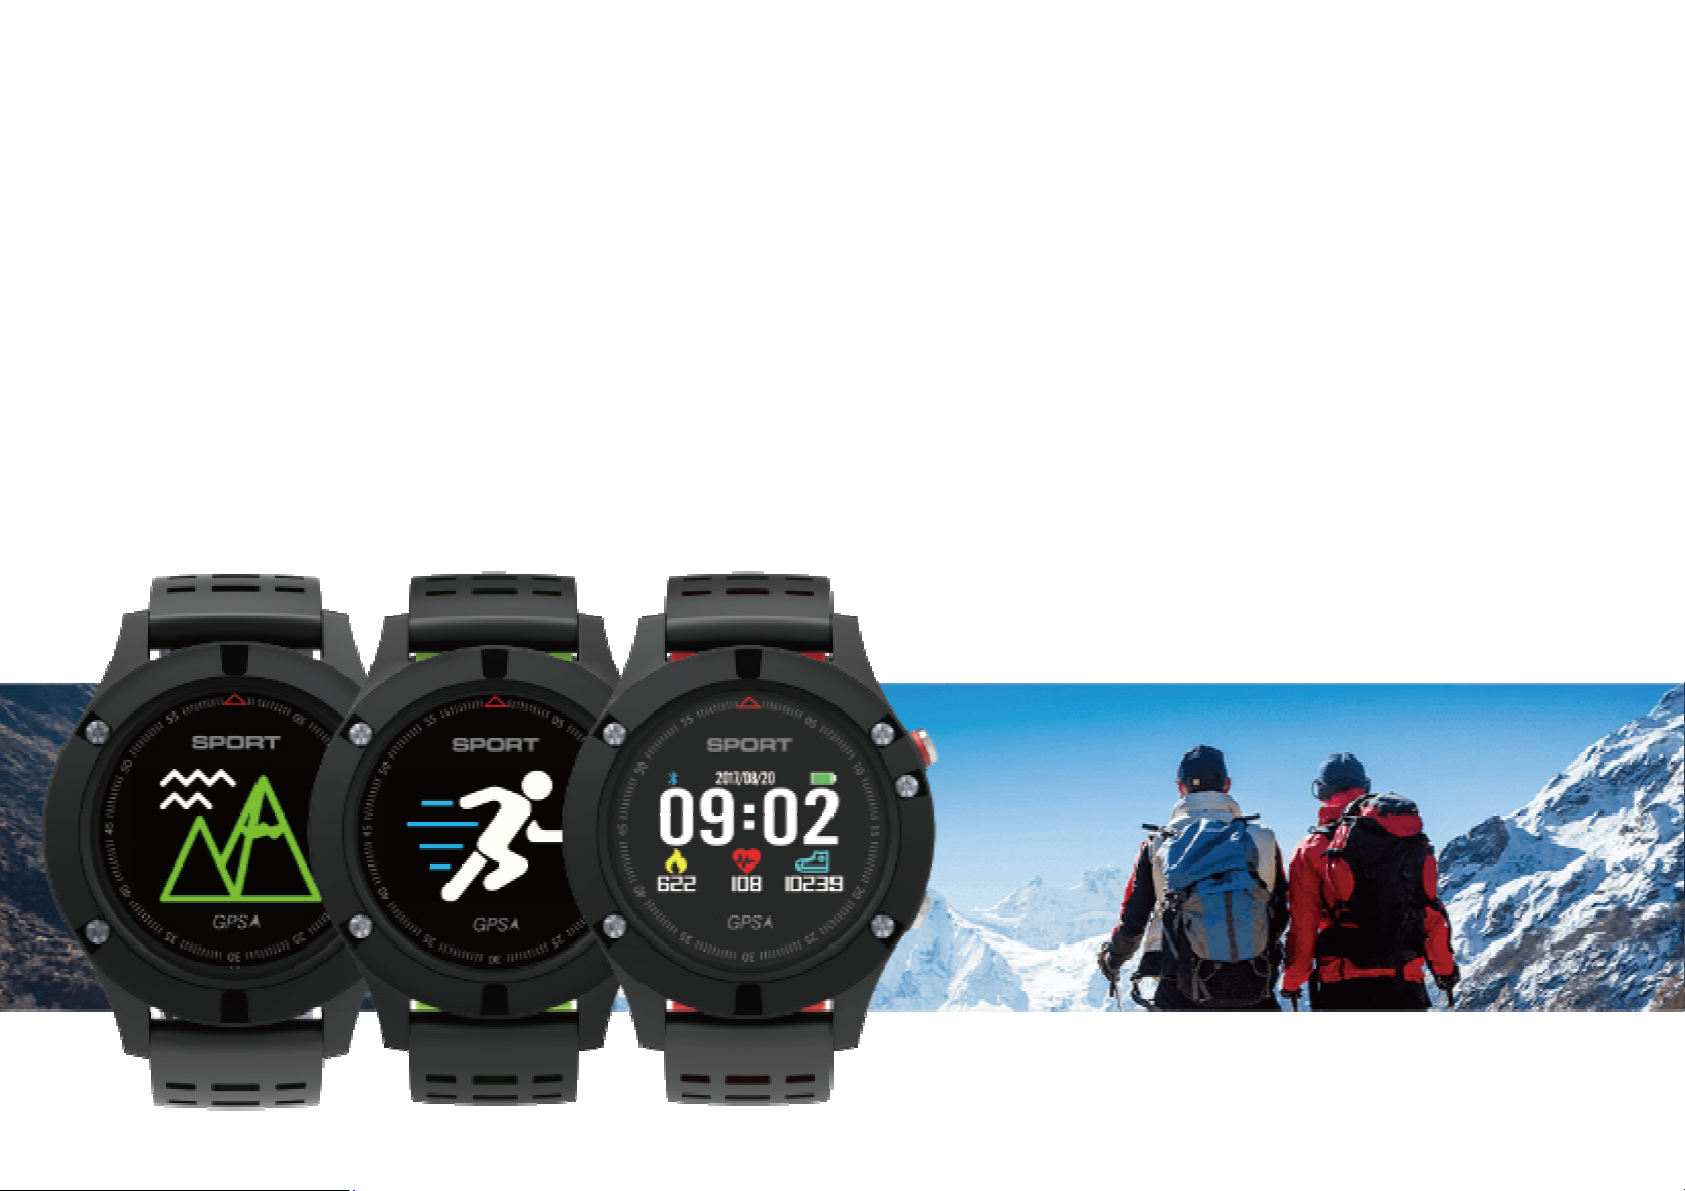
GPS Outdoor Sports Watch
User Manual
Page 2

Thank you for choosing our smart watch. You can read this
manual and have a thorough understanding of the use and
operation of the equipment.
The Company reserves the right to make changes to the
contents of this manual without prior notice
Product includes: Package*1, manual*1, Smart Watch*1,
Charging line*1.
Page 3
Page 4
● Pair with the phone
Appstore Google Play
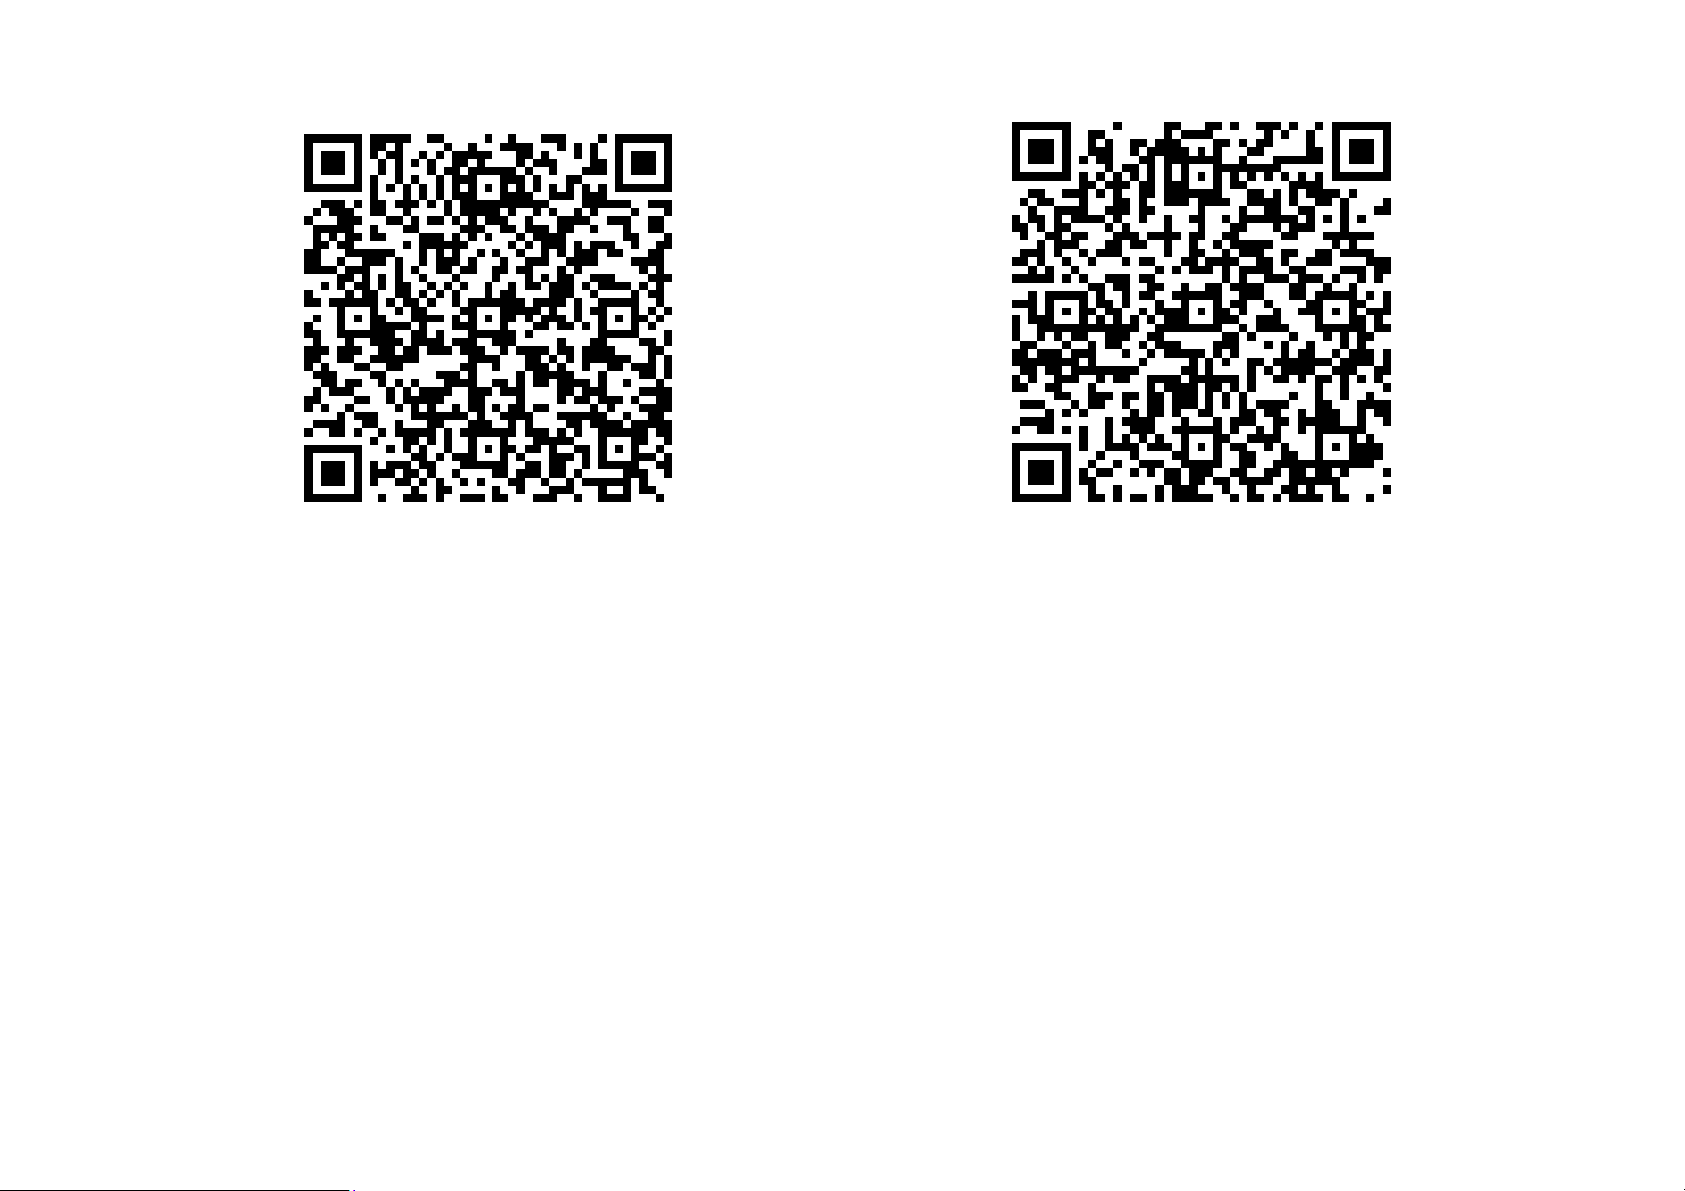
1: IOS, Android users scan the following QR code through your
mobile browser to download the APP.
2: Android phone users search: "Hplus " in Google Play Store to
download ,and IOS users download the application in App Store
please.
Open the "Hplus" applicationsettings-Bluetooth-Search ”SmartBand” and connect
When the Bluetooth icon on the watch is blue,means connected
success, while red for unconnected.
Page 5
NOTE: Keep your phone with the smart watch within 10 meters
distance
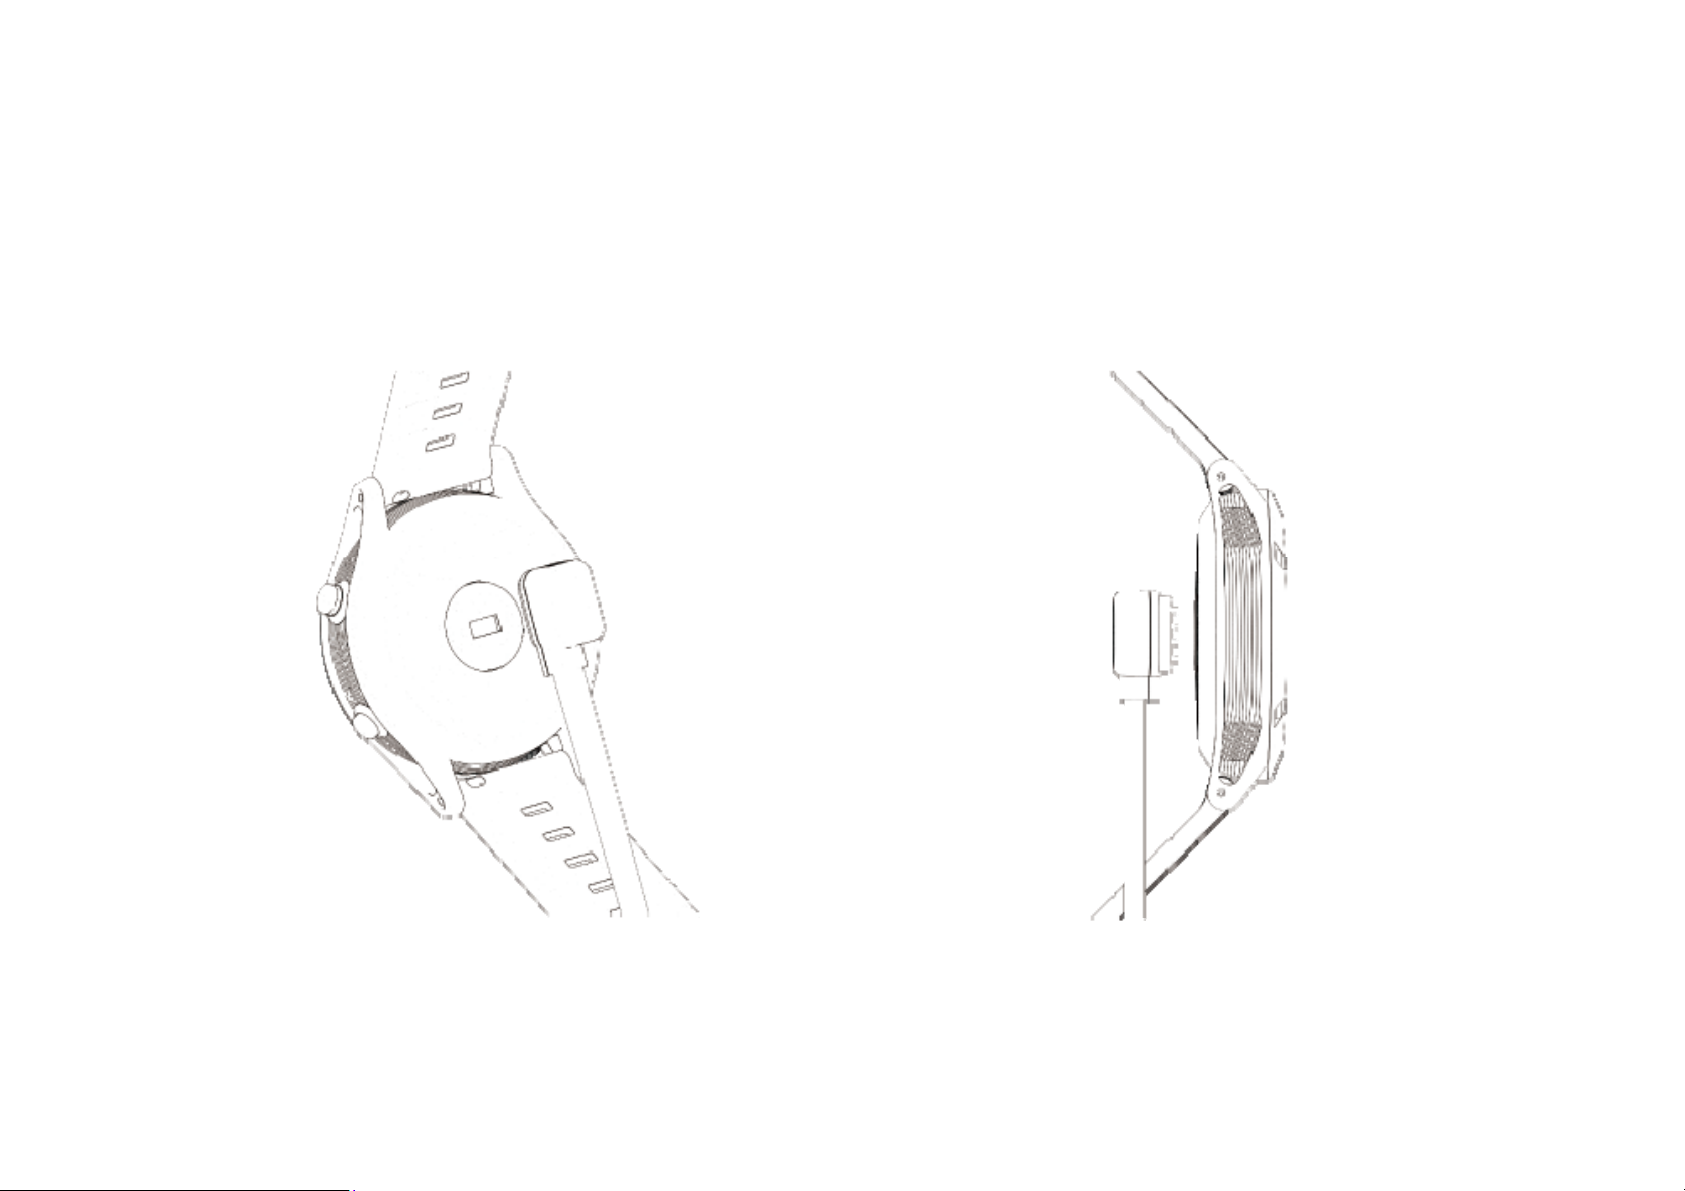
● Charging instructions
Magnetic charge as below,
* NOTE: the two contacts of the charging line cannot contact the
conductor at the same time , otherwise will lead to circuit
combustion.
Page 6
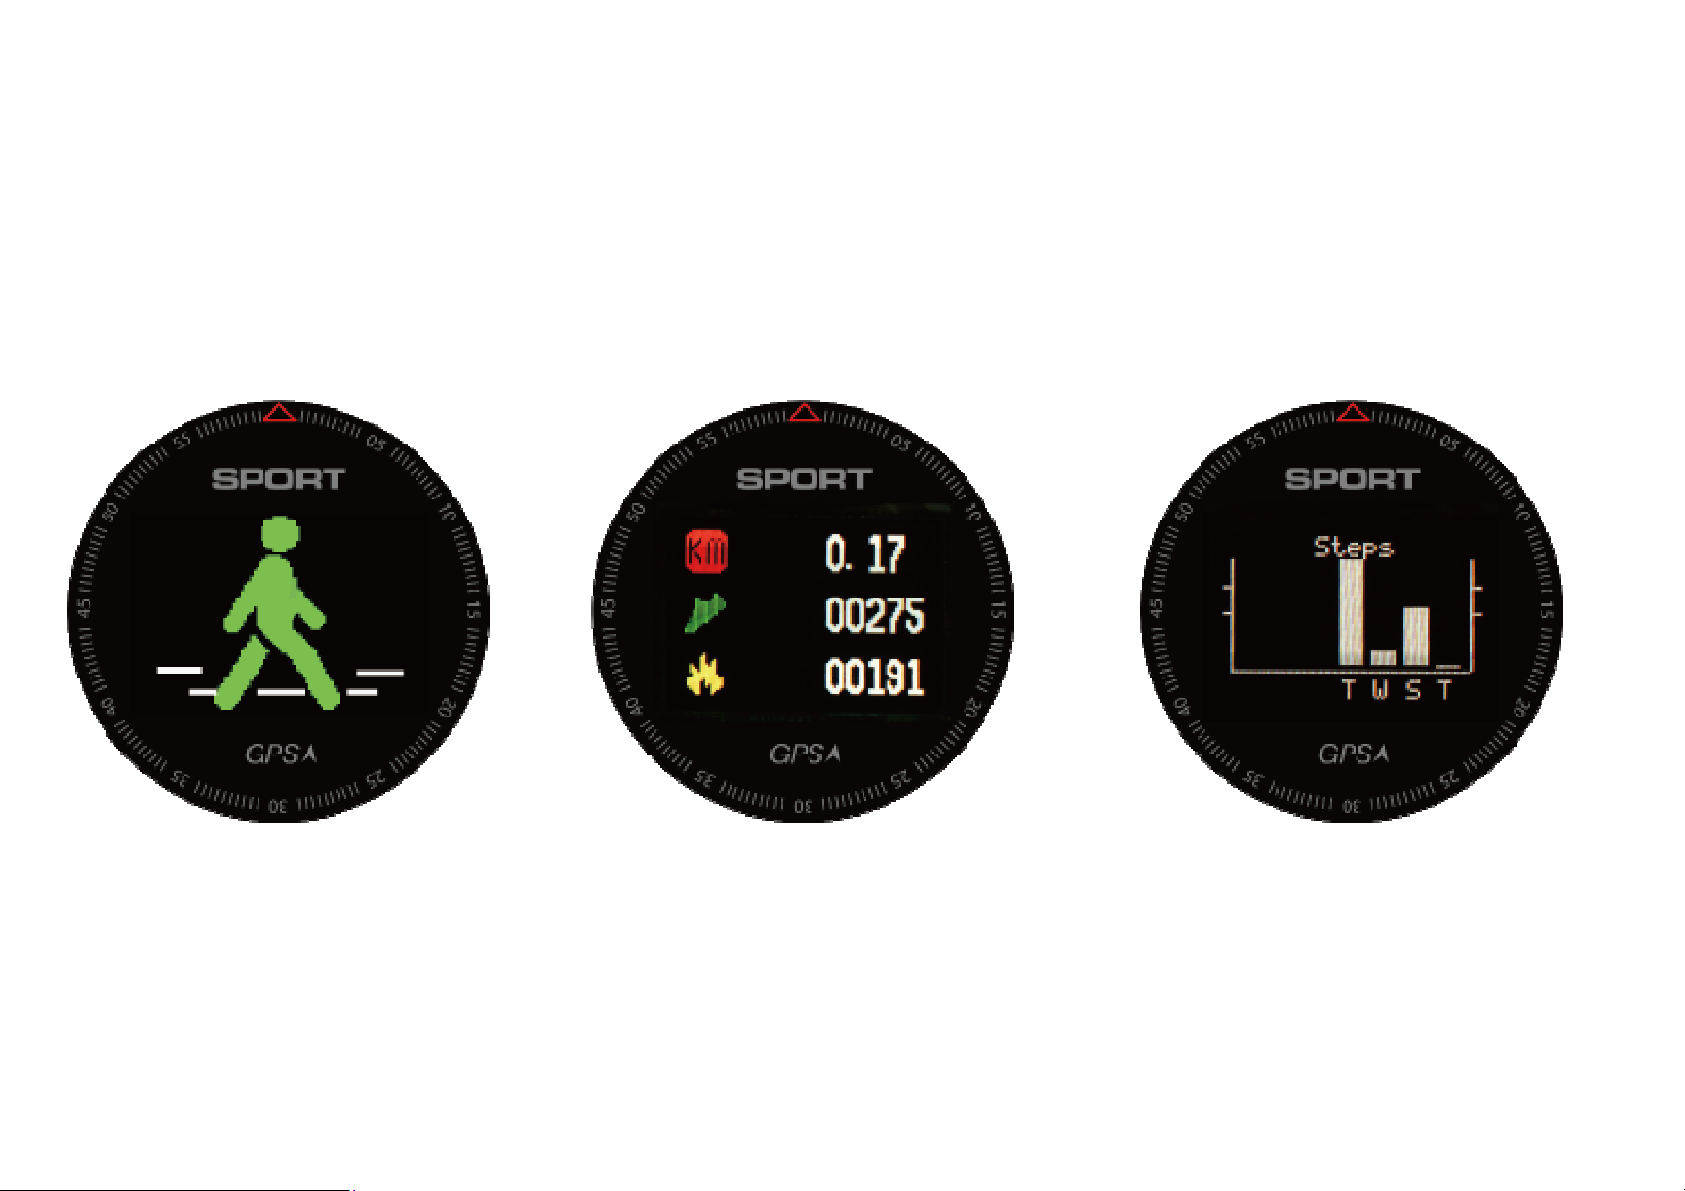
●Pedometer
There are three sport data: distance/ steps/ calories, click the touch
key to enter the next page to check the recent data statistics this
week
Pedometer calculate for 24 hours, sport data saved at 12:00 every
night , then clear to zero and recalculate.
Page 7
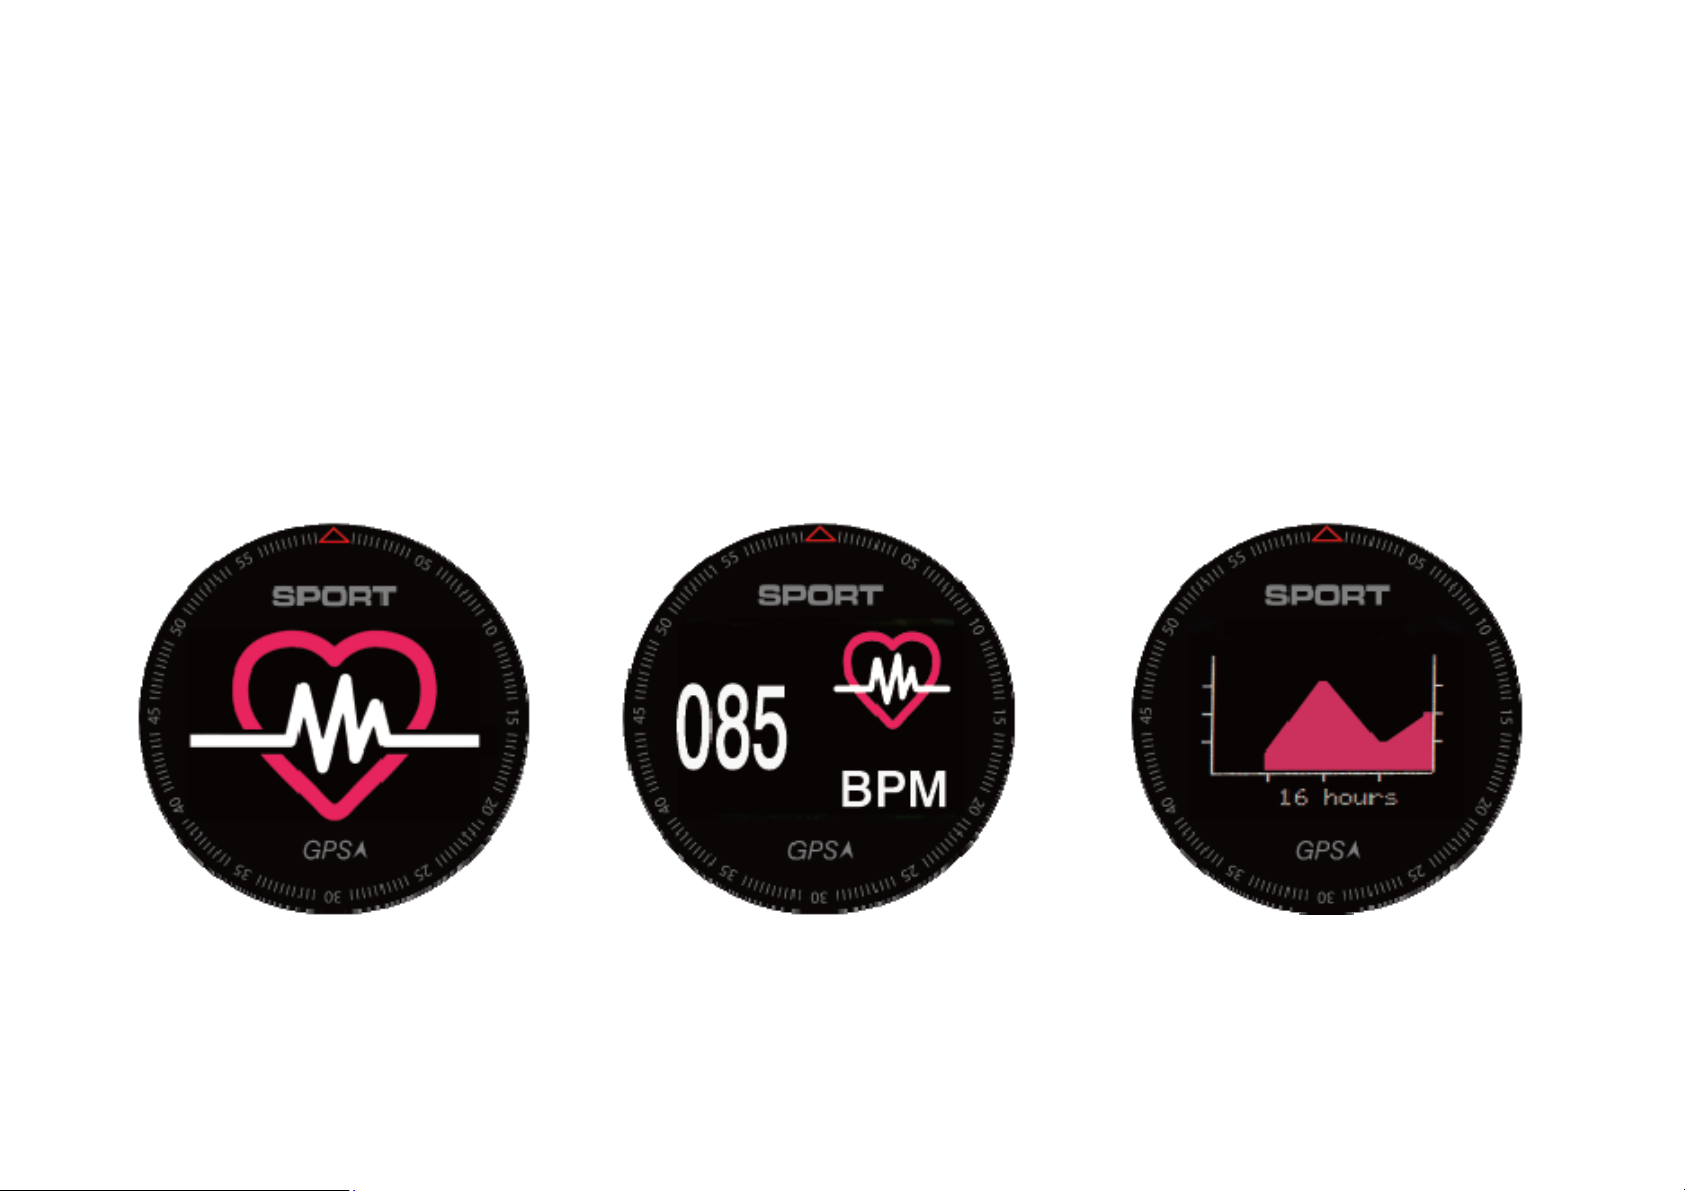
● Heart rate monitoring
1. Enter the heart rate interface to start the test, Exit to stop
monitoring. And the heart rate monitoring is dynamic heart rate test.
2. Click the touch key to enter the next page , 16-hour heart rate
curve showed.
NOTE: Need to open the all-weather heart rate on phone APP to
automatically detect heart rate.
● Notification
1. Enter the notification to view the latest five messages or
notifications.
Page 8
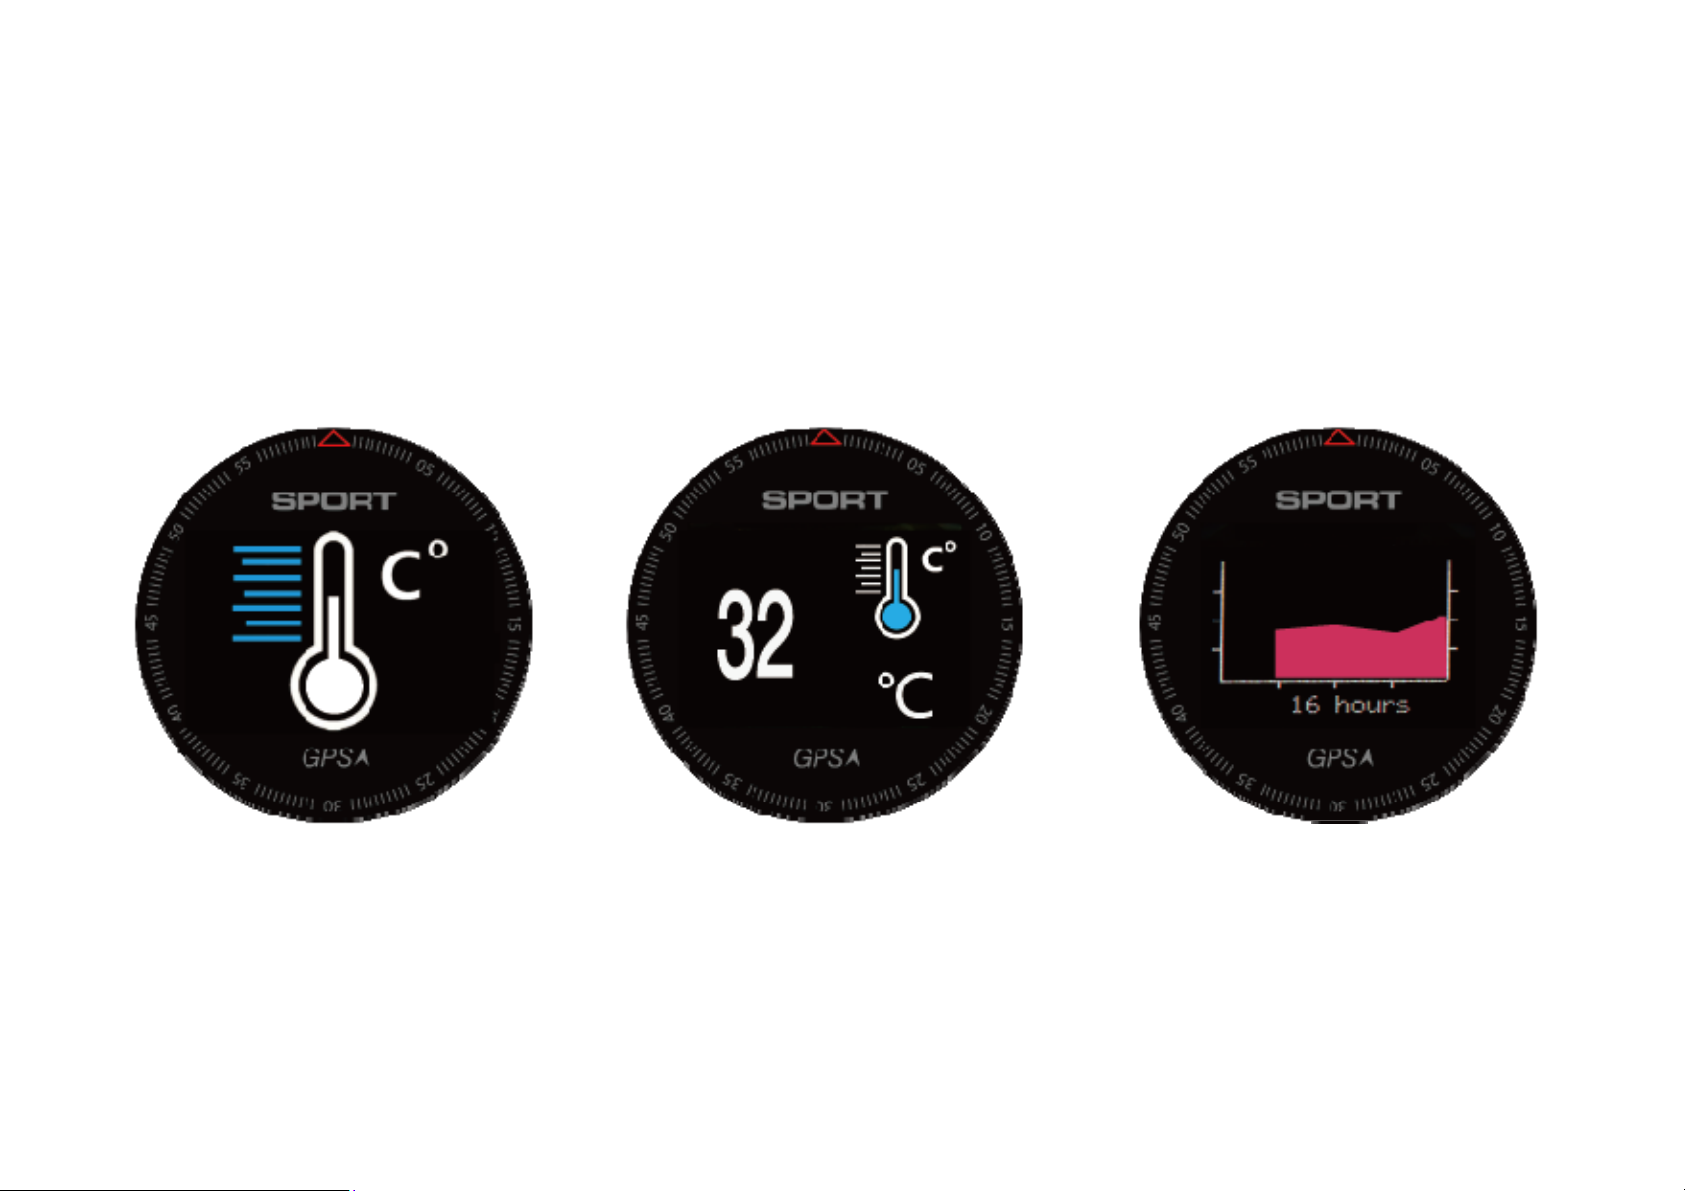
● Temperature
1. View real-time temperature changes.
2. Click the touch key to view 16-hour temperature change curve.
* This device is equipped with a temperature sensor, worn on the
Page 9
hand or operating the watch,the temperature will be biased.
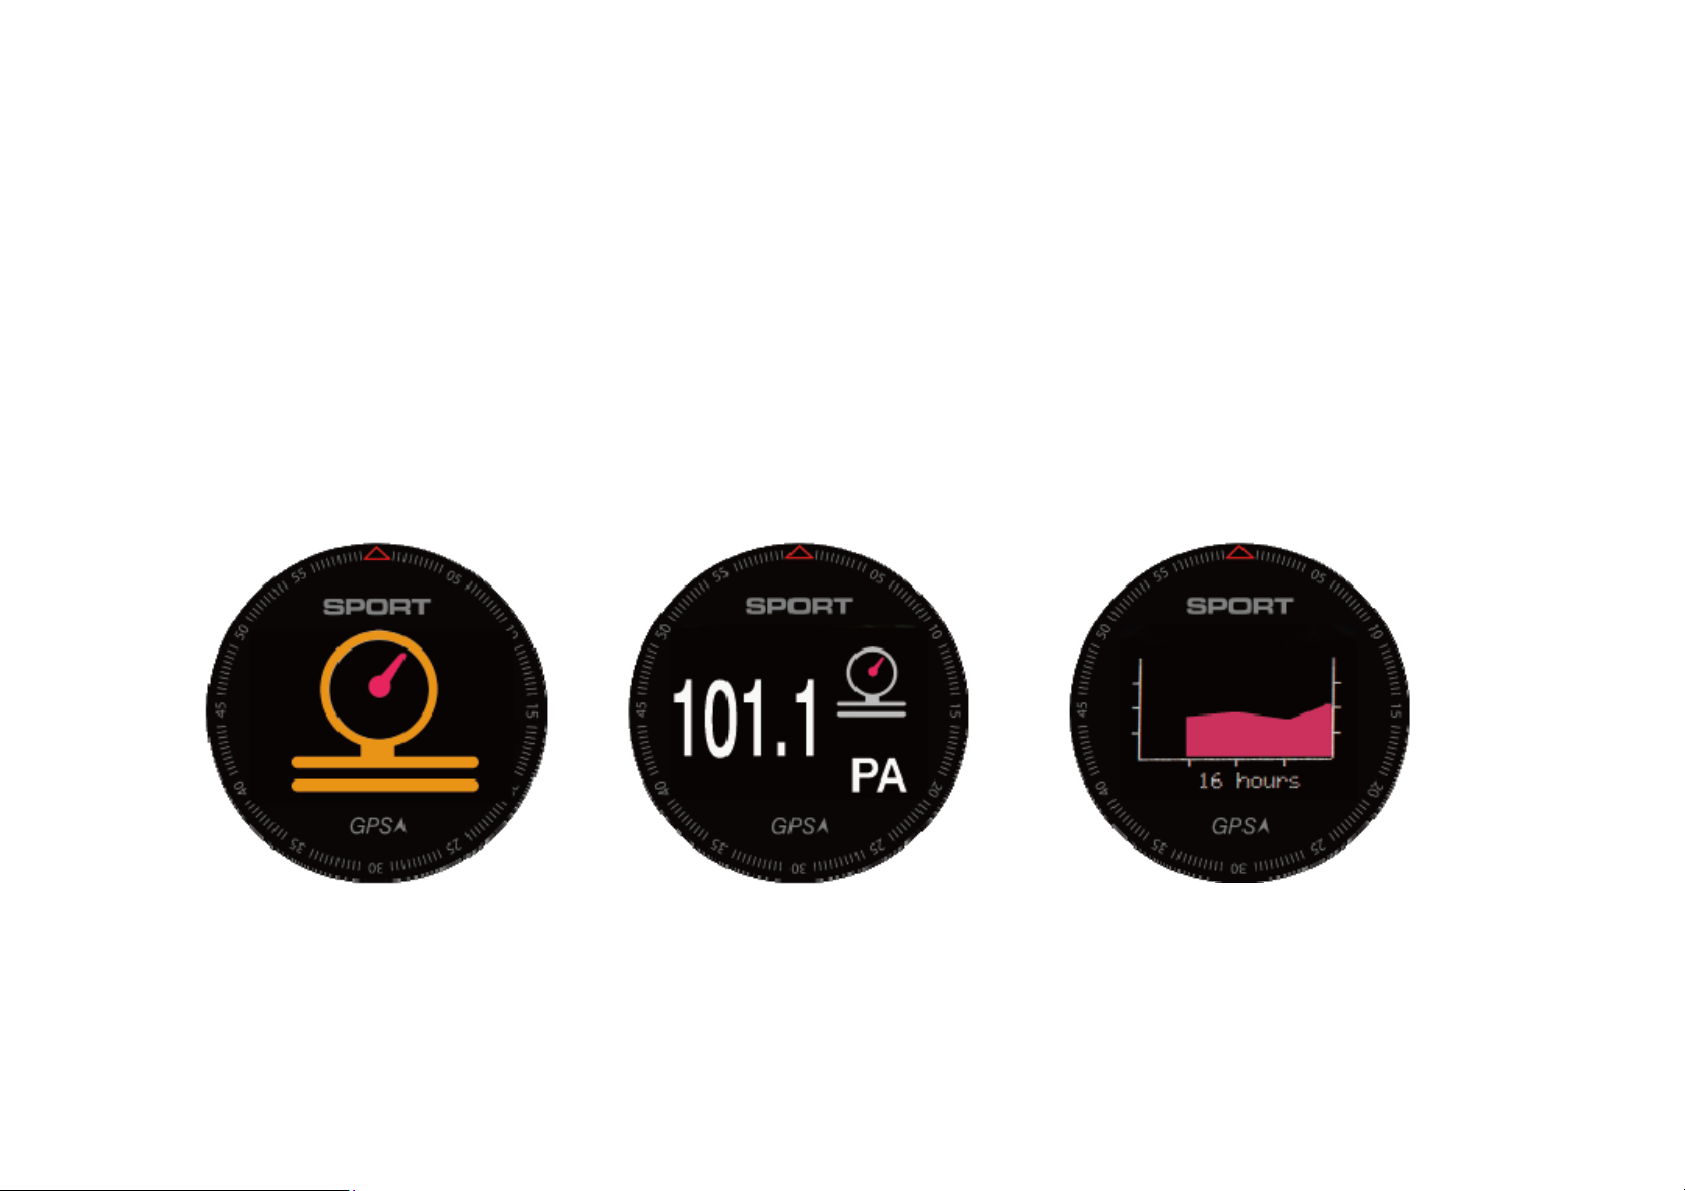
● Air pressure
1. Enter the air pressure interface, the current pressure value
measured through the built-in air pressure sensor.
2. Click the touch key ③ to view 16-hour barometric pressure curve.
● Elevation
1. The altimeter will show approximate climb height based on
Page 10
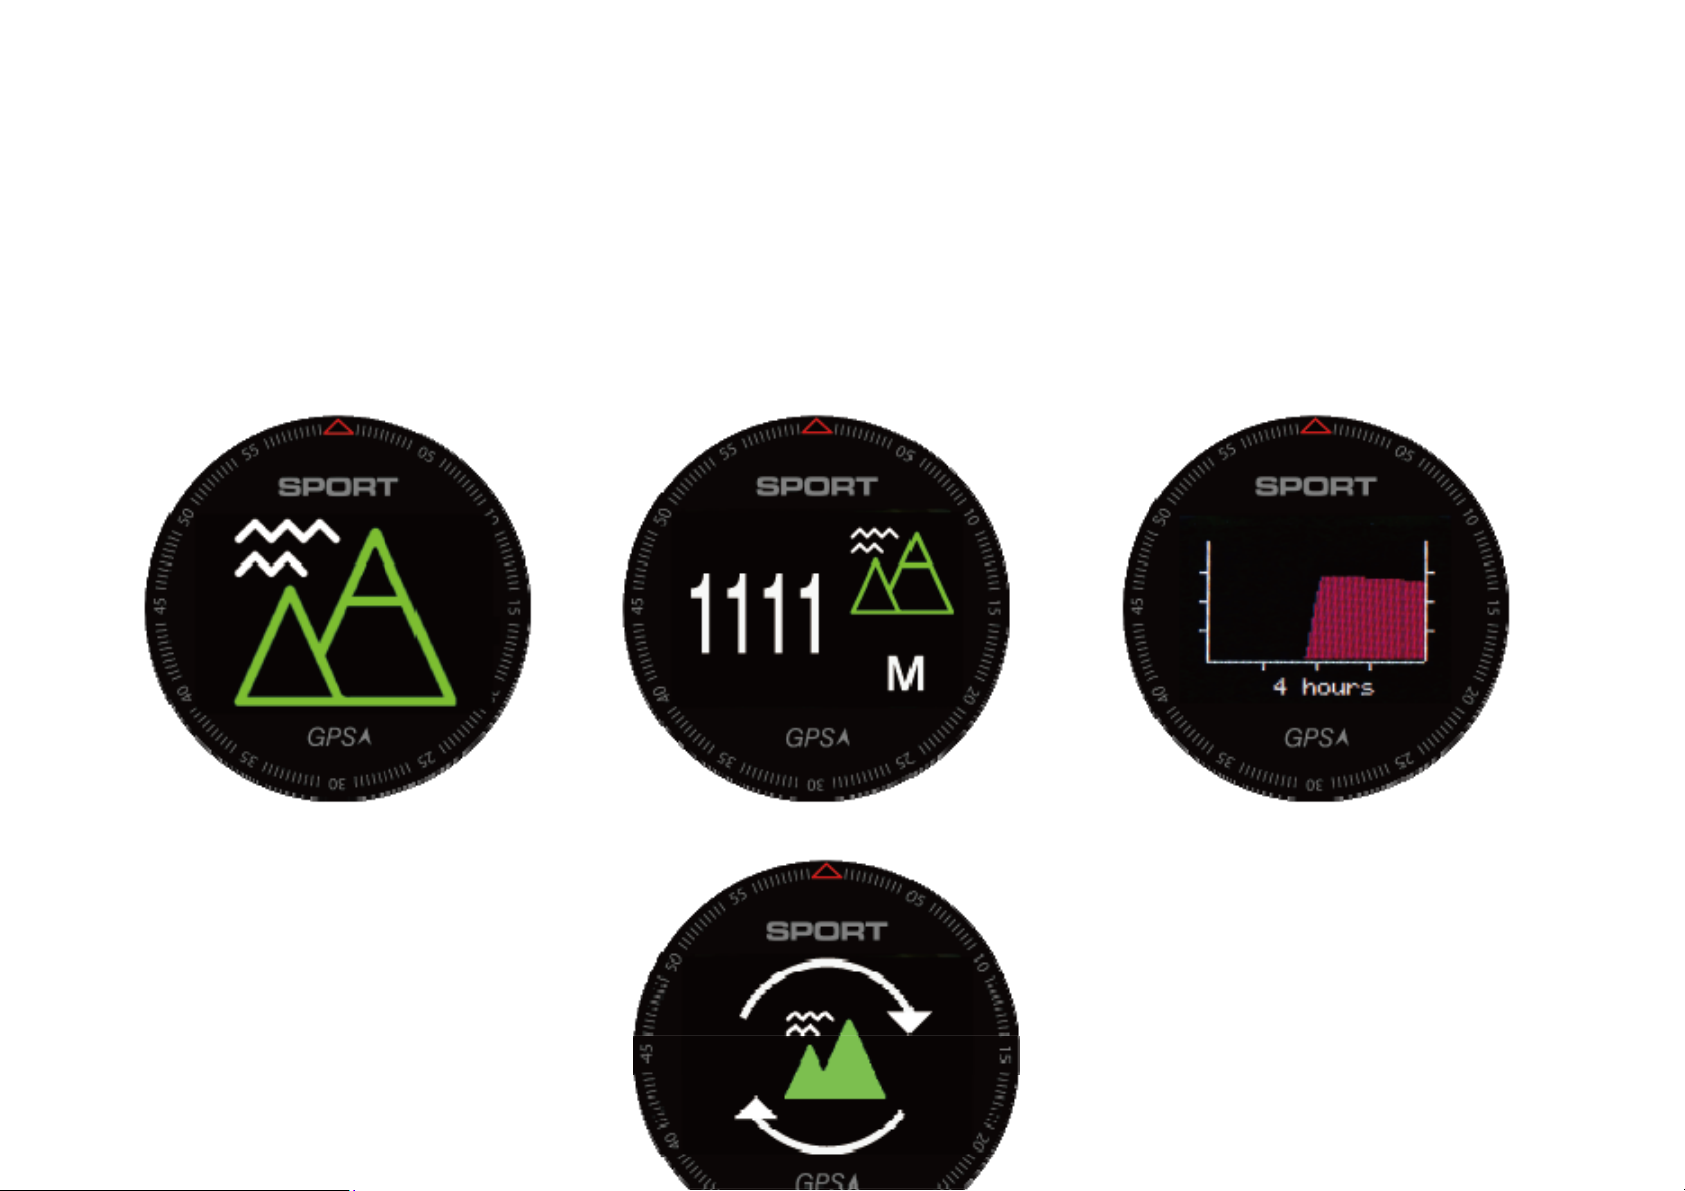
pressure change.
2. Click the touch key to see the 4-hour height change.
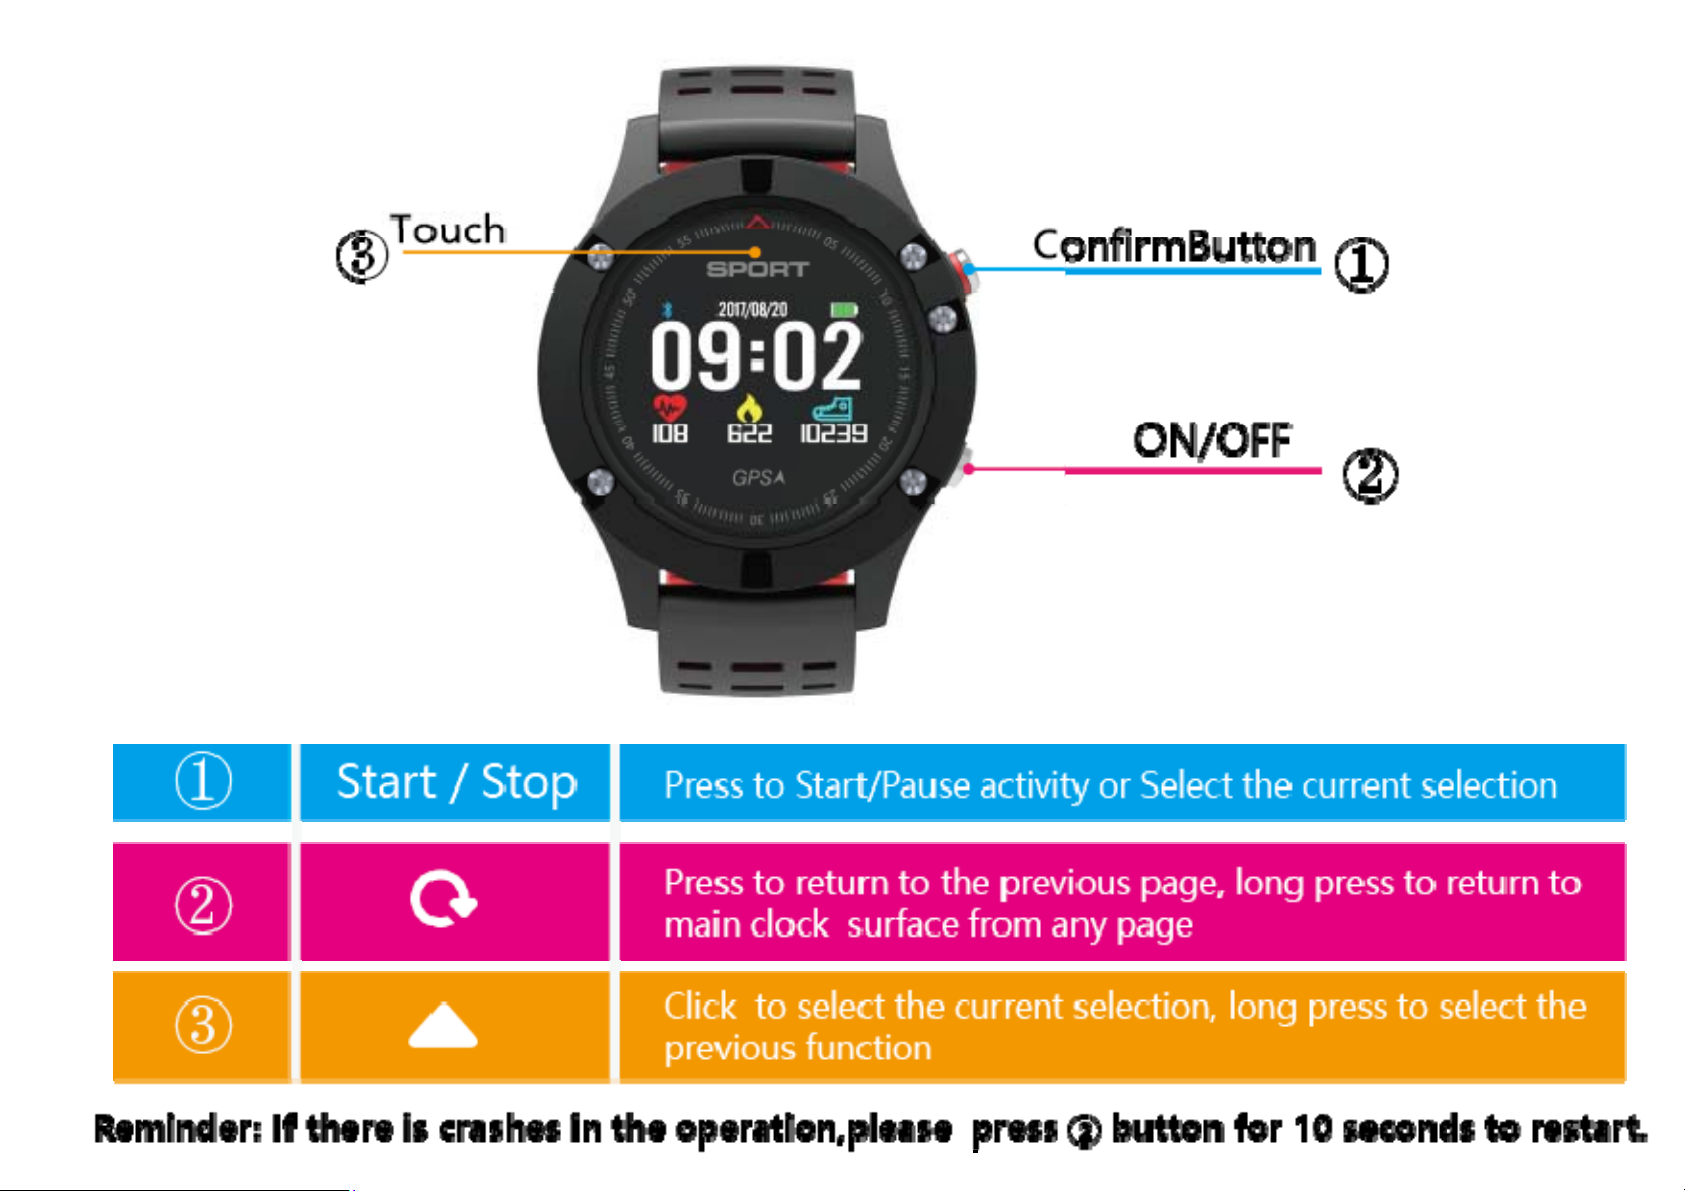
3. Press ① to clear the current height, measurable real-time height.
Page 11

● Activity
NOTE: Enter and click touch key to select different sport mode.
Walking
1. Press ① button to start walking, activities data will be recorded
after timing start.
2. Click ③ button to view other data interfaces.
3. Press ② button to manually record circle laps.
4. If you want to pause the recording to rest, please press ① button.
and press ① again to continue.
Page 12

5. If you want to end the data recording, press ① button to pause,
then press ② button to end.
* To Save or Delete or Continue icons are available to choose .
Running
Run
1. Press ① button to start running, activities data will be recorded
after timing start.
2. Please go to the open outdoor space for satellite signal reception.
* When searching for GPS satellite , running icon will flash.
Flashing completed means GPS satellite positioning success ,
and there will have a trajectory.
3. Click ③ button to view other data interfaces.
Page 13

4. Press ② button to manually record circle laps.
5. If you want to pause the recording to rest, please press ① button.
and press ① again to continue.
6. If you want to end the data recording, press ① button to pause,
then press ② button to end.
* To Save or Delete or Continue icons are available to choose .
Climbing
Mountain climbing
1. Mountain climbing Press ① button to start, activities data will be
recorded after timing start.
2. Please go to the open outdoor space for satellite signal reception.
* When searching for GPS satellite , Climbing icon will flash.
Flashing completed means GPS satellite positioning success ,
Page 14

and there will have a trajectory.
3. Click ③ button to view other data interfaces.
4. Press ② button to manually record circle laps.
5. If you want to pause the recording to rest, please press ① button.
and press ① again to continue.
6. If you want to end the data recording, press ① button to pause,
then press ② button to end.
* To Save or Delete or Continue icons are available to choose .
Riding
1. Press ① button to start riding, activities data will be recorded after
Page 15

timing start.
2. Please go to the open outdoor space for satellite signal reception.
* When searching for GPS satellite , riding icon will flash.
Flashing completed means GPS satellite positioning success ,
and there will have a trajectory.
3. Click ③ button to view other data interfaces.
4. Press ② button to manually record circle laps.
5. If you want to pause the recording to rest, please press ① button.
and press ① again to continue.
6. If you want to end the data recording, press ① button to pause,
then press ② button to end.
* To Save or Delete or Continue icons are available to choose .
Treadmill
Page 16

1. T readmill Mode press ① button to start, activities data will be
recorded after timing start.
2. Click ③ button to view other data interfaces.
3. Press ② button to manually record circle laps.
4. If you want to pause the recording to rest, please press ① button.
and press ① again to continue.
5. If you want to end the data recording, press ① button to pause,
then press ② button to end.
* To Save or Delete or Continue icons are available to choose .
Basketball
Page 17

1. Playing basketball Mode press ① button to start, activities data
will be recorded after timing start.
2. Click ③ button to view other data interfaces.
3. Press ② button to manually record circle laps.
4. If you want to pause the recording to rest, please press ① button.
and press ① again to continue.
5. If you want to end the data recording, press ① button to pause,
then press ② button to end.
* To Save or Delete or Continue icons are available to choose .
Badminton
Page 18

Playing badminton
1. Playing badminton Mode press ① button to start, activities data
will be recorded after timing start.
2. Click ③ button to view other data interfaces.
3. Press ② button to manually record circle laps.
4. If you want to pause the recording to rest, please press ① button.
and press ① again to continue.
5. If you want to end the data recording, press ① button to pause,
then press ② button to end.
* To Save or Delete or Continue icons are available to choose .
Football
Page 19
football
1. Playing football Mode press ① button to start, activities data will
be recorded after timing start.
2. Click ③ button to view other data interfaces.
3. Press ② button to manually record circle laps.
4. If you want to pause the recording to rest, please press ① button.
and press ① again to continue.
5. If you want to end the data recording, press ① button to pause,
then press ② button to end.
* To Save or Delete or Continue icons are available to choose .
● Settings
Pedometer Walking
1. Sport record; 1. Sport record;
Page 20
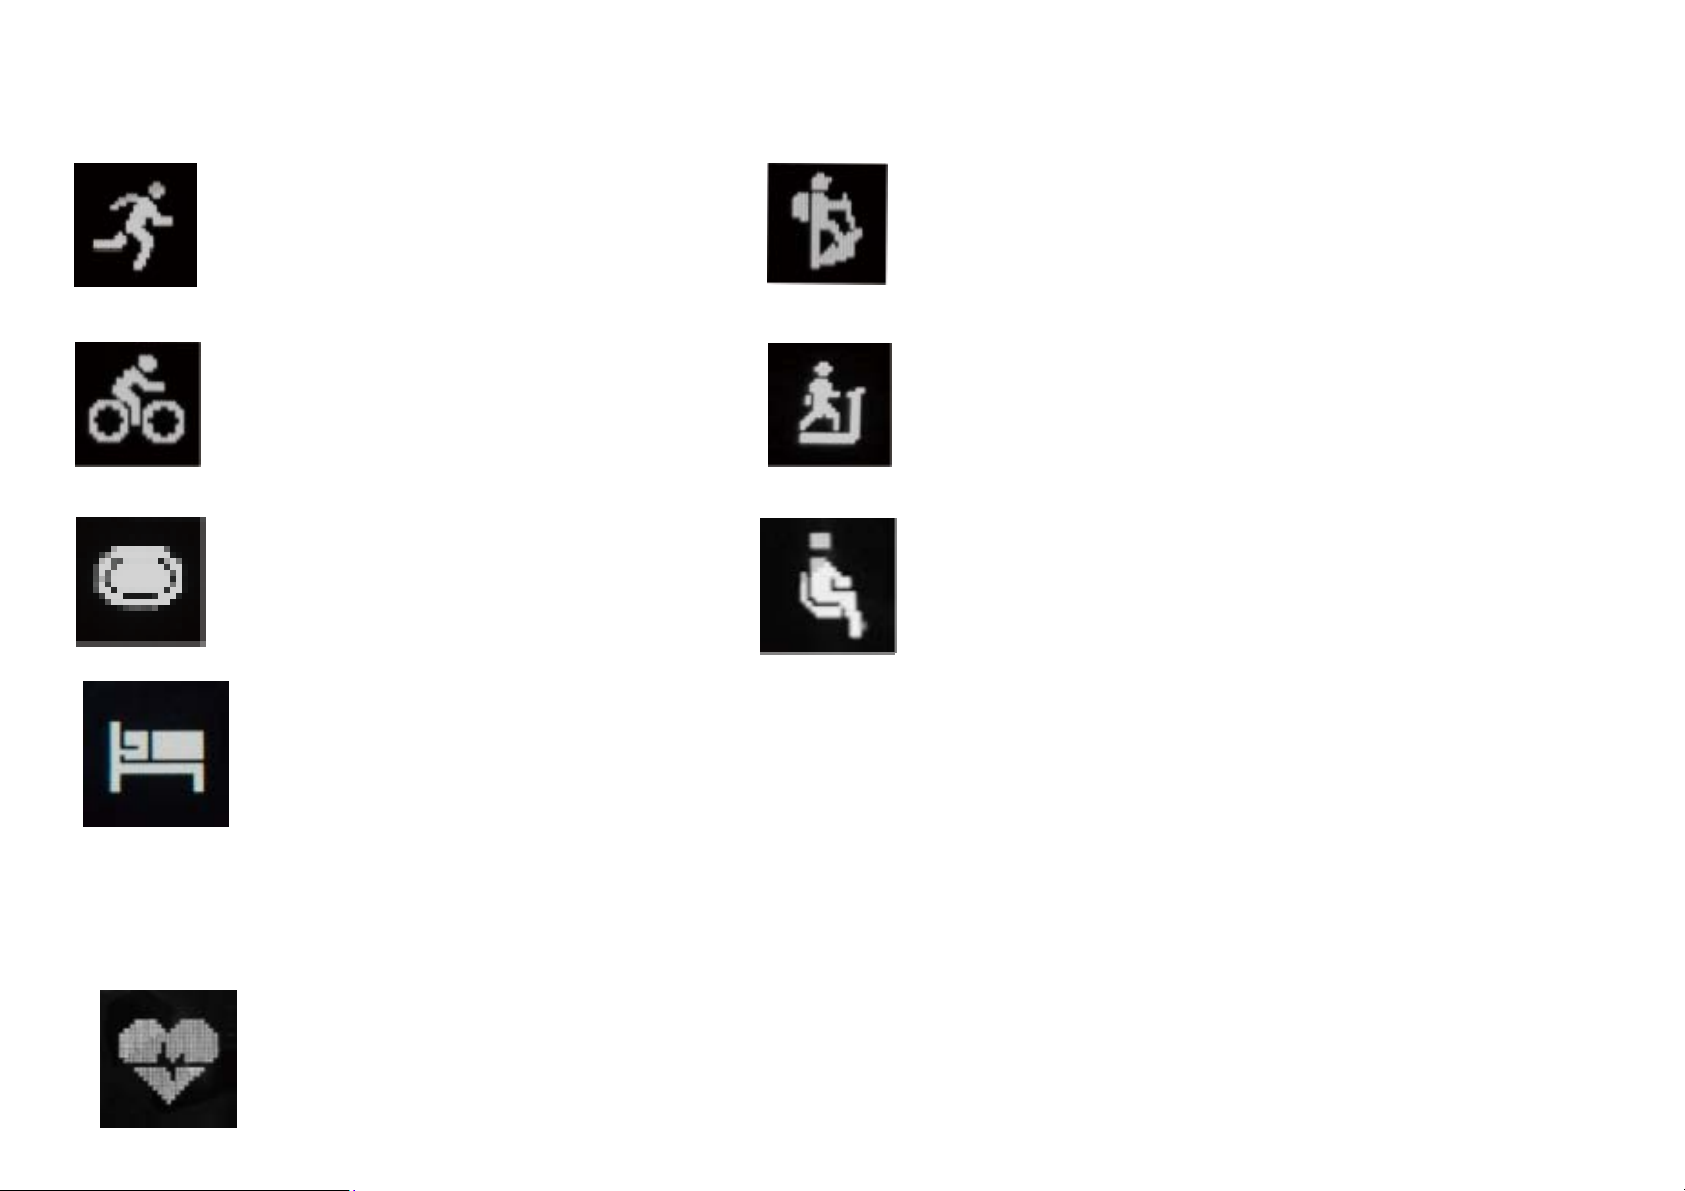
2. Target setting; 2. Target setting;
Running Climbing
1. Sport record; 1. Sport record;
2. Target setting; 2. Target setting;
Riding Treadmill
1. Sport record; 1. Sport record;
2. Target setting; 2. Target setting;
Lap recording Sedentary
1. Sport record; 1.On/Off; Sedentary time
time.
2. Target setting; 2.Start time, Ending time
Sleep monitoring
1. Enter to see the quality of sleep;
2. Above is the light sleep time, below is the deep sleep
Heart rate
1. All-day monitoring of heart rate On/Off;(all-day heart rate
Page 21
on working will consume power quickly)
2. Heart rate alarm ON/Off, you can set the alarm heart rate
value. (Heart rate alarm will remind only when activity)
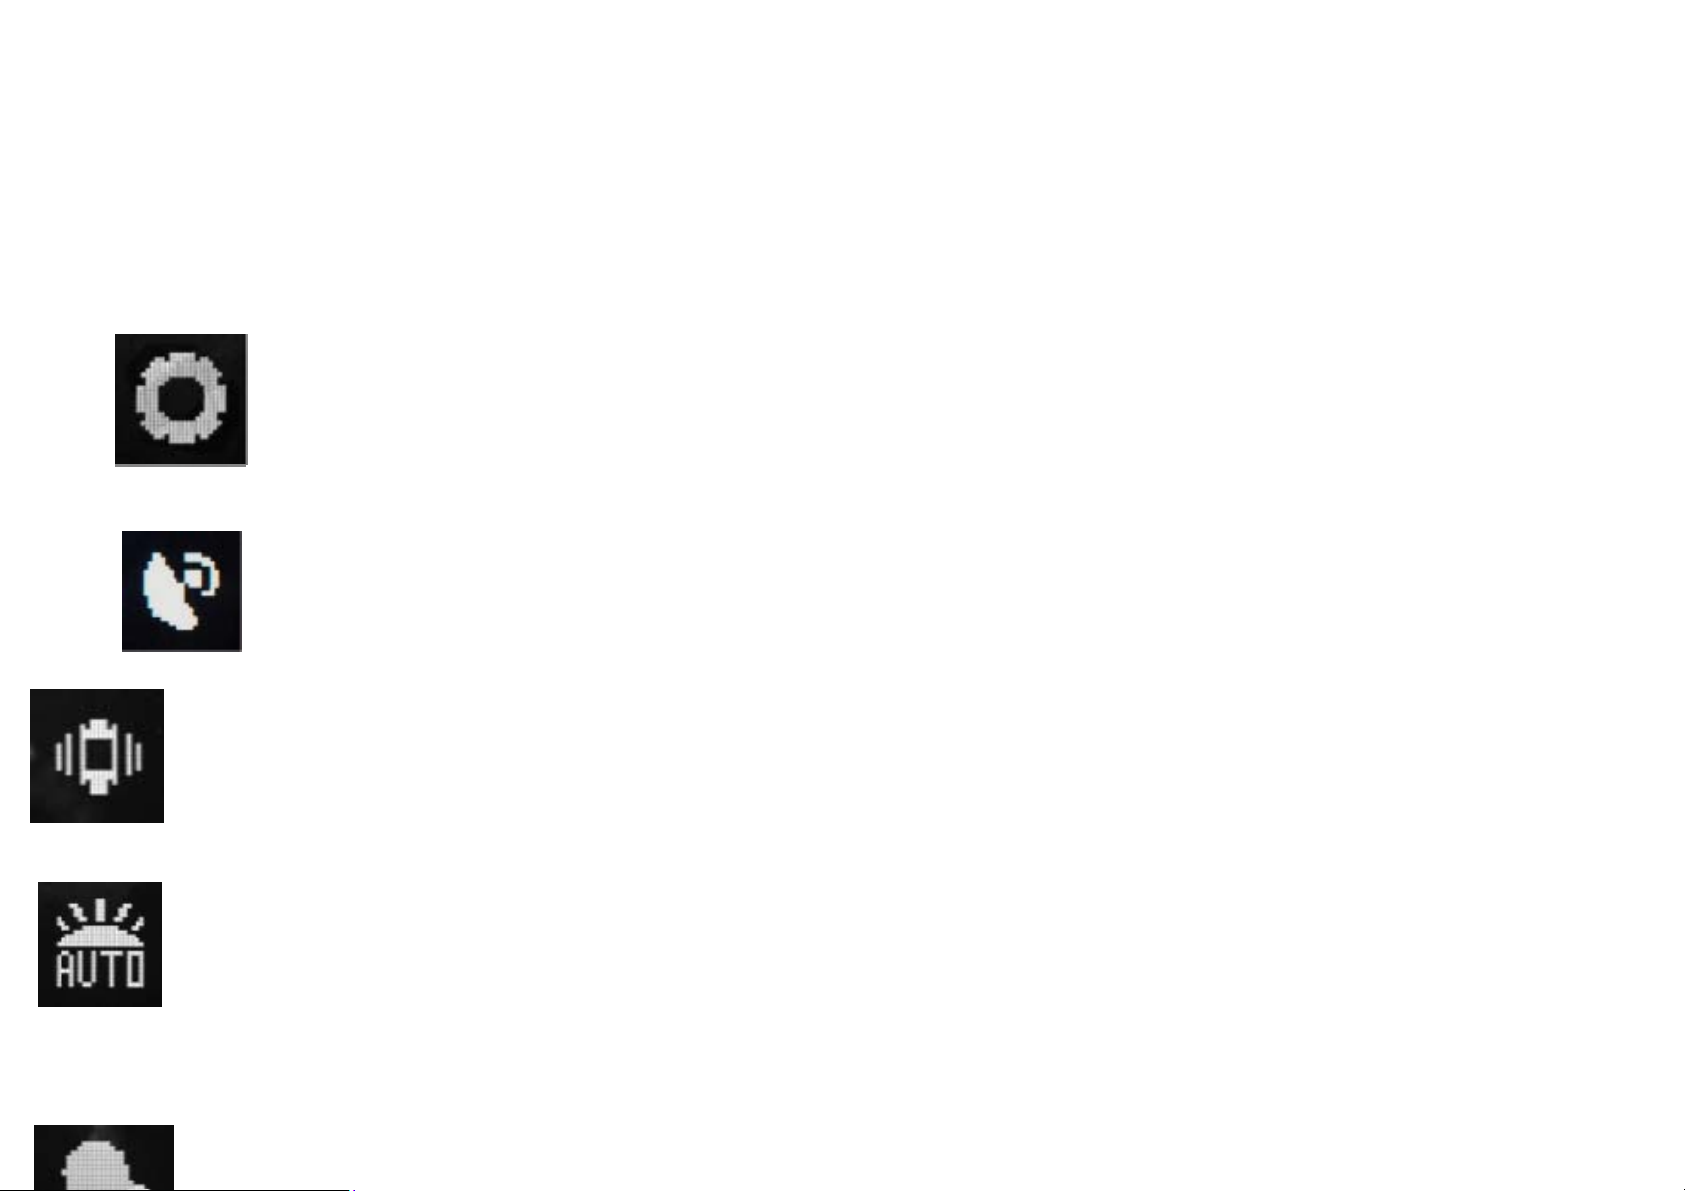
System settings
1. GPS satellite
Enter to see the positioning time and signal.
2. Vibration
Enter to set watch vibration On/Off.
3. Wake on screen
Enter to set waking on screen through raise your hand.
(0:00 to 6:00 default off)
Page 22
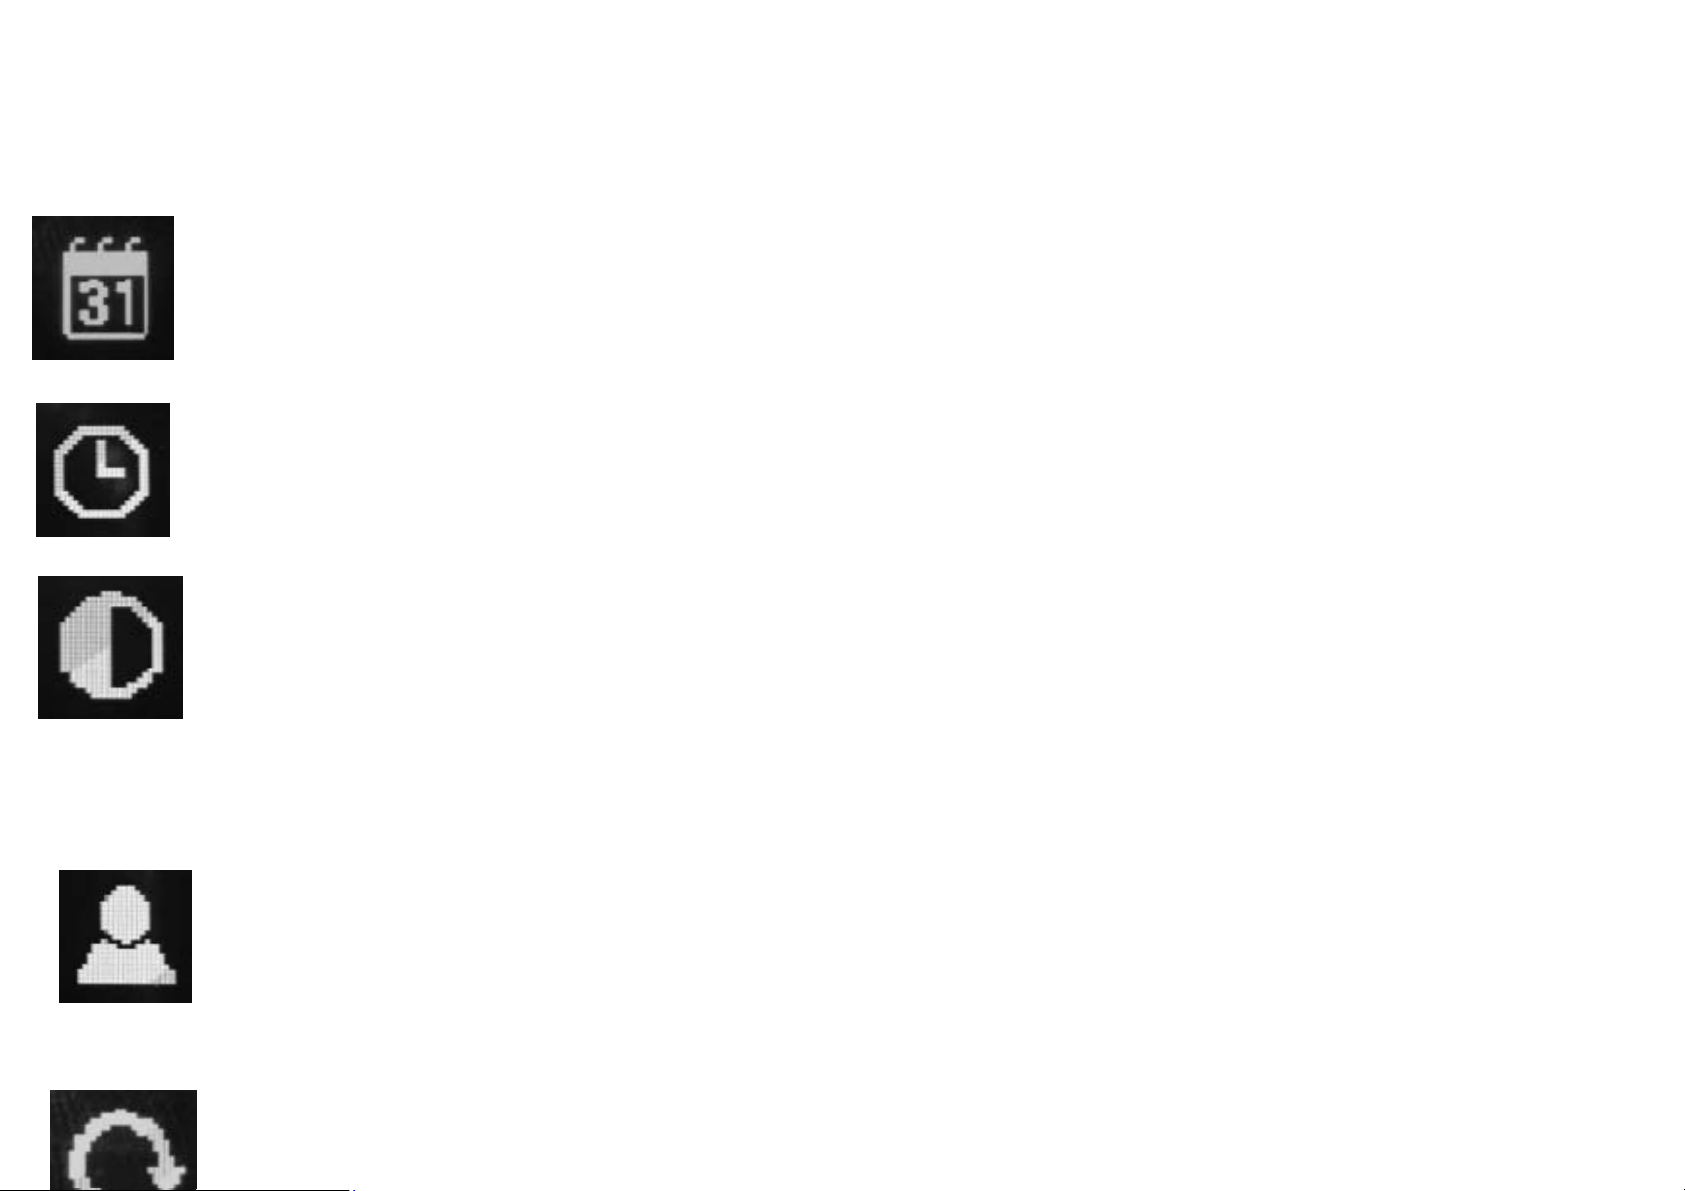
4. Alarm clock
Enter to set the alarm clock On/off and time.
5. Calendar
Enter to set calendar year/month/date.
6. T ime
Enter to set hours/minutes.
7. Brightness
Enter to set three brightness grades. (The brightest will
consume power quickly)
8. Personal information
Enter to set personal information "Male /Female" age,
height, weight.
Page 23

9. Reset
cleared.
10. Version information
address.
Enter to restore the factory settings, reset all records will be
Enter to view the firmware version/ the Bluetooth
Firmware upgrade
1.Bluetooth connection under normal circumstances enter 'Hplus'
2.Enter App, click device, firmware upgrade
3.If there is a new firmware, it will notify you whether to upgrade or not.(T
he upgrade process takes 3-5 mins)
4.Upgrade successfully, the watch will reboot and connect to the device a
utomatically. Please disconnect it and go to the system settings, reset an
d reconnect.
Page 24

5.Note, if the process bar stuck, please do not do anything, it will slowly u
pgrade until it is done.
Warranty Description
1. If it appears quality problems caused by manufacturing, materials,
design within one year(since the day of purchase), we will offer free
warranty for. We will offer free warranty for battery and adapter
within 6 months. Premise is using normally and correctly.
2. About the fault caused by the Users personal reasons, we don't
offer free warranty, as follows:
1). Disassemble or refit the product.
2). Caused by immodesty drop
Page 25

3). All artificial damage or misuse (such as: make water into the host,
the external force shatter, scratch damage of peripheral components,
etc.), all these are beyond the scope of the warranty.
3. When ask for free warranty, you must provide a warranty card with
the seal of purchase place and purchase date.
4. If you met problems during use, please contact the shop customer
service which you bought from.
5. All products features are based in kind.
Date of purchase:
IMEI code:
Purchasing Store:
Customer signature:
Clerk Signature:
Shop stamp:
Page 26

FCC Warning
This device complies with Part 15 of the FCC Rules. Operation is
subject to the following two conditions:
(1) This device may not cause harmful interference, and (2) this
device must accept any interference received, including interference
that may cause undesired operation.
NOTE: Any changes or modifications to this unit not expressly
approved by the party responsible for compliance could void the
user's authority to operate the equipment.
 Loading...