

Page 1
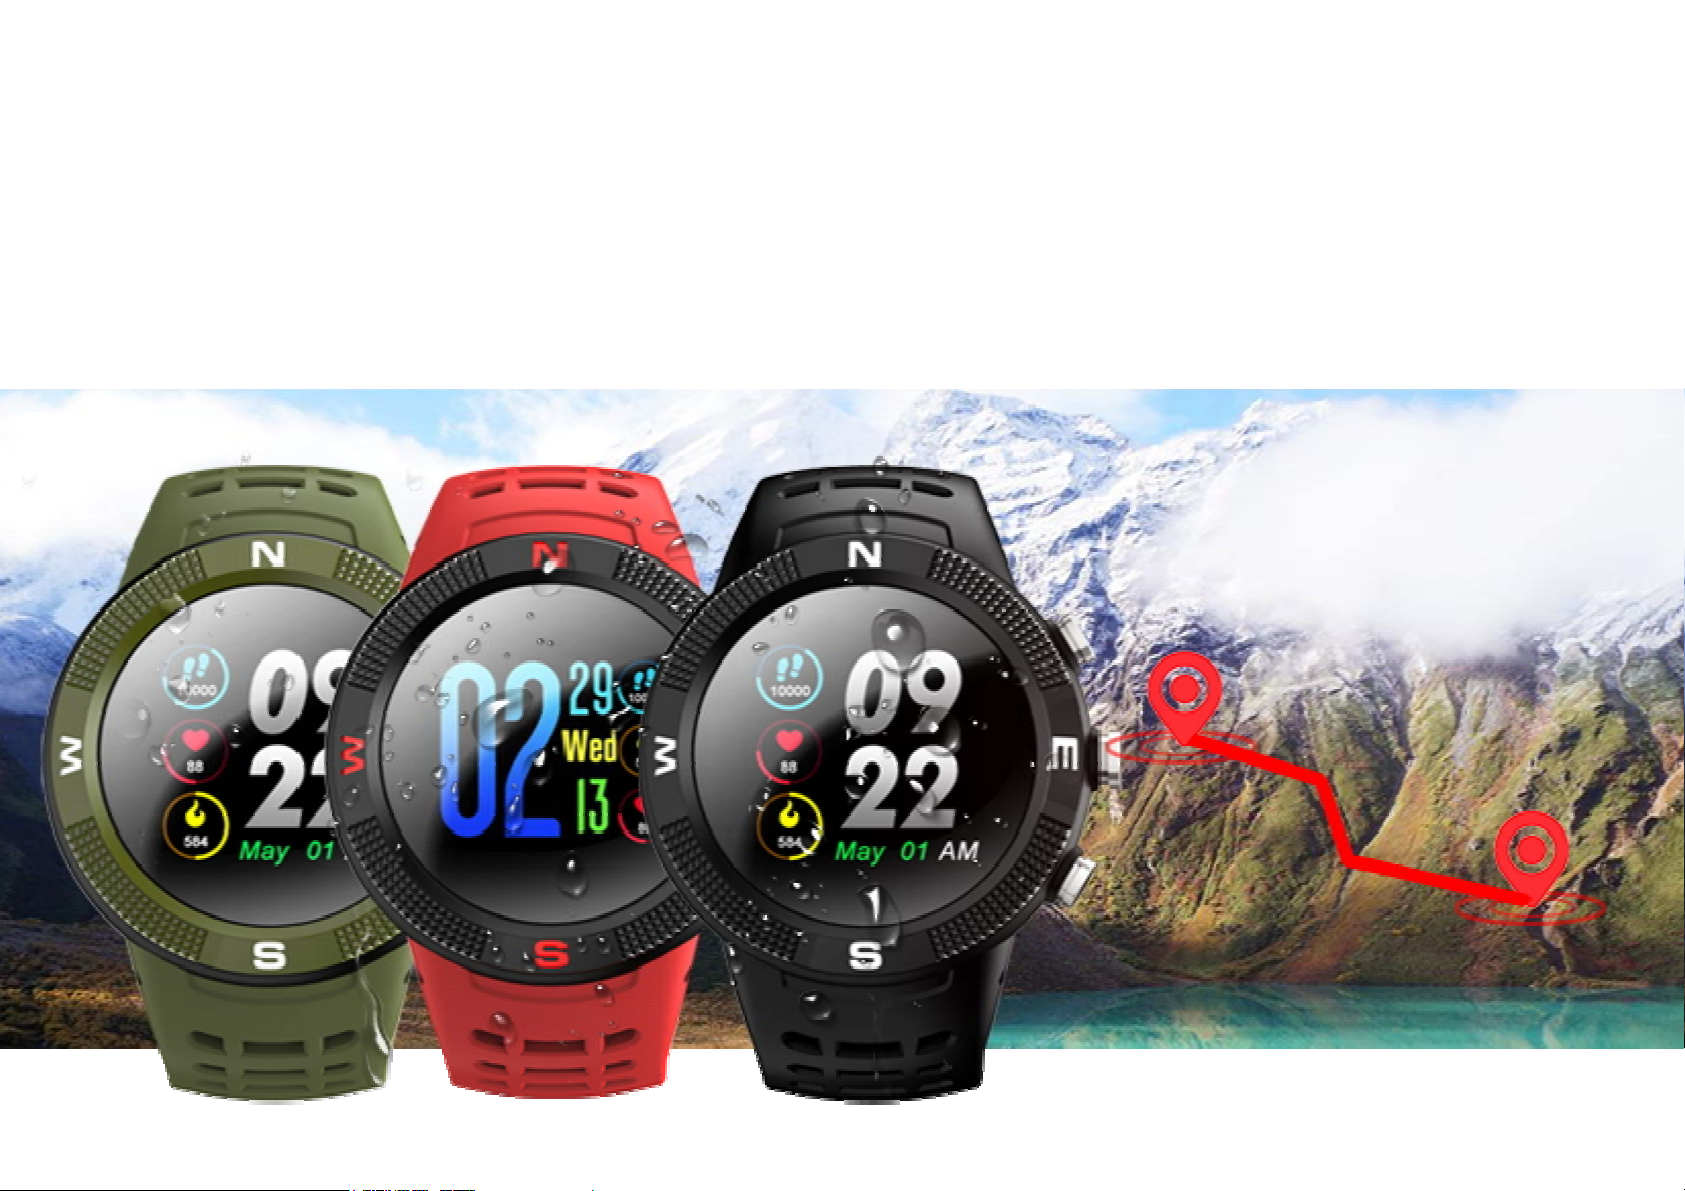
GPS Sports Watch
USER’S MANUAL
Page 2

Thank you for choosing our smart band. You can read this
manual thoroughly to understand the use of the equipment
and how to do it simply. The Company reserves the right to
make changes to the contents of this manual without prior
noticewithoutpriornotice.
Productconfiguration:
1.SmartWatch
2.Datacable*1
3.Manual*1
*1
Page 3
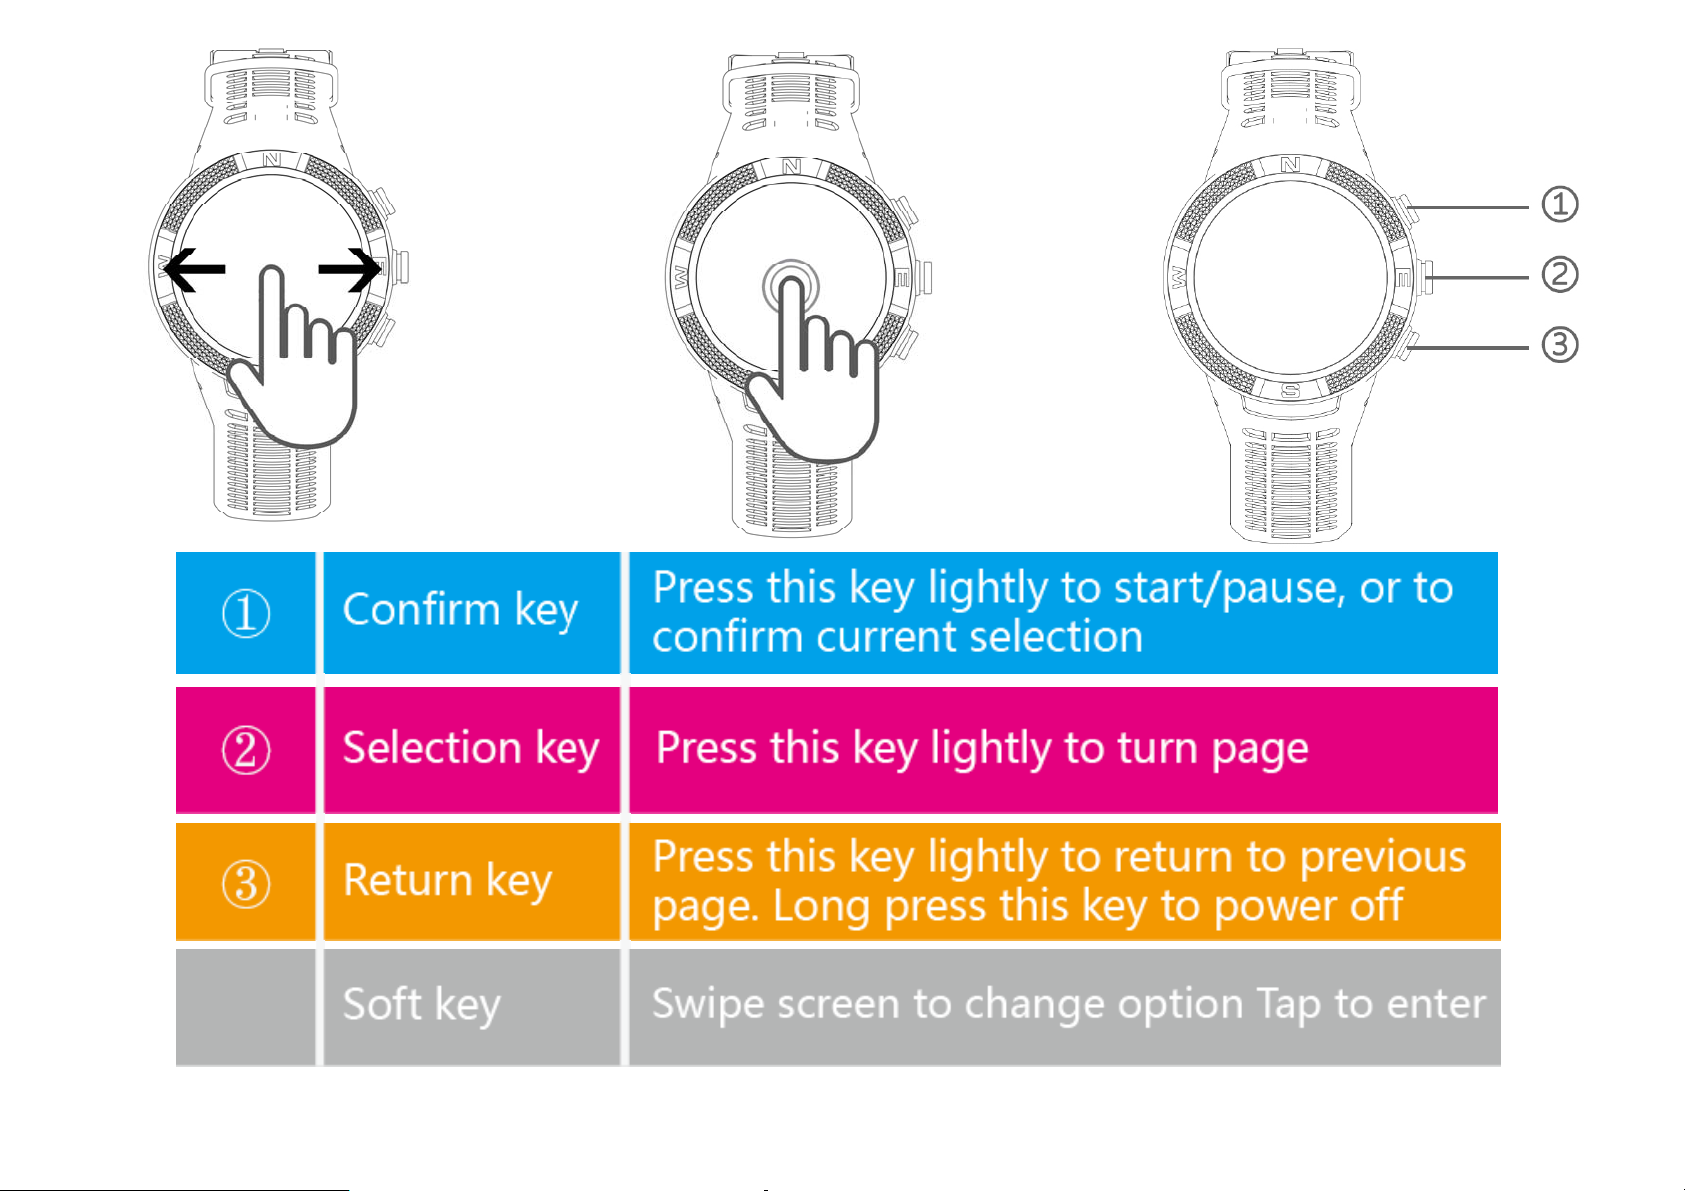
*If system halted during use, press key ③ and hold for 10s to restart the device.
Page 4
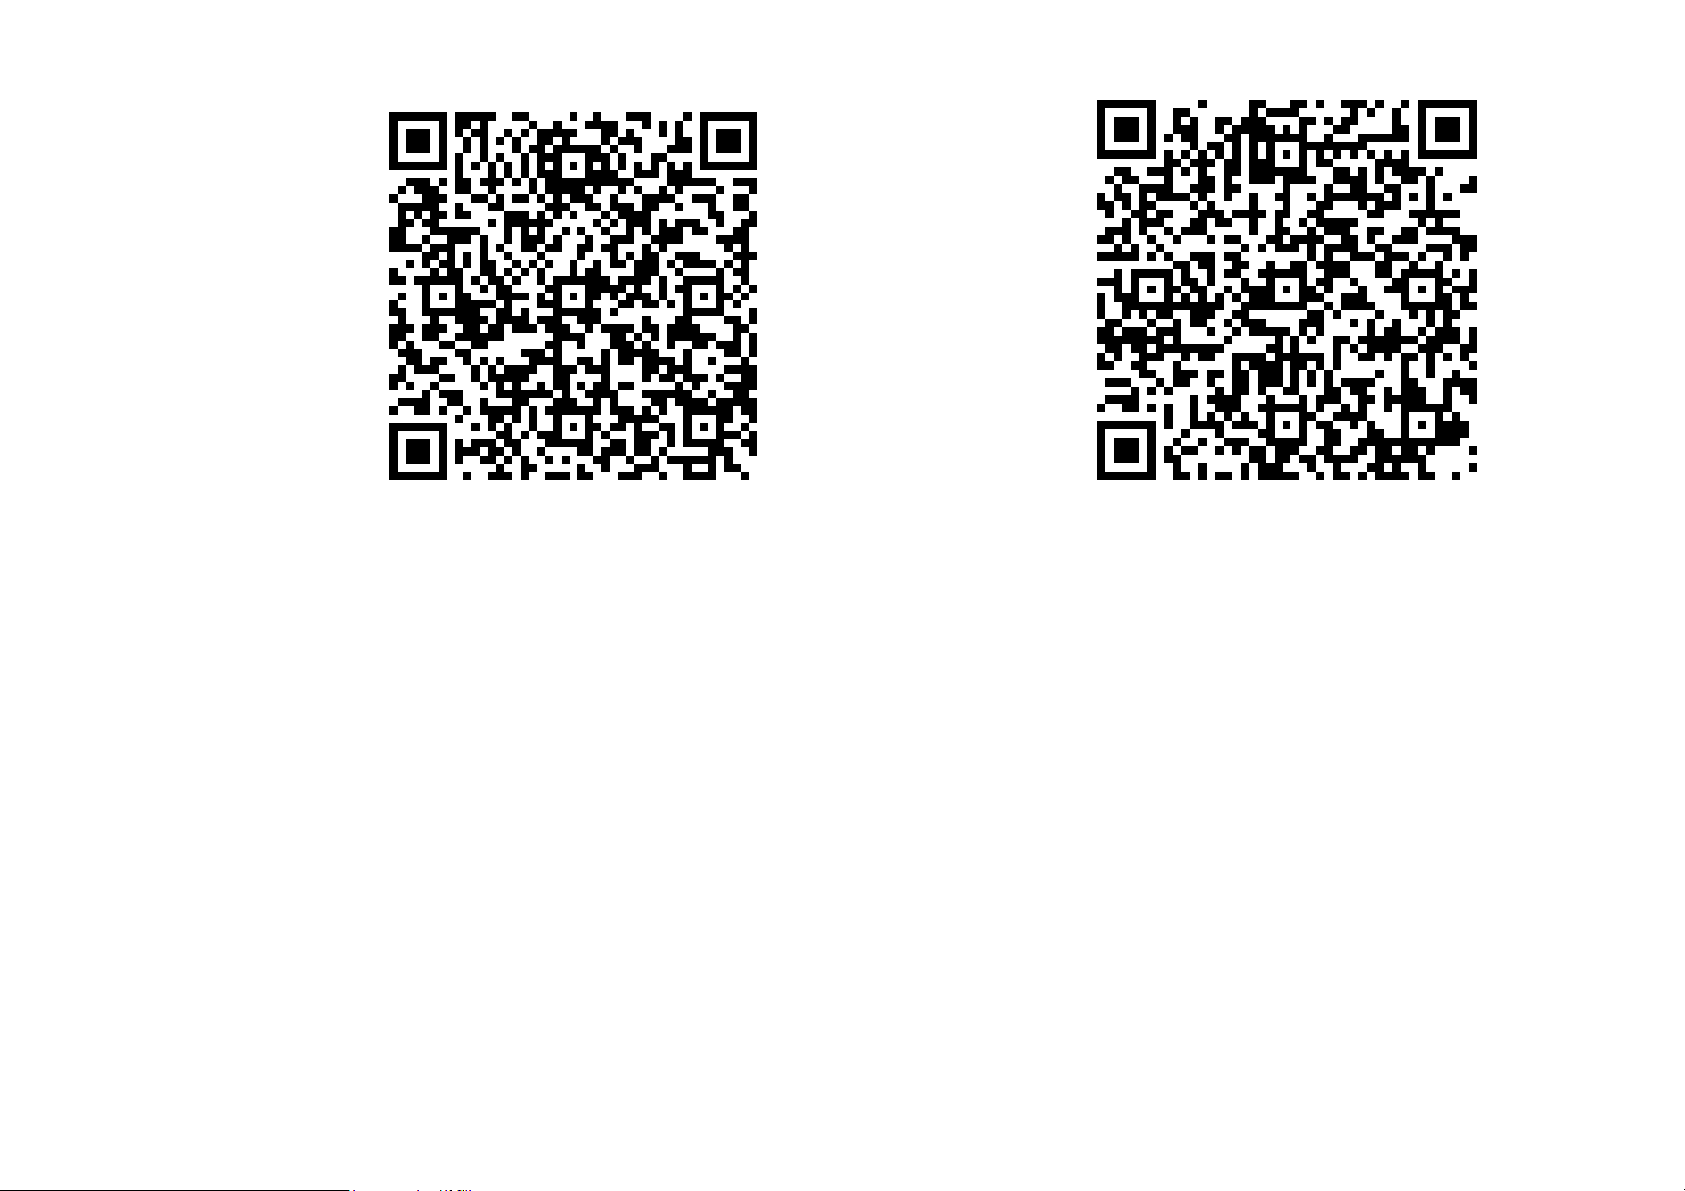
● Pair with the phone
Appstore Google Play
1: IOS, Android users scan the following QR code through
your mobile browser to download the APP.
2: Android phone users search: "Hplus " in Google Play Store
to download ,and IOS users download the application in App
Store please.
Open the "Hplus" applicationsettings-Bluetooth-Search ”SmartBand” and connect
When the Bluetooth icon on the watch is blue,means
connected success, while red for unconnected.
Page 5
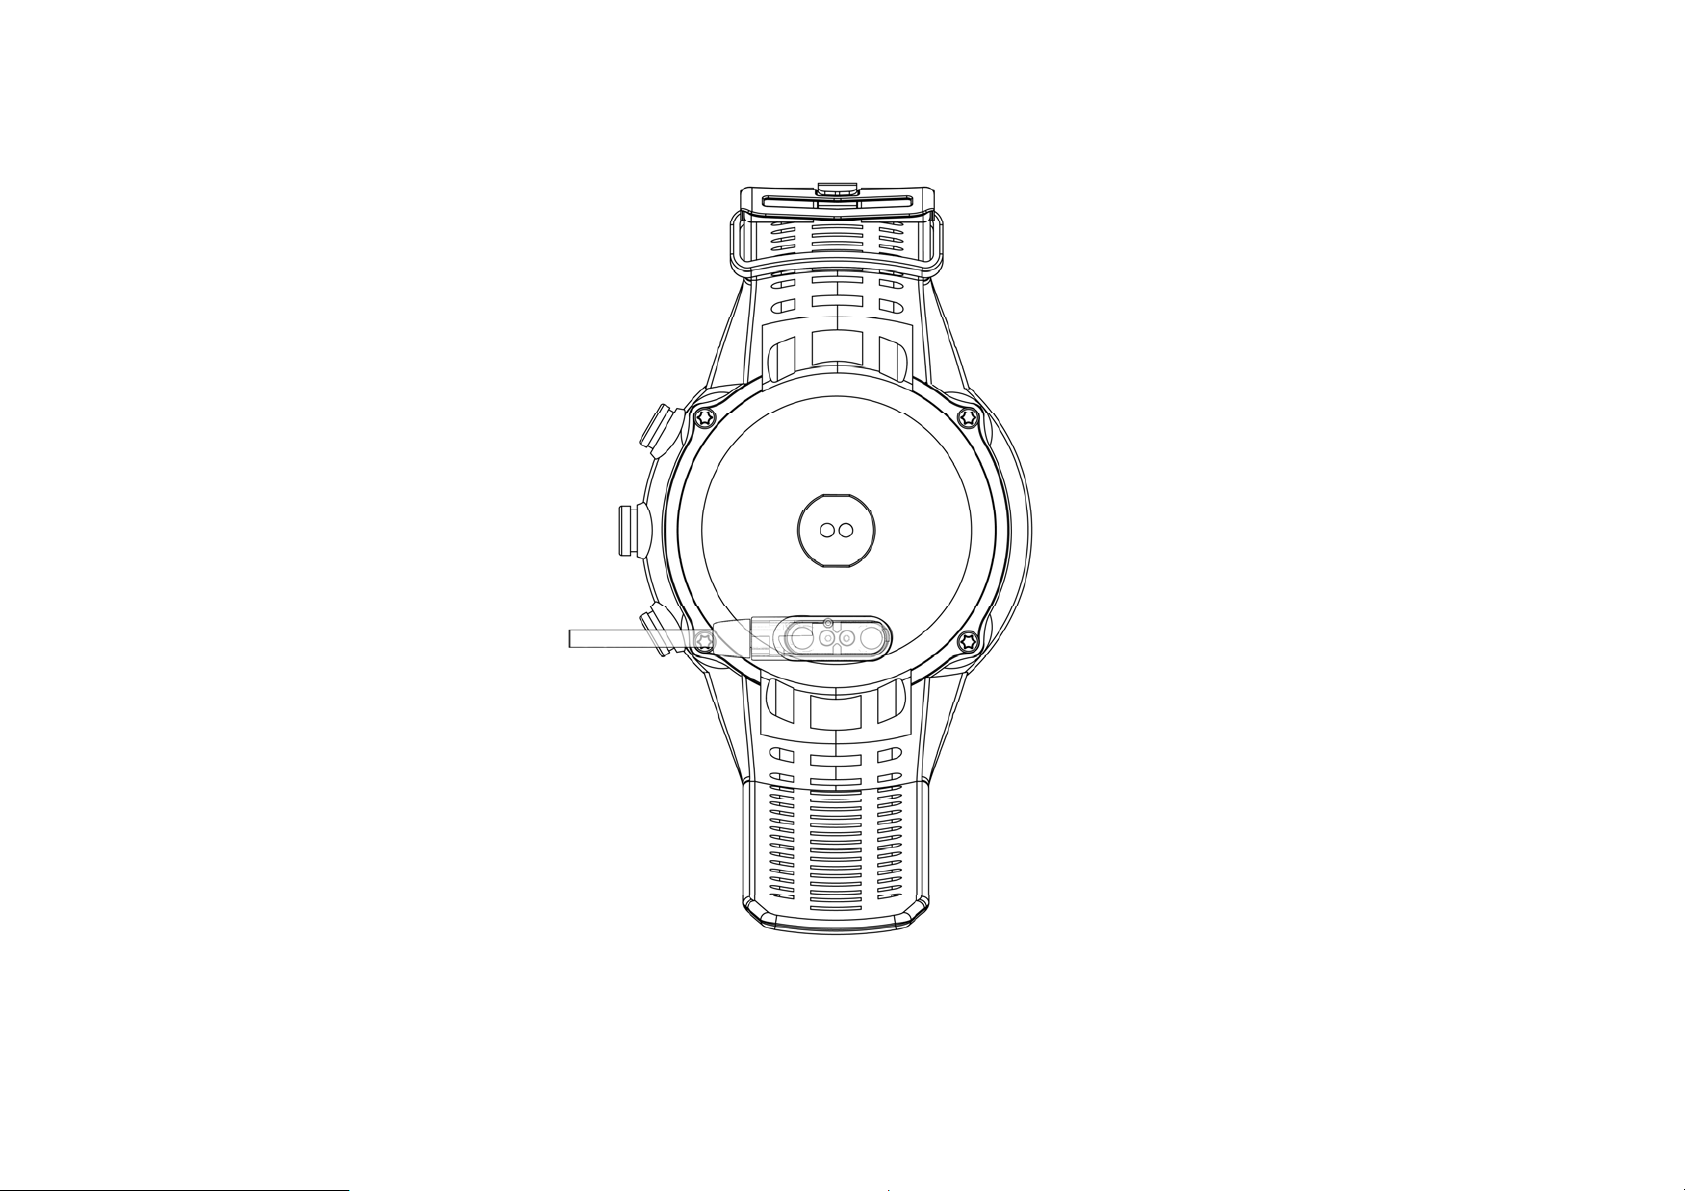
● Charging instructions
Magnetic charging, as shown in the picture below. Please note direction of charging cable.
*Please note that two contacts of the charging cable can’t contact electric conductor at the
same time, otherwise it will cause circuit burning.
Page 6
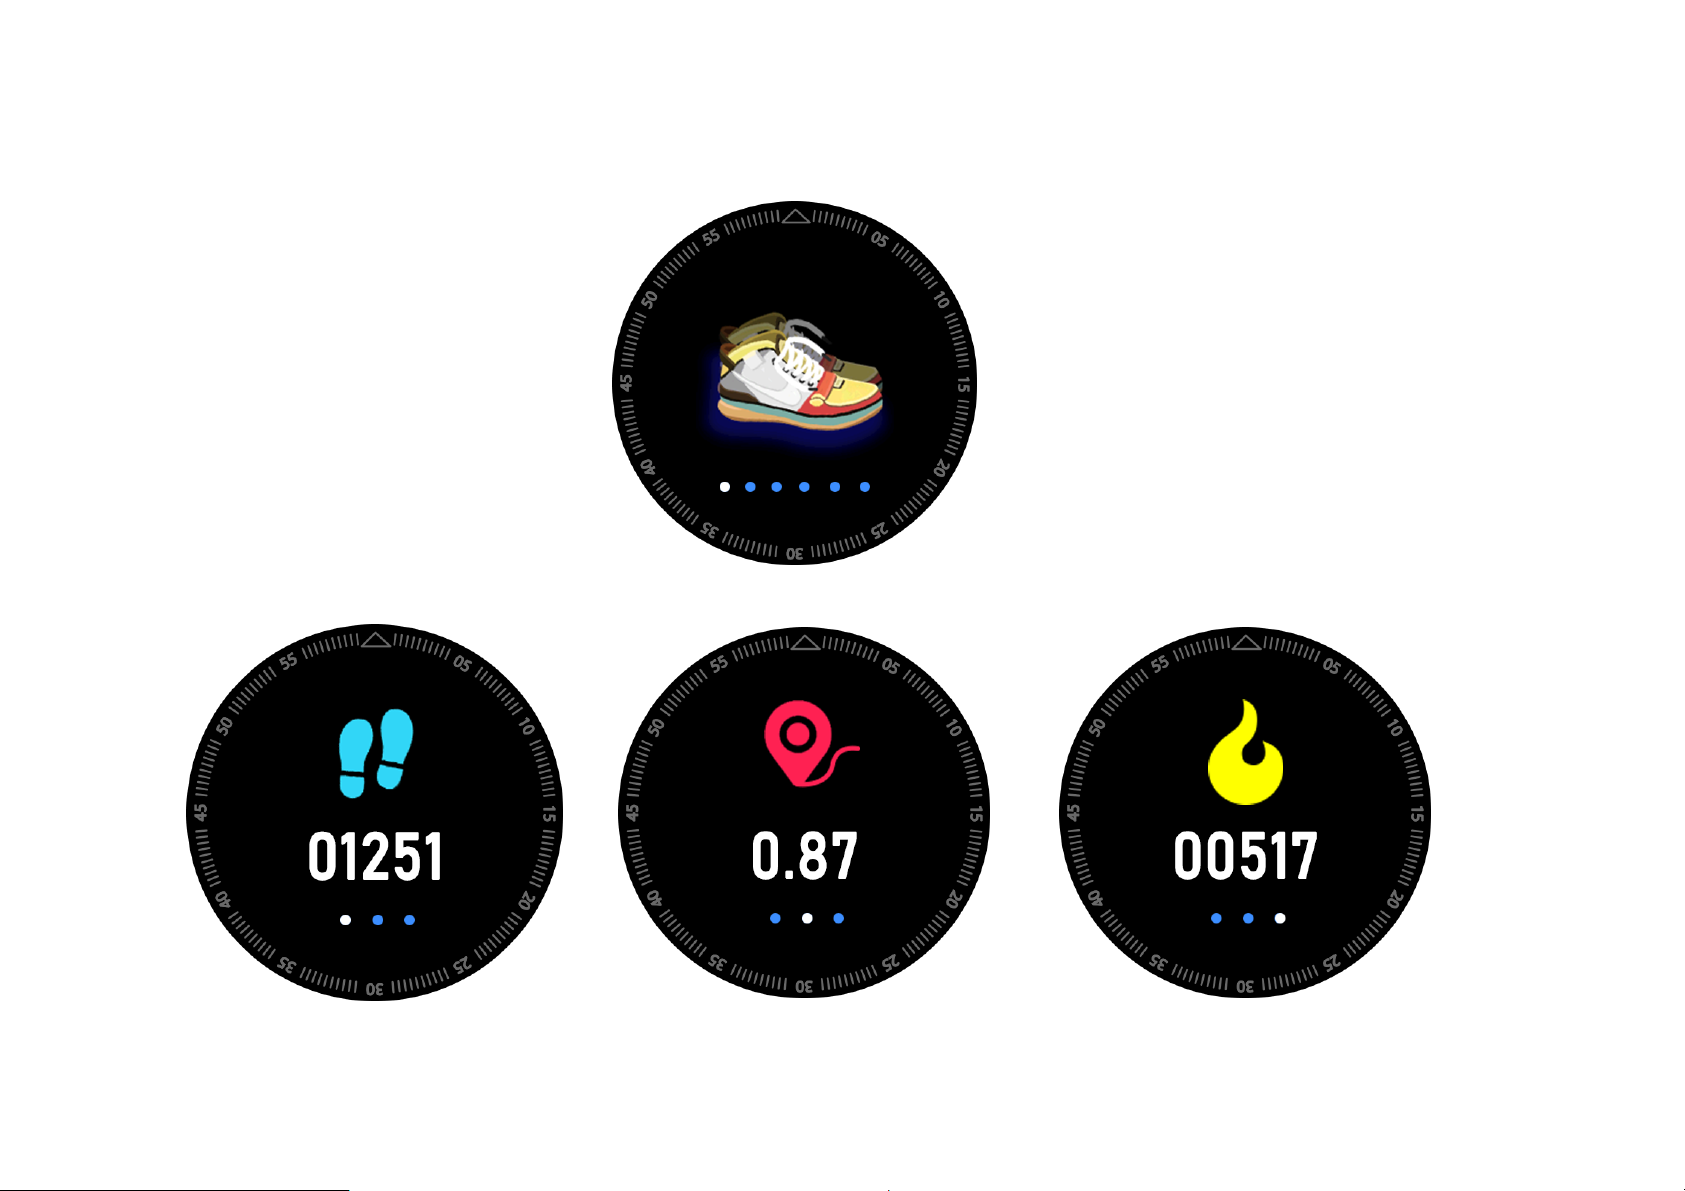
● Step count
It displays three data: distance/step count/calorie.
The step count function is on 24h. At every 12pm, data will be saved and reset to 0 for
recalculation.
Page 7
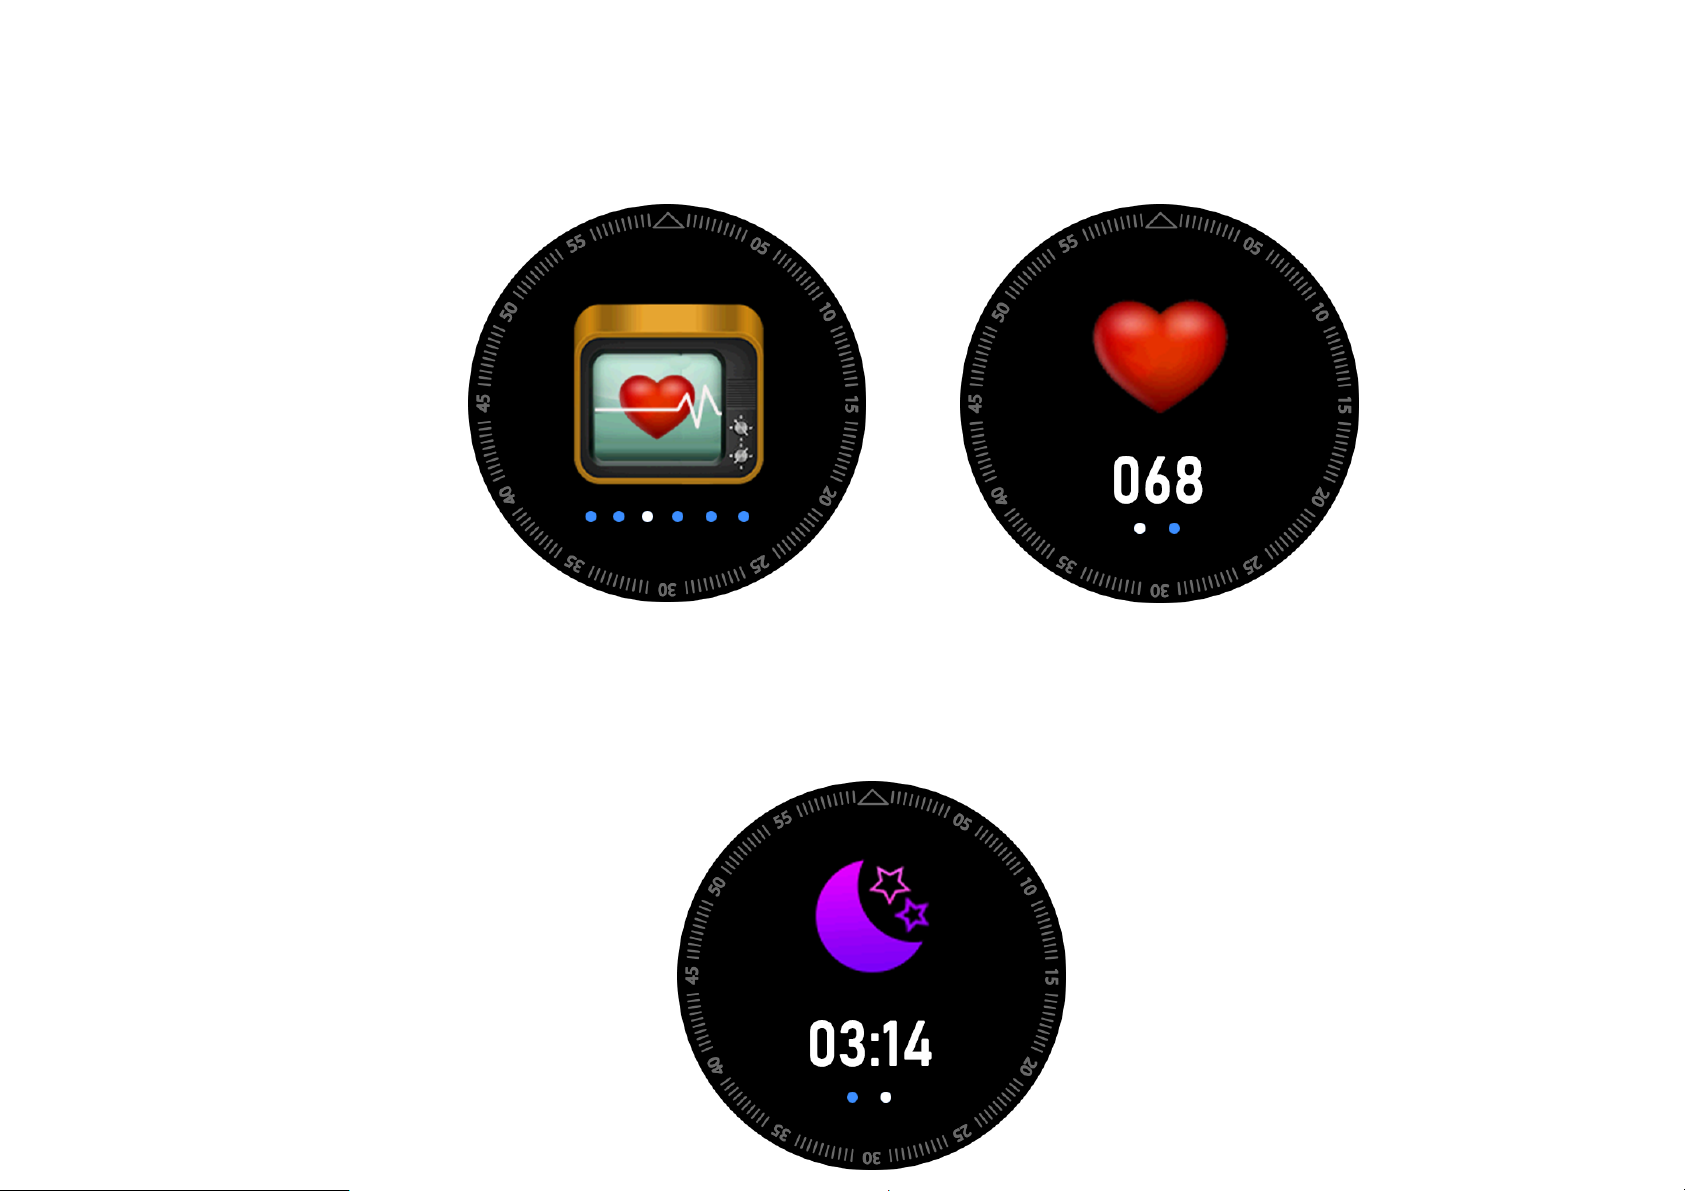
● Health
1. Heart rate. Enter heart rate interface and start measuring. This heart rate test is dynamic, it
stops measuring when exits.
*Heart rate function of the watch is for daily exercise use only, and does not serve as medical
reference.
2.Sleep mode. Enter this mode to check sleep quality.
Page 8
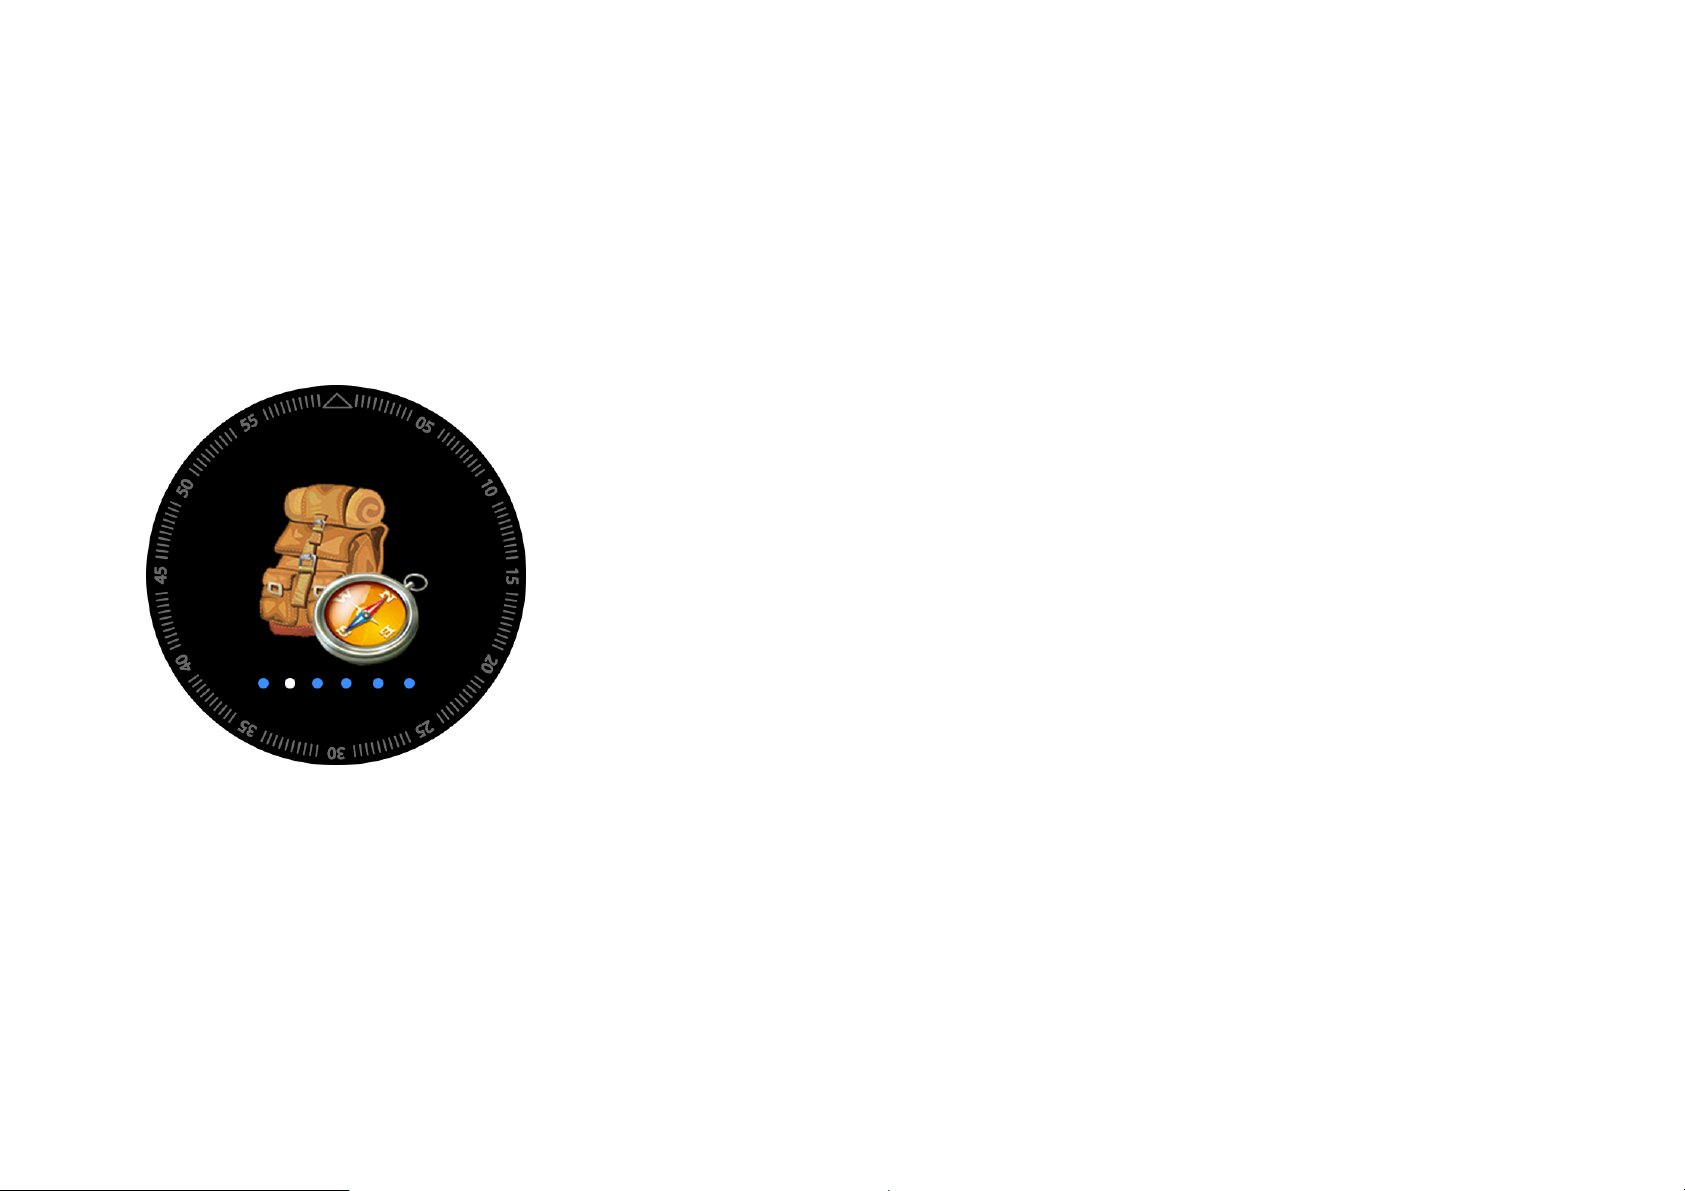
●Notification
1. Enter notification mode to view the latest 5 messages or notifications.
● Compass
1.Calibrate compass by moving wrist to draw an 8, then compass is ready.
Page 9
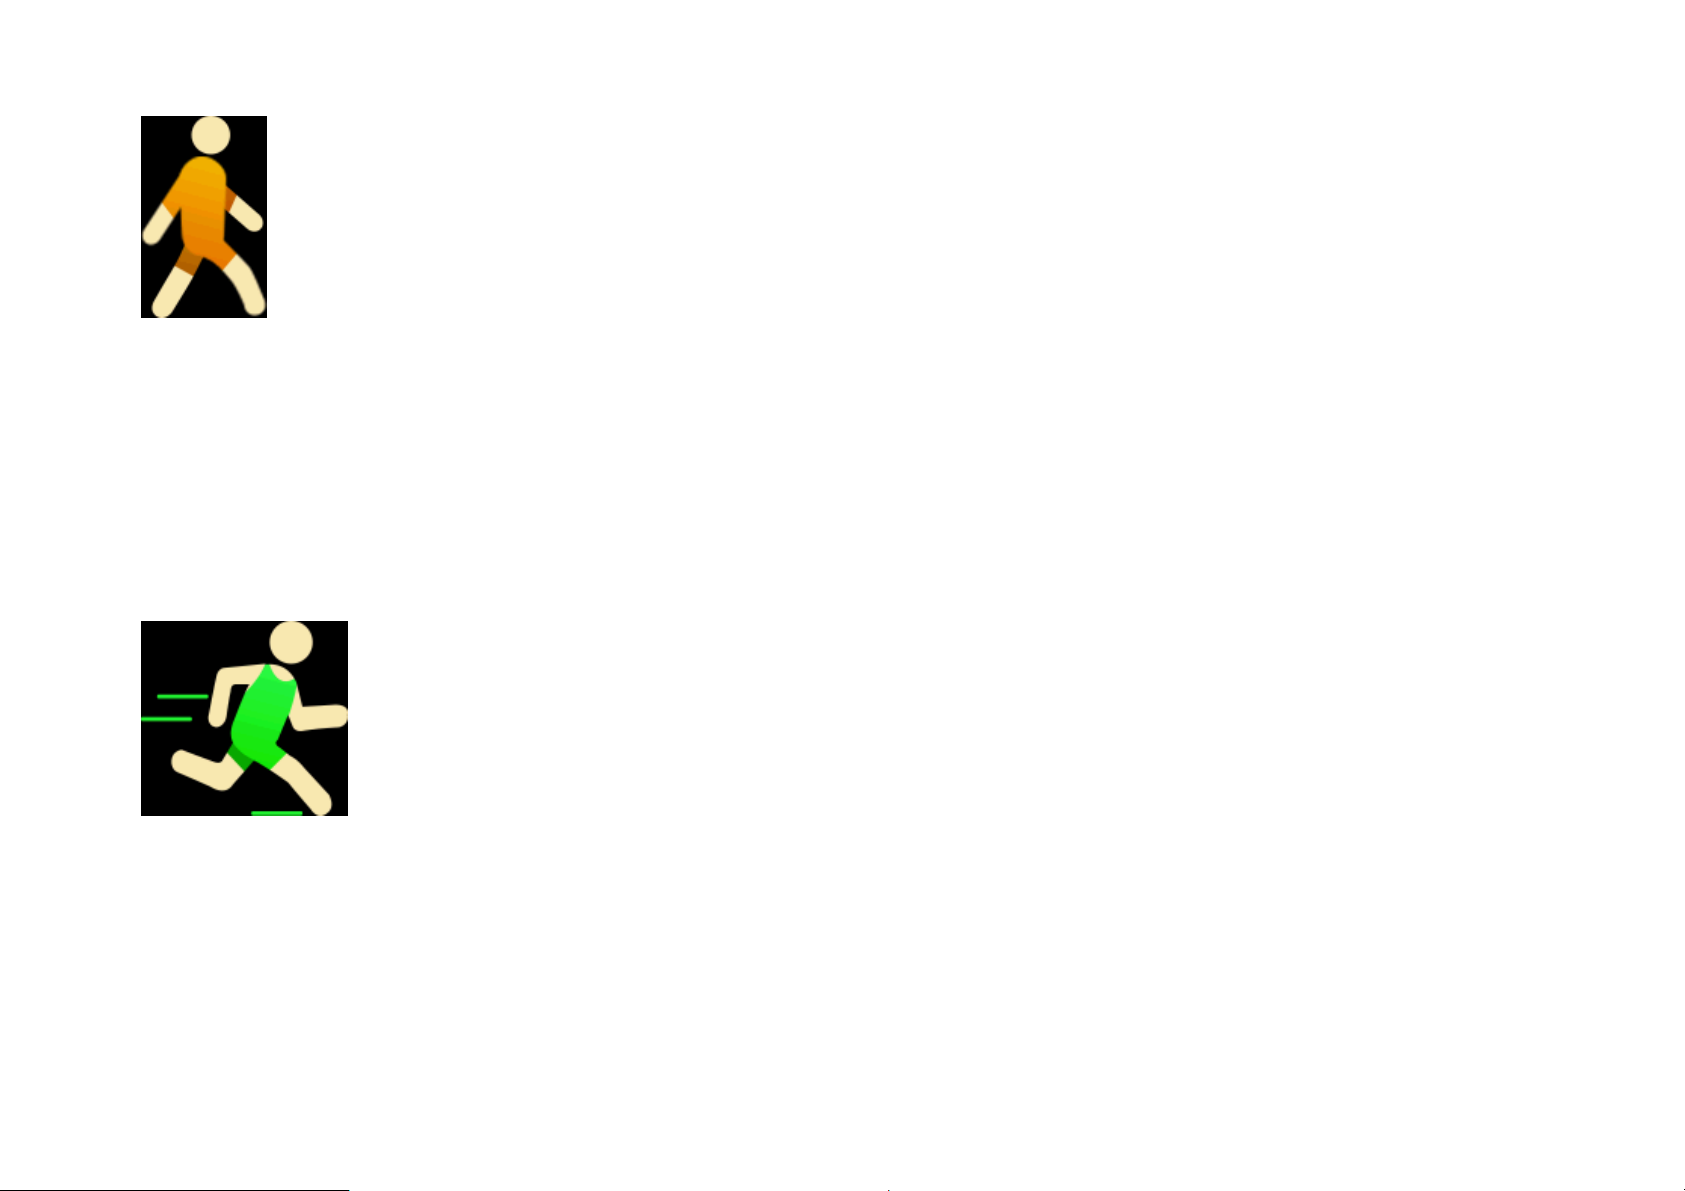
● Exercise
Hiking
1. Enter this mode and start exercising. Press key ② to check other data.
2. Press key ③ to record number of laps manually.
3. If you need to pause recording and take a rest, press key ①. And if you want to continue,
press key ① again.
4. If you want to stop exercising, press key ① to pause, then press key ③ to return, save data
and end exercising.
*User can select save, delete or continue.
Running
1. Before entering running mode, use GPS to locate first. If you don’t need GPS path, press key
① to enter exercising mode.
2. When locate by GPS, please search for GPS motionlessly in outdoor open area, and start
exercising after successful locating.
*When locating, use the device in outdoor and open environment. Environment with less
shielding helps reception of GPS signal. Shielding such as building, metal covering and dense
forest may weaken GPS signal.
Page 10

3. Select key ② to check other data interface.
4. Press key ③ to record number of laps manually.
5. If you want to take a rest or pause recording, press key ①; if you want to continue exercising,
press key ① again.
6. If you want to end exercising, press key ① to pause, and press key ② again to end.
*User can select save, delete or continue.
Mountain climbing
1. Locate by GPS before entering mountain climbing mode. If you don’t need GPS path, press
key ① to enter exercising mode.
2. When locate by GPS, please search for GPS motionlessly in outdoor open area, and start
exercising after successful locating.
*When locating, use the device in outdoor and open environment. Environment with less
shielding helps reception of GPS signal. Shielding such as building, metal covering and dense
forest may weaken GPS signal.
3. Select key ② to check other data interface.
4. Press key ③ to record number of laps manually.
5. If you want to take a rest or pause recording, press key ①; if you want to continue exercising,
press key ① again.
6. If you want to end exercising, press key ① to pause, and press key ② again to end.
*User can select save, delete or continue.
Page 11

Cycling
1. Locate by GPS before entering cycling mode. If you don’t need GPS path, press key ① to
enter exercising mode.
2. When locate by GPS, please search for GPS motionlessly in outdoor open area, and start
exercising after successful locating.
*When locating, use the device in outdoor and open environment. Environment with less
shielding helps reception of GPS signal. Shielding such as building, metal covering and dense
forest may weaken GPS signal.
3. Select key ② to check other data interface.
4. Press key ③ to record number of laps manually.
5. If you want to take a rest or pause recording, press key ①; if you want to continue exercising,
press key ① again.
6. If you want to end exercising, press key ① to pause, and press key ② again to end.
*User can select save, delete or continue.
Page 12

Swimming
1. Enter this mode and start exercising. Press key ② to check other data.
2. Press key ③ to record number of laps manually.
3. If you need to pause recording and take a rest, press key ①. And if you want to continue,
press key ① again.
4. If you want to stop exercising, press key ① to pause, then press key ③ to return, save data
and end exercising.
*User can select save, delete or continue.
Treadmill
1. Enter this mode and start exercising. Press key ② to check other data.
2. Press key ③ to record number of laps manually.
3. If you need to pause recording and take a rest, press key ①. And if you want to continue,
press key ① again.
4. If you want to stop exercising, press key ① to pause, then press key ③ to return, save data
and end exercising.
*User can select save, delete or continue.
Page 13

Basketball
1. Enter this mode and start exercising. Press key ② to check other data.
2. Press key ③ to record number of laps manually.
3. If you need to pause recording and take a rest, press key ①. And if you want to continue,
press key ① again.
4. If you want to stop exercising, press key ① to pause, then press key ③ to return, save data
and end exercising.
*User can select save, delete or continue.
Badminton
1. Enter this mode and start exercising. Press key ② to check other data.
2. Press key ③ to record number of laps manually.
3. If you need to pause recording and take a rest, press key ①. And if you want to continue,
press key ① again.
4. If you want to stop exercising, press key ① to pause, then press key ③ to return, save data
and end exercising.
*User can select save, delete or continue.
Page 14

Football
1. Enter this mode and start exercising. Press key ② to check other data.
2. Press key ③ to record number of laps manually.
3. If you need to pause recording and take a rest, press key ①. And if you want to continue,
press key ① again.
4. If you want to stop exercising, press key ① to pause, then press key ③ to return, save data
and end exercising.
*User can select save, delete or continue.
●Settings
GPS
Click to view longitude and latitude. GPS/GPS+Beidou/ GPS+GLONASS modes are optional
(GPS by default).
Page 15

Vibration
Select switch.
Sound
Select switch.
Contrast
Select brightness, three options available.
Reset
Select reset, it will restart and clear all data saved in the watch.
Page 16

●FAQ
*Do not expose this device to overcooling or overheated conditions for a long time, otherwise it
will cause permanent damage.
*Why can’t wear watch when taking a hot bath?
As bath water temperature is high, it will generate mass steam which is in gaseous phase and
characterized by small molecule radius. It is easy to penetrate through watch housing gap. When
temperature lowers, it will become liquid phase water drop, which is easy to cause short circuit
in the watch, resulting in damaged circuit board and watch.
*The watch can’t start up or charge
If your newly received watch can’t start up, it maybe because battery is under protection due to
collision during watch transportation. Plug in charging cable to activate the watch.
If your watch can’t start up due to too low battery or the watch has not been used for a long time,
please plug in USB cable and charge for half an hour for activation.
Page 17

Warranty
1. If it appears quality problems caused by manufacturing, materials, design within one year
(since the day of purchase), we will offer free warranty for. We will offer free warranty for
battery and adapter within 6 months. Premise is using normally and correctly.
2. About the fault caused by the users personal reasons, we don't offer free warranty, as follows:
1). Disassemble or refit the product.
2). Caused by immodesty drop
3). All artificial damage or misuse (such as: make water into the host, the external force shatter,
scratch damage of peripheral components, etc.), all these are beyond the scope of the warranty.
3. When ask for free warranty, you must provide a warranty card with the seal of purchase place
and purchase date.
4. If you met problems during use, please contact the shop customer service which you bought
from.
5. Please make the final products as the standard.
Page 18

Date of purchase:
IMEI code:
Buy store:
Customer signature:
Clerk Signature:
Shop stamp:
Page 19

FCC Statement
This equipment has been tested and found to comply with the limits for a Class B
digital device, pursuant to part 15 of the FCC rules. These limits are designed to
provide reasonable protection against harmful interference in a residential installation.
This equipment generates, uses and can radiate radio frequency energy and, if not
installed and used in accordance with the instructions, may cause harmful interference
to radio communications. However, there is no guarantee that interference will not
occur in a particular installation. If this equipment does cause harmful interference to
radio or television reception, which can be determined by turning the equipment off
and on, the user is encouraged to try to correct the interference by one or more of the
following measures:
-Reorient or relocate the receiving antenna.
-Increase the separation between the equipment and receiver.
-Connect the equipment into an outlet on a circuit different from that to which the
receiver is connected.
-Consult the dealer or an experienced radio/TV technician for help.
To assure continued compliance, any changes or modifications not expressly
approved by the party.
Responsible for compliance could void the user’s authority to operate this
equipment. (Example- use only shielded interface cables when connecting to
computer or peripheral devices).
This equipment complies with Part 15 of the FCC Rules. Operation is subject to
the following two conditions:
(1) This device may not cause harmful interference, and
(2) This device must accept any interference received, including interference that
may cause undesired operation.
RF warning statement:
The device has been evaluated to meet general RF exposure requirement.
device can be used in portable exposure condition without restriction.
The
 Loading...