

Page 1

User’s Manual
hand-held laser distance meter
Page 2

Page 3

>1/4 S
Please read all of the operational guide and safety regulations
in this manual before operation. Improper operations without
complying with this manual guided could cause damage to the
device, influence on measurement result or bodily injury to
the user.
The instrument is not allowed to disassemble or repair in any
ways. It is forbidden to do any illegal modification or performance
change for laser emitter. Please keep it out of reach of children
and avoid using by any irrelevant personnel.
It is strictly prohibited to shoot eyes or other parts of body with
the laser; it is not allowed take the laser to shoot any objects'
surface with strong reflecting.
Due to electromagnetic radiation interference to other equipment
and devices, please don't use the meter in the plane or around
medical equipment, don't use it in inflammable, explosive
environment.
Discarded batteries or meter device shall not be processed just
like household garbage, please handle them in line with related
law and regulations.
Any quality issues or any questions on the meter, please contact
local distributors or manufacturer in time, we are ready to offer
solutions for you.
Please read the safety regulations and operation
guide carefully before operating.
Safety Regulations
Professional casts quality and good
quality gets reputation
Page 4

Batteries Installation, Display and Keyboard
Discharge the battery door on the back of device,
and place battery according to correct polarity, then
cover the battery door.
Only 1.5 V AAA alkaline battery is applied to the
meter.
If not used for a long time, please take out the
battery to avoid battery corrosion to meter body.
Battery Installation and Replacement
•
•
•
•
•
•
•
•
•
•
•
•
•
Display
Laser on
Reference Point
Maximum
Area, Volume
and Pythagorean
Minimum
Staking-out
Continuous
Measuring
Major Display
Record
Power
Auxiliary
Display
Unit
Page 5

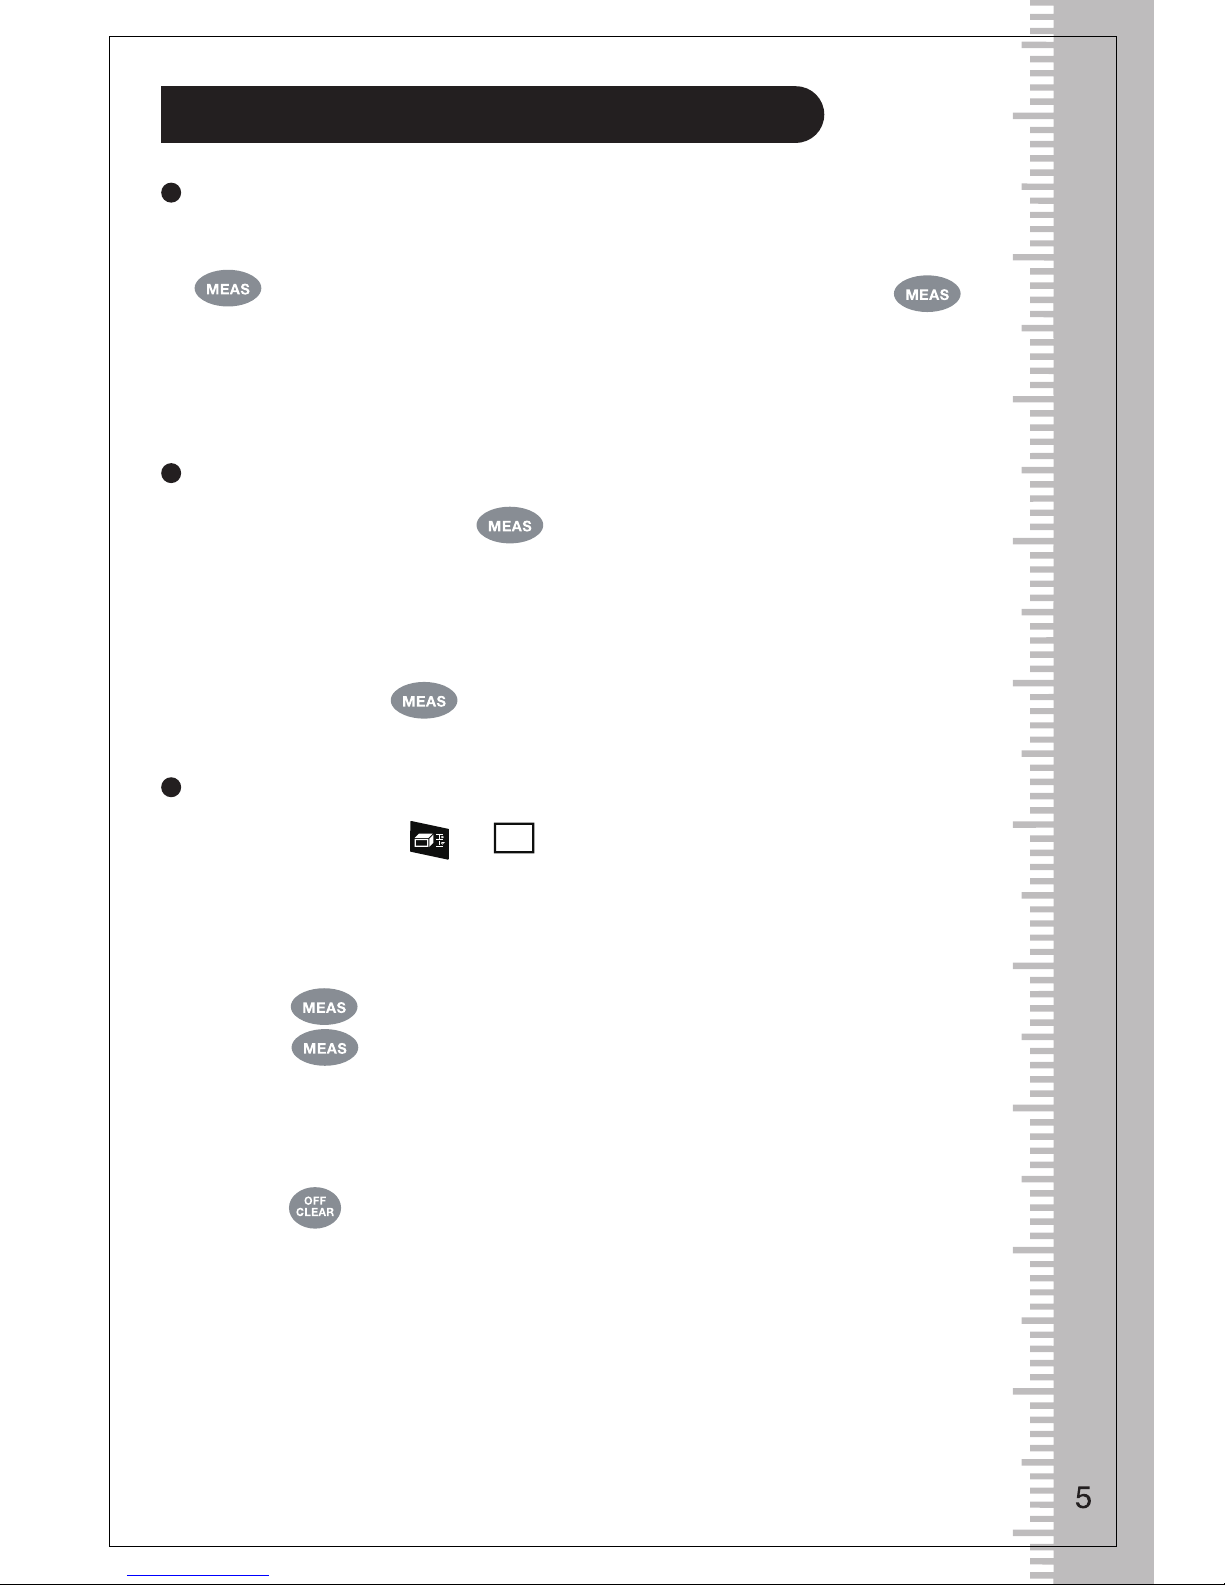
Keyboard
•
•
•
•
•
•
Turn on/
Measuring
Addition
Area/Volume/
Staking-out
Reference Point /
Delay Mearsurement
Turn off/Remove
•
Unit
•
Subtration
•
Back Light
•
Pythagorean
Measurement
•
Save
Start the Instrument & Menu Setting
Turn on / off the Instrument
Under off status, press button , device and
laser get starting simultaneously and stand by for
measurement.
Under on status, long press button for 3 seconds
to turn the device off. The device can also be shut
off without any operation for 150 seconds.
Unit setting
Press button , reset current measurement unit,
the default unit is: 0.000m
Backlight Setting
Press button , turn the backlight on or off
Page 6

There are 6 units for selection
Self-Calibration
This function can keep the precision of the device.
Instruction: Power off, Long press button , and
then press , release the button till "CAL"
and a figure under it display on the screen. User can
adjust the figure with button and according to
the accuracy of the meter. Adjusting range: -9 to 9mm.
length
area
volume
Reference Point
Press key to change the reference point. There
are four reference points: top, screw, bottom and
the end piece.
Page 7
Long press button under measuring mode and
enter into continuous measuring mode. Maximum
and Minimum value show on the LCD.
Length Measurement & Calculation
Single Distance Measurement:
Turn on the laser beam by short press of the button
under measring mode; Press the button
again for single measurement of length,then the
measured results displayed in the major display
area.
Continuous Measurement:
Present result displays in major display area. Short
press botton to exit continuous measuring
mode.
Press button , shows on the screen. One
of the side of rectangle blinking on the display,
please follow the below instructions for area
measuring:
Area Measurement:
Press once for length
Press again for width
The device calculates and shows the result in the
major display area.
Press , clear off the result and measuring again
if necessary
Page 8

2. Calculate the hypotenuse by measuring the
length of two legs.Shor press twice, when one
leg of blinking,
Press , measure the length of one leg (a)
Press , measure the length of another leg (b)
1. Calculate the second leg by measuring the
hypotenuse and another leg.Short press to
enter Pythagoras mode, the hypotenuse of
blinking.
Press , measure the length of hypotenuse (a)
Press , measure the length of one leg (b)
Device calculates the length of another leg (x)
Volume Measurement
Press button twice to enter volume measurement
mode. A will shows on the top of screen. Please
follow the below instruction for volume measuring:
Press for Length
Press again for Width
Press thirdly for height
The device calculates and shows the result in the
major display area.
Press , clear off the result and measuring again
if necessary.
Pythagorean Measurement
There are four Pythagoras modes in case that user
gets difficults to reach the target. Please press button
to select the mode.
Page 9

4. Press four times till one hypotenuse of
blinking on the screen.
Press , measure the length of one hypotenuse (a)
Press , measure the length of another hypotenuse (b)
Press , measure the length of one leg (c)
Device calculates the length of the leg in full line (x)
3. Press three times till the one hypotenuse of
blinking on the screen.
Press , measure the length of one side (a)
Press , measure the length of the median line (b)
Press , measure the length of another side (c)
Device calculates the length of the leg in full line (x)
Device calculates the length of hypotenuse (x)
Page 10

then press ; Measure the second area, get PIC 2,
there is a "+" on the left corner of the screen; At last,
press get the addition result as PIC 3.
Legs must short than hypotenuse, or there will be
"err" shows on screen. In order to guarantee the
accuracy, please make sure all measurements are
start from the same point.
Addition / subtraction
The device can be used for length addition and
subtraction.
Press , "+" shows in the major display area,
entering cumulation mode. Value of last measurement
and the result of cumulation will be showed on the
screen.
Press , "-" shows in the major display area,
entering regressive mode. Value of last measurement
and the result of difference will be showed on the
screen.
Not only distance but also area and volume can be
added or substracted. For example:
Area Addition:
Measure the first area, get PIC 1,
PIC 1 PIC 2 PIC 3
Area Sustraction:The same steps as above.
Page 11

Long press , the device switch to staking-out
mode. As showed in the below picture, the user can
set two difference value a and b; User can adjust
these two value by pressing or . Long press
or will make you get a large gap of the value
when adjust a or b. Press after setting the
values, the device enter staking-out mode. User can
get instructions by sound and icon.
Press , a second number shows in the screen
as below picture. User can press or to adjust
the time. The max is 60s, min is 3s. Press to
turn on the delay measuring function, after certain
the delaying time. If press while the laser is on,
this function will be turned on at once.
Staking-out Function
Delay Measurement
means the device need to go back, means the
device need to go forward. When the device get very
near to the point, the device will show .
Page 12

Short press button , read the records by press
button and . Short press to delete recent
record and long press to clrear up all the records.
Record Function
Long press button for 3s to record your measuring
result under measuring mode.It can also record the
result under Area, Volume and Pythagoras mode.
All the calculating records can be saved by the
device.
Read / Delete the Record:
Tips
You may get some warning information as below:
Info
message
Cause Solution
Received signal is
too weak
Chose the surface with stronger
reflectance. Use the reflecting
plate.
Received signal is
too strong
Chose the surface with weaker
reflectance. Use the reflecting plate.
Low battery voltage Change the power supply.
The working
temperature is out
of working range.
Use the device in the specified
temperature.
Pythagoras
measuring error.
Re-measure and ensure that
Hypotenuse is bigger than
Cathetus.
Record damaged Please contact the distributer.
Page 13

TECHNICAL DATA
Item
40m 60m 80m 100mWorking Range
Smallest Unit Displayed
0.05 mm
Measuring Accuracy Typically ± 1.5 mm **
Continuous Distance
Measuring (Tracking)
Yes
Yes
Yes
Yes
Yes
Yes
Yes
Yes
Yes
Yes
Yes
Area / Volume
Pythagoras Measuring
Length/Area/Volume
Addition/Subtraction
MAX & MIN Value
Skating-Out
Delay Measurement
Self-Calibration
Back Piece
Bubble
Laser
Backlight
class II
Laser Type 620-680 nm, < 1 mW
Record 100 pcs
Auto Laser Off
20 s
Auto Switch Off
150 s
Power Supply
AAA 2x1.5V
Battery Life
Up to 8000 times
Storage Temperature
-20 ... +60 °С
Working Temperature
0 … +40 °С
Storage Humidity RH85%
Dimensions
118х54х26.5 mm
Specification
Page 14

** Use a target plate to increase the measurement
range during daylight or if the target has poor
reflection properties.
Instrument Maintenance:
The meter should not be stored in high temperature
and strong humidity environment for long time; it is
not used very often, please take out the battery
and place the meter in the allocated potable bag
and store in cool and dry place.
Please keep the device surface cleaning. Wet soft
cloth is applied to clean dust, but erosion liquid is
never allowed to use for the meter maintenance.
Laser output window and its focus lens can be
maintained according to maintenance procedures
for optical device.
Item NO. Unit QTY Note
1
pc
1
2
pc 2
3
pc
1
4
pc
1
5
pc
1
6
7
pc 1
pc 1
Laser distance meter
Power supply AAA
User' s manual
Portable bag
Hand strap
Giftbox
Reflector
Just available for
100m
DELIVERY PACKAGE
Please check if the accessories are completed
according to the below list.
Page 15

Page 16

 Loading...