

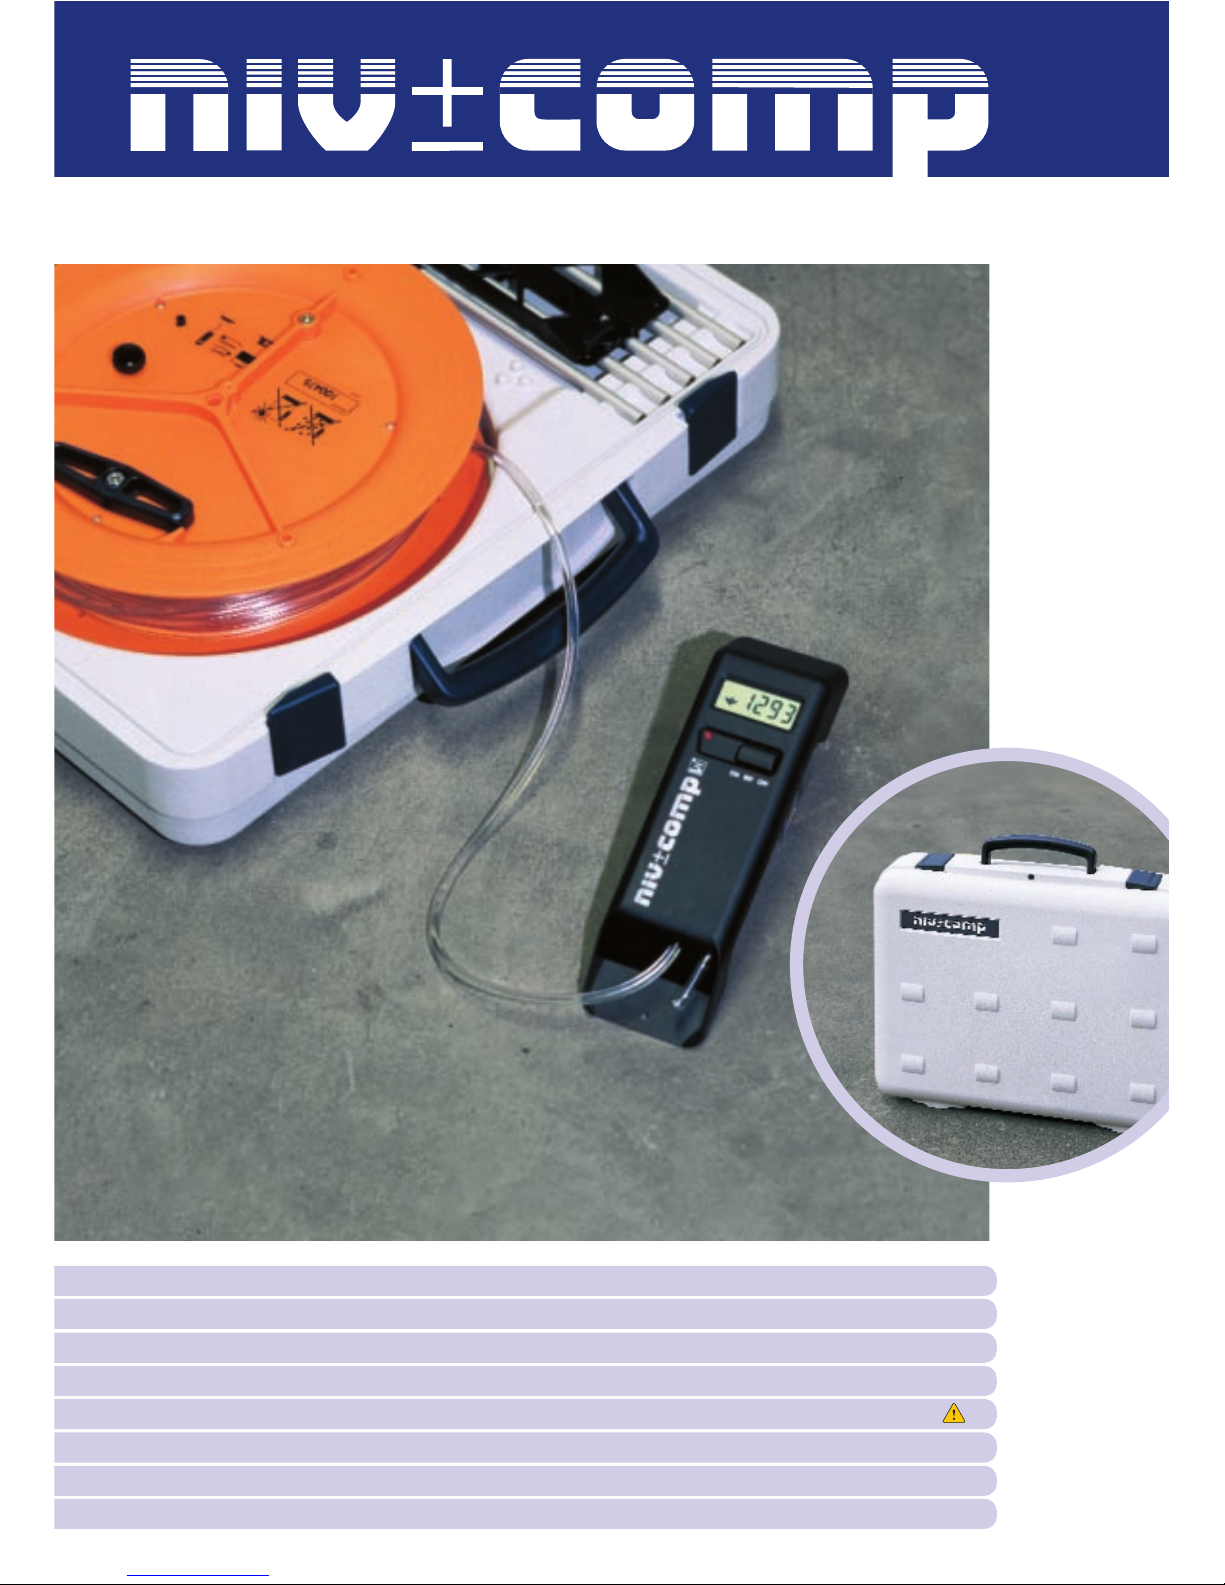
Measure levelness, gradients, pivot points, do levelling on
opposite walls, between trenches and crossbeams as well as
over obstacles, even to points that are not in direct view.
OPERATING INSTRUCTIONS FOR MODELS H 25-PROBAG / R 25-ALCASE
CONTENTS
1. Parts and descriptions
2. Function and applications
3. Working area
4. Display when operating
5. Levelling
6. Instructions for taking exact measurements
7. Motion filter
8. Function check
FAST AND
PRECISE ONE-MAN
LEVELLING!
9. Settings and special displays
10. Replacing battery
11. Care and maintenance tips
12. Accessories (optional)
13. Attention: operational safety
14. Malfunctions
15. Technical data
16. Guarantee & service
2
3
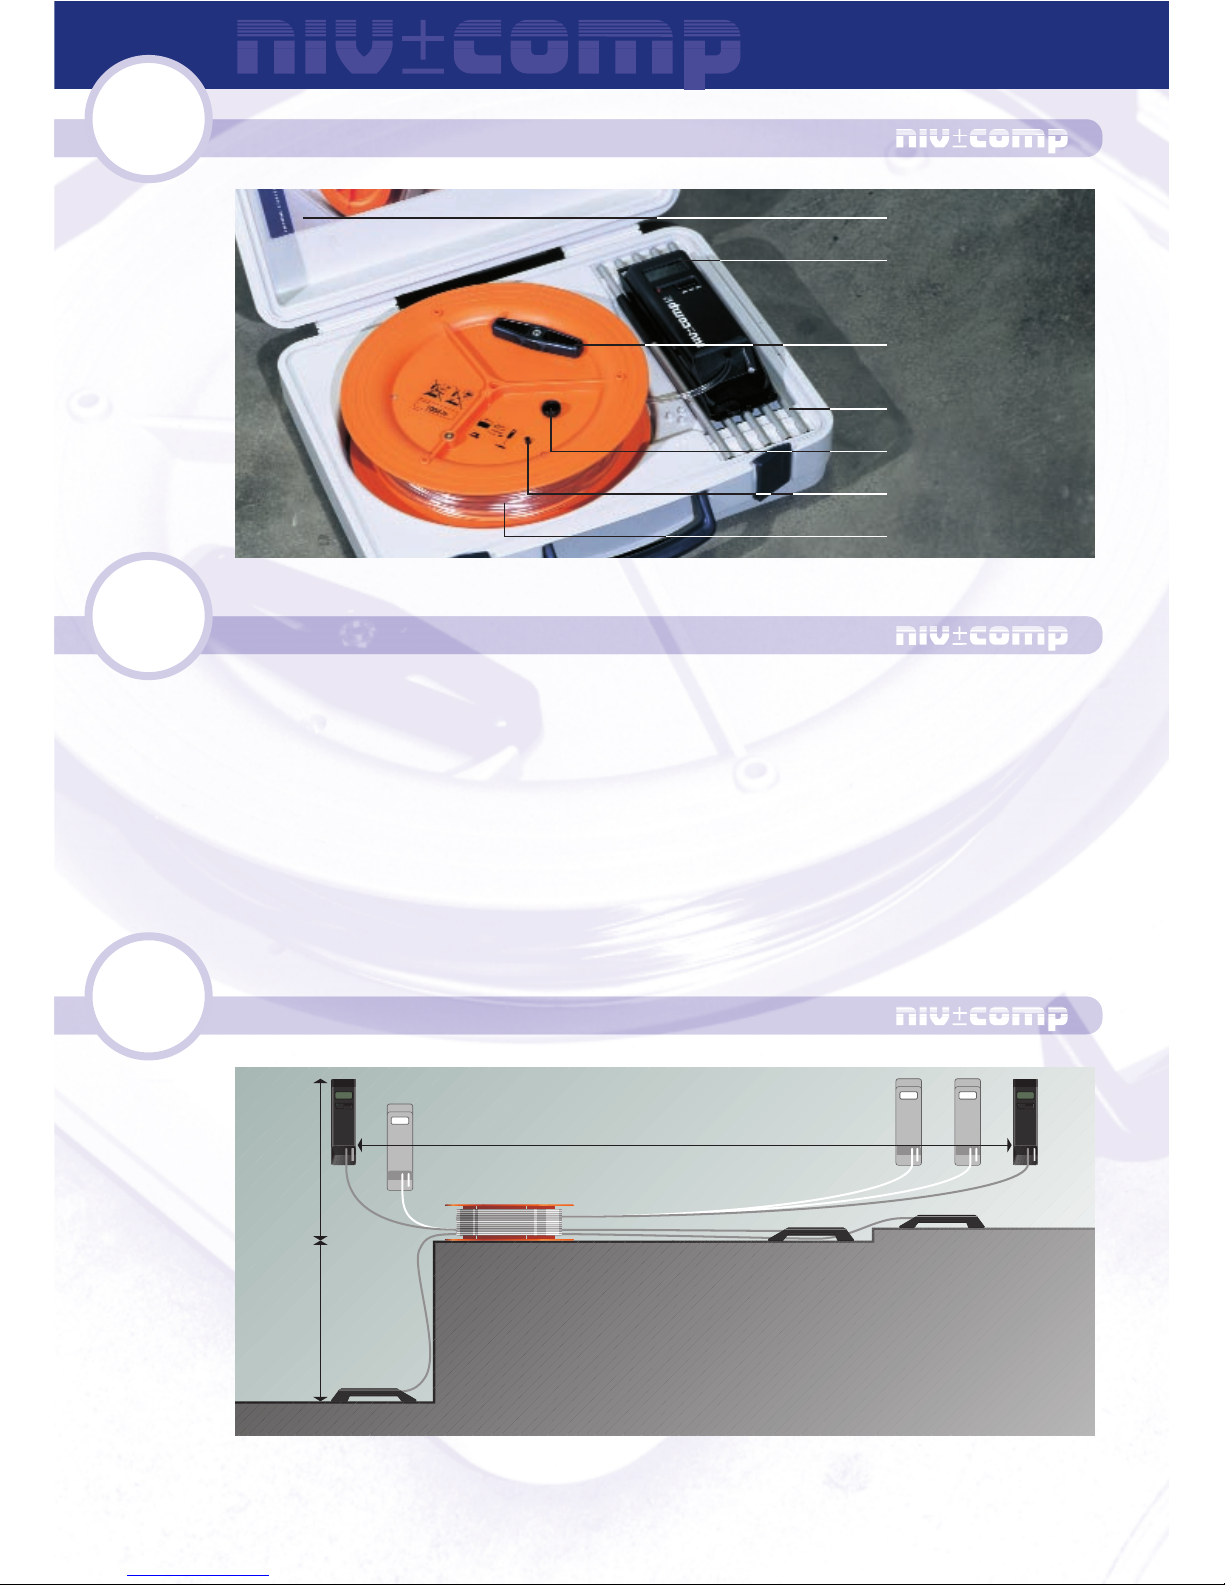
PARTS AND DESCRIPTIONS
FUNCTION AND APPLICATIONS
The niv±comp device consists of a hose drum with pull-out winder handles, a special hose and handset. There is a liquid reservoir with a pressure screw in the centre of the drum. A high-quality measuring device in the handset determines the
pressure difference resulting from the difference in height between the handset and
liquid reservoir.
The main applications for niv±comp are levelling and taking measurements to check
dimensions in interior construction. Particular attention must be paid to the instructions on taking exact measurements when using the device outside (Section 6).
WORKING AREA
The device can be used to check the gradient of sloping surfaces as well as being
used in horizontal and vertical positions.
1
48 m
*) Measurement using accessories
2,5 m
(4 m*)
2,5 m
(4 m*)
HORIZONTAL
AND VERTICAL
WORKING AREA
Operating instructions
Handset with display,
LED and button (T)
Winder handle
(on both sides)
Accessories (optional)
Pressure screw (S)
Indicator peg
Hose drum
4
5
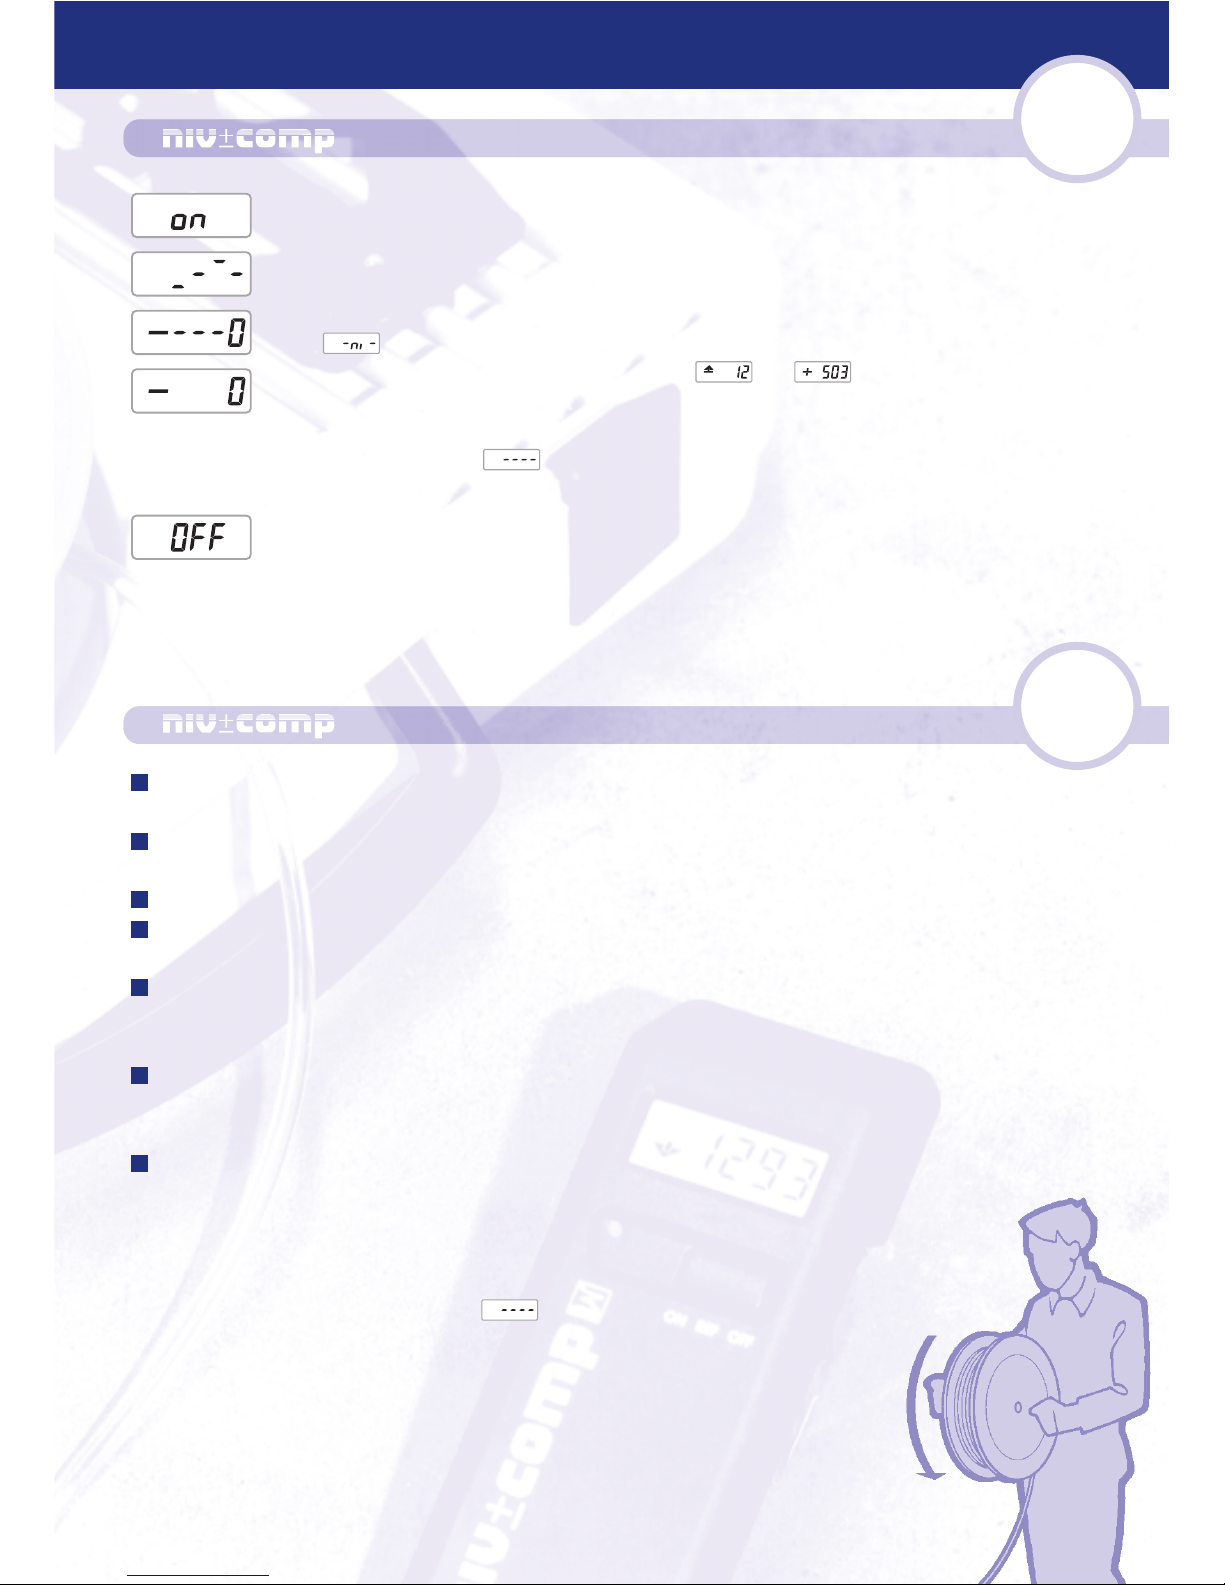
DISPLAY WHEN OPERATING
Press button to switch device on
Reference level not yet stable
Reference level is stable, press button to save reference level (Display )
Level = reference level. Values such as or show deviation from reference level in millimetres or inches.
Saving new reference level:
Press button until display shows . Then save reference level again
(see above).
The device can be switched off by holding the button down or is
switched off automatically 33 minutes after the button was last pressed.
Flashing LED for use in dark:
Zero level: LED flashes evenly
Too low: LED flashes slowly
Too high: LED flashes quickly
LEVELLING
To save new reference level:
Press button until display shows again.
PLEASE NOTE:
The levelling device and interior of the case should be kept dry at all times.
Place the case or hose drum in a stable position. The hose drum must not
be moved whilst it is being used for levelling (!).
Turn the pressure screw (S) as far as it will go in the direction marked
“Measure” (indicator peg is down).
Remove handset and roll out a sufficient amount of hose.
Check that hose temperature is the same as that of the surroundings (Section 6).
Switch handset on using button (T) and place at reference level (this exact position must be used for measurement), alignment of device by eye
is sufficient.
Make sure that the hose is not moving; wait until display is stable, press
button quickly when display has shown stable value …0 for about 3 seconds.
(Display [-ni], then relative height measurement).
Take the handset to the desired position, correct the vertical position until the display shows a stable value of …0 (levelling) or until the measured
value (control measurement) is reached. The height can now be marked
or read (same procedure for other points to be measured).
To end measurement:
Put handset down (or back in case), roll the hose up making sure it is
clean and not twisted. The pressure screw (S) should be turned as far
as possible in the direction marked “Store” (indicator peg is up) when
the device is being stored.
6
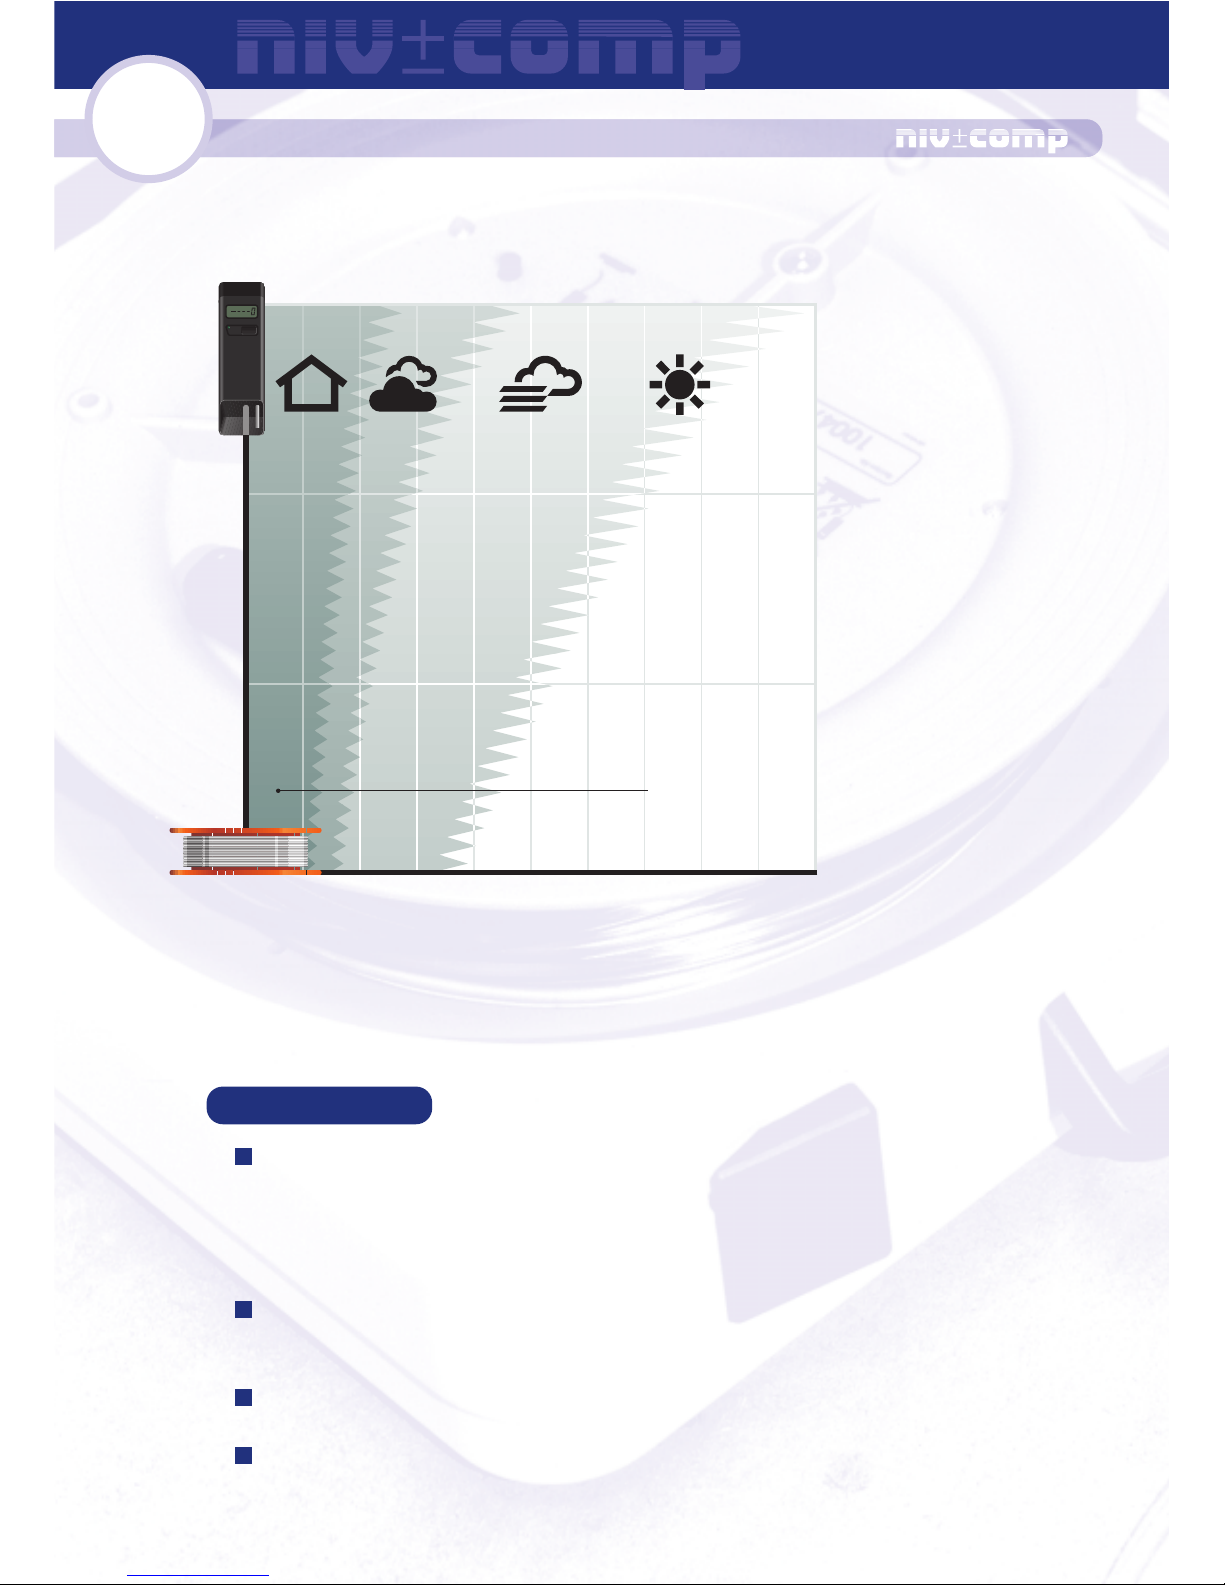
INSTRUCTIONS FOR MAKING EXACT MEASUREMENTS
The following guidelines are important for levelling and making measurements using niv±comp. It is also important to handle the device carefully and to be aware
of any possible sources of error.
Fig. Typical deviation or distribution of measured values depending on hose
radius.
Deviations from reference level are predominantly influenced by the climate and
measurement height in relation to the hose drum. There is, therefore, no standard
deviation value.
PLEASE NOTE:
A high level of accuracy of measurements or reliable information on distribution of measured values can only
be achieved by taking further control measurements
using the reference level.
The smaller the difference in height between the hose, base unit and handset, the more reliable the measured results will be (under no circumstances should you hang the hose from scaffolding).
Turn the pressure screw to the position marked “Measure“ no later than 1
minute before starting to measure.
Do not level several or a sequence of measurement points using the last
point as a starting point (increase in deviation!) but rather mark and check
all points in one session.
0 1 2 3 4 5 6 7 8 9– mm
3 m
2 m
1 m
Outside
building
INDOORS CLOUDY WINDY SUNNY
Inside
building
7
8
The following applies to taking measurements outdoors:
Climatic influences in the open can lead to increased deviation. Keep the device
and its components out of intensive or changeable levels of sunlight and do not run
the hose over warm surfaces or in areas where temperature is variable (e.g. in currents of air at building facades).
The best results can be achieved in the open at times where climatic conditions are
favourable (at daybreak). The measurement points should then be worked through
without interruption where possible.
MOTION FILTER
A motion filter can be activated by pressing the button twice when the device is in
levelling mode. The symbol appears briefly. It can sometimes be an advantage if the reading does not react immediately to interfering vibration of the floor or
hose. The filter can be deactivated by one short press of the button.
FUNCTION CHECK
(See also the section “Malfunctions”)
The following control values can give a rough idea of how niv±comp functions as
a measurement device:
It is useful to use some kind of position marker (nail) if one particular reference level is required often.
The device should be opened and the hose unwound and left for a few
minutes to reach the right temperature if the temperature has changed
significantly (e.g. after transporting the device in a vehicle that was very
warm or cold).
Place the handset exactly on the measurement points and do not change
the marking or visual angles. Deviation from zero level is shown from +/-
0.2 mm.
Do not throw the hose (pressure waves)! Avoid touching the hose with
warm hands when it is cold.
A) Stability of measured values (at same temperature):
Place the handset in a horizontal position and record the level once you are sure
the reading is stable. The displayed value may only change by a maximum of 1
millimetre if the handset is left in position at this point or if it is returned within a
period of a few minutes.
B) Pressurisation:
Switch the handset on with the pressure screw in the “Measure” position then
place it next to the hose drum and save the level measured.
Turn the pressure screw to its final position “Store”. The value displayed should
lie within a range of 600...1800.
10
9
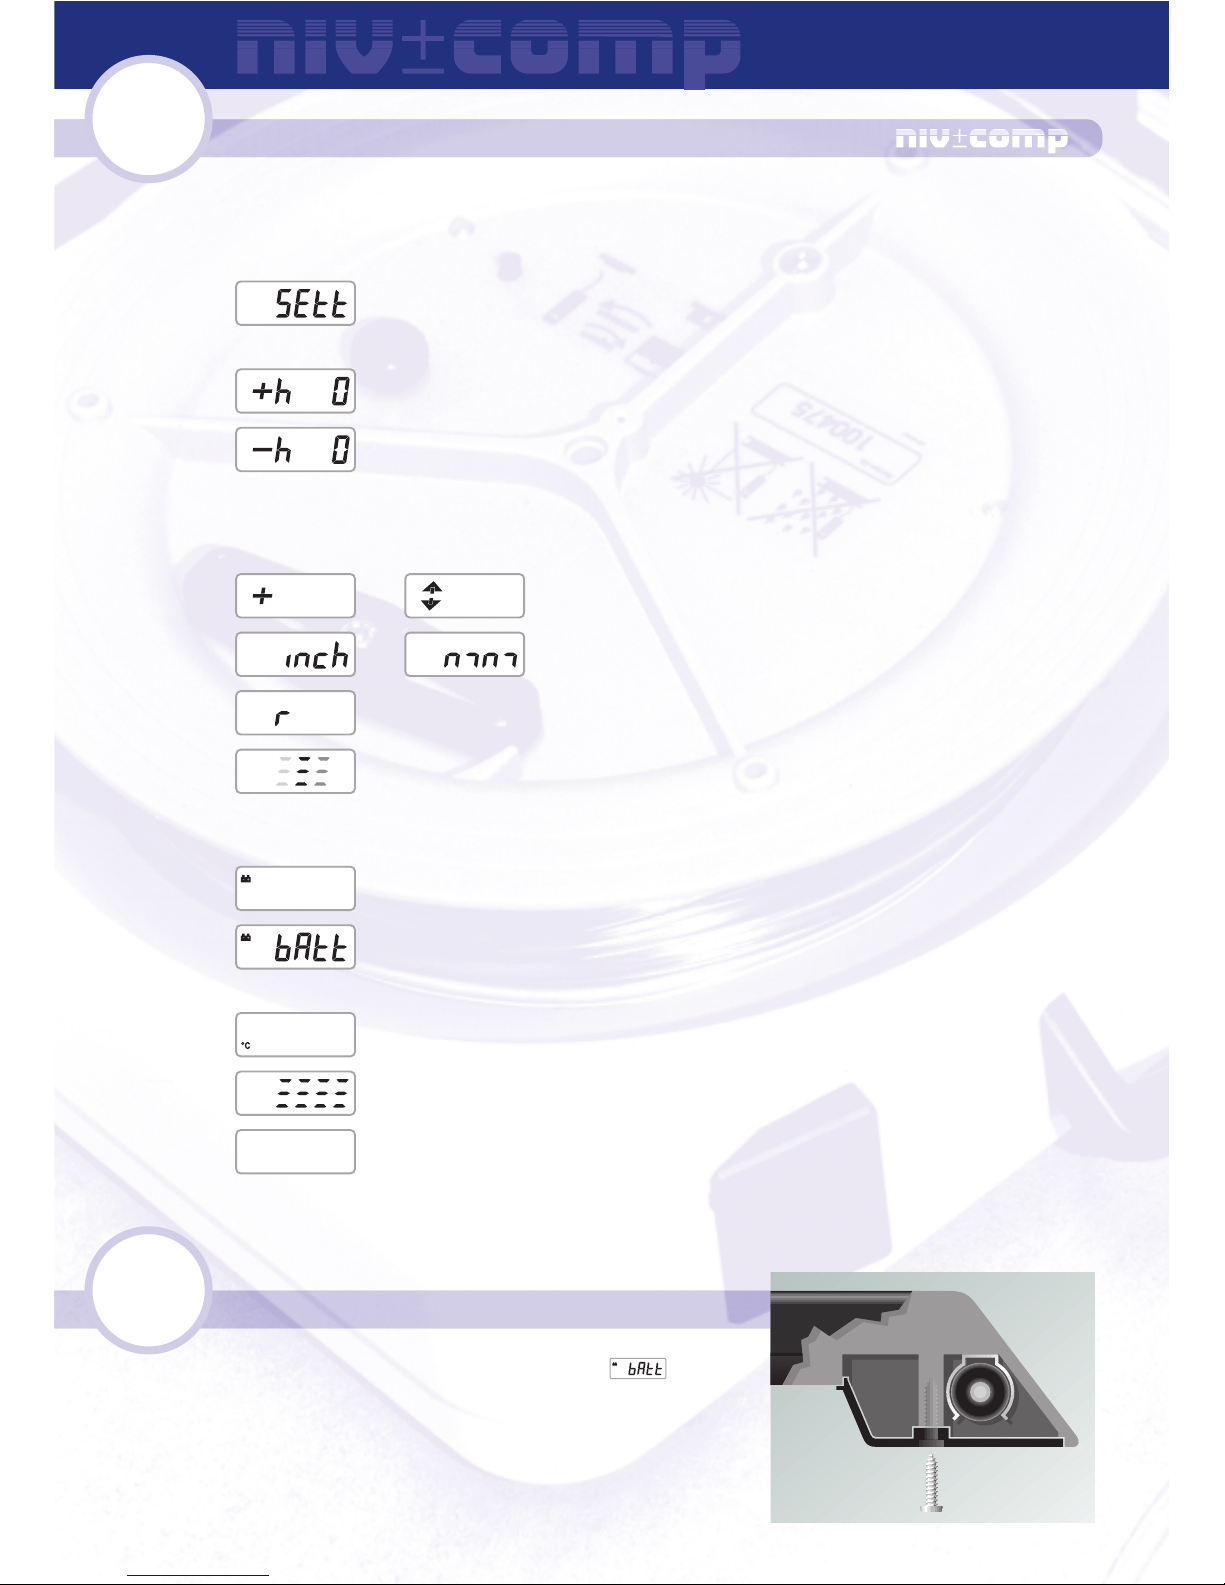
SETTINGS AND SPECIAL DISPLAYS
It is possible to make corrections to height calibration and to personalise the settings for the display of measured values using niv±comp. You can call the menu
up by keeping the button pressed down when switching the device on until
Special displays:
REPLACING BATTERY
is displayed. Let the button go – the settings options will be displayed
slowly in sequence. You can change the settings by pressing the button.
Correct the height display by +1 mm per press of the button.
Correct the height display by -1 mm per press of the button. Corrections are implemented if you do not press the button for 5 seconds.
We recommend that you take an exact measurement of 1000 mm in
height difference to ensure correct measurement.
or Select the deviation display by +/- or arrow.
or Select the height display in inches or millimetres.
Return to factory settings (Reset).
SetUp is being saved (Animation)
Indication that battery should be replaced (from ~20% reserve)
Warning (flash) battery is empty (from ~10% reserve). The device
switches itself off when the battery is exhausted.
Critical temperature change
Overranging of measured value
for three minutes from 30 minutes after the button was last pressed.
The device then switches itself off. A short press of the button extends
the time.
The battery must be replaced when is displayed. Undo the screws in the upper cover of
the handset and tighten them lightly after replacing the battery. Use AA (LR6) alkaline batteries.
ANZEIGE
PULSIERT
13
14
12
11
TIPS FOR CARE AND MAINTENANCE
Always store niv±comp in a dry place and keep it clean to make sure it stays in
good condition for a long time. Wax-free and solvent-free cleaning products only
may be used (washing liquid). The device is best protected from damage when always packed away after use.
If the device is to be stored for a longer period of time, ensure that it is dry and
that the pressure screw is in the “Store” position.
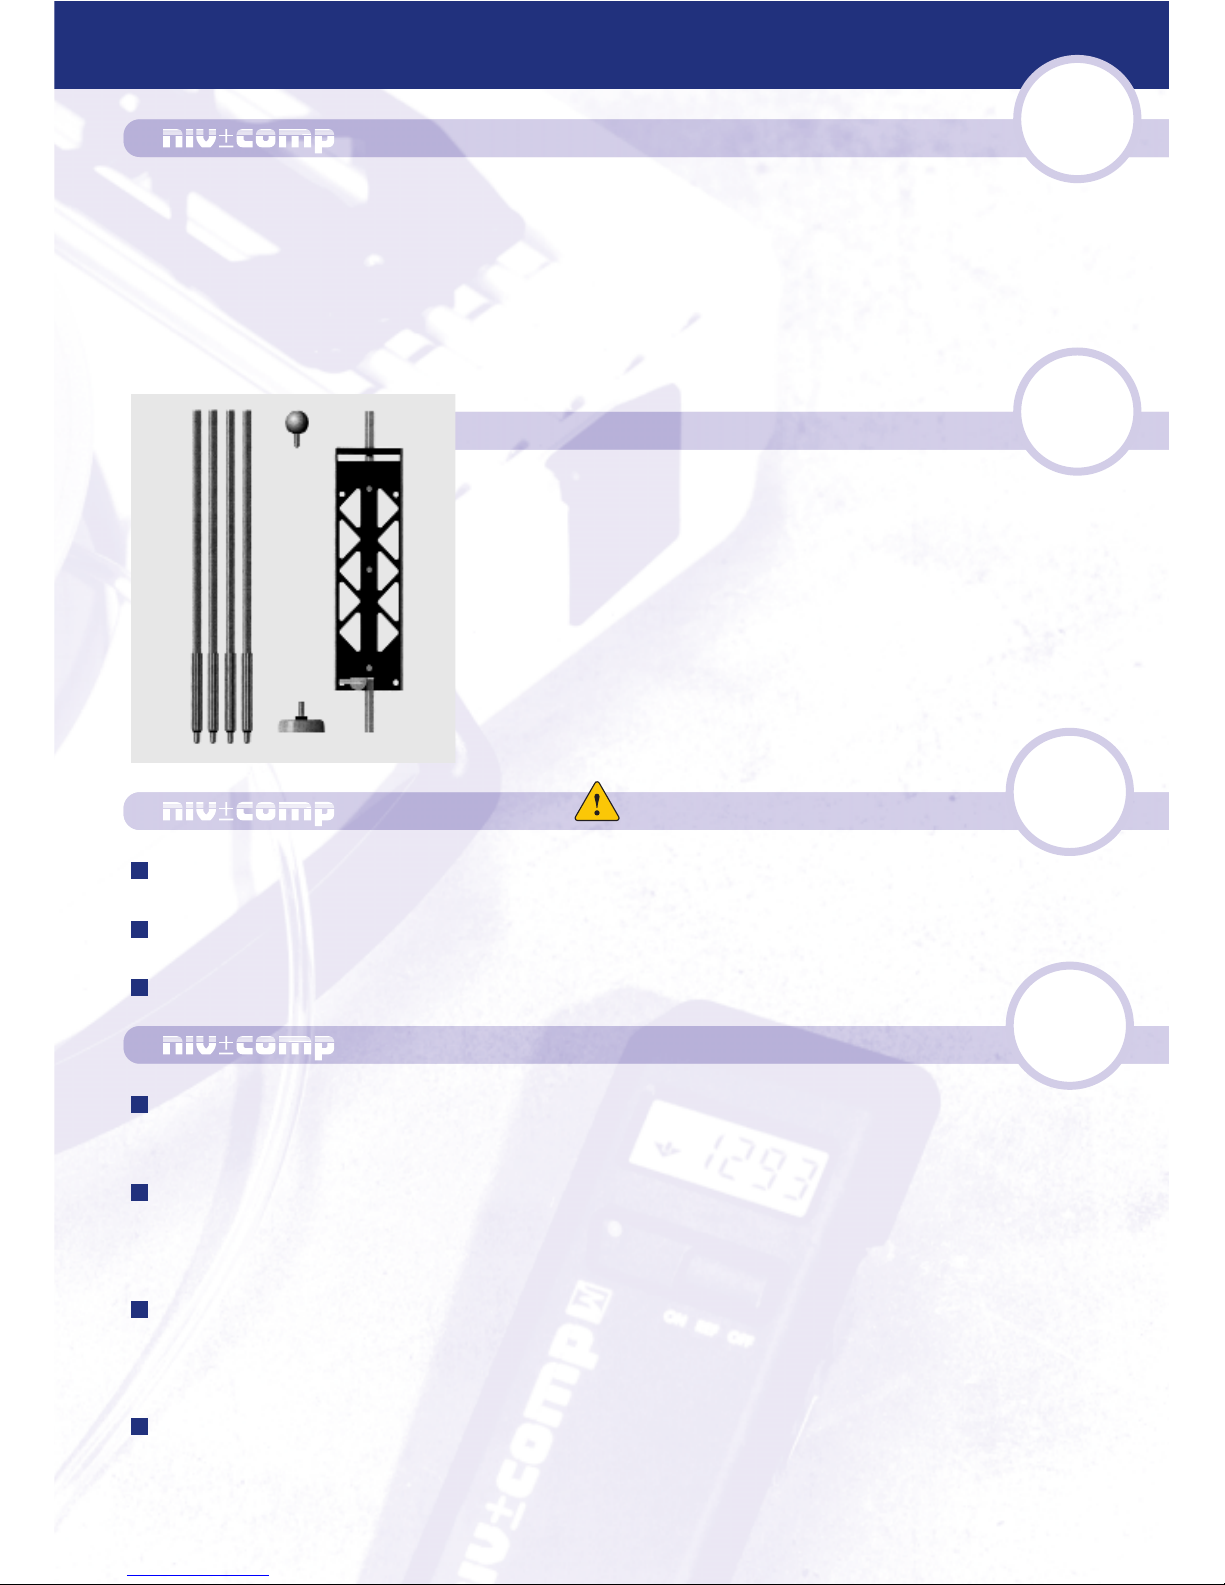
ACCESSORIES (OPTIONAL)
ATTENTION: OPERATIONAL SAFETY!
Do not run the hose higher than floor level (Danger: it could be a mantrap or
get caught up in a vehicle).
The protective knob should always be used when using the extension for the
tracer arm from the accessory package!
Do not use the magnetic holder above head height!
MALFUNCTIONS
The accessory package contains a holder, a
tracer arm set, a magnetic holder (max. 10 kg)
and a protective knob.
The accessory package makes it possible to increase the vertical area where measurements
can be made (see also fig. Working area). The
tracer arms are placed at the top or bottom of
the holder depending on the direction to be
measured in and the protective knob or magnet
is placed on the end of the arm.
General functions:
The device will not switch on or switches off randomly: check battery, check battery contacts. Battery symbol flashes and device switches off: replace battery.
Errors in levelling:
Have you checked the pressure screw and temperature moderation?
Have you followed the instructions on “Measurements outdoors“?
Is the case damp or has water got in?
Levelling errors resulting from bubbles in the hose or sensor connection:
(This is possible as a result of serious neglect of the pressure screw or following exposure to extreme heat or some other kind of shock) Leave the device in
the storage position for a few days then check it again.
Failure as a result of damp:
Do not let the closed case get damp – dry the device – leave the case open. If
water gets in to the handset, the battery must be removed immediately. The battery can only be put in again after all parts have been dried thoroughly.

15
16
TECHNICAL DATA
Principle of measurement...........................................analogue with digital display
Reproducibility as typical value inside buildings ........................................ ±2 mm
At a maximum distance of measurement point ............................................. 48 m
Vertical working area ................................................................. ± 2,5 m (± 4,0 m)
Manual calibration of height display ..................................................... (mm/Inch)
Operational temperature range approx ................................................. 0...+35 °C
Battery-powered operation ....................................... 1 x AA / LR6 (Alkaline) 1,5V
Power consumption / Operating time ........................................ ~10 mW / 250 h
Automatic switch-off .................................... after 33 mins. if button is not pressed
Low-level of emissions in accordance with EMC product standards.
Shock resistance .............................................. impact from height of approx. 1 m
Storage and transport ...................................... -10...+40 °C (limited -30...+55 °C)
Dimensions .......................................................................... 450 x 420 x 150 mm
3
Weight ............................................................................................. approx. 5,5 kg
Regulations for recycling of electronic scrap, plastics and waste oil apply.
GUARANTEE & SERVICE
Sales and service are available through reputable specialised dealers.
Repairs made during the guarantee period are free of charge, provided it can be
proved that the fault resulted from a material defect or defect in manufacture.
When a claim is made under guarantee, the device should cleaned thoroughly,
packed and returned to the supplier.
The following should be enclosed with the package:
1. Proof of purchase or receipt showing date of purchase,
2. Description of defect.
Damage to the hose system:
The hose is thick and robust so slight damage to the outer skin is not critical.
The hose and hose system can withstand great strain. However, repair will be
required if there is a leak of fluid. Clean the fluid (non-toxic / neutral / oily) up using suitable means and dispose of in accordance with the regulations on waste
oil.
© by dirotec
 Loading...