


Nissin Di866 mark II User Manual
DIGITAL TTL POWER ZOOM FLASH
INSTRUCTION MANUAL
Type N
Nis sin Jap an L td. , Tokyo
htt p:/ /www.n iss in-j apa n .co m
Nis sin Mar ket i ng Ltd. , H ong Kon g
htt p:/ /www.n iss indi git a l.c om
N1110 REV. 1.5
Thank you for purchasing a Nissin product
Before using this flash unit, please read this instruction manual and refer
your camera owner’s manual carefully to get a better understanding of
proper operation to enjoy flash photography.
Nissin Di866 Mark II type Nikon is designed for Nikon digital SLR and hotshoe
type cameras, listed below, with the latest TTL flash control system, and
features Nissin’s original rotating color display easily guiding its operations.
It works automatically with Nikon’s i-TTL auto-flash system.
Please note that Di866 Mark II type N is not usable with other branded cameras
for TTL operation.
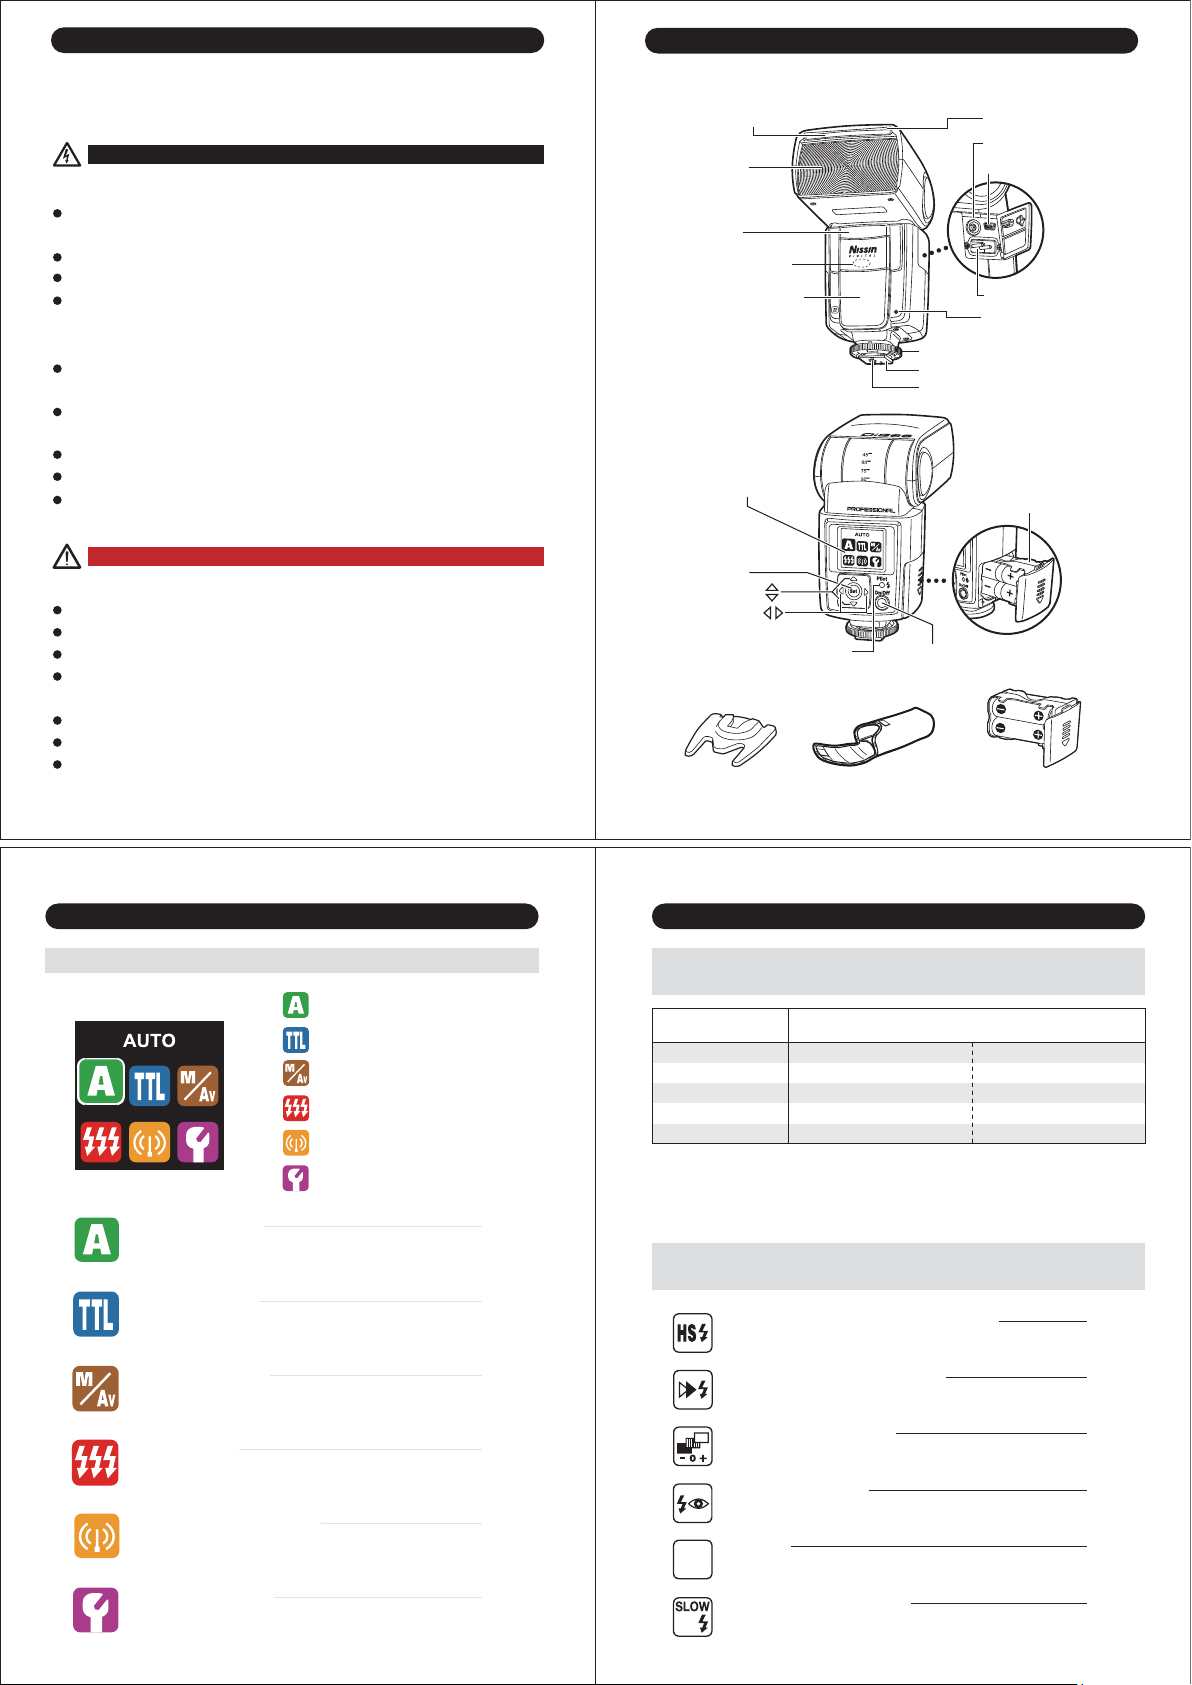
UNIQUE FUNCTION
The color display automatically rotates
to allow for easy operation in both the
horizontal and vertical positions.
SIMPLE OPERATION
When attaching Di866 Mark II on the camera, the basic flash exposure
operation is fully controlled by the camera. It is the same idea as when you use
the built-in camera flash, but it’s placed on the hotshoe of the camera, instead
of using the built-in flash.
ADVANCED FUNCTIONS
Di866 Mark II provides many advanced flash functions, too.
Wireless TTL off camera flash technology, high speed shutter synchronization,
frequent repeat-flash system, External Av priority setting, etc. are supported.
Compatible cameras
Please refer Nissin’s compatibility chart shown in its home page for details.
http://www.nissin-japan.com or http://www.nissindigital.com
1 2
SAFETY INSTRUCTIONS
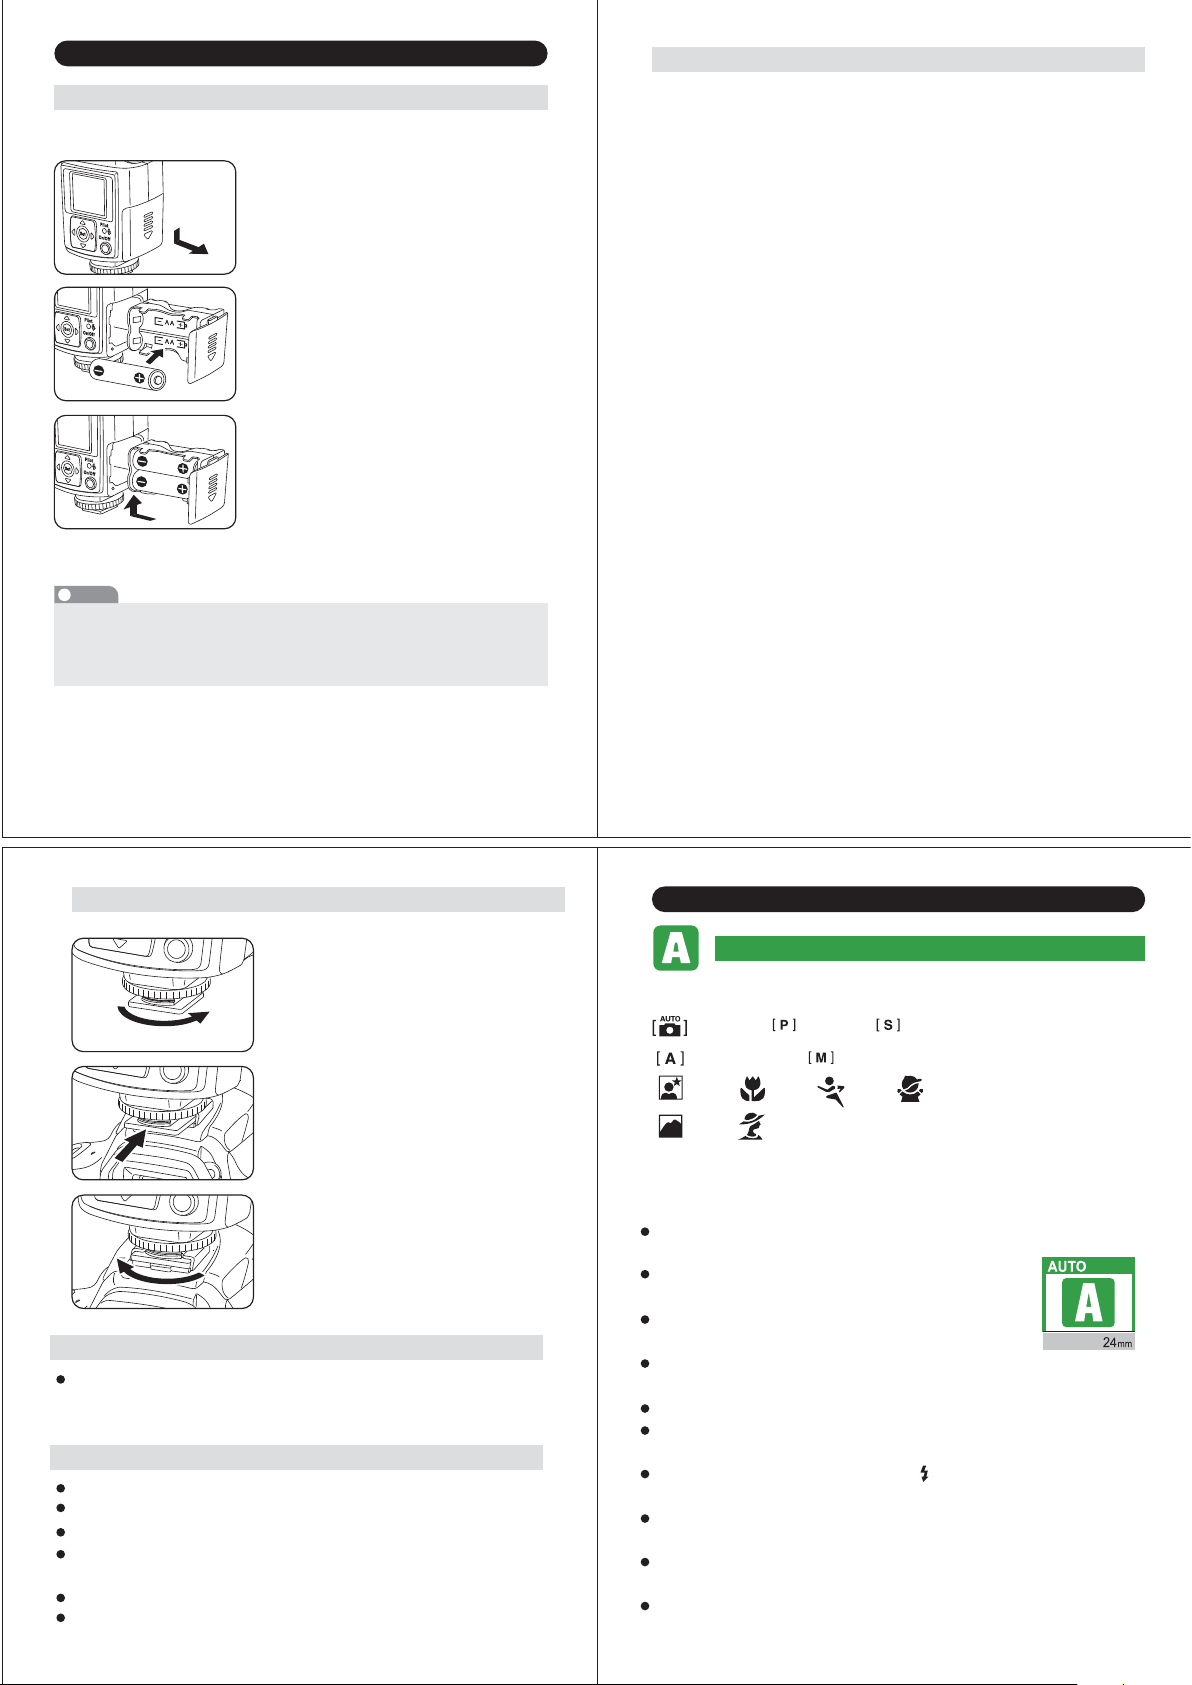
Nomenclature
These safety instructions refer to important information on how to use this
product safely and properly. Please read the following instructions before using
the product.
WARNING
This sign refers the danger or serious damage.
The flash unit contains high voltage electric parts. Do not try to open or repair the flash unit. Return it back
to the repair service station or the store you bought it from.
Do not touch the inside parts from the opening when the unit was dropped or broken.
Do not shoot the flash directly to the eye at short distance. It may damage the eye.
When taking flash picture, especially toward a baby, it is recommended to keep the flash unit at least 1
meter (3.3 feet) away from the subject. Or use diffuser or bounce the light to the ceiling or to the wall to
soften its intensity.
Do not place the flash unit near any flammable gas, chemical or such liquids. It may cause fire or electric
shock.
Do not touch the flash unit with wet hands or use in the water. The flash unit carries high voltage inside and
it may cause an electric shock.
Do not shoot the flash unit directly to the driver of automobiles or such vehicles.
Do not set the flash window close to the human body and shoot, which may get burned.
Place the batteries correctly in position. Placing the batteries in wrong polarity may cause leakage,
exothermic heat or explosion.
CAUTIONS
This sign refers the damage or defect.
Do not leave or store the flash unit in the temperature over 40ºC, such as in the automobile.
The flash unit is not water resistance. Keep the unit away from rain, snow and humidity.
Do not use benzene, thinner or other alcoholic agents to clean the unit.
Do not use this flash unit with the cameras which are not recommended in compatibility list at official
website, otherwise it may damage the camera’s circuitry.
Remove the batteries when not in use for a longer period of time.
Do not have a heavy impact to the flash unit, nor throw it onto a hard surface floor.
When using the external power pack, read the safety instructions carefully and follow the operation manual.
3 4
Light diffusing panel Fill-in reflector
X-terminal
Flash head/
Wireless transmitter
Sub-Flash
Remote/ Slave sensor
AF-assist light
Rotating
display screen
Multifunction button
Set button
Select button
Select button
Pilot lamp (Test flash button)
Flash stand
Mounting foot
Lock ring
Hotshoe contacts
Foot lock pin
On/Off switch (System lock button)
Soft Case
USB service port
Power Pack socket
External auto exposure sensor
Battery magazine
Extra
battery magazine
(optional)
External service
box
MENU SCREEN FOR MAIN MODES
Di866 Mark II Flash Mode and Functions - to be set on the flash unit.
ADVANCED FUNCTIONS
Advanced functions are provided in some operation modes –
to be set on the flash unit
…
Full Automatic Mode
…
TTL Program Mode
…
Manual Setting Mode
…
Multi- flash Mode
…
Wireless Remote Flash Mode
…
Custom Setting Mode
Full Automatic Mode
Flash light is fully controlled by the camera for the most proper exposure.
page 10
Advanced
Functions
Sub-Flash
Manual Zoom
Slave Mode
F.Stop Setting
ISO setting
*1 Effective on at Universal Slave function in Manual Power operation and when using Di866 Mark II with
film type camera or with non dedicted camera.
*2 Effective on Universal Slave function, and when using Di866 Mark II with film type camera or with non
dedicated camera.
TTL Program Mode
TTL Program Mode
Manual Setting Mode
Manual Setting Mode*1
Manual Setting Mode*2
Operation Modes
Manual Setting Mode
Manual Setting Mode
Functions by Camera setting – The flash is automatically
controlled by the camera
TTL Program Mode
Flash light is automatically controlled by the camera but the flash exposure value
can be compensated.
Manual Setting Mode
Manual Mode -Selecting the desired manual power on the flash unit,
Av poriority Mode- Selecting the desired f-stop on the flash unit.
Multi-flash Mode
Multiple lighting exposes the playback photos in one frame of picture.
Wireless Remote Flash Mode
Placing multiple numbers of flashes (remote flash) off camera and controlling the
creative TTL lighting.
Custom Setting Mode
Variety of custom settings is available for own default value.
page 12
page 16
page 22
page 24
page 29
High speed shutter synchronization
Flash synchronizes to the faster shutter speed than regular synchronization speed.
Rear curtain synchronization
The flash fires just before the rear curtain closes. A moving subject will appear
such moving marks behind.
Auto Flash Bracketing
Flash exposure level is automatically compensated on the sequence of frames
pre-set in the camera.
Red-eye reduction
Blinks of flash released before actual effective flash eliminate
the red eye problem.
Fv. Lock
Fv.
Flash exposure can be locked at the main subject while moving the framing.
Lock
Slow Shutter Synchronization
The flash is controlled at slow shutter speeds considering the dim condition of the
background.
page 31
page 31
page 31
page 32
page 32
page 32
5 6
BASIC OPERATION
Di866 Mark II has energy saving double power off function.
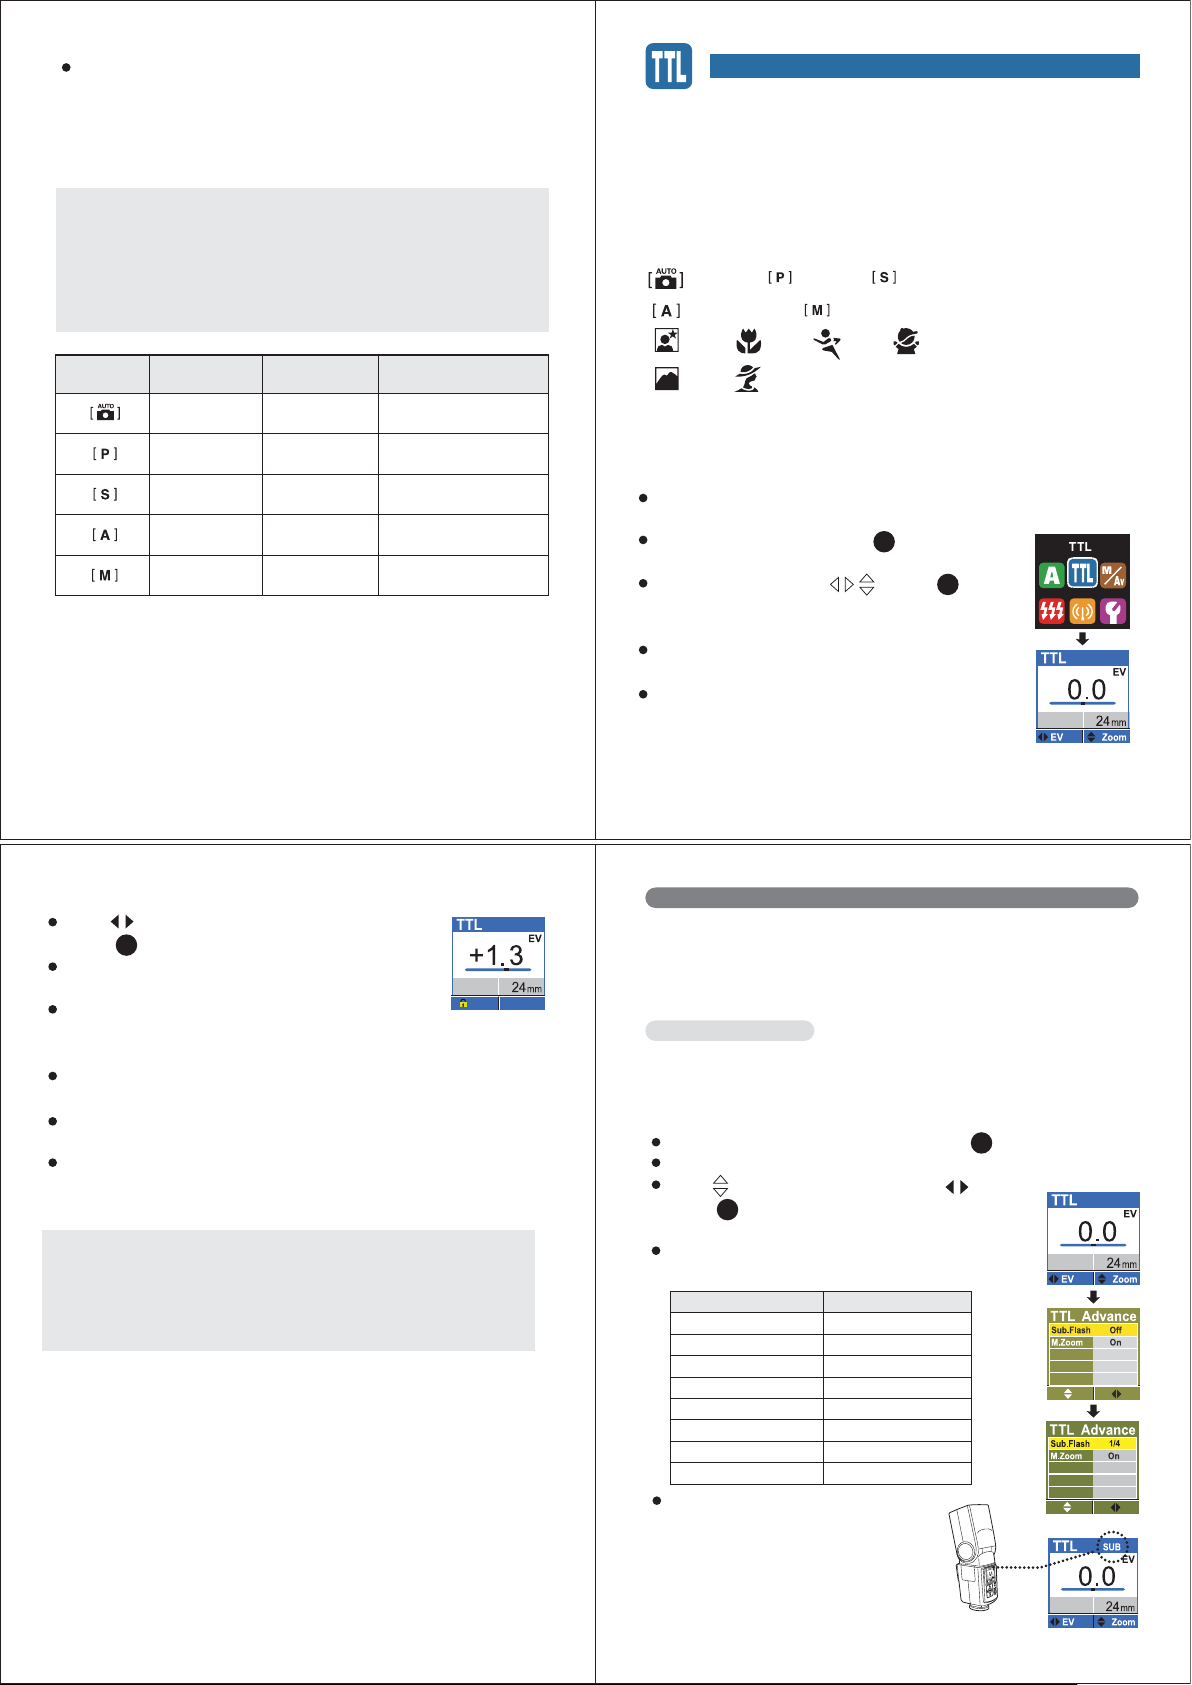
Inserting batteries
Usable batteries - Alkaline batteries, Lithium batteries, NiMH batteries.
1.
Remove the battery magazine and insert
4 x size AA batteries as shown in the
picture.
2.
The battery compartment is specially
designed so that every cell is placed in the
same direction to avoid the confusion in
poor light condition.
+/- symbol is clearly marked at the battery
3.
x 4
!
NOTE
It is recommended to use all 4 batteries in same brand and type, and
replace them all at the same time.
Wrong insertion of each cell would not make electric contact.
compartment.
Place the battery magazine back into the
4.
body.
When the recycle time becomes longer
than 20 seconds, replace the batteries
with the fresh ones or recharge the
batteries (rechargeable batteries).
1.
The power is automatically turned off (to stand-by mode), in about 30
seconds of idle use on the camera or after the last setting is made. To
save the battery energy, you can select the display-off setting from the
custom setting. In this case, the display screen turns off in about 8
seconds of idle use.
While Di866 Mark II is in the stand-by mode, the display screen turns off
and the pilot lamp blinks every 2 seconds showing the flash unit is in
stand-by mode.
To turn on Di866 Mark II again, press the camera’s shutter button halfway
or press any button of the flash unit.
2.
In case Di866 Mark II is not in use for over 30 minutes, the unit is
completely turned off. To turn on Di866 Mark II again, take the first step of
turning the flash unit on.
In case of using the Di866 Mark II in off-camera-use mode (Wireless TTL
flash-slave, Universal Slave function), it is recommended to change the
turn off timer at the Custom setting....ref. page 29 .
The mode and the value set on the flash unit before turning off is
memorized and returns in the same condition when switch it on again.
7 8
Mounting Di866 Mark II on the Camera
Turn off the power switch of both Di866
1.
Mark II and the camera
Turn the lock ring of Di866 Mark II to
2.
loosen it all the way as shown in the
picture.
Slide the mounting foot of Di866 Mark II
3.
into the hotshoe of the camera.
Turn the lock ring to opposite direction
4.
and tighten it.
Lock pin comes out to hook the foot at the
5.
hotshoe for sure contact.
Removing Di866 Mark II from the Camera
Loosen the lock ring and slide the mounting foot of Di866 Mark II off the
hotshoe of the camera. Make sure to turn the lock ring all the way to
completely clear the lock pin off the hooking slot on the hotshoe.
Turn on the flash unit
Press the on / off switch. Screen A appears, and the mode A is set.
The pilot lamp blinks red showing the unit is charging.
In a few seconds, the pilot lamp turns green.
The display screen automatically turns off in about 30 seconds after the
setting job is terminated.
For a test-flash, press the pilot lamp.
To turn off the flash unit manually, press the on / off switch and hold it for 2
seconds.
9 10
SETTING THE MODE AND THE FUNCTION
Full Automatic Flash Control
The modes to be set on the camera:
(Full Auto), (Program), (Shutter priority),
(Aperture priority), (Manual),
Night, Macro, Sport, Kids,
Scene, Portrait, depending on the camera model.
In all those camera’s modes listed above, Di866 Mark II will automatically
and fully work in iTTL automatic flash control system.
Set Di866 Mark II to the camera’s hotshoe and press the on / off switch to power
on.
Display screen automatically shows A, the Full Automatic
Mode.
Di866 Mark II is now set for the camera’s automatic flash
control system.
Press the on/off switch once again to lock this condition on
your flash. (Press it again to release the lock)
All the jobs required for this mode are completed.
When the pilot lamp turns green, press the shutter button of your camera
halfway to focus the subject.
Shutter speed, aperture and flash mark ( ) are shown in camera’s view finder
and the display panel of the camera.
Press the shutter, and Di866 Mark II is fired. The result is immediately shown on
the camera’s LCD monitor.
Flash power is automatically controlled by the camera and the most proper
exposure is obtained on your picture.
When you change the focal length of your camera lens, Di866 Mark II responds
without delay and sets its light source for the proper illumination angle.
The lens focal length you set is shown in the display screen of the flash unit.
TTL Flash Exposure Value Compensation
The flash illumination coverage of Di866 Mark II responds to the lens focal
length of 24mm to 105mm (full size format / film camera standard).
Set the camera’s mode, select the focal length and take pictures with
Di866 Mark II on your camera.
Di866 Mark II is a supplement to help you in taking creative and live
picture. While you are taking pictures in Full Automatic mode, almost all
jobs are automatically done by the camera and you just control the camera
only.
Mode Shutter Speed
Automatic
Automatic
Manual
Automatic
Manual
Aperture Setting
Automatic
Automatic
Automatic
Manual
Manual
Control on the camera
Automatic
Automatic
Any available
shutter speed can be set.
Any available
f-stop can be set.
Any shutter speed /
f-stop combination can be set.
With the latest TTL flash control system, the flash power level is always
automatically controlled by the camera for the most appropriate exposure. You
can soften or weaken the flash light, or give more light to the subject without
changing the environmental or background exposure effect
Di866 Mark II can make it possibly quicker for each shot at respective occasion
of flash picture.
The modes to be set on camera:
(Full Auto), (Program), (Shutter priority),
(Aperture priority), (Manual),
Night, Macro, Sport, Kids,
Scene, Portrait, depending on the camera model.
In all those camera’s modes listed above, Di866 Mark II will automatically
and fully work in iTTL automatic flash control system.
Set Di866 Mark II to the camera’s hotshoe and press the on / off switch to
power on.
Display screen shows A. Press set and the display
Set
turns to the screen of 6 icons.
Select TTL by select button and set . Or the
Set
display returns back to the A mode screen in about 8
seconds.
The TTL flash exposure compensation value 0.0Ev is
shown as a default setting.
TTL flash exposure compensation is provided in 19 steps
by 0.3 Ev increment from -3.0・・・0・・・to +3.0 Ev.
11 12
ADVANCED CUSTOM SETTING
Select the compensation value you desire
Set
and set .
To keep this value on your flash, press on / off switch to
lock. (Press it again to release the lock)
Take a picture and the aimed subject is shown with required
lighting effect by keeping the exposure level of background
as originally expected.
On some cameras, the TTL flash exposure compensation can be set on the
camera.
When the flash exposure compensation is set on the flash unit, this value is
to be counted in addition to the compensation value you set on the camera.
The display screen of the flash unit however shows the exposure
compensation value set on the flash unit only.
An ADVANCED CUSTOM SETTING enables you to enjoy creative flash
photography.
For advanced flash photography, the following two functions can be set on your
flash.
Sub Flash Function
Di866 Mark II provides an extra small flash below the main flash. This small
flash gives a fill-in light while bouncing the main flash. Bouncing the light may
shadow the underside of face, and this fill-in flash brightens up the shadow.
On the TTL function screen, press the set button for 2 seconds.
Set
TTL Advance page appears.
Select Subflash and continuously select the power
and set or wait for 8 seconds to returns to the TTL
Set
function screen.
Set the camera’s mode, select the flash exposure compensation value and
take pictures.
Almost all jobs are automatically done by the camera with such
compensation of the flash exposure value and you just manually control
the camera only.
The following 8 powers are prepared in accordance with the
photographic situation.
Subflash power Guide No. at ISO100
1/1 (Full power)
1/2
1/4
1/8
1/16
1/32
1/64
1/128
12
8.5
6
4
3
2
1.5
1
This subflash function is available
only at bounce photography, and
the mark SUB appears when
tilting the flash head. When the
flash head is set at the normal
position, this mark disappears.
13 14