

Ningbo Lumiaudio Electronic Technology HYF User Manual
4
Underpower Vs. Overpower
1
Most speaker damage is caused by amplifiers with too little
power (wattage).
2
An overdriven amplifier clips the waveforms and leads to
speaker distortion.
3
Clipping is usually audible and it may vary from a harsh sound
to a fuzzy or unclear sound.
4
If you hear the clipping at high volume levels, turn down the
volume until the distortion is gone.
5
Damage caused by operating the speakers at distorted volume
levels is not covered by the warranty.
8"--
SPEAKER
(PAIR SET)
SPECIFICATIONS
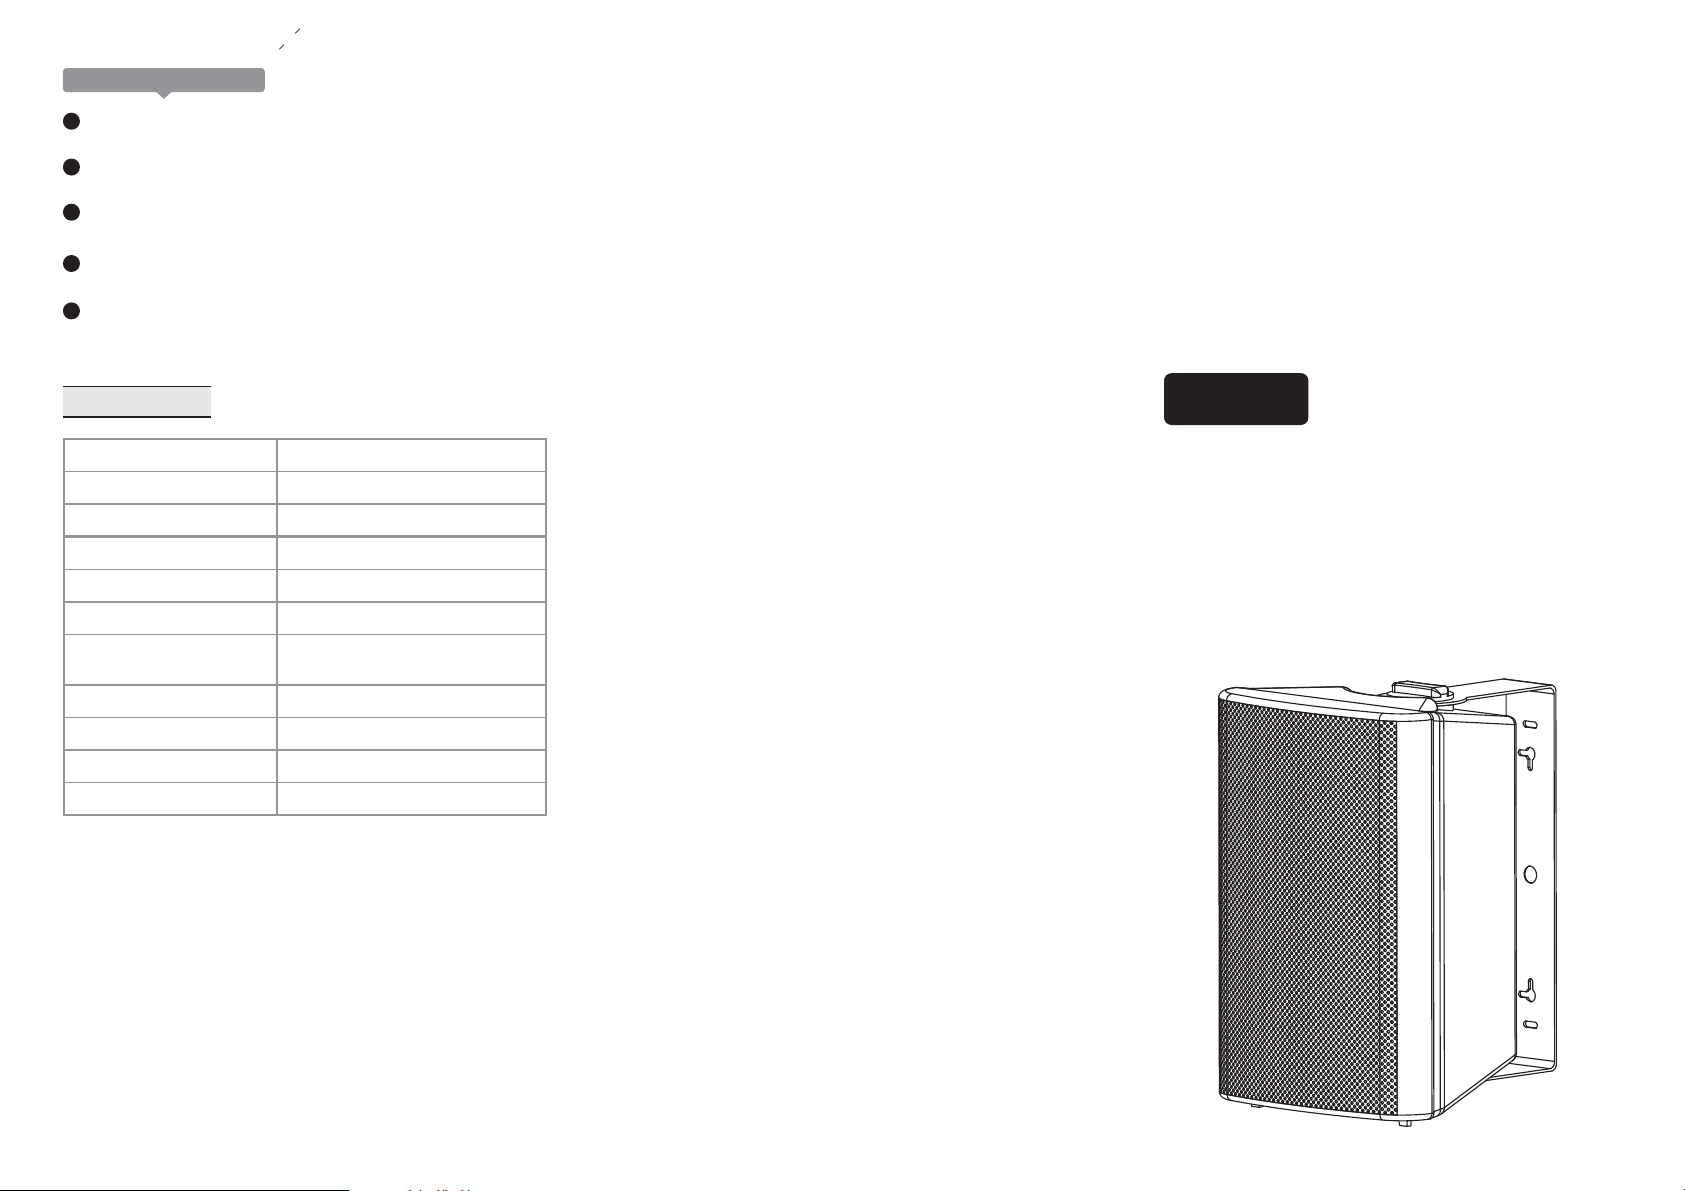
Model
Woofer
Tweeter
Frequency Response
Nominal Impedance
Sensitivity
Audio Input
Power Supply
Product Dimensions
Wireless Connection System
Wireless Transmission Distance
HYF-5BT
5.25" PP Cone
0.5" Mylar Dome
70Hz-16kHz
Ω
8
86dB
300MV-unbalanced
150MV-balanced
AC100-240V
183x164x245mm(7.2"x6.5"x9.6")
Bluetooth V
10m
3.0
HYF-5BT
1
2 3
SAFETY INSTRUCTIONS
1
When the speakers are installed in the wall, ensure the wall
structure is reliable and that the speakers are firmly
attached.
2
Install the speaker in a location that can structurally support
the weight of the speaker and its mounting hardware.
Otherwise it may result in the unit falling down and causing
personal injury.
3
Do not use nails, adhesives or other unauthorized devices.
Long-term use and vibrations may cause it to fall easily.
4
Do not touch or bump the woofer and tweeter. If these are
damaged, the sound will be distorted.
5
Do not listen to sound at a ver y hi gh l evel when you are
changing the input source (for example, to tune FM / CD)
Installation or removal of cables should make sure that
the power amp / amp li fier device radio is turned off.
Users Have a Responsibility to Place or Install Safety
The speakers that are placed in the holder can be either wall or
ceiling type, using screws to be placed inside of the speakers in
the back is optional.
1
Mark the mounting bracket as a template with the regional
location of the hole slots.
2
Then use the appropriate hardware and tools (not supplied)
are properly fixed to the bracket wall/ceiling.
3
Place the speakers to the bracket using the screws and
washers according to the speaker.
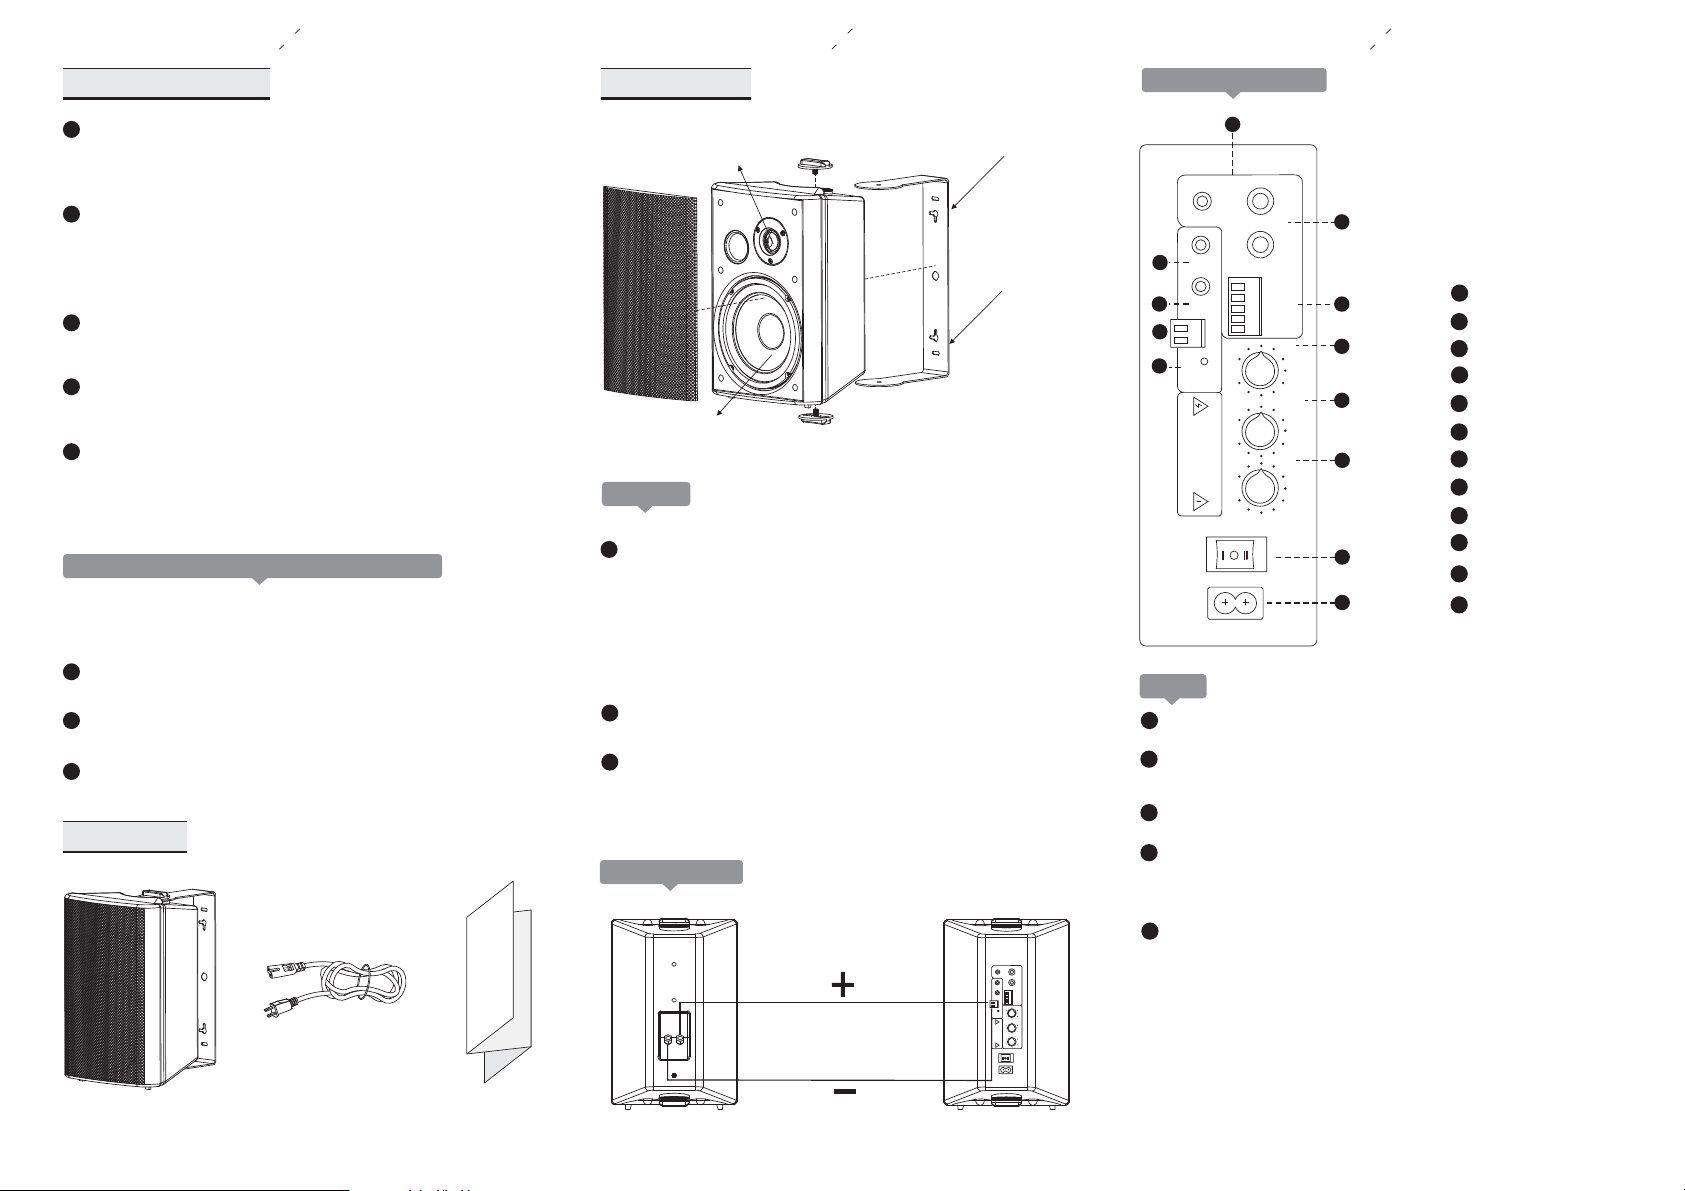
PACKING LIST
INSTALLATION
Tweeter
Bracket screws
Woofer
Connection
Use wire on the back of the speaker in the output tab of the
1
amplifier (or amplifiers of radio). The speaker wire is on one side
red and on the other one black. Connect to the red side of the
amplifier and speakers (+) tab. Connect one end of the black side
(-) in the other tab. Connect each speaker to make sure that is
not (+,-) inverted polarity. If the polarity of the speakers is
reversed, the sound will be unnatural and will play without bass.
2
There will be a p rompt sound when Bluetooth is connected.
3
Since there is no priority set in audio input, please don't use
Bluetooth and line in inputs simultaneously, otherwise sound
is mixed.
Stereo Connection
Fixed to the wall or ceiling
Mounting bracket
Rear Panel Specification
1
AUXIN
R
2
-12 +12 -12 +12
0
10
OFF
AUTO
L+
LGND
R+
R-
TRE
BASS
VOL
L
1
3
8
9
10
11
12
Aux Input
2
RCA Input
Balance Input
3
4
Loop Output
5
Sub Output
6
Speaker Output
LED Indicator
7
8
Treble Adjustment
9
Bass Adjustment
10
Volume Control
11
Power Switch
12
AC Po wer Cord
4
5
6
7
LOOP
SUB
SPEAKER
+
-
ON
RISK OF ELECTRIC SHOCK
DO NOT OPEN
WARNING
ON
AC100-240V
Remark
4
LOOP: Signal output, connect to active amplifiers.
5
SUB: Bass output, connect to active amplifiers (SUB a
mplifier is better).
6
Speaker Output: Connect to passive speakers.
7
LED Indicator: During power on mode, light is constant blue
color; During power AUTO mode, lights goes off when there
is no signal input and it turns to blue color when signal comes.
speaker
Power Cable
L
R
A
E
US
MANU
user manual
LOOP
SUB
ON
DO NOT OPEN
+
-
RISK OF ELECTRIC SHOCK
ON
11
Power switch: When this switch is on Auto position, the
AUXIN
R
L
L+
LGND
SPEAKER
R+
RTRE
-12 +12 -12 +12
BASS
WARNING
VOL
0
10
AUTO
OFF
AC100-240V
amplifier will automatically turn on when a signal is present
and it will go standby when there is no signal input.
 Loading...