

ATTIX 961-01
auto
ATTIX 963-21 ED XC
ATTIX 965-21 SD XC
Operating Instructions
um_attix9-std_en_2008-05-15


Contents
1 Important safety
instructions
............................................................................................
ATTIX 9 STD
english
2
2 Description
3 Before starting the
cleaner
4 Control / Operation
5 Applications and
methods
2.1 Operating elements ..............................................................6
2.2 Operating panel ....................................................................7
3.1 Assembling the vacuum cleaner...........................................8
3.1.1 Taking accessories out of the packaging ..............................8
3.1.2 Attaching the suction pipe holder to the suction pipe 1) ........8
3.1.3 Inserting the filter bag (ATTIX 961-01) .................................9
3.1.4 Inserting the disposal bag (ATTIX 965-21 SD XC) .............10
3.1.5 Inserting the disposal bag (ATTIX 963-21 ED XC) .............11
4.1 Connections .......................................................................12
4.1.1 Connecting the suction hose ..............................................12
4.1.2 Electrical connection .........................................................12
4.2 Switching on the vacuum cleaner .......................................12
4.2.1 Switch " I-0-II " 1) .................................................................12
4.2.2 Switch „ auto-0-I “ 1) ............................................................12
4.2.3 Suction power control 1) ......................................................13
4.2.4 Auto-On/Off-Operation - "auto" switch position 1) ...............13
4.3 Cleaning the filter element .................................................14
4.3.1 Cleaning the filter element (Push&Clean System) 1) ..........14
4.3.2 Cleaning the filter element " XtremeClean "
(ATTIX 963-21 ED XC, ATTIX 965-21 SD XC) ...................14
5.1 Techniques .........................................................................15
5.1.1 Picking up dry substances..................................................15
5.1.2 Picking up liquids ................................................................15
6 After using the cleaner
7 Maintenance
8 Troubleshooting
9 Further information
1)
Optional accessories / Option depending on model
6.1 Switching the vacuum cleaner off and storage ...................16
7.1 Maintenance plan ...............................................................17
7.2 Maintenance work ..............................................................18
7.2.1 Emptying the dirt tank (ATTIX 961-01) ...............................18
7.2.2 Emptying the dirt tank (ATTIX 965-21 SD XC) ..................19
7.2.3 Replacing the filter bag(ATTIX 961-01) ..............................20
7.2.4 Replacing the disposal bag (ATTIX 965-21 SD XC) ...........21
7.2.5 Replacing the disposal bag (ATTIX 963-21 ED XC) ...........22
7.2.6 Replacing filter element ......................................................23
..........................................................................................24
9.1 Recycling the vacuum cleaner ...........................................25
9.2 Guarantee ..........................................................................25
9.3 Tests and approvals............................................................25
9.4 EC declaration of conformity ..............................................25
9.5 Technical data ....................................................................26
9.6 Optional accessories ..........................................................26
1
ATTIX 9 STD
english
1 Important safety instructions
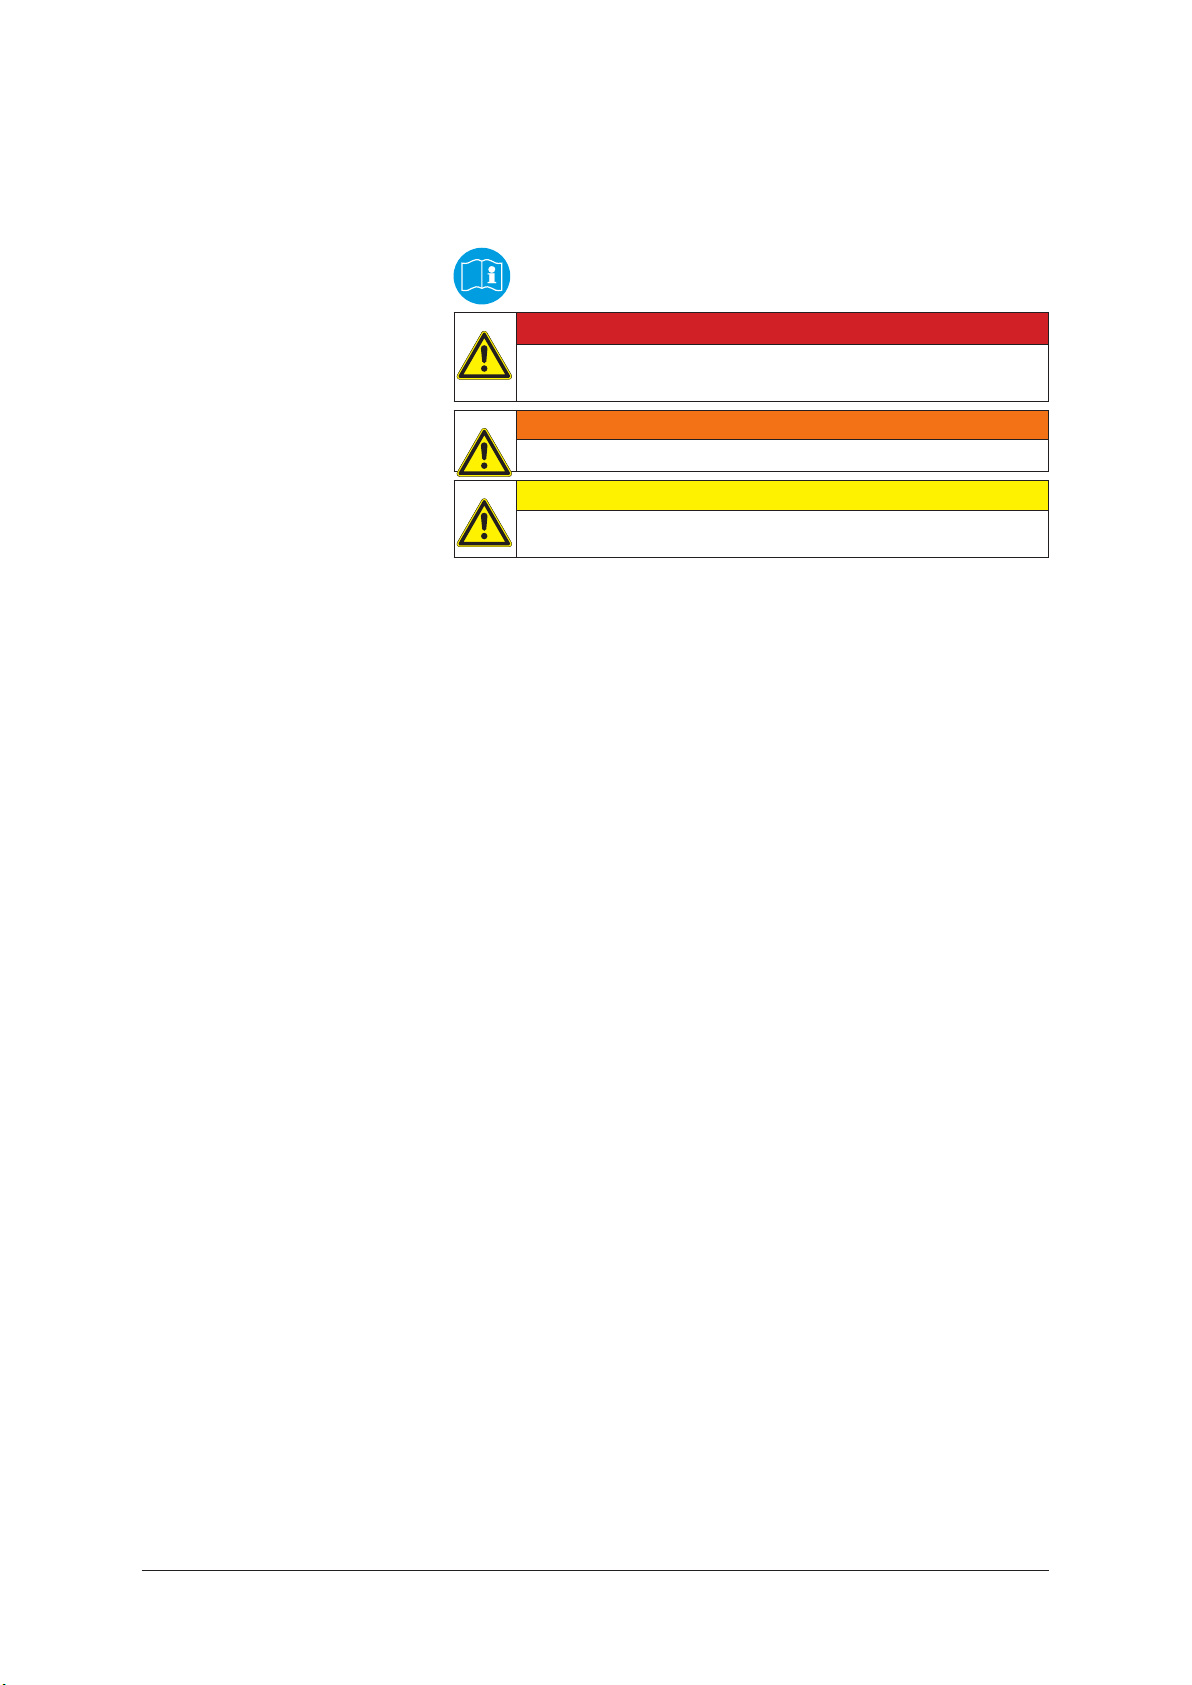
Symbols used to mark
instructions
Prior to using the appliance for the first time, be sure to read
this document through and keep it ready to hand.
DANGER
Danger that leads directly to serious or irreversible injuries,
or even death.
WARNING
Danger that can lead to serious injuries or even death.
CAUTION
Danger that can lead to minor injuries and damage.
The appliance must
only be used by persons, who have been instructed in its correct
•
usage and explicitly commissioned with the task of operating it
only be operated under supervision
•
not be used by children
•
Do not use any unsafe work techniques.
1.
Never use the vacuum cleaner without a filter.
2.
Switch off the appliance and disconnect the mains plug in the
3.
following situations:
Prior to cleaning and servicing
Prior to replacing components
If foam develops or liquid emerges
-
Purpose and intended use
Besides the operating instructions and the binding accident prevention regulations valid in the country of use, observe recognised regulations for safety and proper use.
The appliance is suitable for picking up dry, non-flammable dust and
liquids.
Do not use the ATTIX 963-21 ED XC to pick up liquids.
The appliance is suitable for commercial use, such as e.g. in
Hotels
•
Schools
•
Hospitals
•
Factories
•
Shops
•
Offices
•
Hire shops
•
Any other use is considered as improper use. The manufacturer accepts no liability for any damage resulting from such use. The risk
for such use is borne solely by the user.
Proper use also includes proper operation, servicing and repairs as
specified by the manufacturer.
1)
2
Optional accessories / Option depending on model
ATTIX 9 STD
Transport
Storage
Electrical connection
Extension lead
Before transporting the dirt tank, close all the locks.
1.
Do not tilt the cleaner if there is liquid in the dirt tank.
2.
Do use a crane hook to lift the cleaner.
3.
Store the appliance in a dry place, protected from frost.1.
It is recommended that the vacuum cleaner should be connected
1.
via a residual current circuit breaker.
Arrange the electrical parts (sockets, plugs and couplings) and
2.
lay down the extension lead so that the protection class is maintained.
Connectors and couplings of power supply cords and extension
3.
leads must be watertight.
1.
As an extension lead, only use the version specified by the manufacturer or one of a higher quality. See operating instructions.
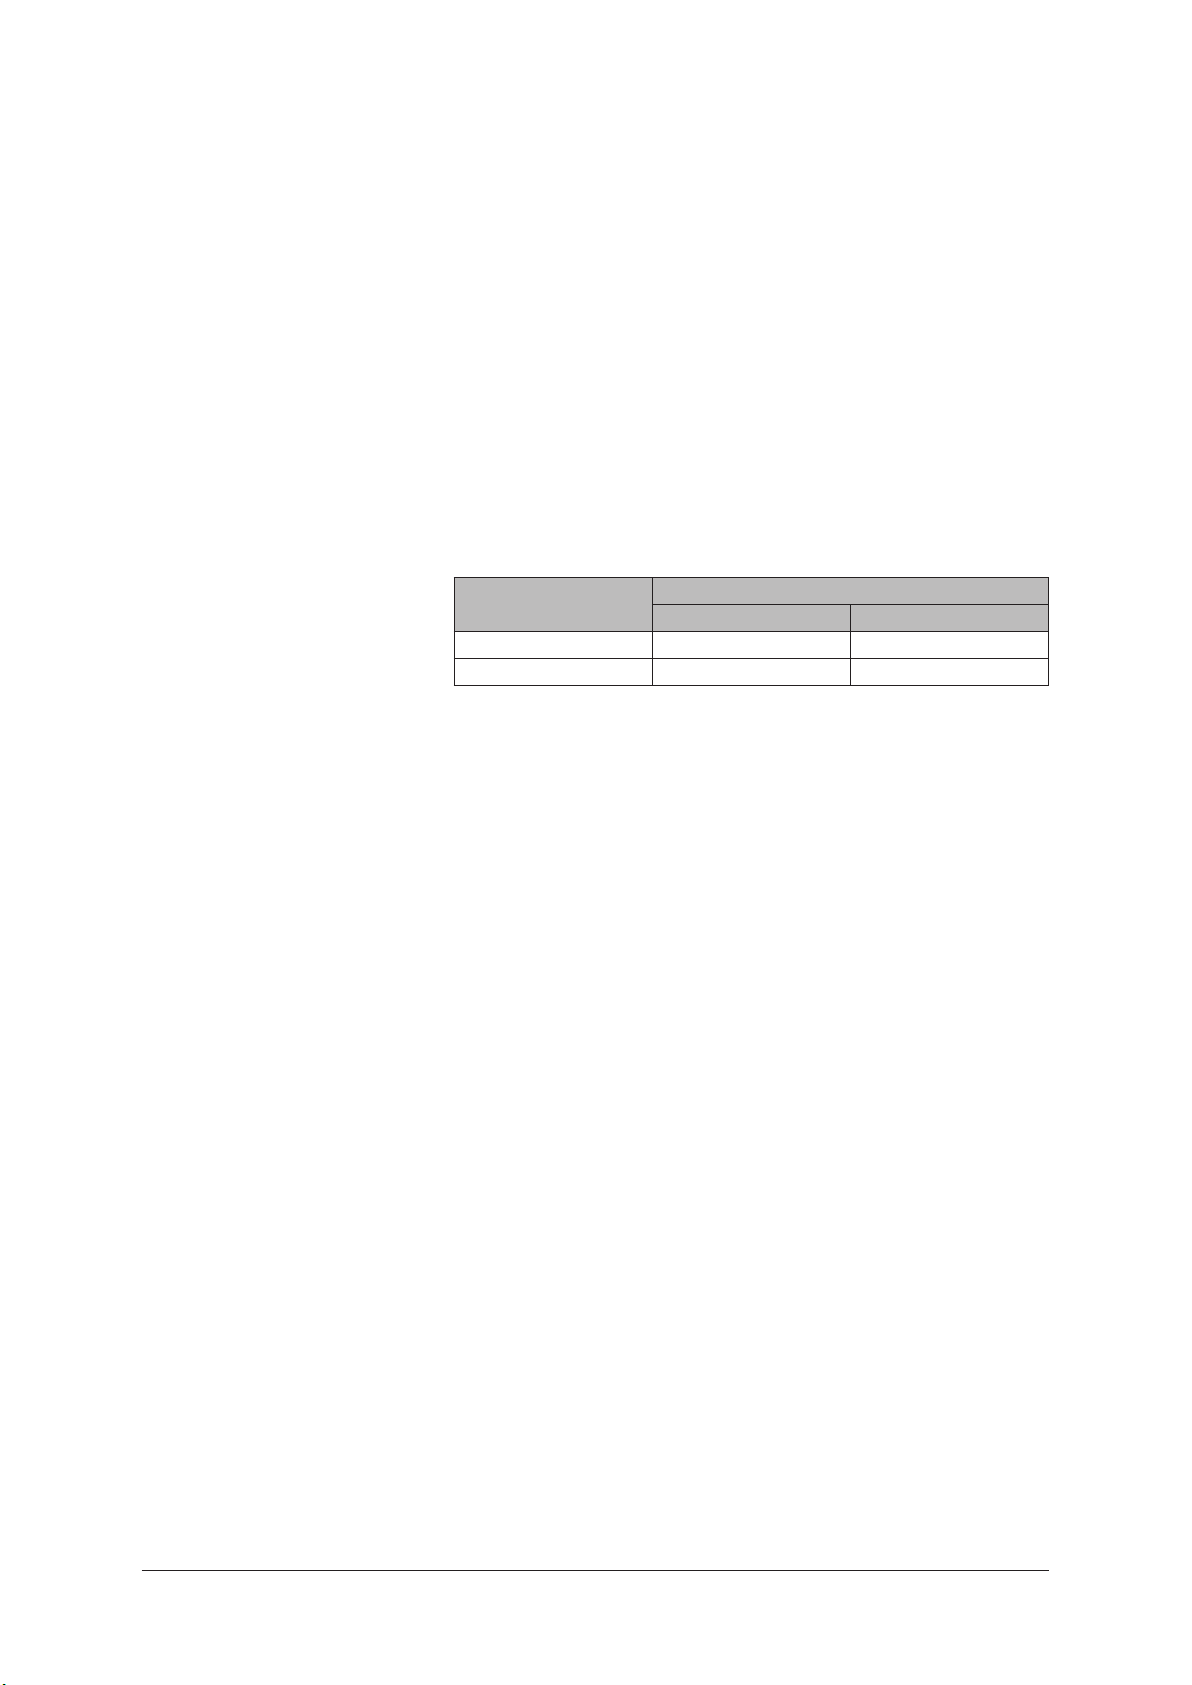
2.
When using an extension lead, check the minimum cross-sections of the cable:
Cable lenth Cross section
< 16 A < 25 A
up to 20 m 1.5 mm
20 to 50 m 2.5 mm
2
2
2.5 mm
4.0 mm
2
2
english
Guarantee
Our general conditions of business are applicable with regard to the
guarantee.
Unauthorised modifications to the appliance, the use of incorrect
brushes in addition to using the appliance in a way other than for the
intended purpose exempt the manufacturer from any liability for the
resulting damage.
1)
Optional accessories / Option depending on model
3
ATTIX 9 STD
english
Risks
Electrical components
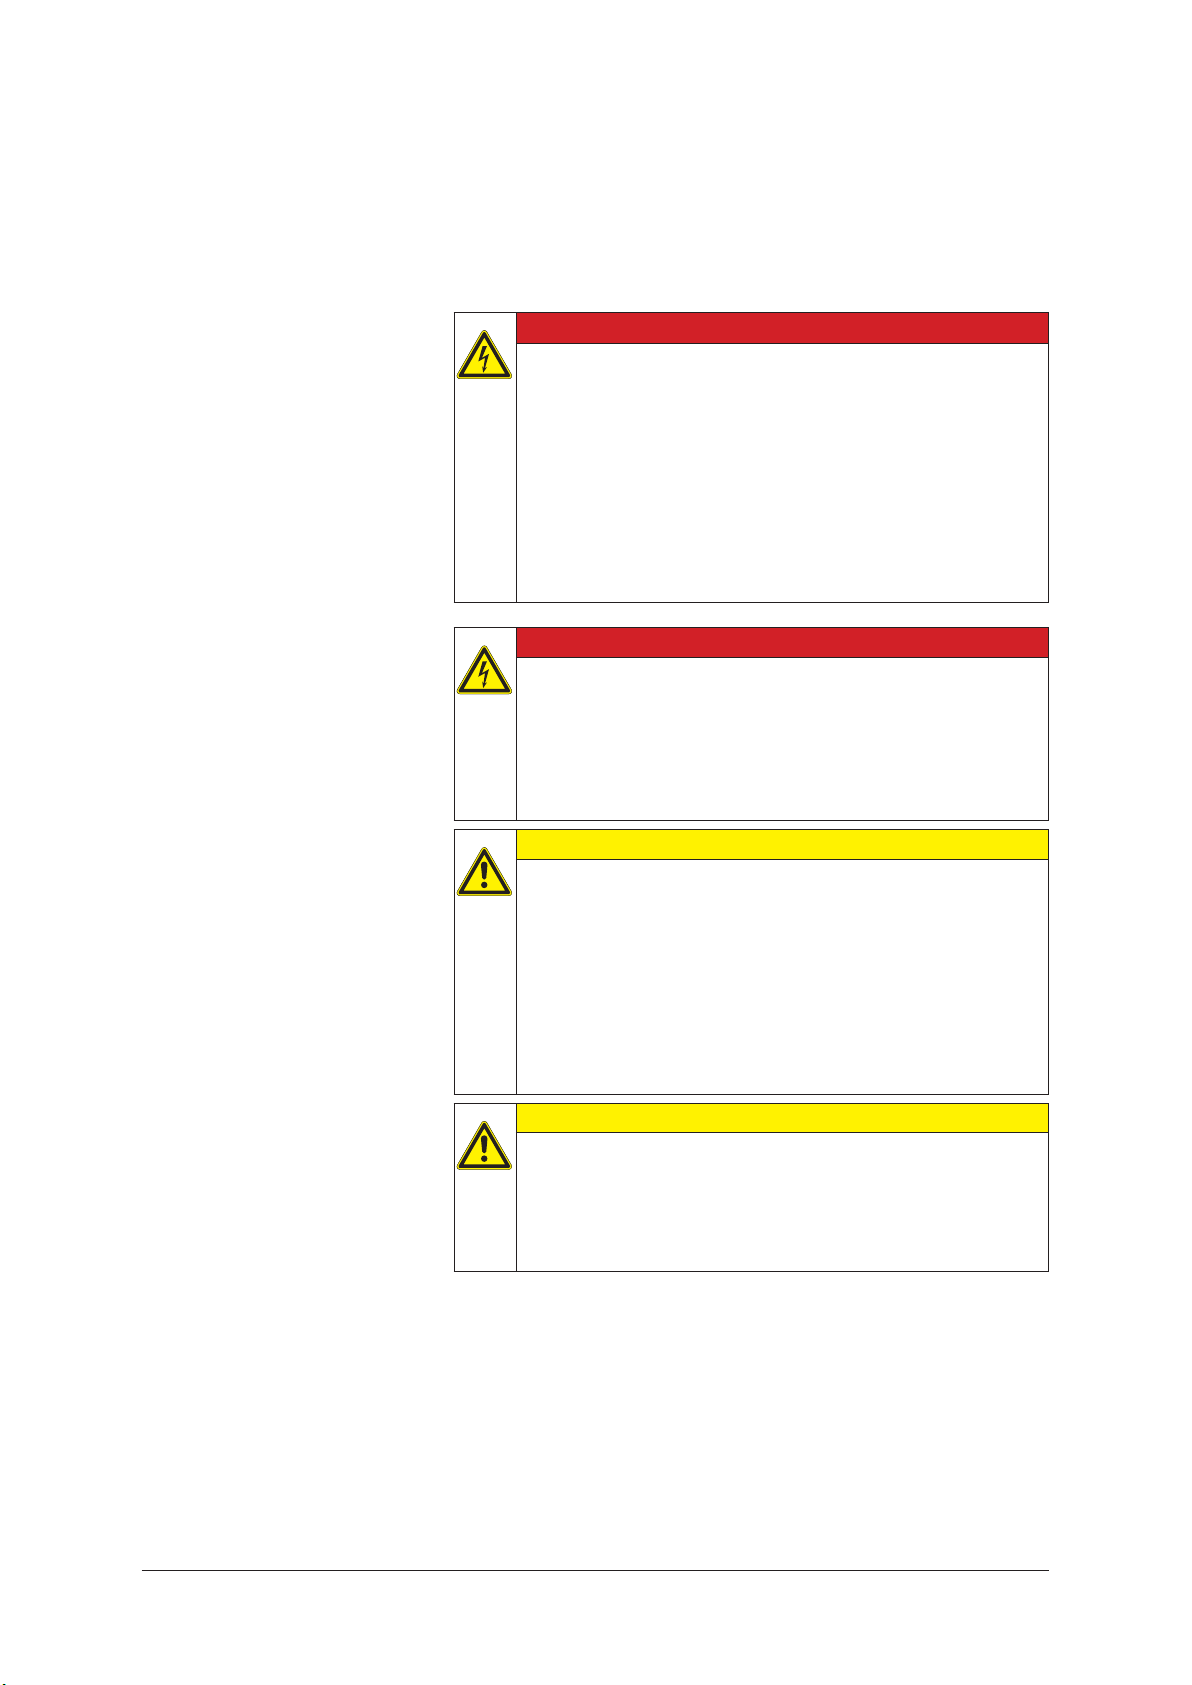
DANGER
Electric shock due to faulty mains connecting lead.
Touching a faulty mains connecting lead can result in serious or even fatal injuries.
Do not damage the mains power lead (e.g. by driving
1.
over it, pulling or crushing it).
Regularly check whether the power cord is damaged or
2.
shows signs of ageing.
Have the faulty mains connecting lead replaced by your
3.
Nilfisk-Alto service representative or a qualified electrician prior to using the appliance again.
DANGER
The upper section of the vacuum cleaner contains live components.
Contact with live components leads to serious or even fatal
injuries.
Never spray water on to the upper section of the vacuum
1.
cleaner.
CAUTION
Appliance socket
1)
The appliance socket is only designed for the purposes defined in the operating instructions.
The connection of different appliances can result in dam-
1.
age.
Prior to plugging in an appliance, always switch off the vac-
2.
uum cleaner and the appliance that is to be connected.
Read the operating instructions to the appliance to be con-
3.
nected and observe the safety notes contained in these.
CAUTION
Damage due to unsuitable mains voltage.
The appliance can be damaged as a result of being connected
to an unsuitable mains voltage.
Ensure that the voltage shown on the rating plate corre-
1.
sponds to the voltage of the local mains power supply.
1)
4
Optional accessories / Option depending on model
ATTIX 9 STD
Picking up liquids
Hazardous materials
CAUTION
Picking up liquids.
ATTIX 965-21 SD XC: Due to their construction vacuum cleaners with a removable tank (SD) do not have an automatic level
indicator. There is a risk of damage to the vacuum cleaner due
to overfilling or of damage due to leakage of the picked up liquid.
Never pick up more than 40 litres at once.
1.
Switch off the vacuum cleaner and empty the dirt tank.
2.
WARNING
Hazardous materials.
Vacuuming up hazardous materials can lead to serious or
even fatal injuries
The following materials must not be picked up by the
1.
vacuum cleaner:
hazardous dust
hot materials (burning cigarettes, hot ash, etc.)
flammable, explosive, aggressive liquids (e.g. petrol,
solvents, acids, alkalis, etc.)
flammable, explosive dust (e.g. magnesium or alumini-
um dust, etc.)
english
Spare parts and accessories
Emptying dirt tank
CAUTION
Spare parts and accessories.
The use of non-genuine spare parts and accessories can
impair the safety of the appliance.
Only use spare parts and accessories from Nilfisk-Alto.
1.
Use only the brushes supplied with the vacuum cleaner
2.
or specified in the operating manual.
CAUTION
Picking up environmentally hazardous materials.
Materials picked up can present a hazard to the environment.
Dispose of the dirt in accordance with legal regulations.1.
1)
Optional accessories / Option depending on model
5

ATTIX 9 STD
auto
english
2 Description
2.1 Operating elements
15
17
10
13
1
19
3
5
18
12
6
16
7
15
14
8
2
4
19
13
18
1
5
12
6
15
20
1
19
2
4
5
18
12
14
8
6
11
7
9
8
14
1)
6
Optional accessories / Option depending on model
ATTIX 9 STD
english
1 Handle
2 Appliance socket
3 Applicance switch "I-0-II"
1)
1)
4 Applicance switch with suction power control 'auto-0-I"
5 Receptacle for electrical lead
6 Inlet fitting
7 Dirt tank
8 Castor with brake
9 Swivel bar to remove dirt tank
10 Grip to empty tank
1)
11 Handle to remove dirt tank
1)
1)
12 Retaining clamp
13 Suction pipe support
14 Bracket for floor nozzle
1)
1)
15 Accessory holder
16 Clamps and hinges for dirt tank
17 Operating knob for filter cleaning
1)
1)
18 Inlet for fresh air
19 Outlet for waste air
20 Disposal bag
1)
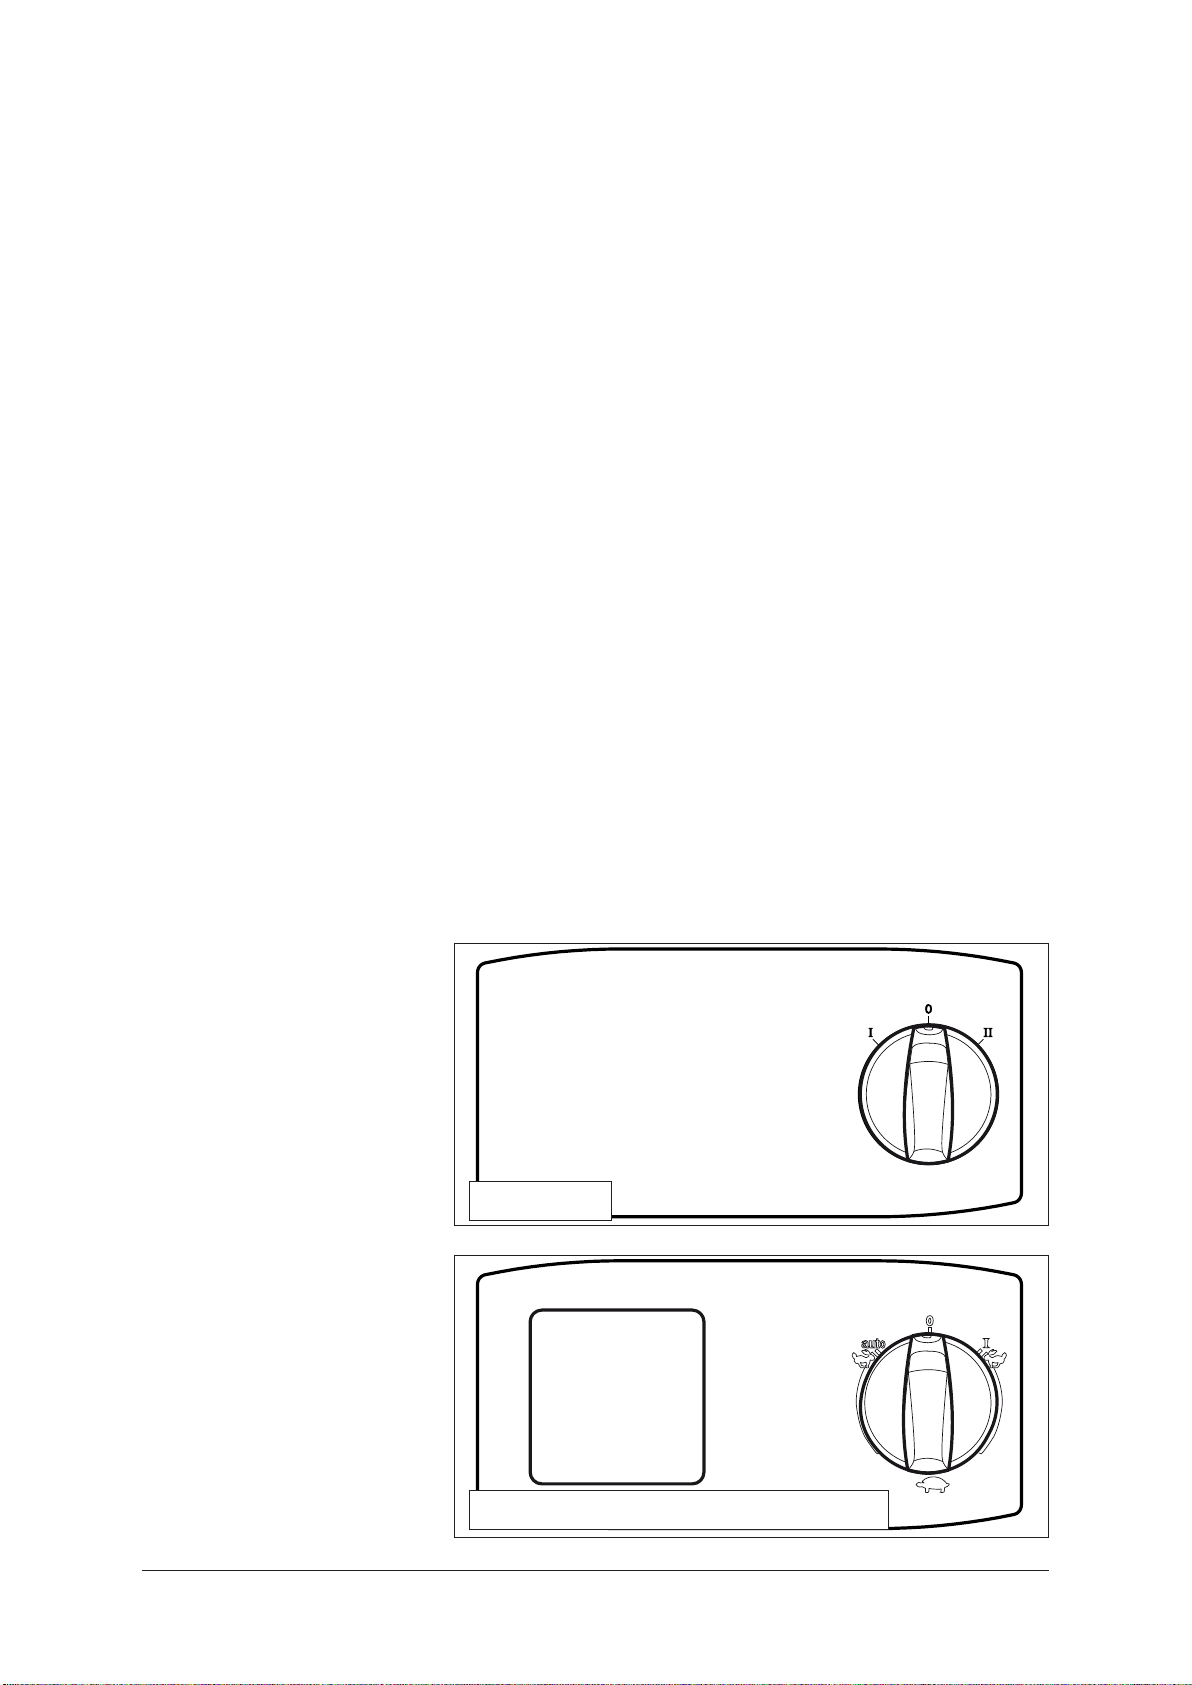
2.2 Operating panel
ATTIX 961-01
ATTIX 963-21 ED XC, ATTIX 965-21 SD XC
1)
Optional accessories / Option depending on model
7

ATTIX 9 STD
auto
x
a
uto
x
a
u
t
o
english
3 Before starting the cleaner
3.1 Assembling the
vacuum cleaner
3.1.1 Taking accessories out
of the packaging
B B
A
A
Take vacuum cleaner and
1.
accessories out of the packaging.
The mains plug should not
2.
yet be inserted into a socket.
Apply parking brakes (A) on
3.
both castors.
Open the retaining clamps
4.
(B) and remove the upper
section of the vacuum cleaner.
Take the accessories 1) out of
5.
the dirt tank and the packaging.
3.1.2 Attaching the suction
pipe holder to the
suction pipe
1)
Attach the suction pipe hold-
1.
er to the suction pipe.
Accessory
diameter
Distance (x)
from pivot
joint to the
floor nozzle
cm
38 52
50 47
8
1)
Optional accessories / Option depending on model

ATTIX 9 STD
auto
3.1.3 Inserting the filter bag
(ATTIX 961-01)
A
A
B B
The mains plug should not
1.
yet be inserted into a socket.
Apply parking brakes (A) on
2.
both castors.
Open the retaining clamps
3.
(B) and remove the upper
section of the vacuum cleaner.
english
B
B
Insert the filter bag (C) in the
4.
dirt tank.
Attach the upper section of
5.
the vacuum cleaner.
Close the retaining clamps
6.
(B). Ensure that the retaining
clamps fit properly.
1)
Optional accessories / Option depending on model
9

ATTIX 9 STD
auto
english
3.1.4 Inserting the
disposal bag
(ATTIX 965-21 SD XC)
A
A
C
B
The mains plug should not
1.
yet be inserted into a socket.
Apply parking brakes (A) on
2.
both castors.
Swing the bar (B) upwards.
3.
Use the handle (C) to pull the
4.
dirt tank out of the vacuum
cleaner.
C
B
D
Insert the disposal bag (D) in
5.
the dirt tank.
Fold the top edge of the dis-
6.
posal bag over the rim of the
dirt tank.
Push the dirt tank as far as
7.
possible into the vacuum
cleaner.
Swing the bar (B) downwards
8.
without forcing it.
1)
10
Optional accessories / Option depending on model

ATTIX 9 STD
3.1.5 Inserting the
disposal bag
(ATTIX 963-21 ED XC)
A
C
B
A
The mains plug should not
1.
yet be inserted into a socket.
Apply parking brakes (A) on
2.
both castors.
Open clamping ring (B).
3.
Insert disposal bag (C) into
4.
clamping ring.
Fold the top edge of the dis-
5.
posal bag over the rim of the
clamping ring.
english
C
D
Attach the new disposal bag
6.
(C) onto the storage container (D).
Close clamping ring (B).7.
1)
Optional accessories / Option depending on model
11

ATTIX 9 STD
auto
english
4 Control / Operation
4.1 Connections
4.1.1 Connecting the suction
hose
4.1.2 Electrical connection
The operating voltage shown on
the rating plate must correspond
to the voltage of the mains power
supply.
4.2 Switching on the
vacuum cleaner
4.2.1 Switch " I-0-II "
1)
Connect the suction hose.1.
1. Ensure that the cleaner is
switched off.
2. Insert the power cord into a
properly installed and fused
socket with earthing contact.
Switch
position
I
0
II
Function
Reduced
suction
Off
Maximum
suction
4.2.2 Switch „
12
auto-0-I “
1)
1)
Optional accessories / Option depending on model
Switch
position
I
Function
Maximum
suction

ATTIX 9 STD
auto
4.2.3 Suction power control
4.2.4 Auto-On/Off-Operation
- "auto" switch
position
The vacuum cleaner is switched
on and off by the power tool connected. Dirt is picked up from the
source of dust immediately.
To comply with regulations, only
approved dust producing tools
should be connected.
The maximum power consumption
of the connected electrical appliance is stated in section 9.5 "Technical data".
Before switching the switch to position „auto“, ensure that the tool
connected to the appliance socket
is switched off.
1)
1)
Switch
position
Function
english
The suction
power control
switch allows
precise
adaptation of
the suction
power for
different
cleaning tasks.
Switch off the vacuum clean-
1.
er.
Switch off the power tool.
2.
Connect the power tool and
3.
the vacuum cleaner with a
suction hose.
Insert the plug of the power
4.
tool into the tool socket on
the operating panel of the
vacuum cleaner.
Switch on the vacuum clean-
5.
er. Switch in "auto" position.
Switch on the power tool. The
6.
vacuum cleaner motor starts
when the connected power
tool is switched on.
When the power tool is
switched off, the vacuum
cleaner continues to run for
a short moment so that any
dust in the suction hose is
conveyed to the filter bag.
1)
Optional accessories / Option depending on model
13

ATTIX 9 STD
10 sec.
english
4.3 Cleaning the filter
element
4.3.1 Cleaning the filter
element (Push&Clean
System)
Only for vacuum cleaning without a
filter bag and without a cloth insert
filter.
1)
4.3.2 Cleaning the
filter element
" XtremeClean "
(ATTIX 963-21 ED XC,
ATTIX 965-21 SD XC)
If suction performance drops:
Turn switch to position "II" (maximum suction power).
1.
Close the nozzles or suction hose opening with the palm of your
2.
hand.
Press the button to start filter cleaning three times. The resulting
3.
stream of air removes attached dust from the slats of the filter
elements.
Only for vacuum cleaning without a
cloth insert filter.
To ensure that suction performance is always at its best, the filter
element is automatically cleaned during operation. We recommend
complete cleaning if the filter element becomes extremely dirty.
Switch off the vacuum cleaner
1.
Close the nozzles or suction hose opening with the palm of your
2.
hand.
Turn the switch to position „I“ and let the cleaner operate for ap-
3.
prox. 10 seconds with the suction hose opening closed.
14
1)
Optional accessories / Option depending on model

5 Applications and techniques
ATTIX 9 STD
english
5.1 Techniques
5.1.1 Picking up dry
substances
If used correctly, additional accessories, suction nozzles and suction hoses can enhance the cleaning action and reduce the cleaning
effort.
Effective cleaning is achieved if you follow just a few guidelines in
combination with your own practical experience in special fields.
Here are some basic tips.
CAUTION!
Do not pick up flammable substances.
Before picking up dry substances, always ensure that a filter bag is
inserted in the tank (see section 9.6 "Accessories" for order number).
Disposal of the picked up material is then simple and hygienic.
After picking up liquids, the filter element is wet. A damp filter element clogs more quickly when dry substances are picked up. For this
reason the filter element should be washed and dried or replaced by
a dry element before dry substances are picked up.
5.1.2 Picking up liquids
CAUTION!
Do not pick up flammable liquids.
Do not use the ATTIX 963-21 ED XC to pick up liquids.
Before liquids are picked up, always remove the filter bag/disposal
bag.
The use of a separate filter element or filter screen is recommended.
If foam appears, stop work immediately and empty the tank.
To reduce the amount of foam, use foam killer Alto Foam Stop (see
section 9.6 "Accessories" for order number).
1)
Optional accessories / Option depending on model
15

ATTIX 9 STD
au
to
english
6 After finishing work
6.1 Switching the vacuum
cleaner off and storage
B
A
C
Switch off the cleaner and
1.
pull the mains plug out of the
socket.
Wind up the power cord and
2.
hang it on the handle (A).
Begin winding up the cord at
the cleaner end and not the
plug end to prevent the power cord from tangling up.
Empty the dirt tank and clean
3.
the vacuum cleaner.
After picking up liquids: Store
4.
the upper section of the vacuum cleaner separately so
that the filter element can
dry.
Hang the suction hose with
5.
the floor nozzle (B) in the
brackets and pack the accessories (C) away.
Store the cleaner in a dry
6.
room where it is protected
from unauthorized use.
1)
16
Optional accessories / Option depending on model

7 Maintenance
7.1 Maintenance plan
ATTIX 961-01:
7.2.1 Emptying dirt tank
7.2.3 Replacing the filter bag
7.2.6 Replacing filter element
ATTIX 965-21 SD XC:
7.2.2 Emptying dirt tank
7.2.4 Replacing the disposal bag
7.2.6 Replacing filter element
ATTIX 9 STD
english
After finishing work When required
=
=
=
After finishing work When required
=
=
=
ATTIX 963-21 ED XC:
7.2.5 Replacing the disposal bag
7.2.6 Replacing filter element
After finishing work When required
=
=
1)
Optional accessories / Option depending on model
17

ATTIX 9 STD
BA_Behälter_kippen
BA_Behälter_kippen
auto
auto
english
7.2 Maintenance work
7.2.1 Emptying the dirt tank
(ATTIX 961-01)
After emptying the tank: clean the
rim of the tank and the seals in the
intermediate ring and the upper
section of cleaner before refitting
them.
If the seal or groove is dirty or damaged, the suction performance will
be reduced.
Before reinserting the suction hose:
clean the inlet fitting and hose collar.
A
A
B B
Switch off the vacuum clean-
1.
er and pull the mains plug
out of the socket.
Apply parking brakes
2.
(A) on both castors.
Open the retaining clamps
3.
(B) and remove the upper
section of the vacuum cleaner.
Tilting the dirt tank:
Pull the lever in the handle
4.
(C) upwards and tilt the tank.
Tip out the collected dirt.
5.
Dispose of the dirt in accord-
6.
ance with legal regulations.
C
or
E
D
E
D
B
B
Removing the dirt tank:
Open the tank locks (D).
4.
Use the handles (E) to lift the
5.
tank out of the frame.
Tip out the collected dirt.
6.
Dispose of the dirt in accord-
7.
ance with legal regulations.
Place the empty tank in the
8.
frame and close the locks
(D).
Attach the upper section of
9.
the vacuum cleaner.
Close the retaining clamps
10.
(B). Ensure that the retaining
clamps fit properly.
18
1)
Optional accessories / Option depending on model

ATTIX 9 STD
auto
7.2.2 Emptying the dirt tank
(ATTIX 965-21 SD XC)
A
A
C
D
B
Switch off the vacuum clean-
1.
er and pull the mains plug
out of the socket.
Apply parking brakes (A) on
2.
both castors.
Removing the dirt tank:
Swing the bar (B) upwards.
3.
Use the handle (C) to pull the
4.
dirt tank out of the vacuum
cleaner.
Tipping out the collected
5.
dirt: WARNING! If heavy dirt
has been picked up, never
lift the dirt tank alone. Use
the FORKLIFT (D), which is
available as an accessory.
Use a crane or fork lift truck
6.
to position the FORKLIFT
above the dirt tank.
Attach the tank to the acces-
7.
sory.
Dispose of the dirt in accord-
8.
ance with legal regulations.
english
1)
Optional accessories / Option depending on model
E
Inserting the dirt tank:
Clean the dirt tank.
9.
Check the seals (E) between
10.
the tank and the upper section of the vacuum cleaner.
Push the dirt tank as far as
11.
possible into the vacuum
cleaner.
Swing the bar (B) downwards
12.
without forcing it.
19

ATTIX 9 STD
auto
english
7.2.3 Replacing the filter bag
(ATTIX 961-01)
If the filter bag has heavy dirt, remove the bag by tilting the tank.
See Section 7.2.1.
A
A
B B
C
D
Switch off the vacuum clean-
1.
er and pull the mains plug
out of the socket.
Apply parking brakes (A) on
2.
both castors.
Open the retaining clamps
3.
(B) and remove the upper
section of the vacuum cleaner.
Removing the filter bag:
Carefully remove the filter
4.
bag connection from the inlet
fitting (C).
Close the filter bag connec-
5.
tion (1) with the hinged lid.
Dispose of the filter bag in
6.
accordance with legal regulations.
Inserting the filter bag:
Clean the dirt tank.
7.
Insert the filter bag in the dirt
8.
tank.
Press the bush of the new fil-
9.
ter bag firmly on to the inlet
fitting (C).
C
Attach the upper section of the
10.
B
B
vacuum cleaner.
Close the retaining clamps
11.
(B). Ensure that the retaining
clamps fit properly.
20
1)
Optional accessories / Option depending on model

ATTIX 9 STD
auto
7.2.4 Replacing the disposal
bag
(ATTIX 965-21 SD XC)
B
C
A
A
D
E
Switch off the vacuum clean-
1.
er and pull the mains plug
out of the socket.
Apply parking brakes (A) on
2.
both castors.
Removing the disposal bag:
Swing the bar (B) upwards.
3.
Use the handle (C) to pull the
4.
dirt tank out of the vacuum
cleaner.
Close the disposal bag with
5.
string (D) and remove it from
the dirt tank.
WARNING!
If heavy dirt has been picked
up, never lift the dirt tank
alone. Use the FORKLIFT
(D), which is available as an
accessory.
Use a crane or fork lift truck
6.
to position the FORKLIFT
above the dirt tank.
Attach the tank to the acces-
7.
sory.
Dispose of the dirt in accord-
8.
ance with legal regulations.
english
G
1)
Optional accessories / Option depending on model
B
F
Inserting the disposal bag:
Clean the dirt tank.
9.
Check the seals (F) between
10.
the tank and the upper section of the vacuum cleaner.
Insert the disposal bag (G) in
11.
the dirt tank.
Fold the top edge of the dis-
12.
posal bag over the rim of the
dirt tank.
Push the dirt tank as far as
13.
possible into the vacuum
cleaner.
Swing the bar (B) downwards
14.
without forcing it.
21

ATTIX 9 STD
a
u
t
o
english
7.2.5 Replacing the disposal
bag
(ATTIX 963-21 ED XC)
B
A
A
C
Switch off the vacuum clean-
1.
er and pull the mains plug
out of the socket.
Apply parking brakes (A) on
2.
both castors.
Remove the disposal bag:
Open clamping ring (B).
1.
Detach the disposal bag (C)
2.
from the storage container
and seal it.
Dispose of the dirt in accord-
6.
ance with legal regulations.
Inserting the disposal bag:
Insert disposal bag (C) into
1.
clamping ring.
D
Fold the top edge of the dis-
2.
posal bag over the rim of the
clamping ring.
C
C
Attach the new disposal bag
3.
(C) onto the storage container (D).
Close clamping ring (B). 4.
B
22
1)
Optional accessories / Option depending on model

ATTIX 9 STD
auto
7.2.6 Replacing filter element
Never use the vacuum cleaner
without a filter.
D
C
A
A
B B
E
Switch off the vacuum clean-
1.
er and pull the mains plug
out of the socket.
Apply parking brakes (A) on
2.
both castors.
Open the retaining clamps
3.
(B) and remove the upper
section of the vacuum cleaner.
Removing the filter element:
Lay the upper section of the
4.
cleaner down with the filter
element facing upwards.
Open the bar handle (C) and
5.
remove it.
Remove the filter holder (D).
6.
Carefully remove the filter el-
7.
ement.
Dispose of the used filter ele-
8.
ment in accordance with legal regulations.
english
Inserting the filter element:
Clean the filter seal (4).
9.
Check it for damage and replace it if necessary.
Check the antistatic pin (G)
10.
E
D
B
F G
B
for damage. If necessary,
have it replaced by Alto Service.
Push new filter element (E)
11.
onto the filter holder.
Attach filter strain washer
12.
(D).
Attach bar (C) and close.
13.
Attach the upper section of the
14.
vacuum cleaner.
Close the retaining clamps
15.
(B). Ensure that the retaining
clamps fit properly.
C
8
1)
Optional accessories / Option depending on model
23

ATTIX 9 STD
english
Troubleshooting
Fault Cause Remedy
‡ Motor does not start > Fuse of the mains socket has
blown.
> Overload protection switch
has tripped.
> Motor is faulty. • Have motor changed by
‡ Motor does not run in
automatic mode
1)
‡ Reduced suction power > Suction power selected with
‡ No suction power during
wet cleaning
(ATTIX 961-01)
‡ Voltage fluctuations > Impedance of power supply is
> Power tool/pneumatic tool is
defective or not connected
properly.
> The power rating of the
electrical tool is too low.
suction power control is too
low.
> Clogged suction hose/nozzle. • Clean suction hose/nozzle
> Tank, disposal bag or filter
bag is full.
> Filter element is clogged. • See section „Cleaning filter
> Seal between tank and upper
section of vacuum cleaner is
faulty or missing.
> Cleaning mechanism is
defective.
> Tank is full. • Switch off the cleaner. Empty
too high.
• Connect mains fuse.
• Switch off the vacuum
cleaner and allow it to cool
for approx. 5 minutes. If the
cleaner cannot be started
again, contact the Alto service
department.
Nilfisk-Alto Service.
• Check that the power tool
works or that the plug is
inserted correctly.
• Note that minimum power
rating is P>40W
• Set suction power in
accordance with section
„Setting suction power“.
• See "Emptying tank" or
"Replacing disposal bag, filter
bag" sections.
element“ and „Replacing filter
element“.
• Replace seal.
• Contact Nilfisk-Alto Service.
the tank.
• Connect the cleaner to another
socket closer to the fuse box.
Voltage fluctuations over
7% should not occur if the
impedance at the transfer point
is ≤ 0.15 Ω .
24
1)
Optional accessories / Option depending on model

9 Further information
9.1 Recycling the vacuum
cleaner
Make the old cleaner unusable immediately.
1.
Unplug the cleaner and cut the power cord.
2.
Do not discard of electrical appliances with household waste.
3.
As specified in European Directive 2002/96/EC on old electrical and
electronic appliances, used electrical goods must be collected separately and recycled ecologically.
Contact your local authorities or your nearest dealer for further information.
ATTIX 9 STD
english
9.2 Guarantee
9.3 Tests and approvals
9.4 EC declaration of
conformity
Our general conditions of business are applicable with regard to the
guarantee.
Subject to change as a result of technical advances.
Electrical tests must be performed in accordance with the provisions
of safety regulations (VBG4) and to DIN VDE 0701 Part 1 and Part
3. In accordance with DIN VDE 0702 these tests must be performed
at regular intervals and after repairs or modifications.
The vacuum cleaner has been approved in accordance with IEC/EN
60335-2-69.
EC declaration of conformity
ALTO Deutschland GmbH
Guido-Oberdorfer-Straße 2-8
D-89287 Bellenberg
Product:
Model:
Description:
The design of the appliance
corresponds to the following
pertinent regulations:
Applied harmonized standards:
Applied national standards and
technical specifications:
Vacuum cleaner for wet and dry operation
ATTIX 961-01
ATTIX 963-21 ED XC
ATTIX 965-21 SD XC
230 V~, 50 Hz
EC Machine Directive 98/37/EC
EC Low Voltage Directive 73/23/EC
EC EMC Directive 89/336/EC
EN 12100-1, EN 12100-2
EN 60335-1
EN 60335-2-69
EN 55014-1, EN 55014-2, EN 61000-3-2
DIN EN 60335-1
DIN EN 60335-2-69
1)
Optional accessories / Option depending on model
Dipl.-Ing. Wolfgang Nieuwkamp
Tests and approvals
Bellenberg, 01.03.2007
25

ATTIX 9 STD
english
9.5 Technical data
ATTIX
961-01 965-21 SD XC 963-21 ED XC
Voltage V
230 (EU,CH,GB)
110 (GB)
230 (DK,EU)
Mains frequency Hz 50/60
10 (CH)
Fuse A
13 (GB 230V)
16 (EU)
13 (DK)
16 (EU)
25 (GB 110 V)
Power consumption
IEC
Connected load for appliance
socket
W
W
Total connected load W
2x1200 (EU,GB)
2x1000(CH)
2400 (EU,GB)
2000 (CH)
Air flow rate l/min 2x3600
Vacuum mbar/kPa
Sound pressure level at a
distance of 1 m, EN 60704-1
dB(A) 70
2x1200 (EU)
2x1000(DK)
1280 (EU)
990 (DK)
3680 (EU)
2990 (DK)
2x3600 (EU)
2x2900 (DK)
230/23 (EU,GB)
210/21 (DK)
Sound level dB(A) 67
Power cord: Length m 10
H07RN-F3G1,0 mm² (CH,DK)
Power cord: Type
H07RN-F3G1,5 mm² (EU, GB 230 V)
H07BQ-F3G2,5 mm² (GB 110 V)
Protection class I
Type of protection (splash water
protected)
IP X4
Radio interference level EN 55014-1
Tank volume l 70 50 30
Width mm 610 640 620
Depth mm 645 725 605
Height mm 985 1020 1200
Weight kg 36 42 30
230 (DK,EU)
110 (GB)
10 (DK)
16 (EU)
25 (GB 110 V)
2x1200 (EU)
2x1000(DK,GB)
1200 (EU)
300 (DK)
750 (GB)
3600 (EU)
2300 (DK)
2750 (GB)
2x3600 (EU)
2x2900 (DK,GB)
9.6 Optional accessories
Description Order No.
Filter bag (5 pcs.) ATTIX 961-01 302002892
Disposal bag (5 pcs.) ATTIX 965-21 SD XC 302001480
Disposal bag (24 pcs.) ATTIX 963-21 ED XC 302003723
Filter element 302000751
Cloth insert filter ATTIX 961-01, ATTIX 965-21 SD XC 302002894
Alto-Foam-Stop (6 x 1 l) ATTIX 961-01, ATTIX 965-21 SD XC 8469
1)
26
Optional accessories / Option depending on model


http://www.nilsk-alto.com
HEADQUARTER
DENMARK
Nilsk-Advance Group
Sognevej 25
2605 Brøndby
Denmark
Tel.: (+45) 43 23 81 00
Fax: (+45) 43 43 77 00
E-mail: mail@nilsk-advance.dk
SALES COMPANIES
AUSTRALIA
Nilsk-ALTO
48 Egerton St.
PO box 6046
Silverwater NSW 2128
Australia
Tel.: (+61) 2 8748 5966
Fax: (+61) 2 8748 5960
AUSTRIA
Nilsk-Advance GmbH
Nilsk-ALTO
Metzgerstrasse 68
A-5101 Bergheim bei Salzburg
Tel.: (+43) 662 456 400-0
Fax: (+43) 662 456 400-34
E-mail: info@nilsk-alto.at
Web: http://www.nilsk-alto.at
BELGIUM
Nilsk-ALTO
Division of Nilsk-Advance n.v-s.a.
Doornveld/Sphere Business Park
Industrie Asse 3, nr 11 – bus 41
1731 Zellik-Asse
Belgium
Tel.: (+32) 02 467 60 50
Fax: (+32) 02 466 61 50
E-mail: info.be@nilsk-alto.com
CANADA
Clarke Canada
Part of the Nilsk-Advance Group
4080 B Sladeview Crescent, Unit 1
Mississauga, Ontario L5L 5Y5
Canada
Tel.: (+1) 905 569 0266
Fax: (+1) 905 569 8586
CZECH REPUBLIC
ALTO Ceskà republika s.r.o.
Zateckých 9
14000 Praha 4
Czech Republic
Tel.: (+420) 24 14 08 419
Fax: (+420) 24 14 08 439
E-mail: info@alto-cz.com
DENMARK
Nilsk-ALTO
Division of Nilsk-Advance A/S
Industrivej 1
9560 Hadsund
Denmark
Tel.: (+45) 72 18 21 00
Fax: (+45) 72 18 21 11
E-mail: salg@nilsk-alto.dk
E-mail: service@nilsk-alto.dk
Web: http://www.nilsk-alto.dk
Nilsk-ALTO Food Division
Division of Nilsk-Advance A/S
Blytækkervej 2,
9000 Aalborg
Denmark
Tel.: (+45) 72 18 21 00
Fax: (+45) 72 18 20 99
E-mail: scanio.technology@nilsk-alto.dk
Web: http://www.nilsk-alto.com
FINLAND
Nilsk-Advance Oy Ab
Piispantilankuja 4
FI-02240 Espoo
Finland
Tel.: (+358) 207 890 600
Fax: (+358) 207 890 601
E-mail: jukka.lehtonen@nilsk-alto.com
Web: http://www.nilsk-advance.
FRANCE
Nilsk-ALTO
ALTO France SAS
Aéroparc 1 , 19 rue Icare
67960 Entzheim
France
Tel.: (+33) 3 88 28 84 00
Fax: (+33) 3 88 30 05 00
E-mail: info@nilsk-alto.fr
Web: http://www.nilsk-alto.com
GERMANY
Nilsk-ALTO
Division of Nilsk-Advance AG
Guido-Oberdorfer-Str. 10
89287 Bellenberg
Germany
Tel.: (+49) (0) 180 5 37 37 37
Fax: (+49) (0) 180 5 37 37 38
E-mail: info@nilsk-alto.de
Web: http://www.nilsk-alto.de
GREECE
Nilsk-Advance SA
8, Thoukididou str.
164 52 Argiroupolis
Greece
Tel.: (+30) 210 96 33443
Fax: (+30) 210 96 52187
E-mail: nilsk-advance@clean.gr
HOLLAND
Nilsk-ALTO
Division of Nilsk-Advance BV
Camerastraat 9
NL-1322 BB Almere
Tel.: (+31) 36 5460 760
Fax: (+31) 36 5460 761
E-mail: info@nilsk-alto.nl
Web: http://www.nilsk-alto.nl
HONG KONG
Nilsk-Advance Ltd.
2001 HK Worsted Mills Ind‘l Bldg.,
31-39 Wo Tong Tsui St.
Kwai Chung, Hong Kong
Tel.: (+852) 2427 5951
Fax: (+852) 2487 5828
HUNGARY
Nilsk-Advance Kereskedelmi Kft.
II. Rákóczi Ferenc út 10
2310 Szigetszentmiklos-Lakihegy
Hungary
Tel.: (+36) 24 475 550
Fax: (+36) 24 475 551
E-mail: info@nilsk-advance.hu
Sales: ertekesites@nilsk-advance.hu
Service: service@nilsk-advance.hu
Web: http://www.nilsk-advance.hu
ITALY
Nilsk-ALTO
Divisione di Nilsk-Advance A/S
Località Novella Terza
26862 Guardamiglio (LO)
Italy
E-mail: d.puglia@nilsk-advance.it
JAPAN
Nilsk-Advance, Inc.
1-6-6 Kita-shinyokohama, Kouhoku-ku,
Yokohama, 223-0059
Japan
Tel.: (+81) 45 548 2571
Fax: (+81) 45 548 2541
MALAYSIA
Nilsk-Advance Sdn Bhd
Sd 14, Jalan KIP 11
Taman Perindustrian KIP
Sri Damansara
52200 Kuala Lumpur
Malaysia
Tel.: (+60) 3 603 6275 3120
Fax: (+60) 3 603 6274 6318
NORWAY
Nilsk-Advance AS
Bjørnerudveien 24
1266 Oslo
Norway
Tel.: (+47) 22 75 17 70
Fax: (+47) 22 75 17 71
E-mail: info@nilsk-alto.no
Web: http://www.nilsk-alto.no
PEOPLE’S REPUBLIC OF CHINA
Nilsk-Advance (Shenzhen) Ltd
Block 3, Unit 130, 1001 Honghua Road
Int. Commercial & Trade Center
Fuitian Free Trade Zone
518038 Shenzhen P.R. China
Tel.: (+86) 755 8359 7937
Fax: (+86) 755 8359 1063
POLAND
Nilsk-Advance Sp. Z.O.O.
05-800 Pruszków
ul. 3-go MAJA 8
Poland
Tel.: (+48) 22 738 37 50
Fax: (+48) 22 738 37 51
info@nilsk-alto.pl
Web: http://www.nilsk-alto.pl
PORTUGAL
Nilsk-ALTO
Division of Nilsk-Advance Lda
Sintra Business Park
Zona Industrial da Abrunheira
Edicio 1, 1° A
P-2710-089 Sintra
Tel.: (+35) 808 200 537
Fax: (+35) 121 911 2679
E-mail: mkt@nilsk-advance.es
Web: http://www.nilsk-alto.com
RUSSIA
Nilsk-Advance LLC
127015 Moskow
Vyatskaya str. 27, bld. 7
Russia
Tel.: (+7) 495 783 96 02
Fax: (+7) 495 783 96 03
E-mail: info@nilsk-advance.ru
SINGAPORE
Nilsk-Advance Pte. Ltd.
Nilsk-ALTO Division
40 Loyang Drive
Singapore 508961
Tel.: (+65) 6 759 9100
Fax: (+65) 6 759 9133
E-mail: sales@nilsk-advance.com.sg
SPAIN
Nilsk-ALTO
Division of Nilsk-Advance S.A.
Torre D'Ara
Paseo del Rengle, 5 Pl. 10
E-08302 Mataró
Tel.: (+34) 902 200 201
Fax: (+34) 93 757 8020
E-mail: mkt@nilsk-advance.es
Web: http://www.nilsk-alto.com
SWEDEN
ALTO Sverige AB
Member of Nilsk-Advance Group
Aminogatan 18, Box 4029
S-431 04 Mölndal
Sweden
Tel.: (+46) 31 706 73 00
Fax: (+46) 31 706 73 40
E-mail: info@nilsk-alto.se
Web: http://www.nilsk-alto.se
TAIWAN
Nilsk-Advance Taiwan Branch
No. 5, Wan Fang Road
Taipei
Taiwan, R.O.C.
Tel.: (+886) 227 002 268
Fax: (+886) 227 840 843
THAILAND
Nilsk-Advance Co. Ltd.
89 Soi Chokechai-Ruammitr
Viphavadee-Rangsit Road
Ladyao, Jatuchak, Bangkok 10900
Thailand
Tel.: (+66) 2 275 5630
Fax: (+66) 2 691 4079
TURKEY
Nilsk-Advance Profesyonel Temizlik
Ekipmanları Tic. AŞ.
Necla Cad. Nl.: 48
Yenisahra /Kadiköy
Istanbul
Turkey
Tel.: (+90) 216 470 08 – 60
Fax: (+90) 216 470 08 – 63
Web: http://www.nilsk-advance.com
UNITED KINGDOM
Nilsk-ALTO
Division of Nilsk-Advance Ltd.
Bowerbank Way
Gilwilly Industrial Estate
Penrith Cumbria CA11 9BQ
Great Britain
Tel.: (+44) (0) 1768 868995
Fax: (+44) (0) 1768 864713
E-mail: sales@nilsk-alto.co.uk
Web: http://www.nilsk-alto.co.uk
VIETNAM
Nilsk-Advance Representative Ofce
No. 46 Doc Ngu Str.
Ba Dinh Dist.
Hanoi
SR. Vietnam
Tel.: (+84) 4 761 5642
Fax: (+84) 4 761 5643
E-mail: nilsk@vnn.vn
USA
Nilsk-Advance Inc.
14600 21.st Avenue North
Plymouth , MN 55447-3408
USA
Tel.: (+1) 763 745 3500
Fax: (+1) 763 745 3718
E-mail: info@advance-us.com
Web: http://www.advance-us.com
 Loading...