

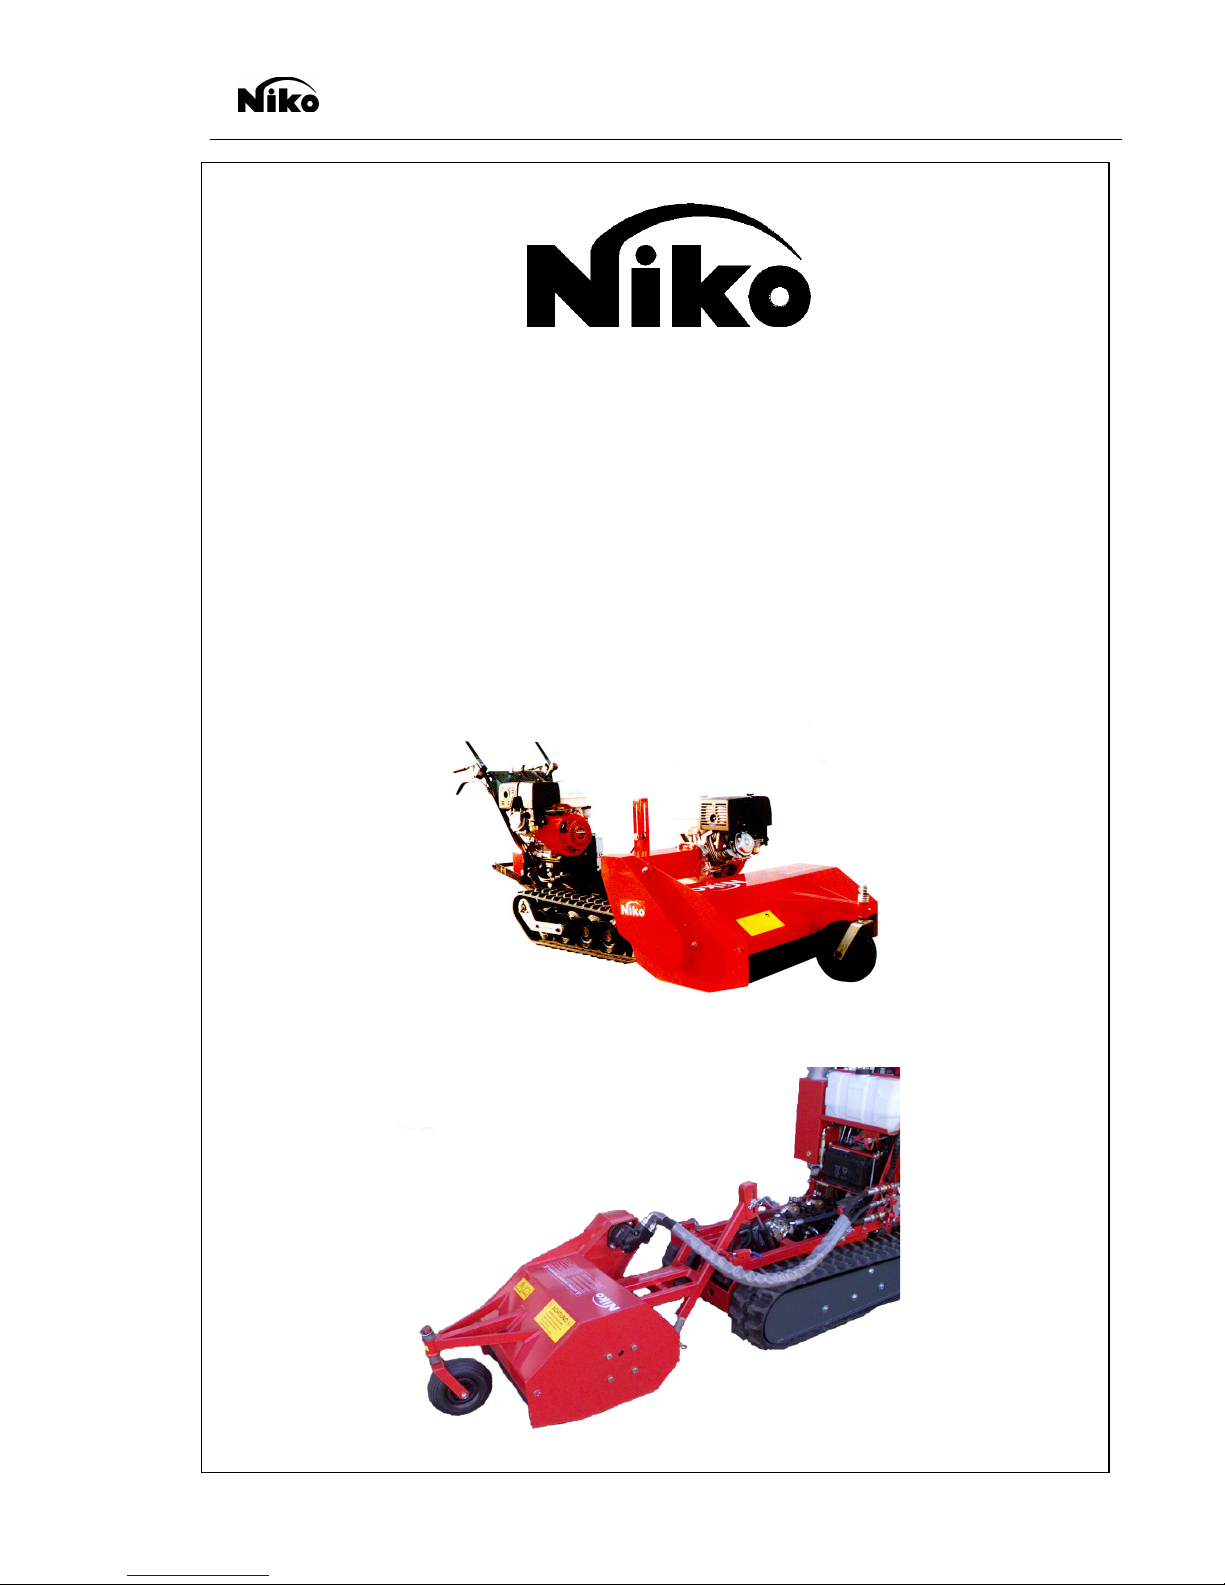
Niko KM 70, KM 85, KM 100 Operation Manual
NIKO GmbH Maschinen- & Fahrzeugbau . Im Mühlgut 1a . D-77815 Bühl-Weitenung
Operation Manual
Combination Mulcher
Model KM 70 / 85 / 100
Compatible with HP 510; HY 20-22/11; HY 30-38/16;
HY38/16A; HY 38-40/2008

NIKO GmbH Maschinen- & Fahrzeugbau . Im Mühlgut 1a . D-77815 Bühl-Weitenung
Introduction
Dear Customer,
Thank you for the trust in us you have demonstrated by purchasing a NIKO product. We would like to assure
that we have done everything possible to provide you with an efficient and reliable product.
Please read this operation manual carefully before operating the machine and note the instructions and
warnings. The operation manual will fully explain the operation of the machine and give you valuable
information regarding maintenance and care.
This is important, as warranty replacement claims cannot be recognized for damages caused by operator
error or improper use.
When ordering replacement parts, retrofitted accessories or when making complaints, please also provide
the model and type of your device, as well as its equipment. You can find detailed information regarding this
on the device label which is attached to this operation manual.
Model: Combination Mulcher KM 70 / 85 / 100
Installable on Small Bulldozers: HP 510; HY 20-22/11; HY 30-38/16 HY38/16A and HY 38-40/2008
Technical Improvements:
We endeavor to constantly improve NIKO products. We therefore reserve the right to undertake all
improvements and changes which we deem necessary for our equipment without prior notification without,
however, obligating ourselves to conduct these improvements or changes to machines already sold.
We are happy to answer any question you may have and wish a pleasant experience with your new NIKO
product.
With best wishes,
N I K O
Maschinen- & Fahrzeugbau
Dieter Serr, Chief Executive

1
Table of Contents
• Product Description
1.) Designated Use
2.) Setup
3.) Function Description
4.) Technical Information
5.) EU Declaration of Conformity
• General Safety Instructions
1.) Operator’s Obligation to Exercise Diligence
2.) Explanation of the Symbols Used
3.) Basic Safety Measures
4.) Requirements of the Operating Personnel
5.) Special Types of Danger
• Transportation
• Troubleshooting
• Repairs / Maintenance
• Replacement Part Lists
• Warranty Conditions
• Device Label
ADDITIONAL INFORMATION
2
Product Description
The NIKO Combination Mulcher KM is used in winemaking and forestry to mulch grass and wood cuttings
and in municipal areas for hedge cutting and trimming undergrowth. The device is very robust and can be
used for various purposes.
1. Designated Use
The combination mulcher is exclusively designated for:
- The mulching of grass and wood cuttings
The machine is not designated for other types of uses – these will be deemed to be improper uses! We
expressly indicate that large pieces of wood, stones and other similar objects be removed from the
work area.
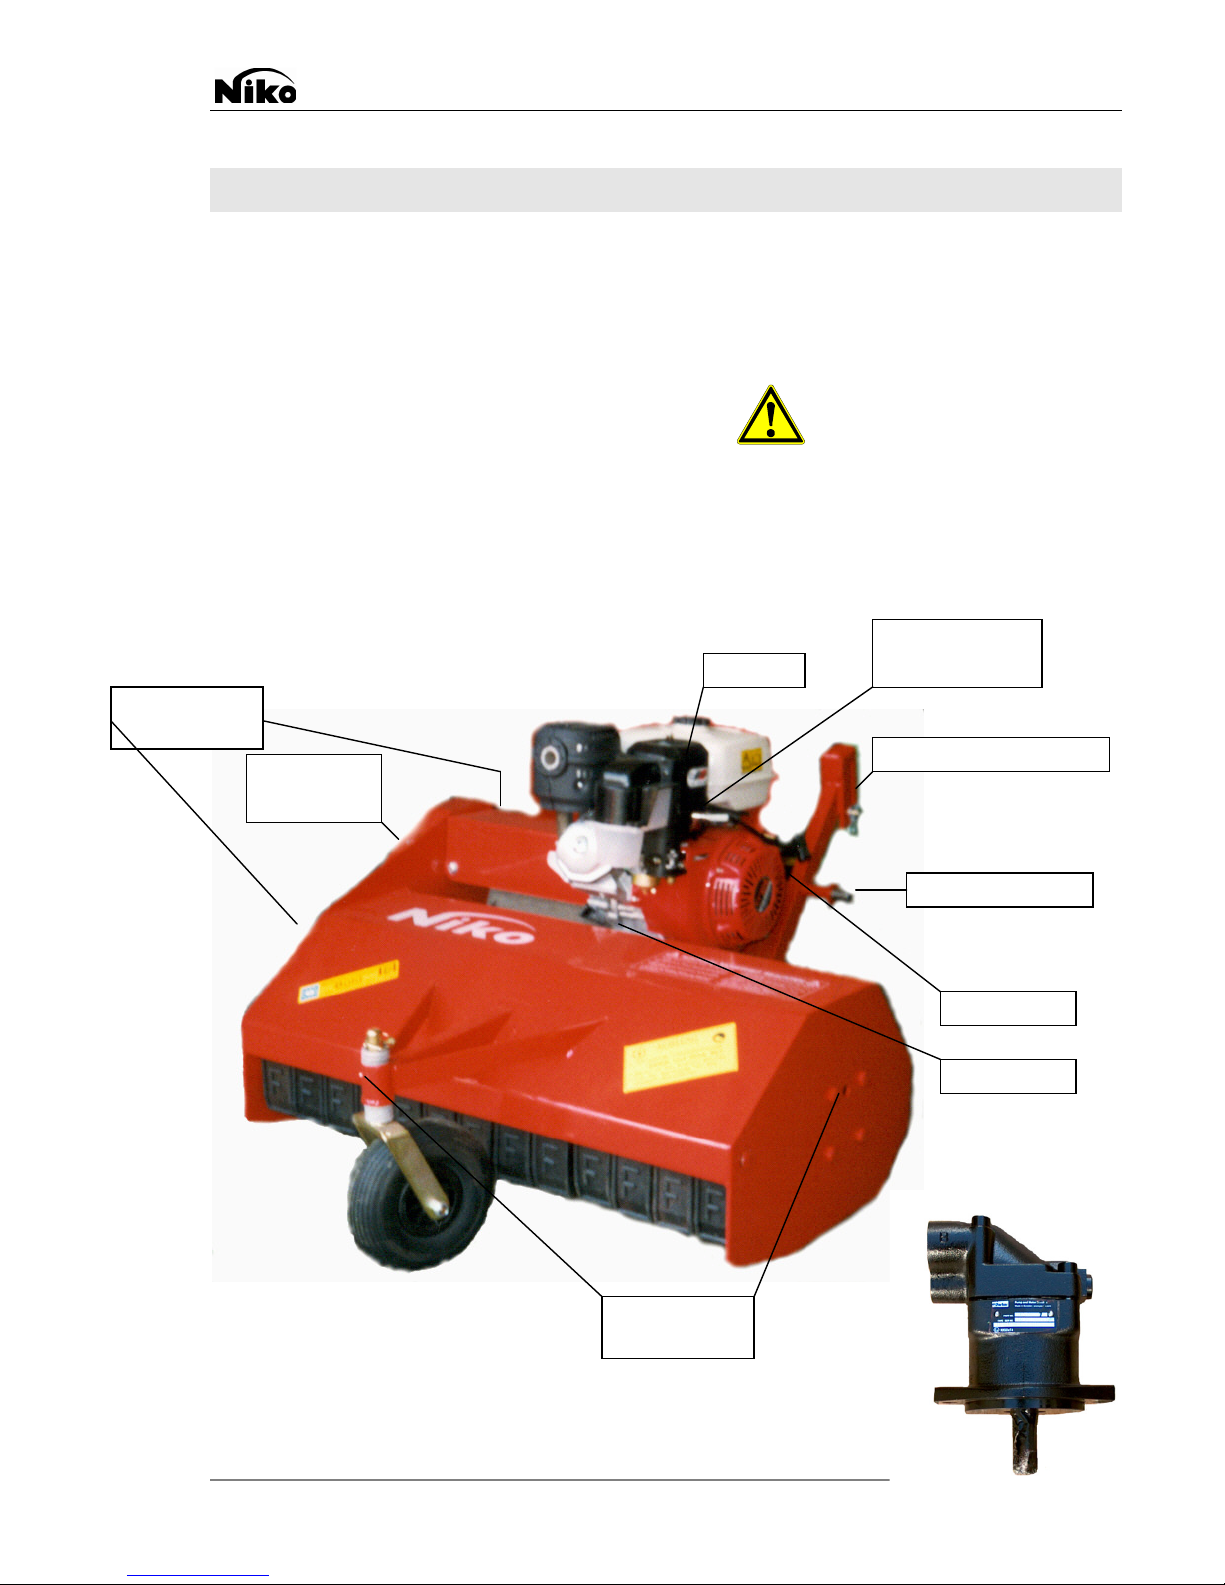
2. Setup
3-Point Intake
Lifting Cylinder Intake
Fan Belt
Tensioner
Lubrication
Nipple
Lubrication
Nipple
Air Filter
Starter Flap
Gas Valve
Stop Button
Oil Dipstick
Axial Piston Oil Motor Parker F11
Product Nr.: 22488

ADDITIONAL INFORMATION
3
3. Function Description
Attachment to the basic device takes place via the 3-point intake with two quick locks and a bolt on the
hydraulic cylinder for lifting the device. The throttle is attached to the space provided on the handlebars of the
bulldozer. In doing so, it must be ensure that the Bowden cable is not bent or jammed.
The cutting quality of the combination mulcher mounted on the bulldozer is dependent upon the travelling
speed, the height and density of the object being cut as well as the condition of the cutting tools. Dependent
upon the conditions of these parameters, the working speed amounts to approximately 4 -6 km/h and
approximately 2 -4 km/h for the cutting of wood.
In order to work with the mulching device, the gasoline motor/oil motor will be started in accordance with the
directions in the motor manual provided.
Gasoline Motor: Fill with normal gasoline
Check the oil level
Open the gas valve
Set throttle to “fully open"
Closer the start flap [only if the motor is cold]
Pull out starter until resistance can be felt
Start the motor with a short, strong jerk.
Slowly close the starter flap.
Oil Motor: The oil motor is turned on using the 3-way valve.
WARNING: Only start the 3-way valve when the device is running!!!
Check the hydraulic hoses to be sure they are tightly sealed
Do not leave the oil motor standing in direct sunlight when decoupling!!!
WARNING:
No objects can be located under the mulcher while it is being started
(Stones, wood, et cetera).
Stand to the side of the device when starting it. Keep a sufficient distance away
and be particularly sure that your feet are not underneath the mower housing.
The cutting height can be adjusted via the undercarriage disc on the guide wheel of the mulcher (never do so
while the motor is running!!!).
To mulch grass, the teeth behind the mower housing must be removed (maximum grass throughput).
The mulching device is lifted using the hydraulic device hoisting when entering and exiting the vineyard or to
turn. While mowing, the device is operated in floating position (movable via the long hole in the device
hoisting). When driving up steep inclines, the mulcher cannot be completely lifted as this could allow motor oil
to enter the combustion chamber and cause the motor to stop via the oil warning switch.
When driving on paths, while turning, et cetera, the motor speed is to be reduced to idling using the throttle in
order to bring the cutter shaft driven via the centrifugal clutch.
Inspect the area for objects and obstacles hidden in the grass
and remove these prior to mowing.
While mowing, always operate at full throttle in order to prevent the sliding of the centrifugal clutch and
ensure sufficient traction.
- To turn off the gasoline motor, first reduce the speed to idling and then turn off the motor using the short
circuit switch.
The gasoline valve should remain closed while the mulcher is being transported.
- Close the 3-way valve to turn off the oil motor.
 Loading...