

Night Guard Home Surveillance System C3-RS-665-2W User Manual
THIS PRODUCT IS DESIGNED FOR PROFESIONAL INSTALLATION ONLY
C3-RS-665-2W
PROFESSIONAL TWO WAY REMOTE CAR
STARTER
&
3 CHANNEL SECURITY SYSTEM
OPERATIONS MANUAL
Compatible
Please register your product at:
www.autopageusa.com
1
SYSTEM OPERATIONS:
WARNINGS:
As with any product that performs automatic functions, there are certain safety
precautions that you must practice and be aware of.
1. Keep the transmitter out of children’s reach.
2. Do not leave anyone in the vehicle while running on remote control.
3. Alert servicing personnel that the vehicle can be started automatically.
4. Do not start the vehicle by remote while it’s in an enclosed area or garage.
5. Always apply the parking brake and lock the vehicle as you exit the vehicle.
6. The vehicle windows must be rolled up.
7. Should the unit malfunction, disconnect the fuse until the problem is
corrected.
8. The use and operations of this system is the sole responsibility of the
operator.
9. Some areas may have local ordinances that prohibit leaving a vehicle
running on public st reets.
10. It is not safe to remote start the vehicle if the vehicle is parked on a steep
incline.
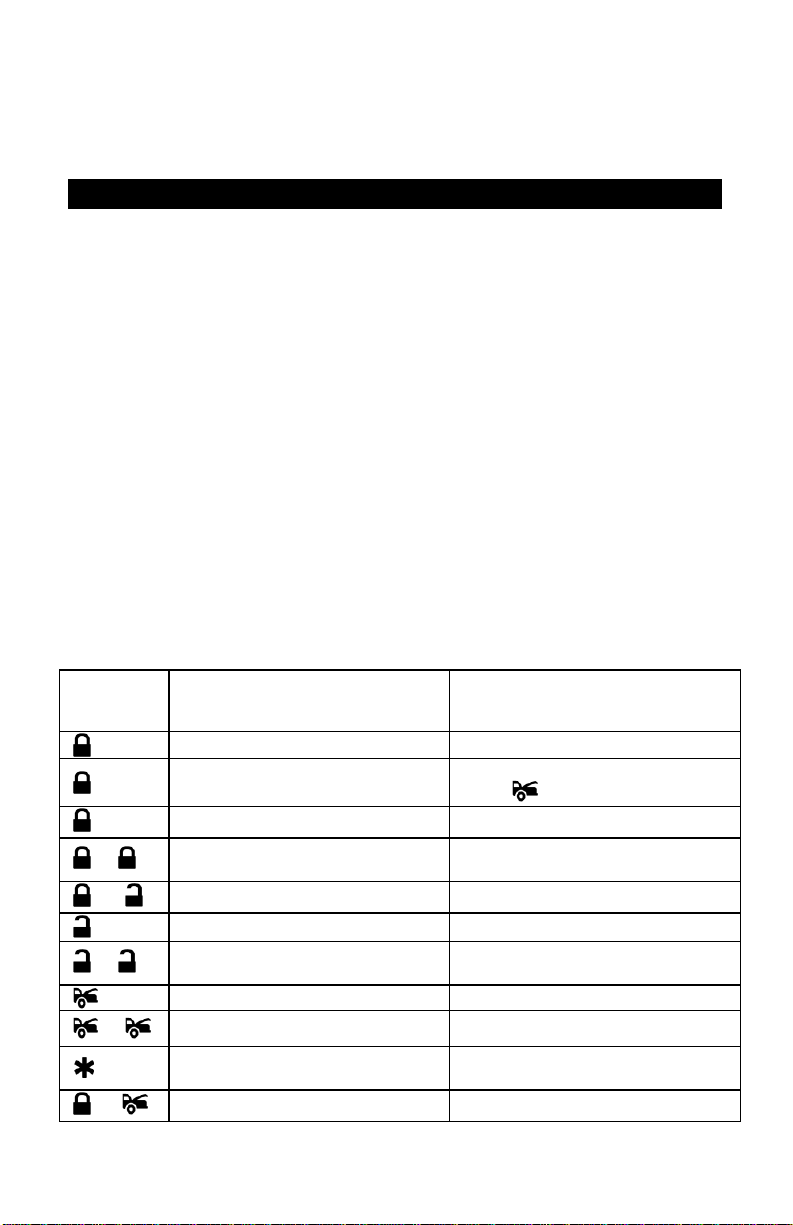
Transmitter
Button
-
+
-
-
+
Lock Doors & Arm System
Panic function
Car Locator Under armed mode
Arm and Delete The 2 Stage Shock
Sensor
Silent Arming / Disarming Ignition in "off" position.
Unlock Doors & Disarm System
Two Steps Door Unlock & Disarm
System
Trunk Release (Channel 2) Press and Hold for 2 seconds
Passive Arming By-pass While the system Disarmed.
Activate or Turn Off The Remote
Start
Channel # 3 Auxiliary Output Press both buttons together
System Function Remark
Press and Hold for 3 seconds.
Press to stop panic.
Press twice within 3 seconds
Press twice within 3 seconds.
Safety start requires two pushes
2
II
Switching code For 2nd Car
Operation.
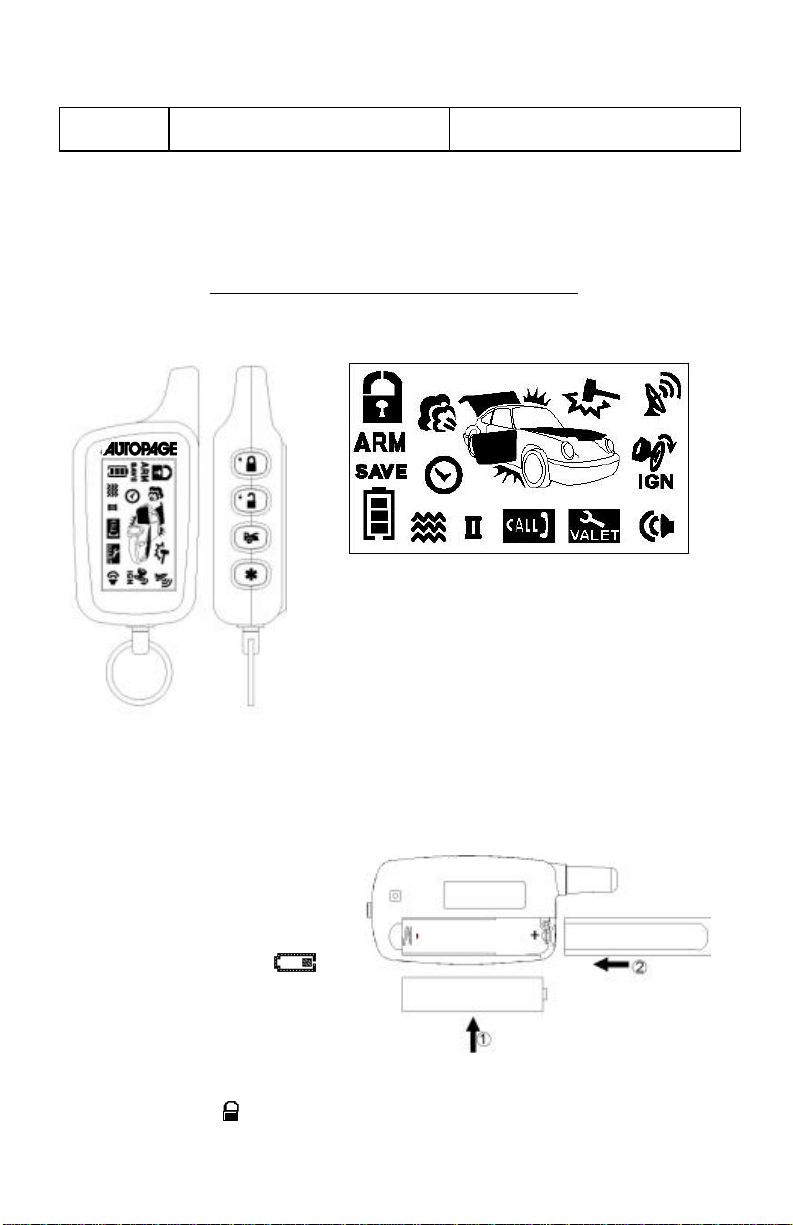
XT-43 LCD TRANSMITTER OPERATION:
LCD REMOTE CONTROL TRANSMITTER:
For regular remote transmitter Only
Note: If the system is interfered by stronger radio
BATTERY REPLACEMENT:
A 1.5V type AAA Alkaline
battery powers the Remot e
Transmitter. When the power of
the battery weakens a
icon shall be displayed on the
LCD screen. When the old
battery is replaced with a new
one, there will be beep sounds
indicate the power is up.
Note: Press the button two
frequency around, sources of high voltage
electric power or such obstacles like tall
buildings and so on, the transmission range
may get shorter as the system uses low output
powered frequency.
AAA
3
times when the battery
compartment is empty, and
then insert the new battery.
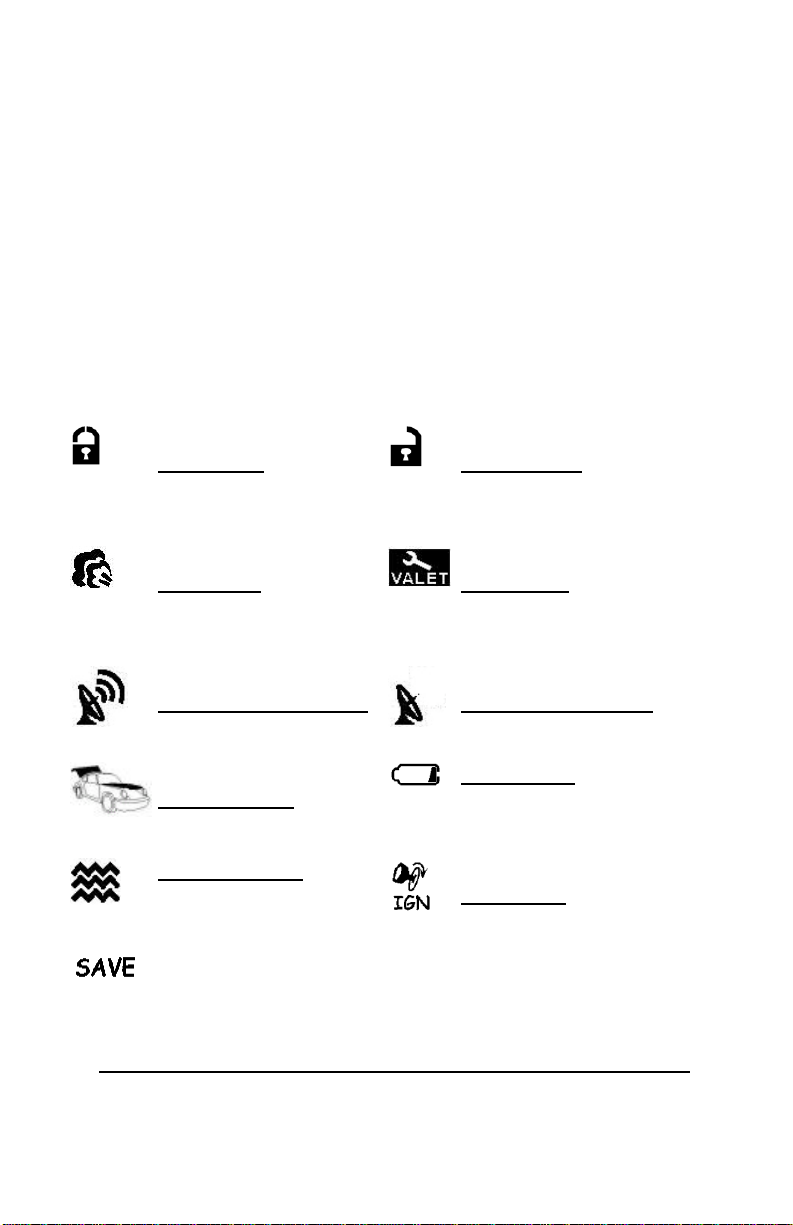
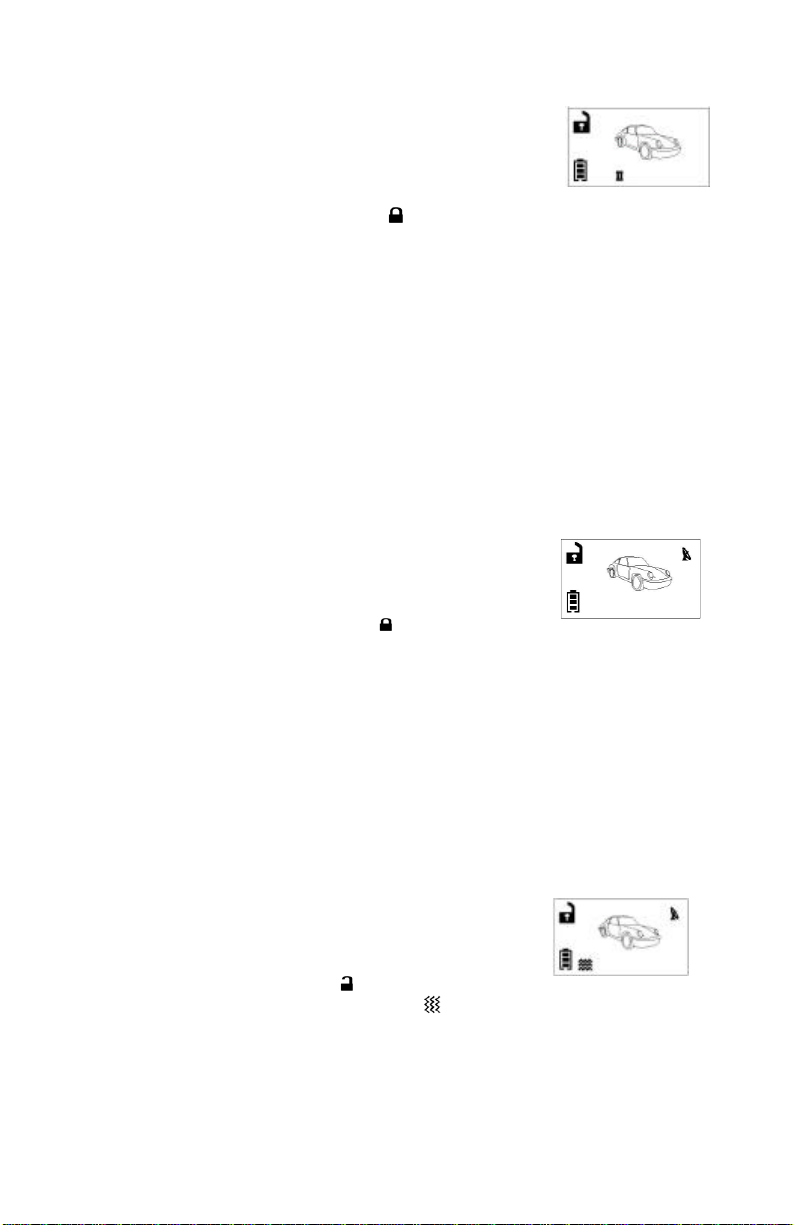
THE REMOTE LCD ICONS WITH FUNCTION:
Door Lock
Your vehicle doors are
locked.
Start Mode
Your vehicle is running
Remote Transmission
You are transmitting the
signal to control unit
Trunk Release Trunk
open. Trunk symbol only.
Vibration Mode
Remote Control vibrates
when the system is
triggered
Power Save Mode
Save the battery power
PROGRAM MODE FOR LCD REMOTE CONTROL TRANSCEIVER:
Press and hold all four remote control buttons simultaneously unit
Door Unlock Your vehicle
doors are unlocked
Valet Mode
All the function shall be
temporarily on hold.
In – Range Indicator
You are within the remote
control range.
Low Batte ry
You have to replace the
battery of remote control.
Ignition On
4
one long beep is heard. LCD Programming has now been entered.
Transceiver Button System Function Remark
Program Mode -
Program Mode -
Program Mode -
- +
ACTIVE LOCK:
1. Press button on the transmitter.
2. The Siren will chirp once and parking lights will flash once indicating that
the system is now active. The vehicle doors will lock upon activating
only when interfaced with the keyless entry system.
SILENT LOCKING / UNLOCKING: Pressing the + buttons
together on the transmitter will lock or unlock your system, No chirp sound
will be heard. Lock / unlock confirmation will be seen through the
vehicle’s parking lights only.
ACTIVE UNLOCK:
1. Press button on the transmitter.
2. The horn will chirp twice and parking light will flash twice to indicating
that the keyless system is now unlocked. The vehicle doors will
unlock and dome lights will turn on for 30 seconds.
2-way LCD Remote Control Transceiver:
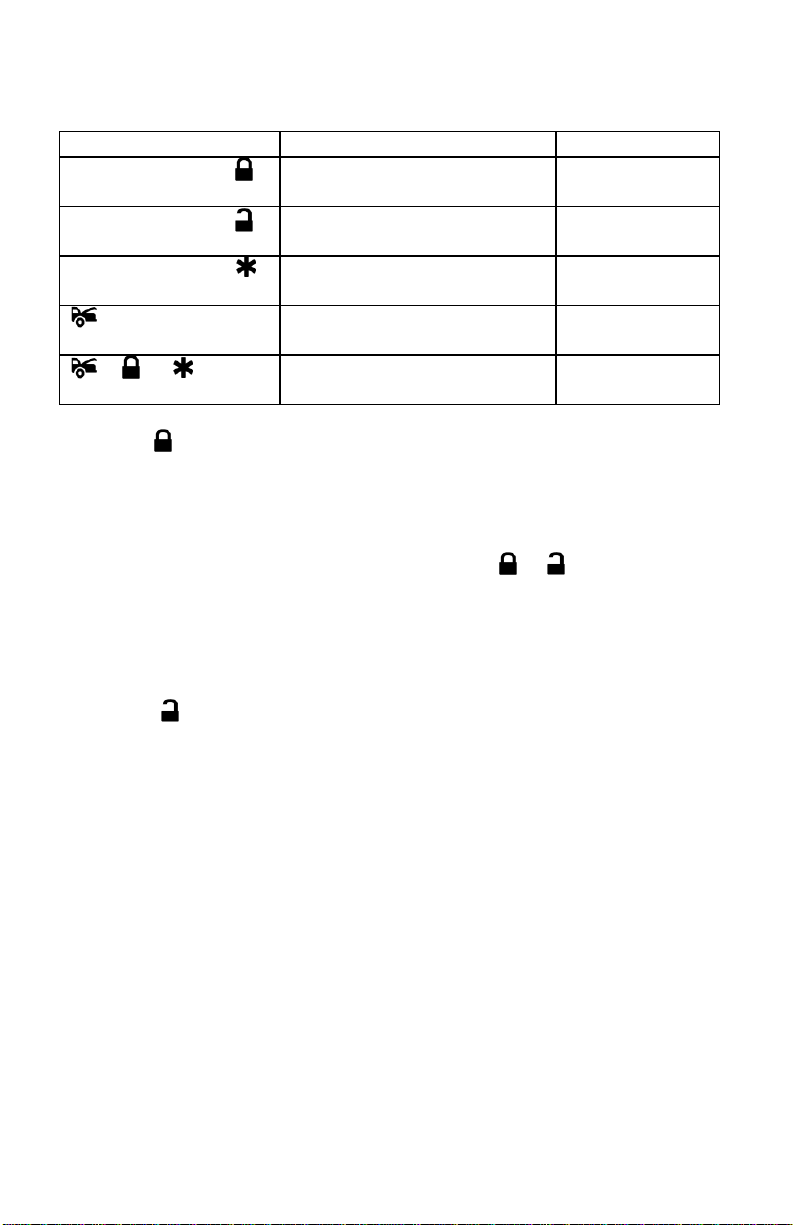
2nd Car Operation: While the “II” icon display on the LCD screen, you can
remote control and communicate with a second Autopage AM frequency
security system. It has two short “beep” sounds while pressing any button
of the LCD screen transceiver
Switching code for 2nd / 1st
Car Operation
Melody / Vibration Mode Press within 5
Power Save Mode Press within 5
LCD screen lamp turns on for
5 seconds.
Clear the Flash Icon and
Melody Sound
Press within 5
seconds
seconds
seconds
Press within 3
seconds
5
1. Press and hold all four remote control buttons
icon will
display on the LCD screen to indicate the second
3. To exit programming mode, take no action for five
seconds. The remote control will generate two long
beeps to indicate programming mode has been
1. Press and hold all four remote control buttons
simultaneously unit one long beep is heard.
3. To exit programming mode, take no action for five
seconds. The remote control will generate two long
beeps to indicate programming mode has been
1. Press and hold all four remote control buttons
one long beep is heard.
button to select the
icon will
on the LCD screen to show the LCD
3. To exit programming mode, take no action for five
te control will generate two long
beeps to indicate programming mode has been
simultaneously unit one long beep is heard. LCD
Programming has now been entered.
2. Within 5 seconds press and hold button until two
beeping sounds are heard and the “II”
transceiver pin code has been initiated.
exited.
Back to first Car Operation:
This will allow you to control and communicate with the first vehicles
security system.
Programming has now been entered.
2. Within 5 seconds press and hold button until one
beep sound is heard.
exited.
Vibration / Melody Mode:
Vibration mode is useful when you are in a noisy place and it is difficult to
hear the beep sound from the remote control. In this mode the unit will
vibrate if your security system is triggered.
simultaneously until
Programming has now been entered.
2. Within 5 seconds, press the
mode of vibration or melody, the
displayed
remote transceiver is in vibration mode.
seconds. The remo
6
 Loading...