

Page 1
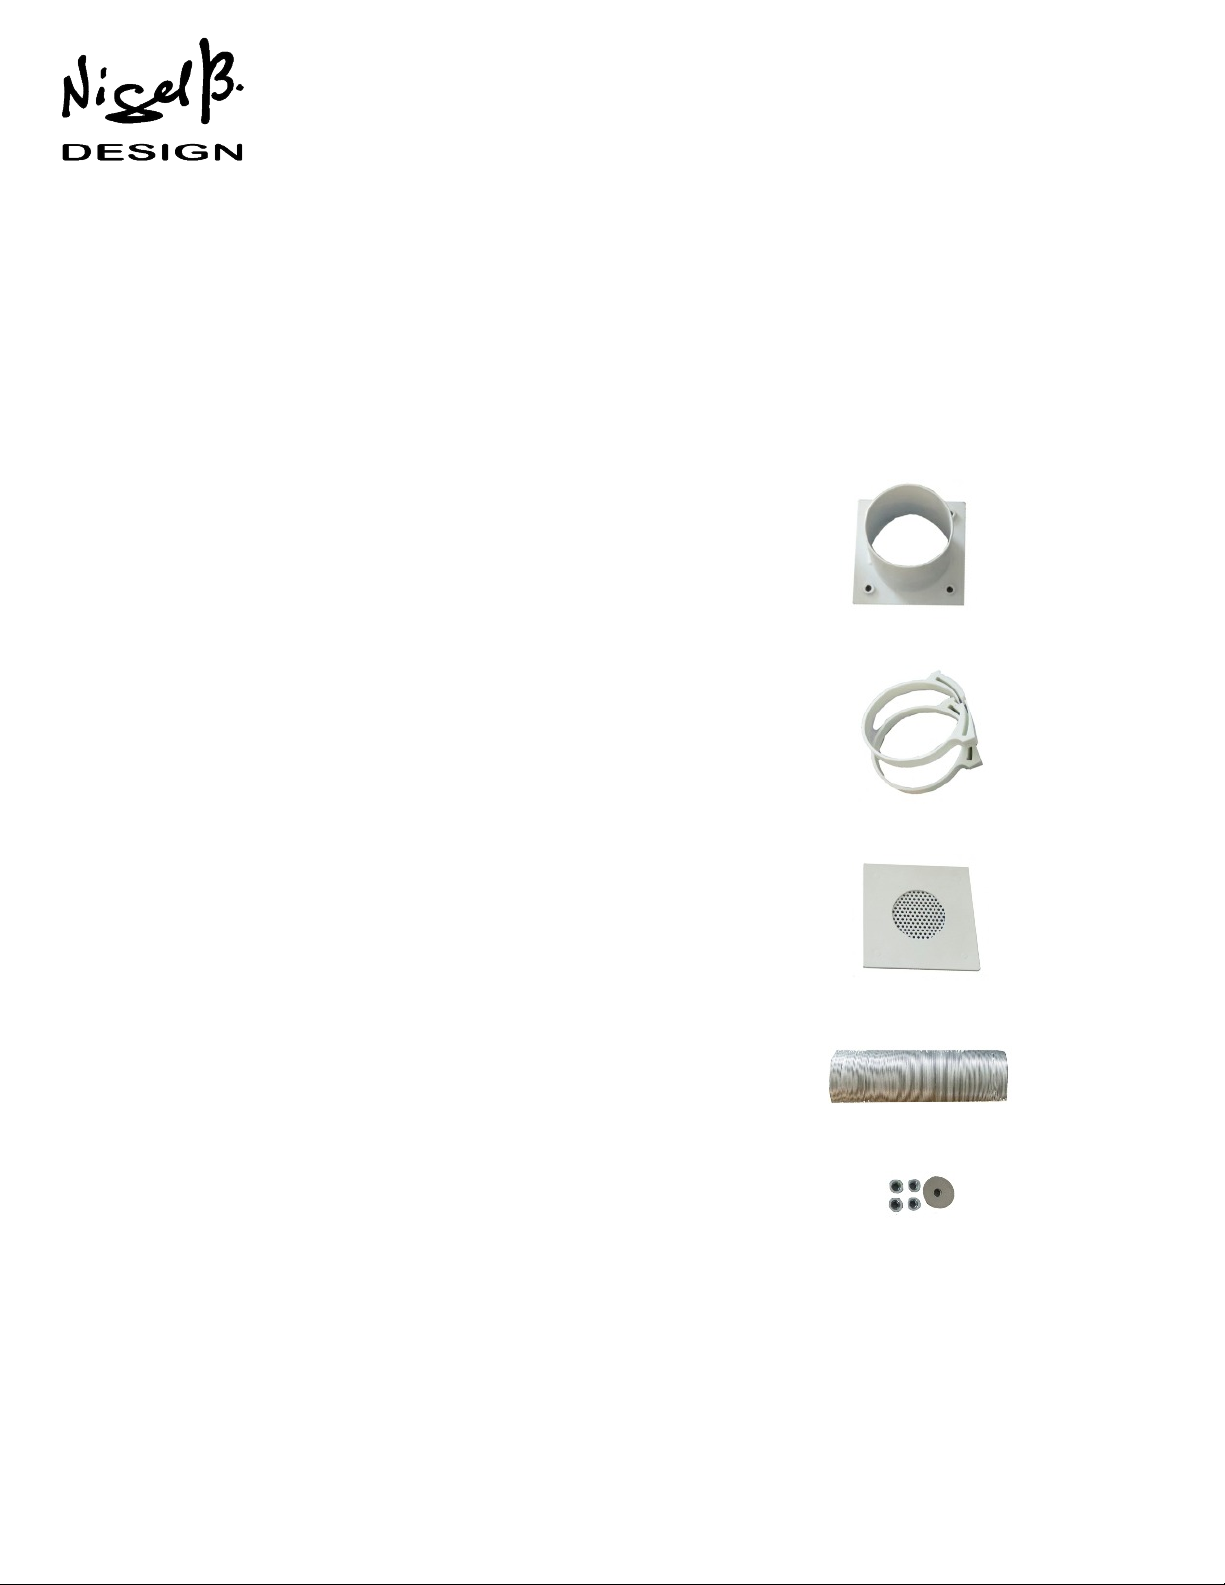
THE VENT KIT FOR THE 2 U PLENUM BOX
INSTRUCTIONS
Each 2 U (Extra Size) Plenum Box is fitted with a Blank Panel at each rear Corner. Each is Held in place by (4) 8.32 Pan Head
Screws, which are removed to allow the Vent Kit to be fitted. One Panel position is used to provide Air to exit the Plenum Box
and the other the panel position provide the Inlet of Cooler Air to enter the Plenum Box.
1. Remove the (2) Vent Panels and Discard as these will no longer be needed.
2. Retain the (4) 8.32 Pan Head Screws as these will be required for fitting the Vent Inlet & Exhaust Plenum Box Tubes
3. Attach the (2) Inlet /Exhaust Tubes using the retained 8.32 x 1/4” long Pan Head Screws
4. Attach Each Flexible Tube (which will extend to 18: Long) to the Inlet and Exhaust Plenum Box Tubes
5. Secure using the (2) of the Flexible Cable Clips
6. Locate the Position for the (2) Ceiling Panels
7. Cut (2) 2/1/2” circular Holes for the (2) Ceiling Panels
8. Secure these by placing (1) Washer on each of the (4) 10.32 Studs
9. Attach the (2) Ceiling Covers to the Ceiling Tile using the (4) 10.32 Nuts
(2) Inlet /Exhaust Plenum Box Tubes
(4) Flexible Hose Clips
(2) Ceiling Panel Assembly
(2) Flexible Tubes Extend to 18”
(8) 10.32 Hex Nuts
(8) 1” Round Washers
Nigel B Design, Inc. CA, USA Tel: (818) 487-9323 Fax: (818) 766-9805
Web Site: www.nigelbdesign.com E-Mail: [email protected]
 Loading...