

Nexus Design IW261C User Manual
INSTRUCTION MANUAL OF IW261C-N
COLOR WEATHER FORECAST STATION V1.1 - June. 18, 2015
INSTRUCTION MANUAL OF IW261C-N
COLOR WEATHER FORECAST STATION V1.1 - June. 18, 2015
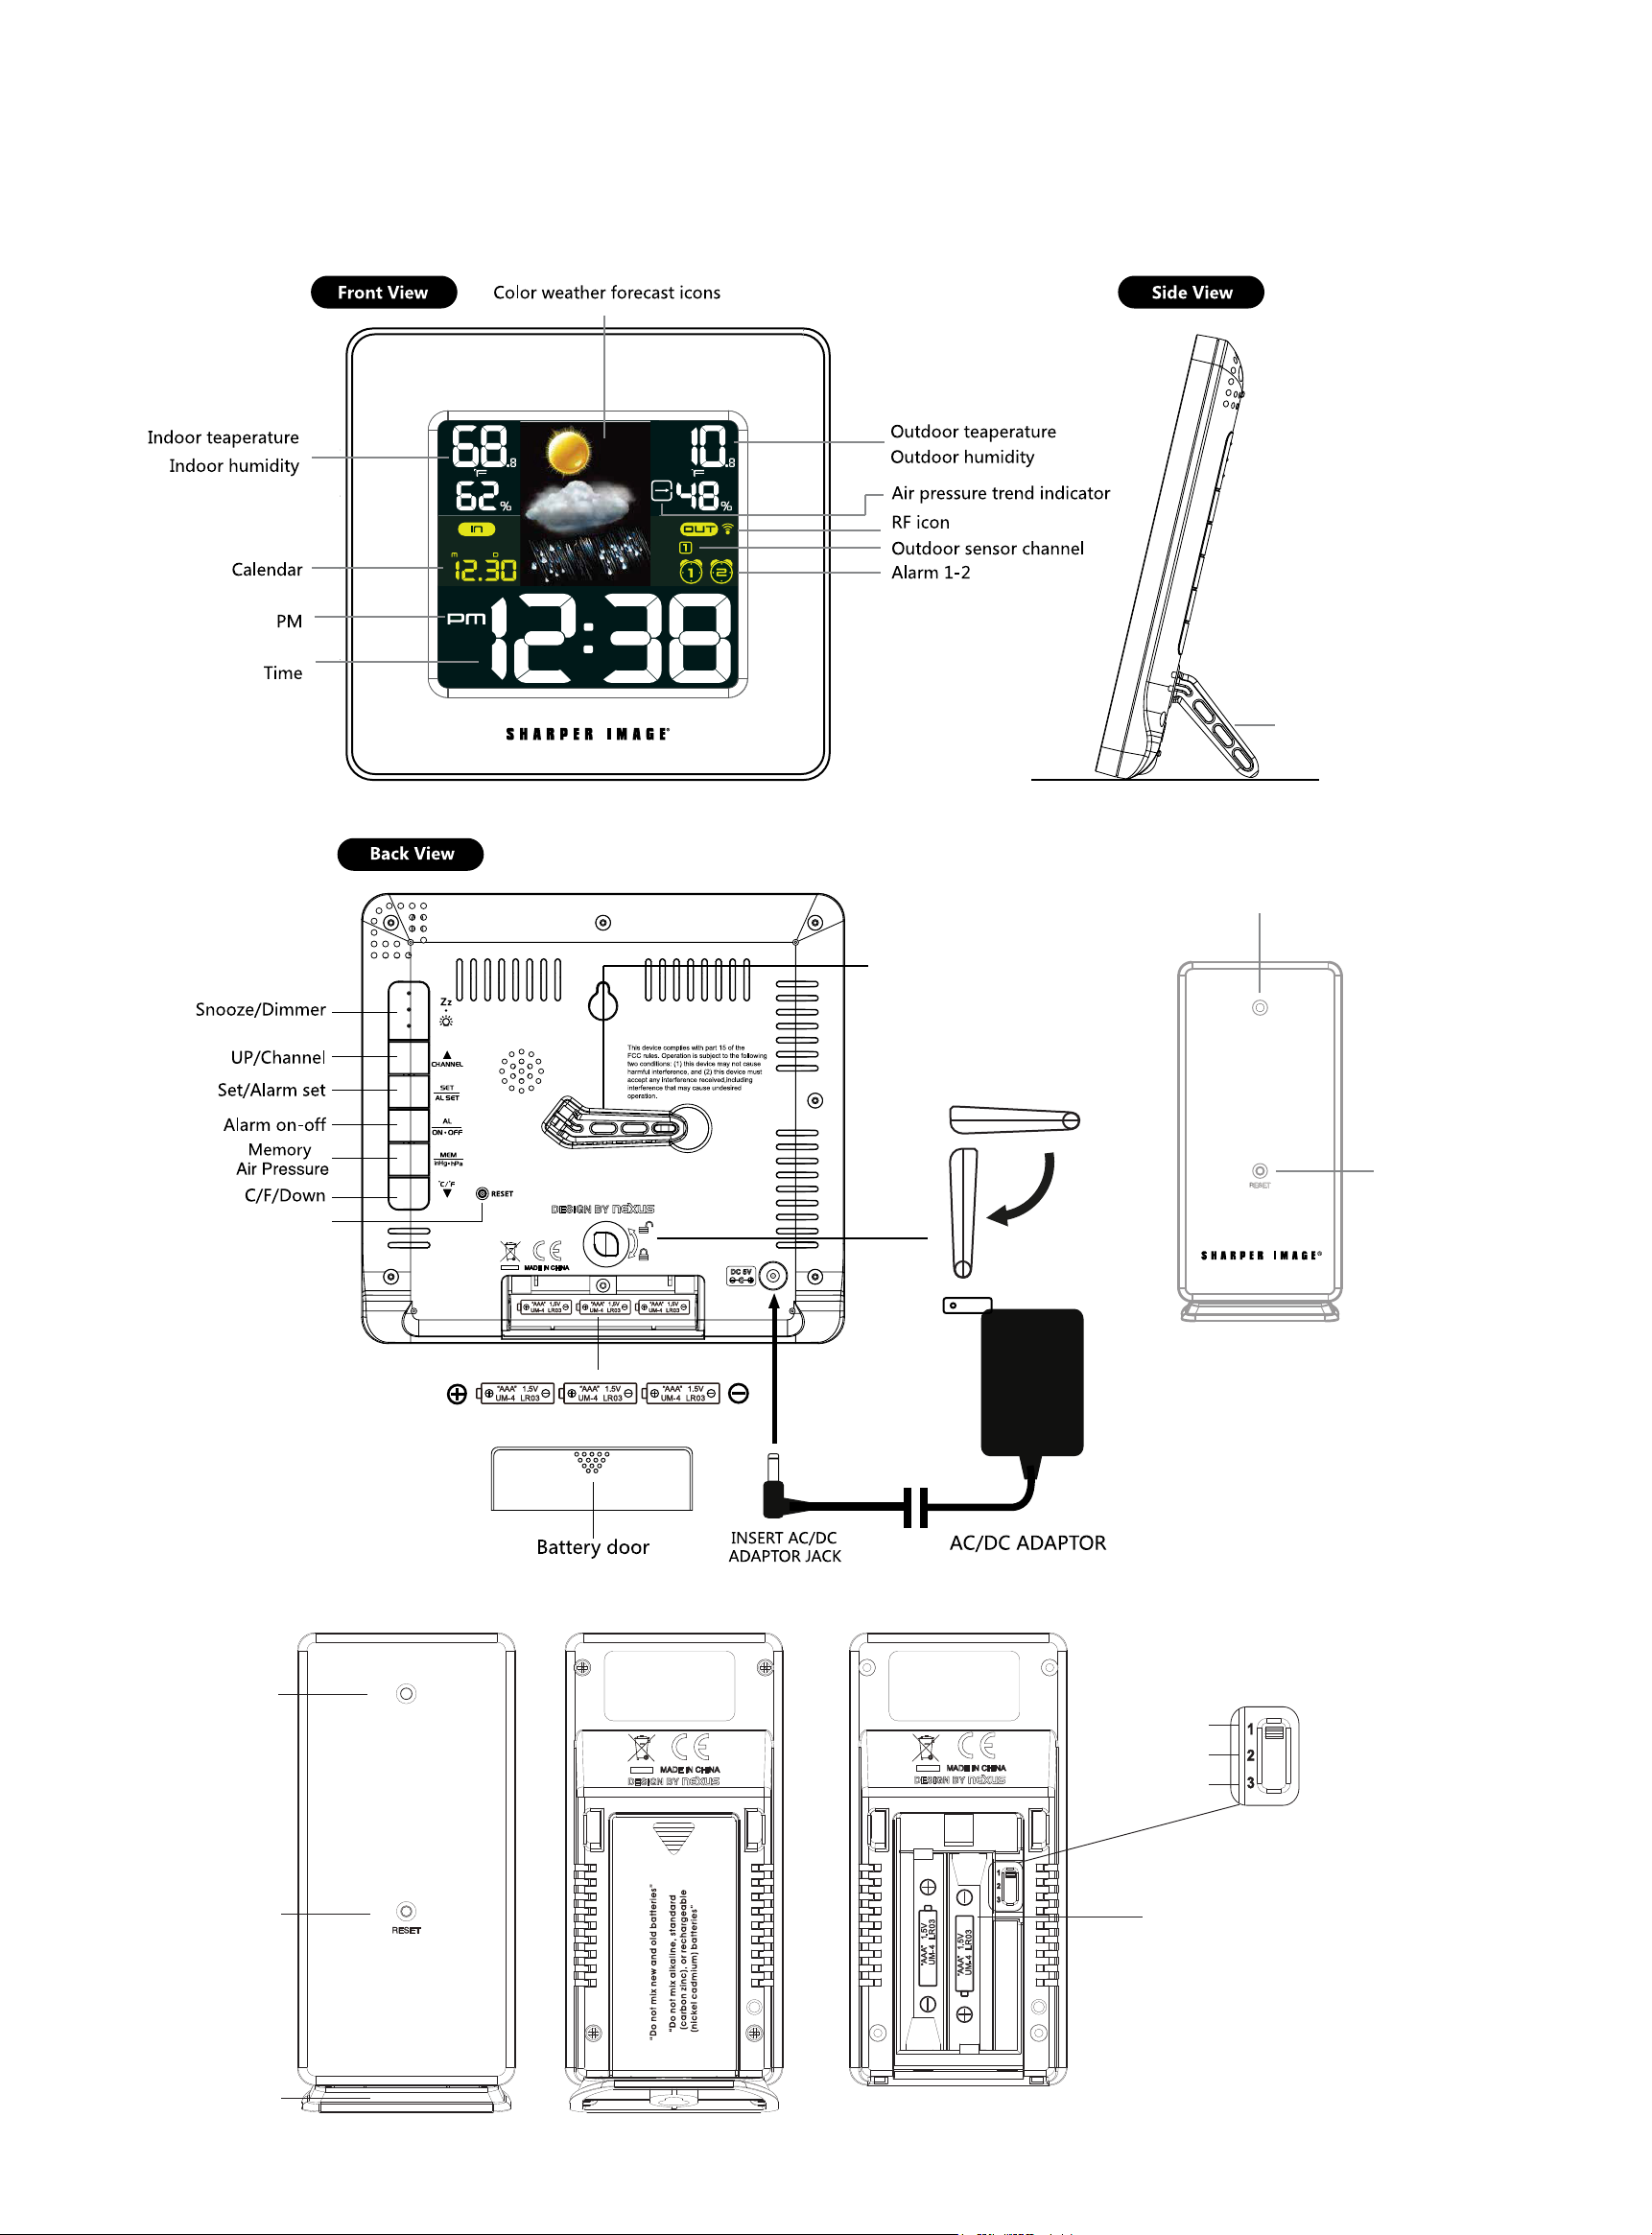
Stand
RF Transmission LED
Stand
FCC ID: TIUIW261C
INPUT : DC5V
BATTERY: DC4.5V 3xAAA
/
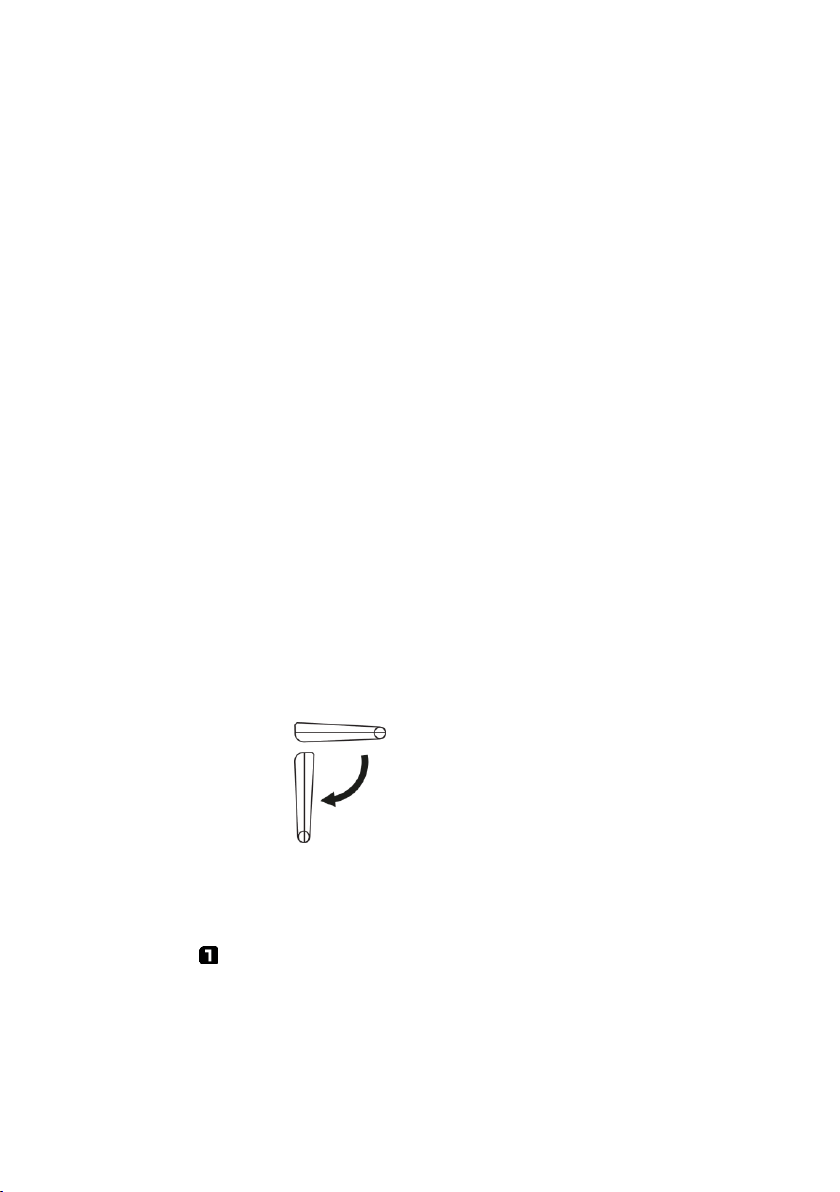
1. INSERT THE STAND HORIZONTALLY
2. THEN ROTATE THE STAND CLOCKWISE
BY 90° TO SECURE IT
Reset
LED
Reset
BATTERY + / - DIRECTION
FCC ID: TIUTW003
Model No. TW003
RF 433.92MHz
1.5V / AAA x 2
FCC ID: TIUTW003
Model No. TW003
RF 433.92MHz
1.5V / AAA x 2
Outdoor wireless transmitter
CHANNEL 1
CHANNEL 2
CHANNEL 3
RESET
HOLDER
INSERT 2 x AAA
BATTERIES
WIRELESS OUTDOOR TRANSMITTER
FEATURE LIST
4.7” / 120mm (diagonal) display with 1.1” time digits
Alarm 1 and Alarm 2
Programmable Snooze 5-60 minutes
Dimmer for nighttime viewing
Color forecast : Sunny, Partly Cloudy, Cloudy, Rainy, Stormy
12-hour forecast based on changing air pressure
Tendency indicator of weather forecast
Indoor-outdoor temperature and humidity (RH%)
Max-Min records of temperature and humidity
Month-Date Calendar interchangeable with Air pressure readout (inHg)
Degree C/F readout
12/24 hour time format
433Mhz wireless outdoor transmitter (one transmitter is included)
Up to 50-meter transmission of outdoor temperature and humidity
Auto scrolling of outdoor temperatures and humidity of up to three transmitters
Low battery indicator of outdoor transmitter
Can expand to use with two additional outdoor transmitters (purchase separately)
Main unit powered by external AC/DC adaptor
Batteries : 3 “AAA” alkaline for backup of the main weather station (not included)
: 2 “AAA” alkaline for outdoor transmitter (not included)
QUICK SETUP
Step 1: Power up your weather station
Insert the AC/DC adaptor to any 120V AC household outlet. Then insert the DC jack to the back case of your
unit.
Take out the stand at the back case and insert it horizontally to the back case, then rotate it by 90 degree to
secure it to the back case.
Step 2: install batteries to your outdoor transmitter
Keep your weather station and wireless outdoor transmitter next to each other. Slide open the battery cover at
the back of your wireless outdoor transmitter, then insert 2 x AAA alkaline batteries to the battery compartment.
Make sure the Channel selector is at 1 position. Replace the battery cover.
Remark : Make sure (Channel 1) is displayed under the outdoor temperature and humidity. You could
press / CHANNEL to select Channel 1.
Your weather station will receive data signal from the outdoor transmitter in few seconds. Then place your
outdoor transmitter in a dry and shaded area.
P. 2

Installing backup batteries to your weather station
Your weather station requires 3 “AAA” alkaline batteries to provide backup power to it in the event of a
temporary power interruption.
1. Place your unit face down on a flat surface.
2. Slide and remove the battery cover at the bottom of your unit.
3. Insert 3 “AAA” alkaline batteries into the battery compartment by observing the “+” and “-“ polarity as
indicated.
4. Replace the battery cover.
If the AC main power is interrupted, the backlight will go off. The backup batteries will keep the time and all
settings of your unit. Press once to turn on the backlight for 5 seconds.
Remarks:
Keep in mind that your outdoor transmitter has a 180-ft open air transmission with no obstructions.
Actual transmission range will vary depending on what is in the path of the signal. Each obstruction (roof,
walls, floors, ceilings, thick trees, etc.) will effectively cut signal range in half.
Insert the holder to the bottom of the outdoor transmitter for desktop or insert it to the back of the
transmitter for wall mount purpose.
TO SET YOUR UNIT MANUALLY
The setting of your unit comes into the sequence of 12/24 hour, hours, minutes, year, month, date, monthdate/date-month display and snooze duration.
1. Press and hold for 2 seconds, time digits change to “12Hr“ and flash. Press or to select
“24 Hr” time format if need. When 12Hr time format is selected, PM indicator will be displayed.
2. Then press once again, “12” the hour digits flash. Press or button to
set the hours. Press and hold / will accelerate your setting faster.
3. Then press once again, “00”” the minute digits flash. Press or button to
set the minutes. Press and hold / will accelerate your setting faster.
4. Then press once again, “Yr” and “2013” digits flash. Press or button to
set the year.
P. 3
 Loading...