

Page 1
INSTALLATION INSTRUCTIONS
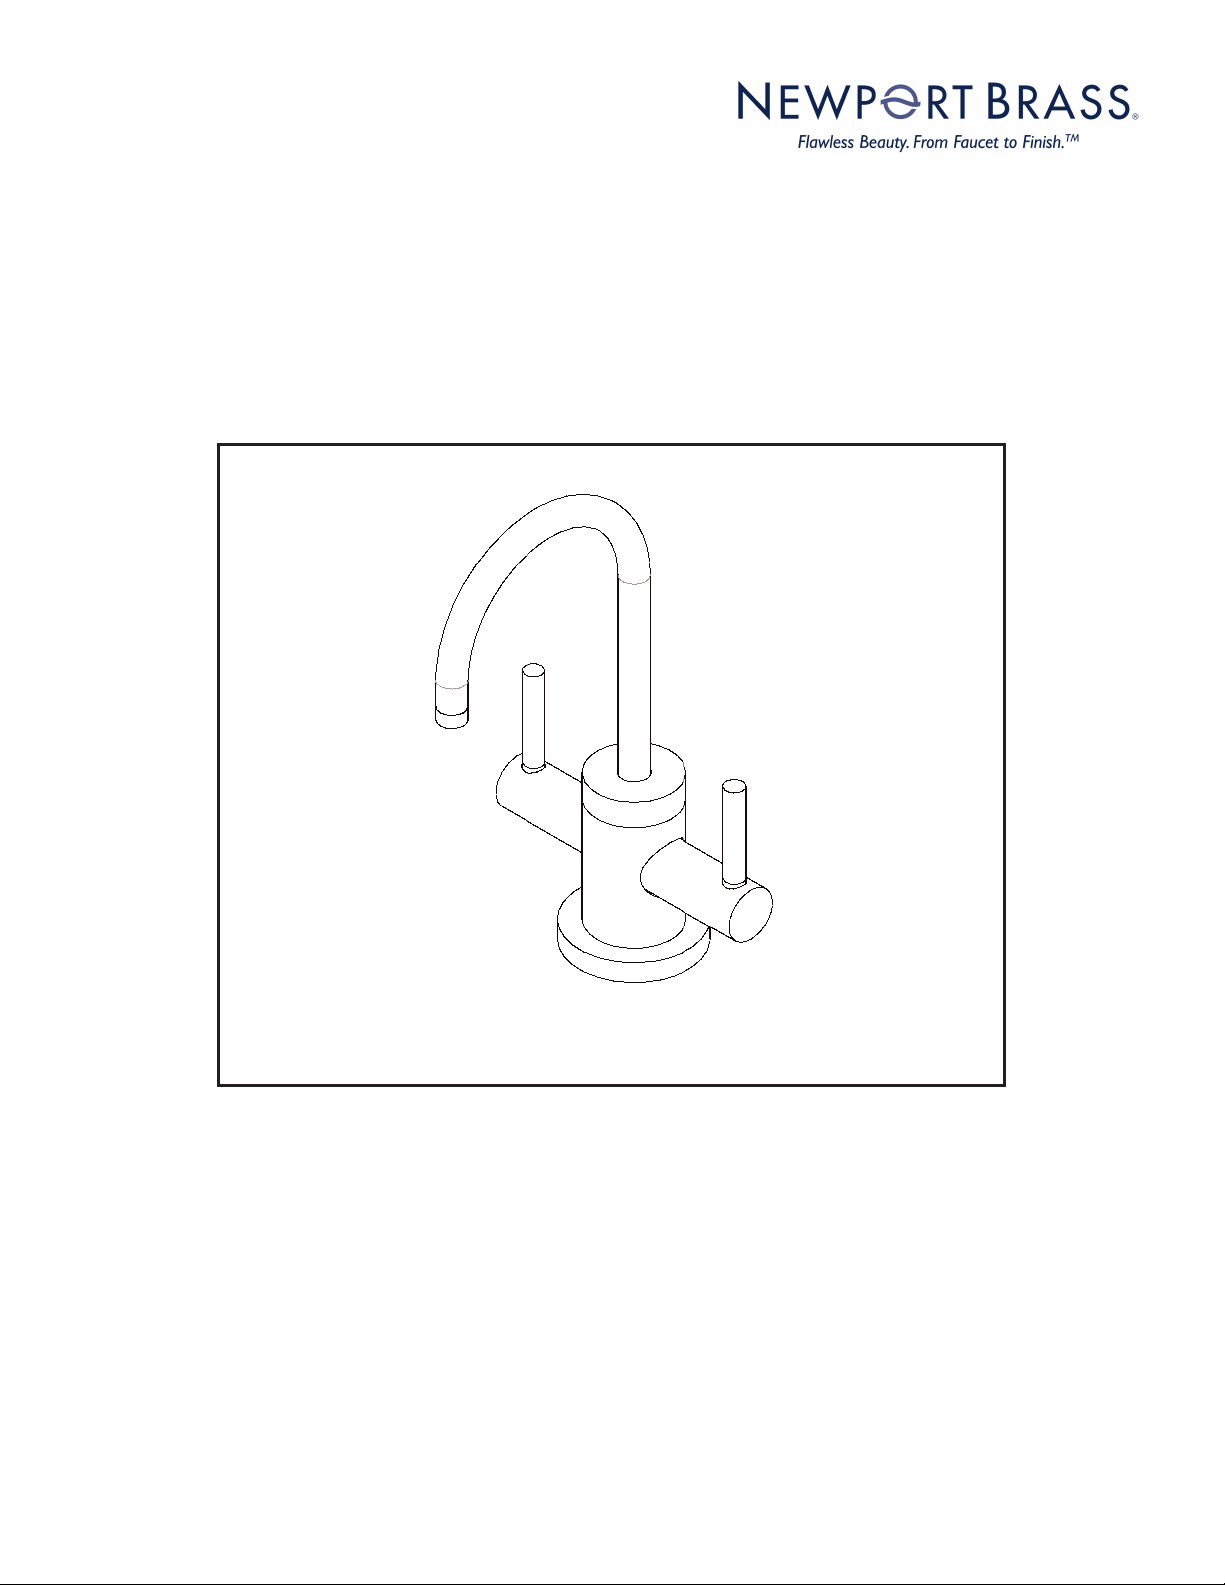
HOT/ COLD WATER DISPENSER
Model No’s:
106, 107,108, 1030-5603,
2470-5603, 1200-5603, 2940-5603,
3170-5603, 3200-5603, 3210-5603,
3160-5603, 3180-5603, 3190-5603,
3220-5603
106
Congratulations on the purchase
of this Brasstech product,
an excellent choice that will give you
years of quality service and enhance
the look and style of your home.
Page 2
IMPORTANT PRODUCT INFORMATION
Brasstech water dispensers are tested and warrantied only when connected to Brasstech water heater 5-036.
Under normal operation, Brasstech’s line of ‘Hot’ and ‘Hot/Cold’ water dispensers may drip for a
period of up to 15 minutes after each use. This condition originates from the unit’s integral hot water
tank. It is caused by the thermal expansion of water occurring naturally when cool water is
heated in a confined space (the tank). Brasstech dispensers were specifically designed to allow
steam or any amount of water expansion to escape through the spout, thus preventing dangerous
high pressure from building up inside the tank. This is a safety feature; not to be confused with a
defective product.
Lab tests have confirmed that during the heat up cycle, water may leak from the spout for up to
15 minutes after the valve is shut off. This duration varies based on the hot water tank’s
temperature setting and amount of hot water consumed. Approximate volume of water expansion
during the 10-15 minute period is 3-5 ounces.
Although persistent leaking and/or dripping may be caused by a non-conforming cartridge and/or
improper assembly, the type of leakage described here (10-15 min., 3-5 oz) can be
verified by unplugging the power to the water heater. There should be no leak through the spout
after the hot valve is shut off in this manner.
Recommended Installation by a Professional Plumbing Contractor
Note: The use of petroleum base plumbers putty on our products will nullify the warranty. We recommend the
use of clear silicone sealing materials. Recommended deck thru hole Ø 1.25" to Ø1.38
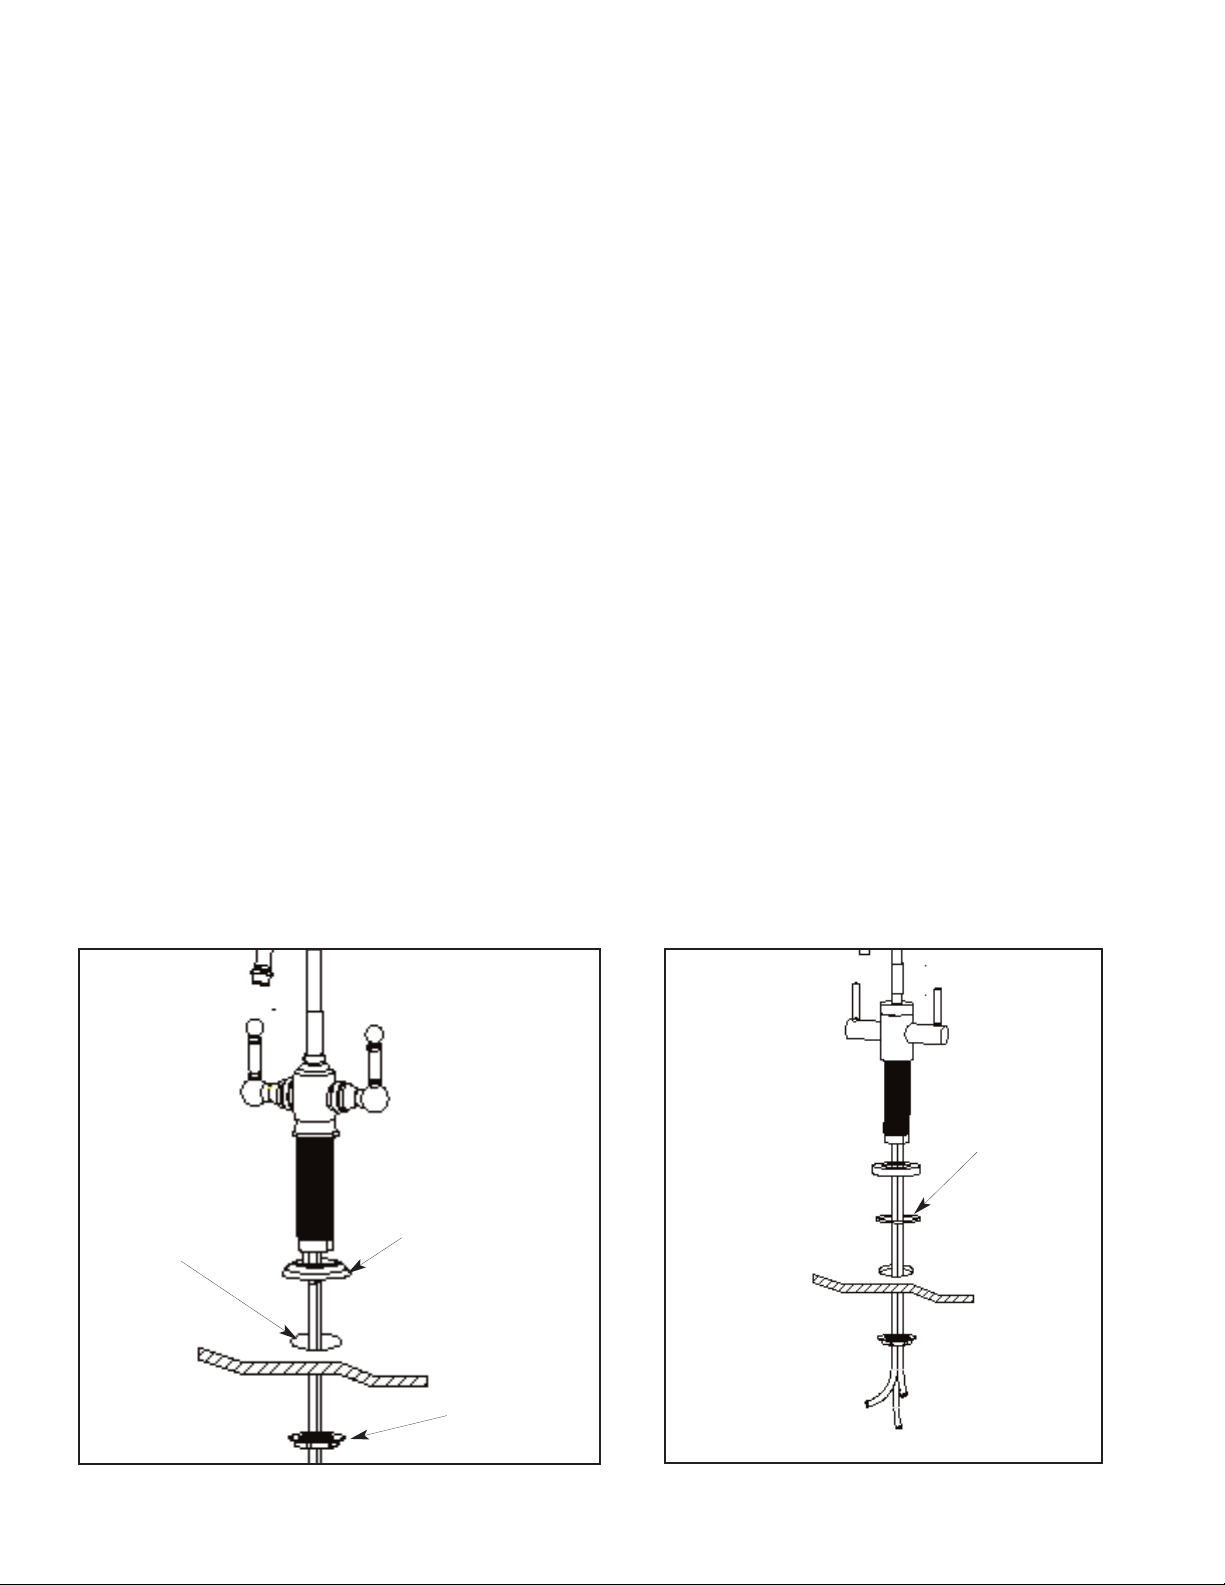
INSTALLING FAUCET ON SINK (See Fig 1)
· Slide the 3 hoses through escutcheon, o-ring, and mounting surface hole.
· Tightening flange nut on underside of mounting surface to secure into place.
O-ring All
Models
Mounting surface
& hole
Escutcheon
NWP-106 Rev C
Flange
nut
Figure 1
Page 3
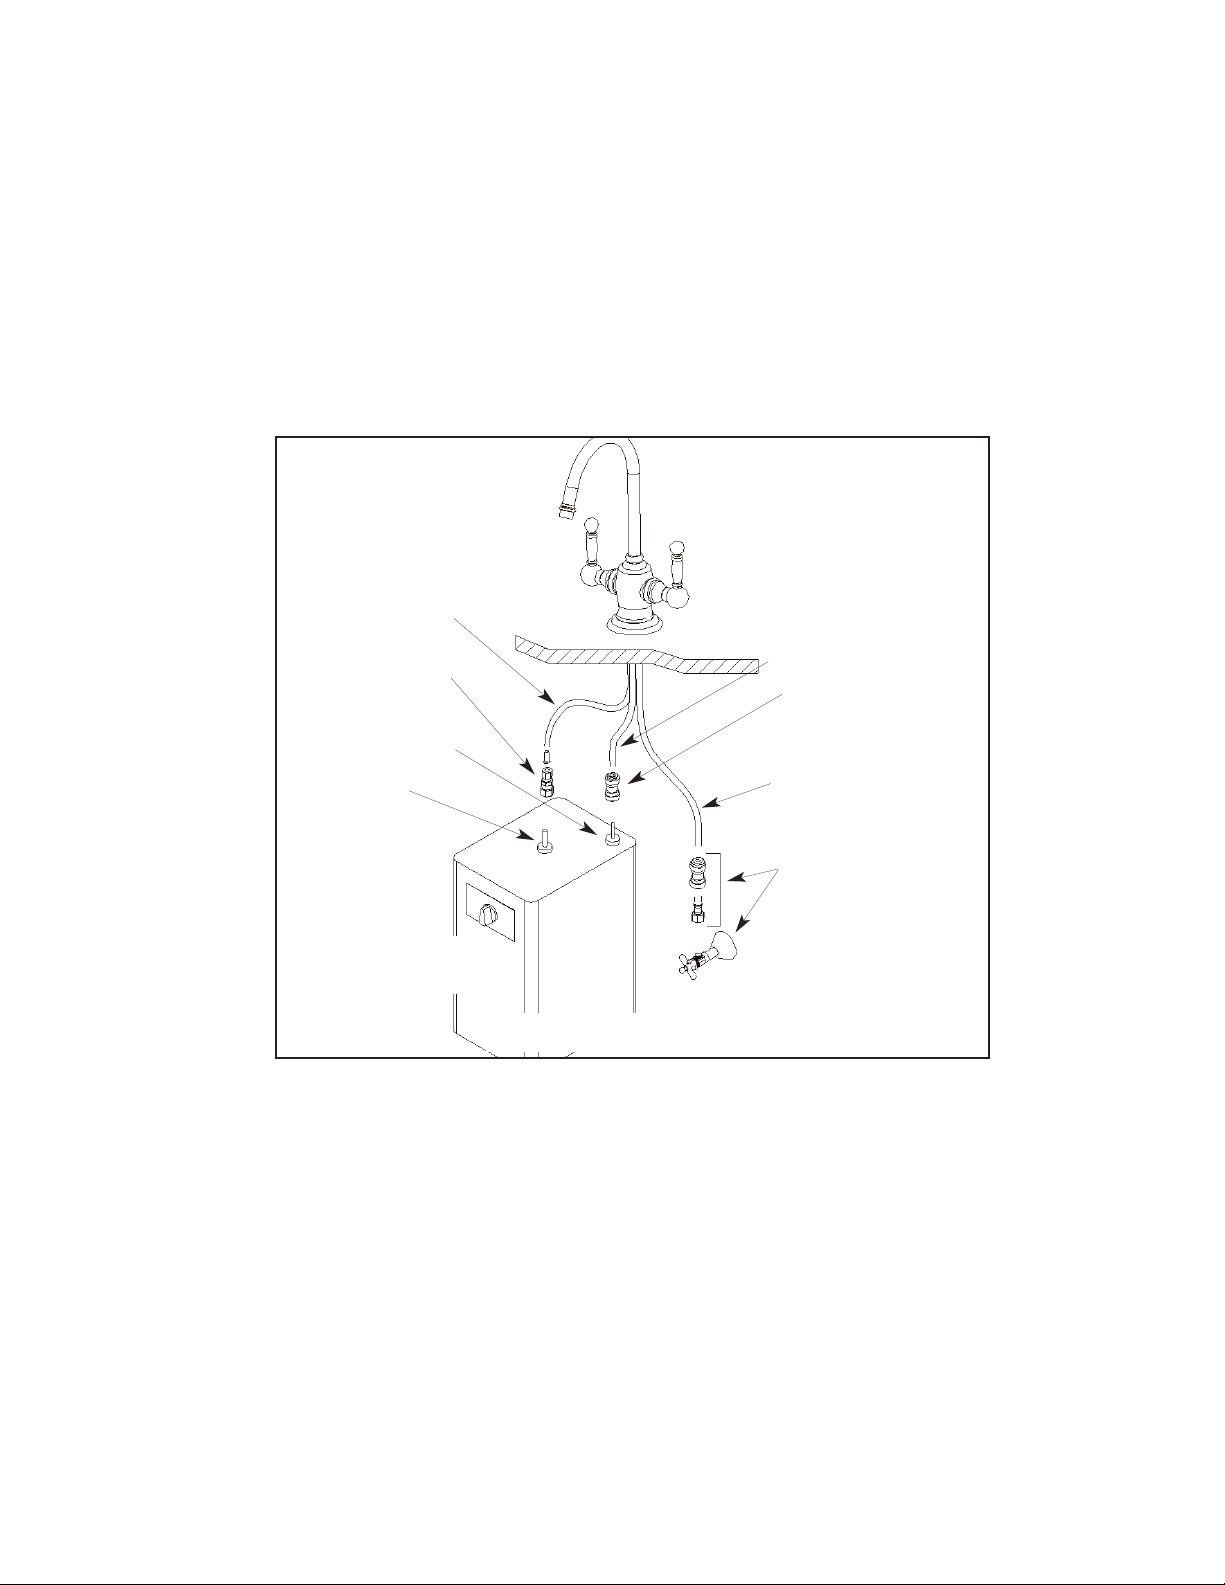
ATTACHING WATER CONNECTIONS TO SUPPLY AND TANK (See Fig 2)
· Connect blue tube to copper tubing of water supply, utilizing a compression nut or connector coupling (not included).
· Connect clear tube to heater tank outlet, utilizing brass coupling & insert.
· Connect red tube to heater tank inlet, utilizing connector coupling (not included).
Clear tube
Brass coupling
w/ insert
Tank inlet
Tank outlet
Hot water Tank
#5-036
Red tube
Inlet coupling
(not included)
Blue tube
Water supply &
optional connectors
(not included)
Figure 2
3. TEST INSTALLED FAUCET
· Turn on water supply. Rotate the hot handle and hold until the tank fills up, (tank is full when water comes
out of the spout). Rotate hot handle to turn water off.
· Check all connections for leaks. Make any final adjustments as required by first turning off the water supply
to relieve the pressure.
· Plug in the water tank and wait between 10-15 minutes for water to reach its target temperature.
2001 CARNEGIE AVE, SANTA ANA CA 92705
NWP-106 Rev D
EN-3443
(949) 417-5207
WWW.NEWPORTBRASS.COM
03/01/2019
 Loading...