

Newer Technology miniStack Classic Assembly Manual

Owner’s Guide &
Assembly Manual

Newer Technology miniStack Classic Table of Contents
1 INTRODUCTION
1.1 SYSTEM REQUIREMENTS
1.1.1 Mac Requirements
1.1.2 PC Requirements
1.1.3 Supported Hard Drives
1.2 PACKAGE CONTENTS
1.3 USING THE NEWER TECHNOLOGY MINISTACK CLASSIC
1.3.1 Connecting the Newer Technology miniStack Classic
1.3.2 Powering on the Newer Technology miniStack Classic
1.3.3 LED Indicator
3 FORMATTING
6 TECHNICAL SUPPORT
6.1 BEFORE CONTACTING TECHNICAL SUPPORT
6.2 TECHNICAL SUPPORT HOURS OF OPERATION
4 TROUBLESHOOTING & TIPS
3.1 MACINTOSH FORMATTING
3.2 REMOVING AN EXISTING GUID PARTITION
3.3 WINDOWS FORMATTING
5 APPENDIX
4.1 TROUBLESHOOTING
4.2 USAGE TIPS
5.1 FAQ
5.2 ABOUT DATA PROTECTION
2.1 ASSEMBLY OF THE NEWER TECHNOLOGY MINISTACK CLASSIC
2 ASSEMBLY
Newer Technology miniStack Classic Chapter 1 - Introduction
1 INTRODUCTION
1.1 System Requirements
1.1.1 Mac Requirements
•Minimum PowerPC G4 CPU, 128MB RAM
•FireWire® interface - Mac OS X 10.2 or later
•USB 2.0 interface - Mac OS X 10.2 or later
1.1.2 PC Requirements
•Minimum 500MHz Intel Pentium III CPU, 128MB RAM
•FireWire interface - Windows 2000 / XP / Vista / Windows 7
•USB 2.0 interface - Windows 2000 / XP / Vista / Windows 7
1.1.3 Supported Hard Drives
•Any 3.5” SATA hard drive
•Any 3.5” SATA Solid State Drive (SSD) or 2.5” SSD with an adapter like the
NewerTech AdaptaDrive
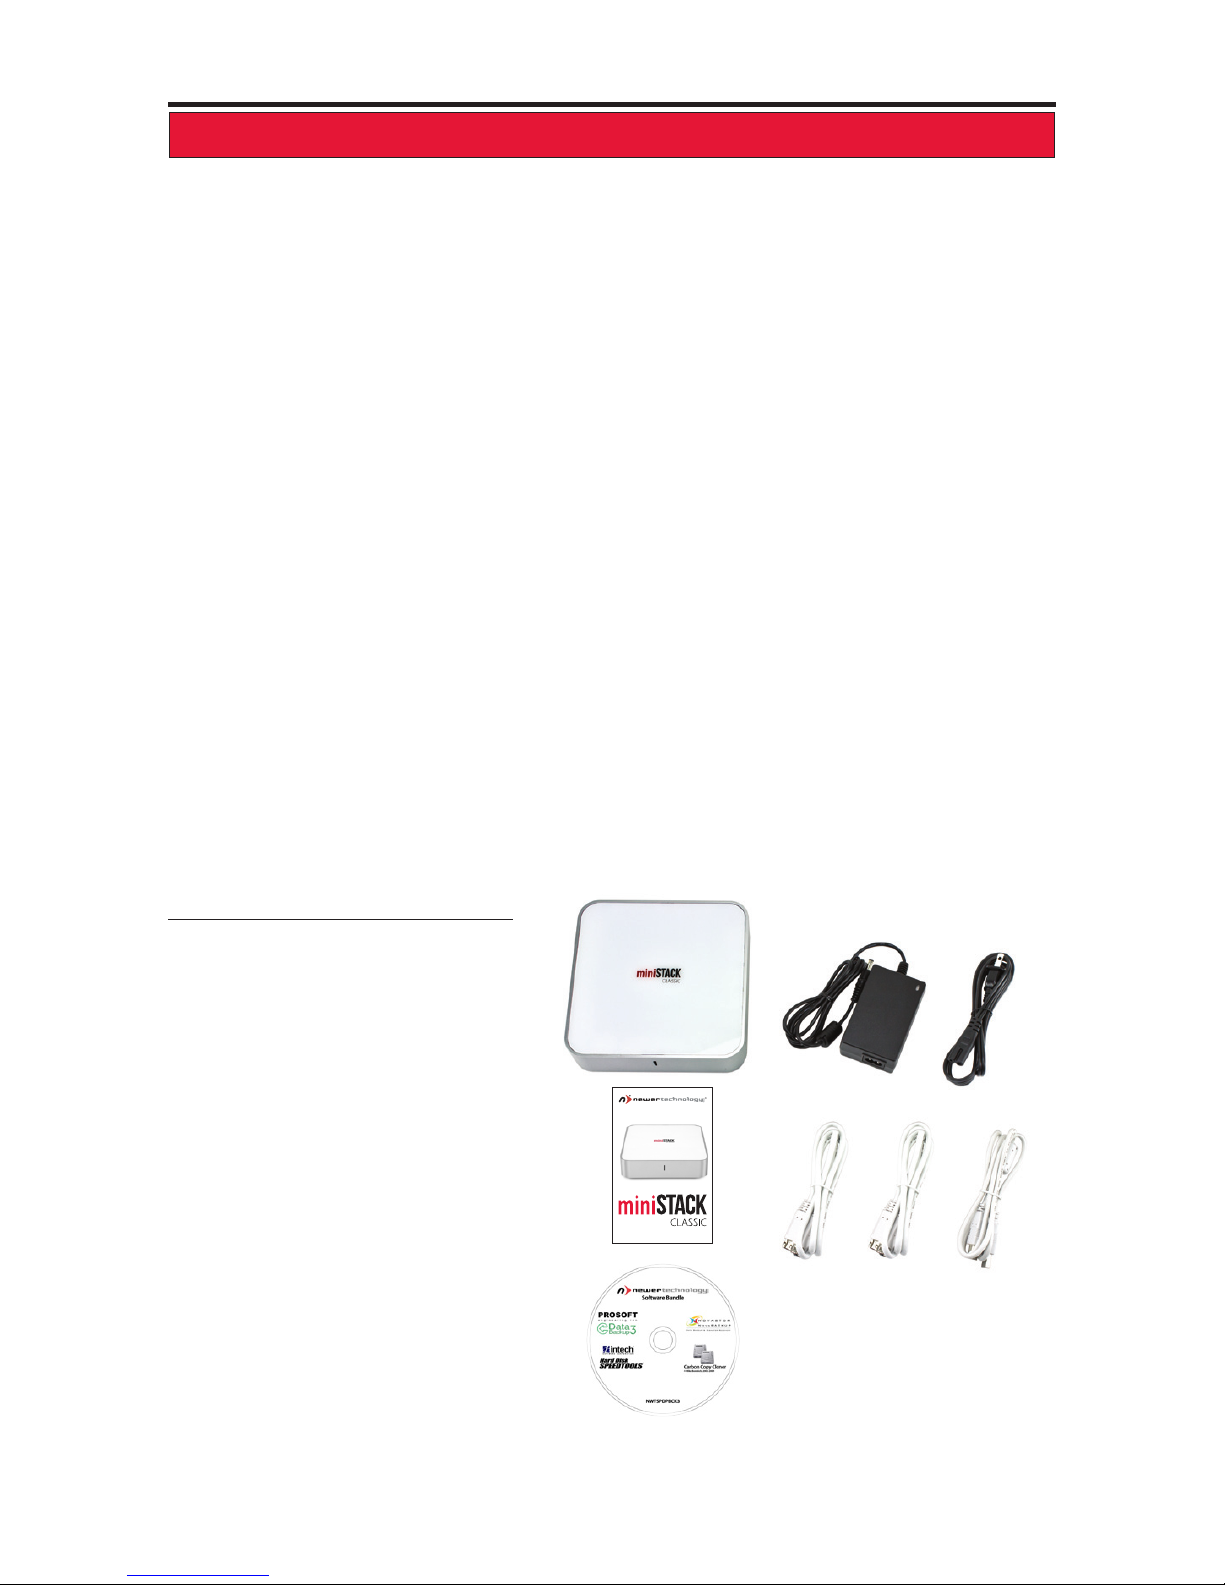
1.2 Package Contents
Firmware, images, and descriptions may vary between this manual and the
unit shipped. Functions and features may change depending on the rmware version. Visit the product webpage for the most recent specications.
➀
➁ ➂
➃
➄
Item ______
➀ Newer Technology
miniStack Classic
➁ DC Power Transformer
➂ Power Cable
➃ Owner’s Manual
➄ FireWire 800 Cable
➅ FireWire 800 - 400 Cable
➆ Standard A to B USB 2.0 Cable
➇ Software CD Bundle (not all models)
(Not pictured)
Screw Package (inside enclosure)
Owner’s Guide &
Assembly Manual
➅
➆
➇

Newer Technology miniStack Classic Chapter 1 - Introduction
Cable Connections:
The Newer Technology miniStack Classic has multiple interfaces to work
with any computer system.
➀ FireWire 800 Ports - Connect one FireWire 800 port to your computer
using the included cable and use the other FireWire 800 port to connect
additional peripherals. (NOTE: FireWire takes priority over USB for drive use)
➁ USB 2.0 Uplink Port - Connect this port to your computer to both use
the miniStack Classic as a hard drive, and as a USB hub.
➂ USB 2.0 Ports- Connect up to 3 additional USB devices here, using the
miniStack Classic as a hub.
➃ DC IN port - Plug the included DC power transformer here.
➄ On/O Switch - Turn the Newer Technology miniStack on and o here.
1.3.2 Powering on the Newer Technology miniStack Classic
To use the Newer Technology miniStack Classic, connect your preferred
interface cable (NOTE: You can have both the FireWire and USB cables
connected at the same time) to the drive and the computer. Turn the power
switch to the ON position, and verify the LED on the front of the drive is
illuminated. Your drive should mount on your computer’s desktop. If the
Firewire and USB cables are both plugged in, both drive and hub functions
will work properly.
1.3.3 LED Indicator
The Newer Technology miniStack Classic has a single LED at the front of the
hard drive enclosure. It will illuminate when powered on.
1.3.1 Connecting the Newer Technology miniStack
1.3 Using the Newer Technology miniStack
NOTE: You will need to assemble your drive into your miniStack Classic, and
format it before using.
➀ ➁ ➃ ➄➂
Newer Technology miniStack Classic Chapter 2 - System Setup
2 SYSTEM SETUP
This guide will get you up and running quickly, demonstrating how
to install your own drive into the Newer Technology miniStack Classic
enclosure.
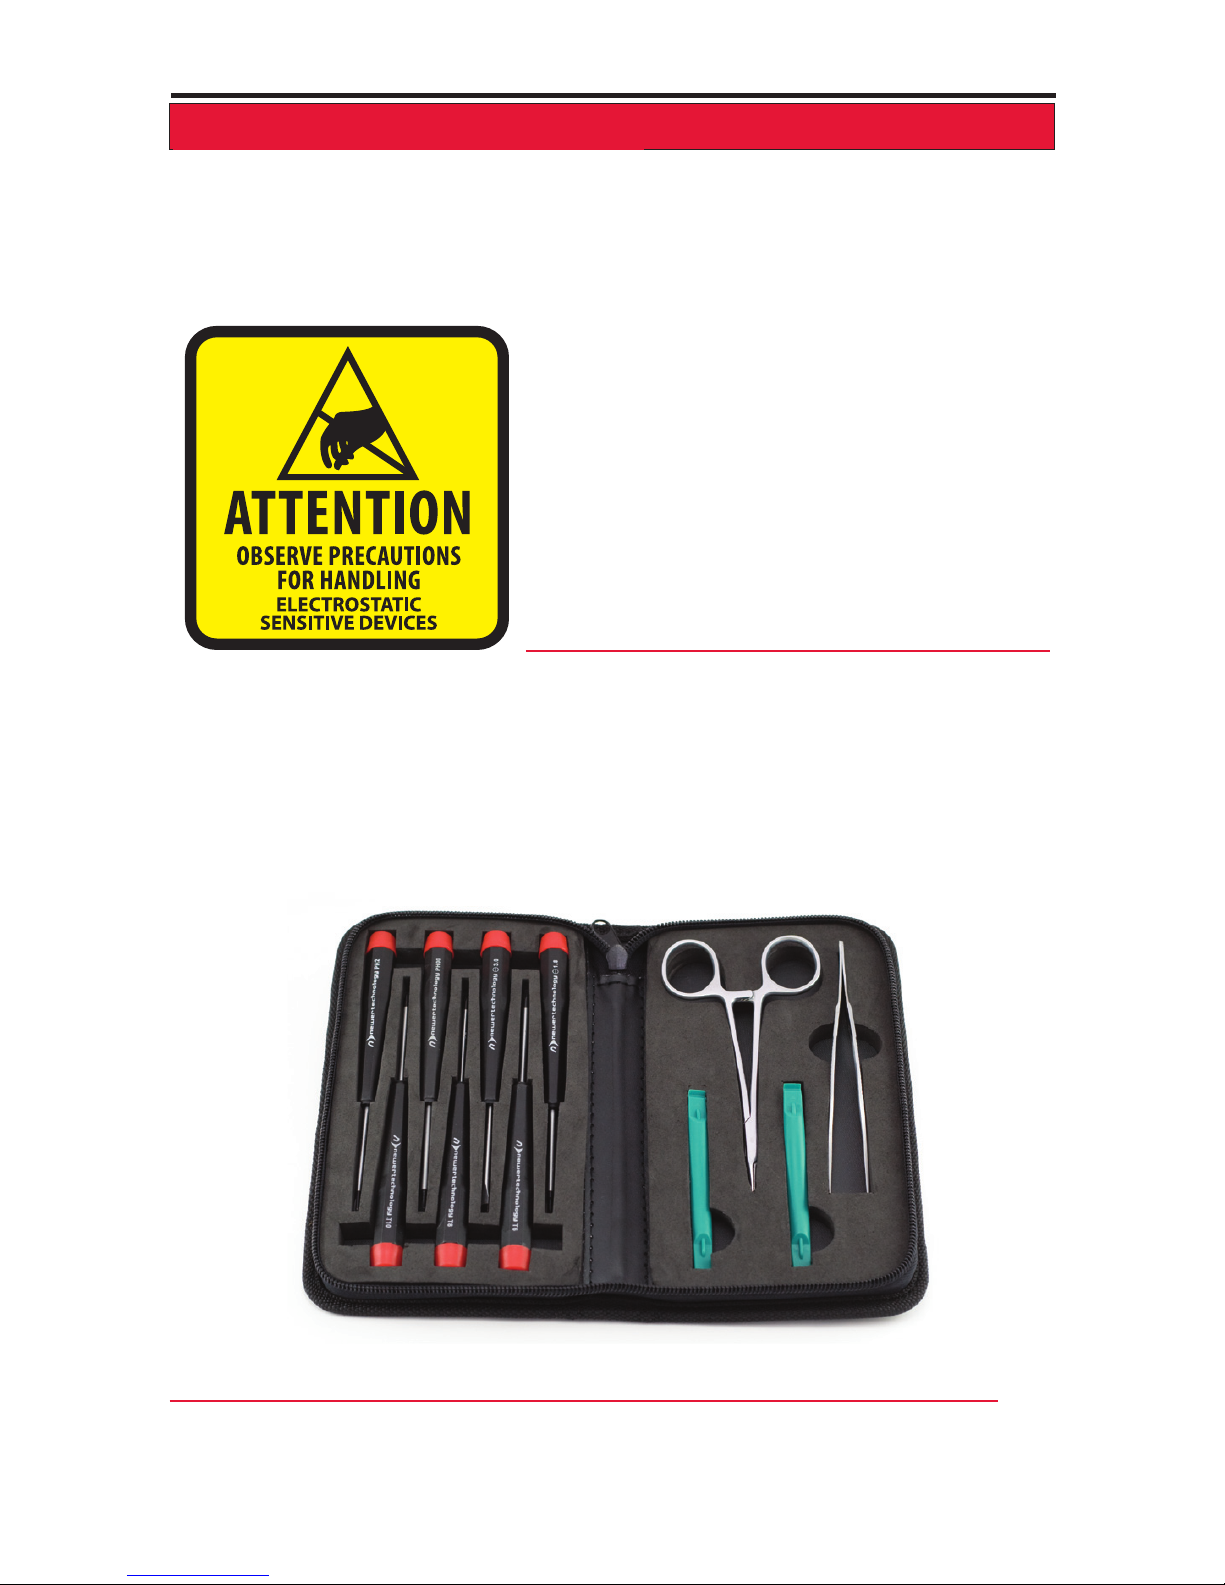
Your computer is a static-sensitive device.
It is susceptible to invisible damage if not
protected during installation.
We recommend proper grounding by using
a grounding strap. Make sure to work in a
clean and static-free area, and avoid wearing
clothing that retains static charges.
For more information, please visit
http://www.newertech.com/static
Got tools? If you don’t have the tools necessary to complete this
installation, Newer Technology has a fantastic toolkit with everything you
need included to perform this installation, and most common computer
hardware installations.
It’s available at:
http://www.newertech.com/products/11pctoolset.php
➀
Newer Technology miniStack Classic Chapter 2 - System Setup
2.1 Hard Drive Assembly & Installation
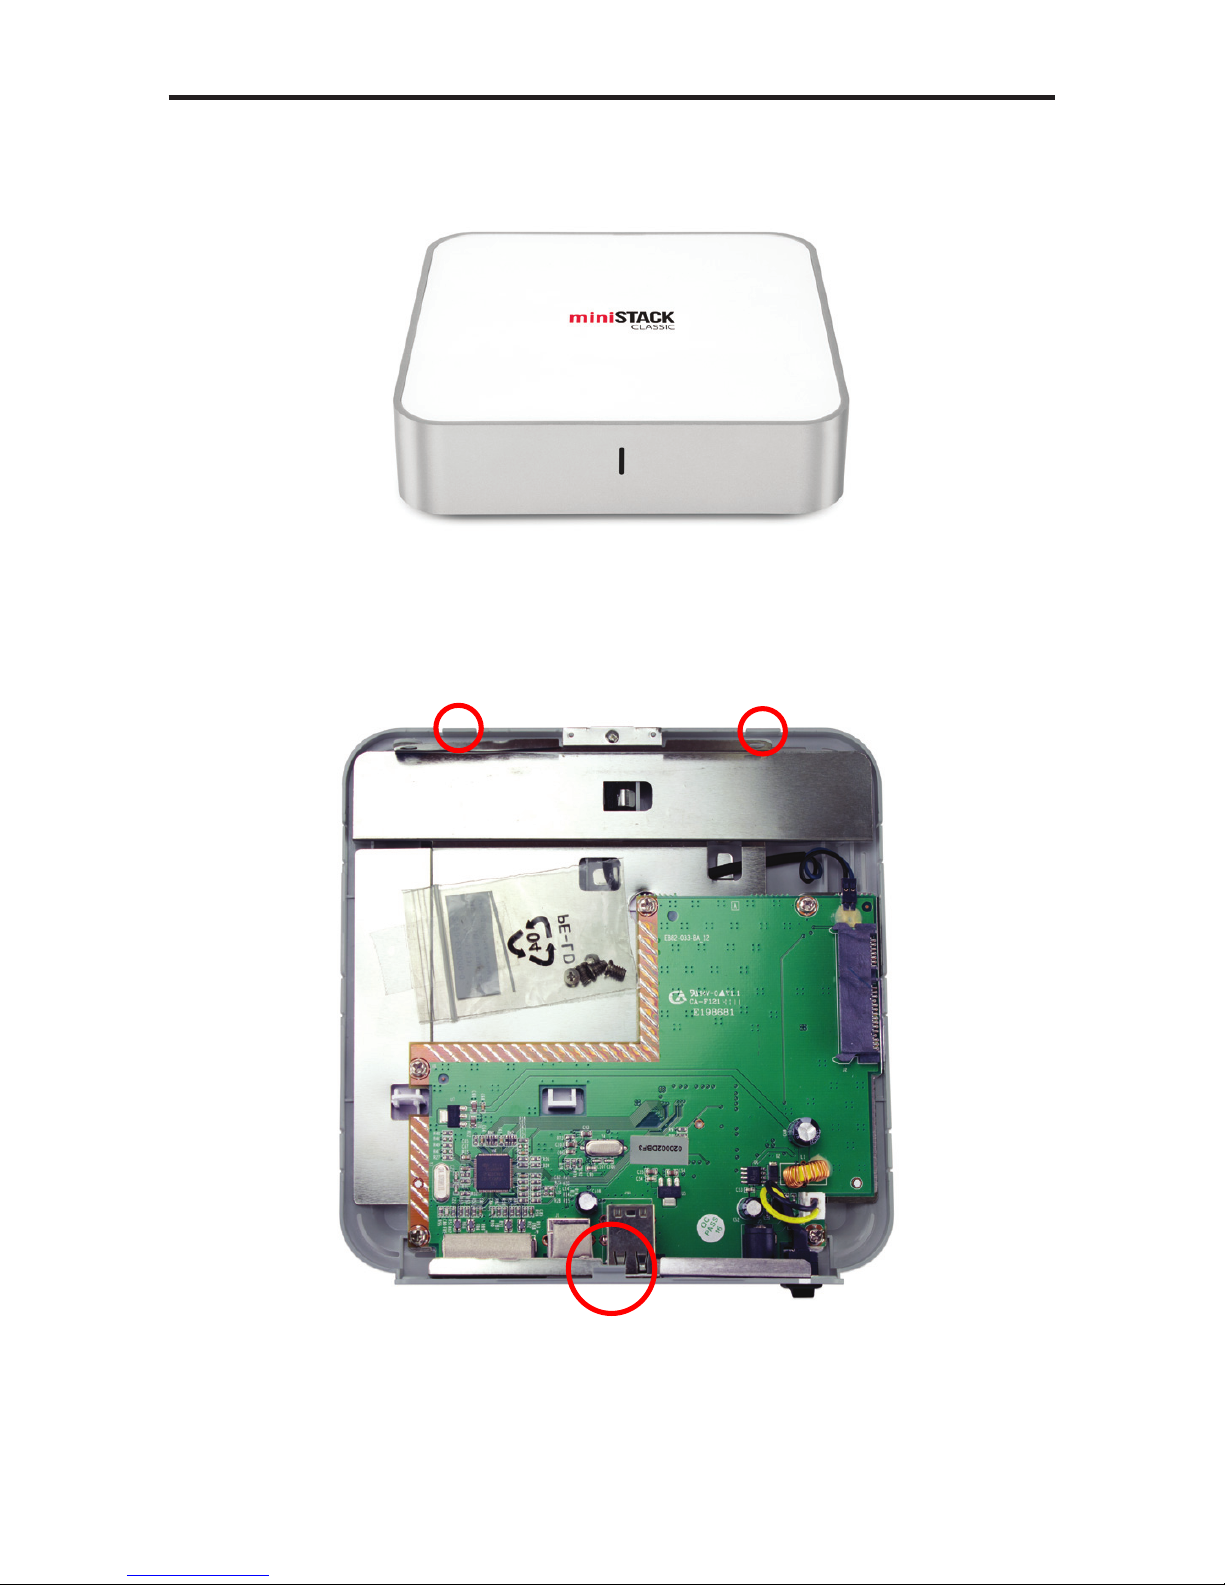
Remove the Newer Technology miniStack Classic from the box. You will
notice that there is a clear protective plastic sheet attached to the top of the
enclosure.
Lift the top cover o of the bottom enclosure of the miniStack Classic. This
can be a bit challenging, as there are a number of concealed clips that help
secure the top cover onto the bottom enclosure.
Start at the front of the enclosure, and you should be able to easily pop the
clips loose. The rear clip above the ports can be more dicult, don’t break it.
➁
➂
➃
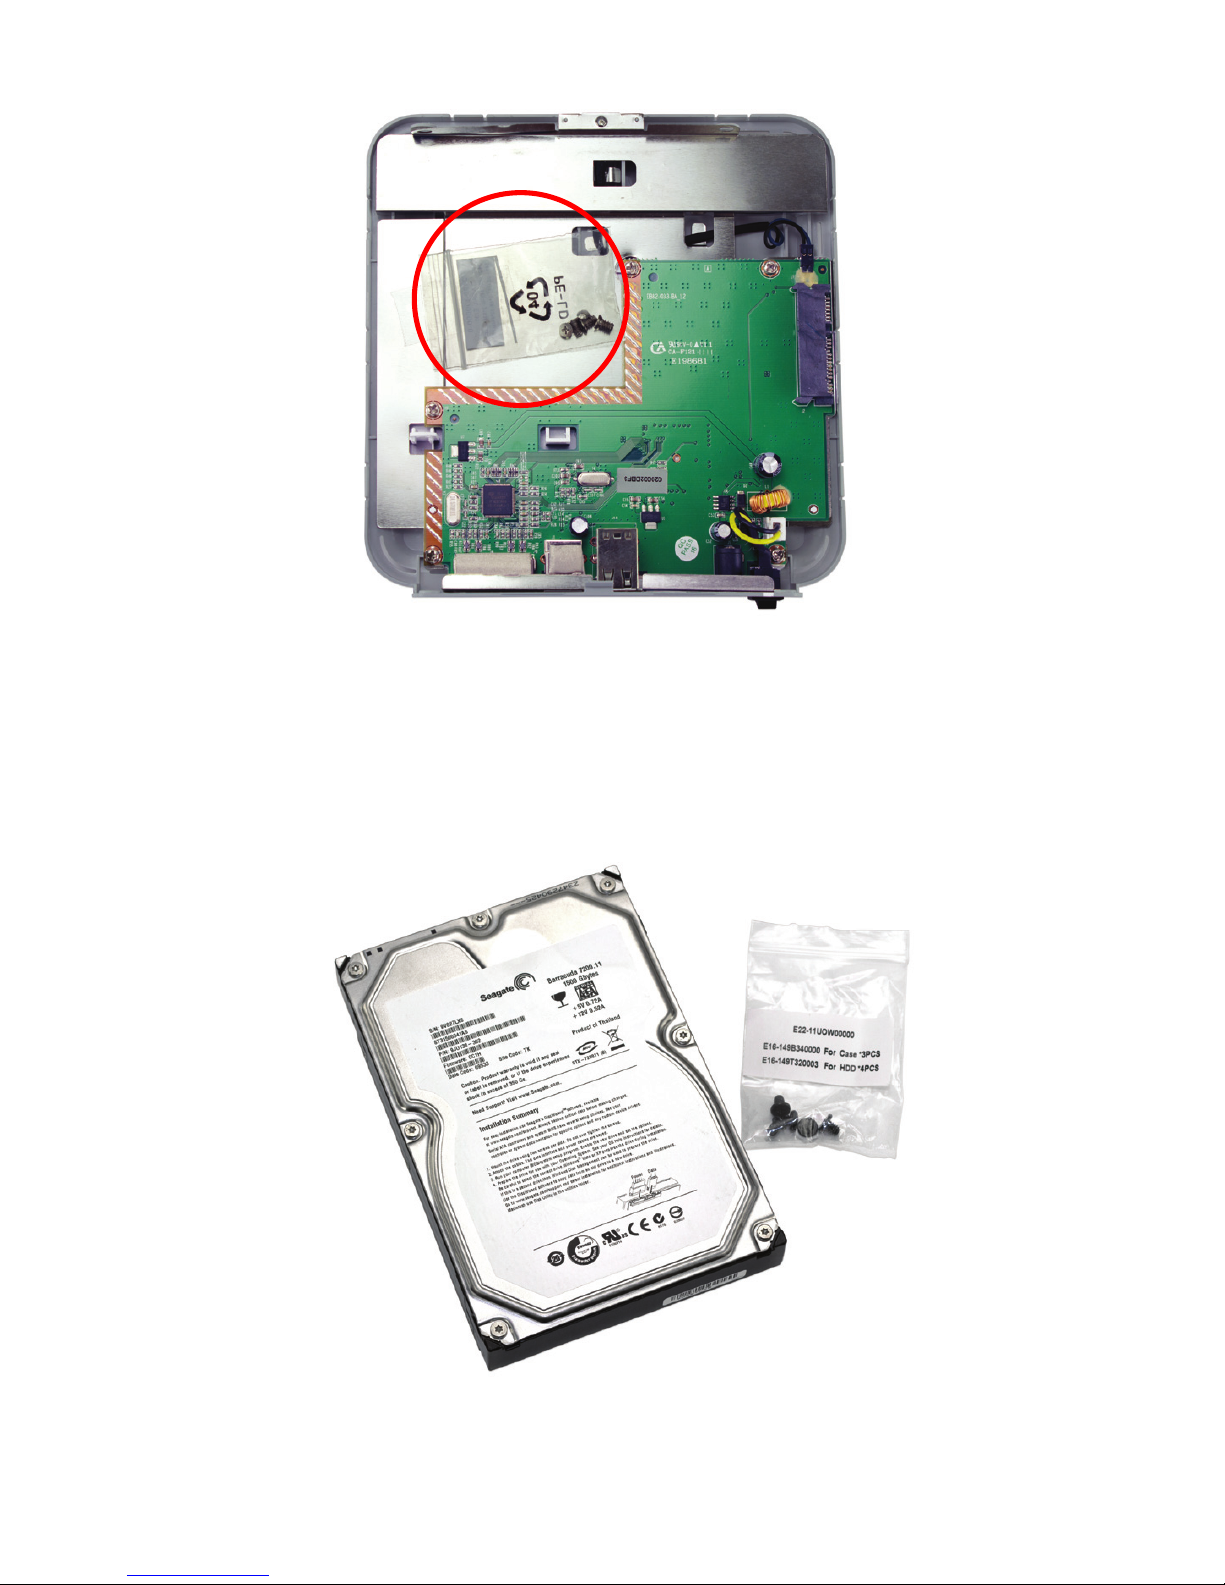
Untape the plastic bag with assembly screws from the inner chassis.
Make sure that the hard drive you wish to install (sold separately) is handy
and remove the screws from the bag.

➅
➄
Place your drive into the chassis of the miniStack Classic. There are 2
mounting tabs with screwholes on the side furthest away from you in this
photograph, and one screw post on the side closest to you.
Slide your drive into the SATA socket on the green circuit board.
➙
Insert the 3 large Phillips screws from the plastic bag into the drive
enclosure securing the hard drive through the screwholes.
Place the top cover back onto the miniStack Classic, being sure to secure
the plastic retaining clips without breaking them.
Remove the screws from the
plastic bag. For the next step,
you will want the 3 larger
screws.
 Loading...