

New England Arbors VA42055 User Manual
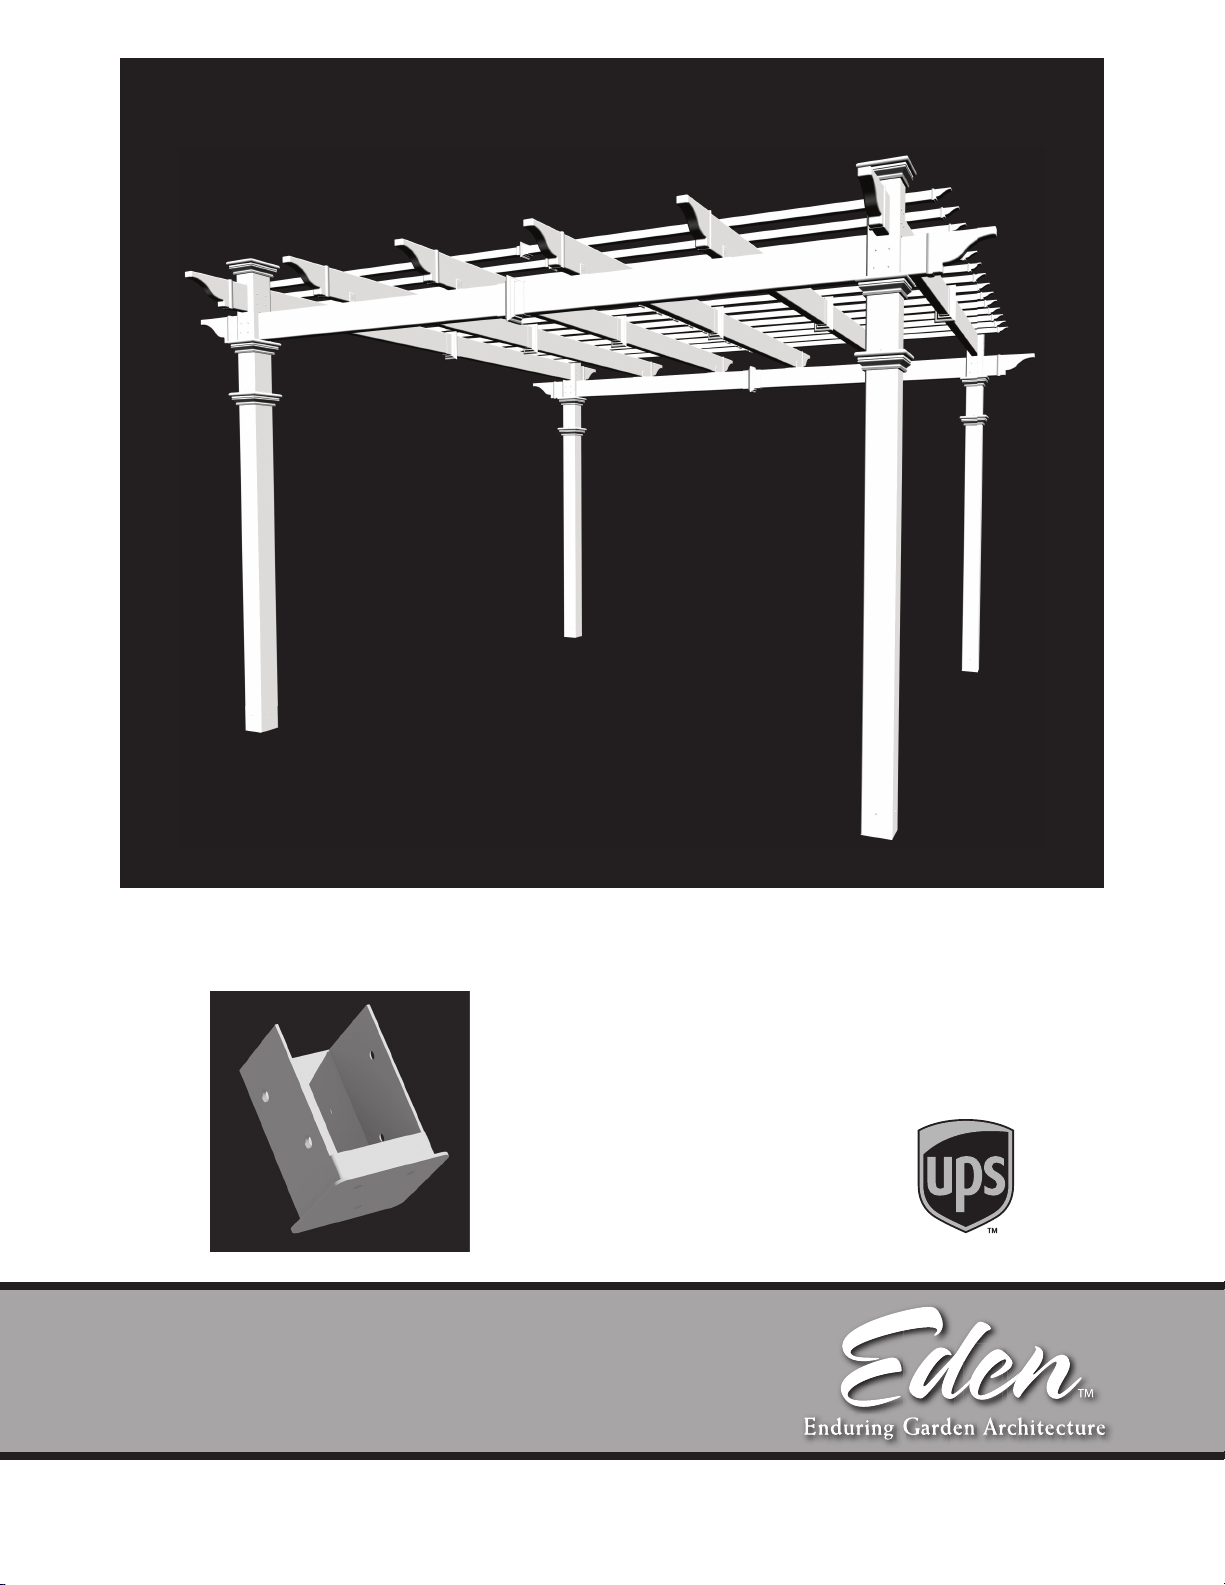
12 x 12 Flat Top Pergola
AI-BP42055-1011-1
Model: Regency
A S S E M B LY G U I D E
O P T I O N A L A C C E S S O R Y
• Bolt Down Bracket Kit (4 for Pergola)
Ver 1/NOV 2010
ww w.edenarbors.c om

Tab l e of Con t ent s
12 x 12 Flat Top Per gol a
Introduction & Overview……………………………. . . . . . . . . . . . . . . . . . . . . . . . . . . . . . . . . . . . . . . . . . . . . . . .………. . . . . .
Pergola Materials Overview………………………. . . . . . . . . . . . . . . . . . . . . . . . . . . …. . . . . . . . . . . . . . . . . . . . . . . . . . . . . . . . . . .
Pergola Materials Breakdown………………………. . . . . . . . . . . . . . . . . . . . . . . . . . . . . . . . . . . . .…. . . . . . . . . . . . . . . . . . . . . . .
Pergola Additional Materials List………………………………. . . . . . . . . . . . . . . . . . . . . . . . . . . . . . . . . . . . . . . . . . . . . . . . . .
Wood Post Layout & Installation for In-Ground Application………………………………. . . . . . . . . . . . . . . . . . . . .
Wood Post Layout & Installation using Bolt Down Post Brackets for Concrete or Wood Surface……………
Vinyl Column Assembly and Installation Over Wood Posts………………………. . . . . . . . . . ………………….
Vinyl Beam Assembly…………………………. . . . . . . . . . . . . . . . . . . . . . . . . . . . . . . . . . . . . . . . . . . . . . . . . . . . . . . . . . . . . . . . . . . . .
Vinyl Rafter Assembly……………………………………. . . . . . . . . . . . . . . . . . . . . . . . . . . . . . . . . . . . . . . . . . . . . . . . . . . . . . . . . .
Vinyl Beams & Rafter Placement……………………………………. . . . . . . . . . . . . . . . . . . . . . . . . . . . . . . . . . . . . . . . . . . . . .
Fastening Vinyl Beams, Rafters & Caps……………………………………. . . . . . . . . . . . . . . . . . . . . . . . . . . . . . . . . . . . . . .
PAG E
3
4
5
6
7
8
9
10
11
12
13
Shade Slats Installation………………………………………………. . . . . .………….……. .…………. . . . . . …
14
2
www.edenarbors.com
12 x 12 Flat Top Pergola
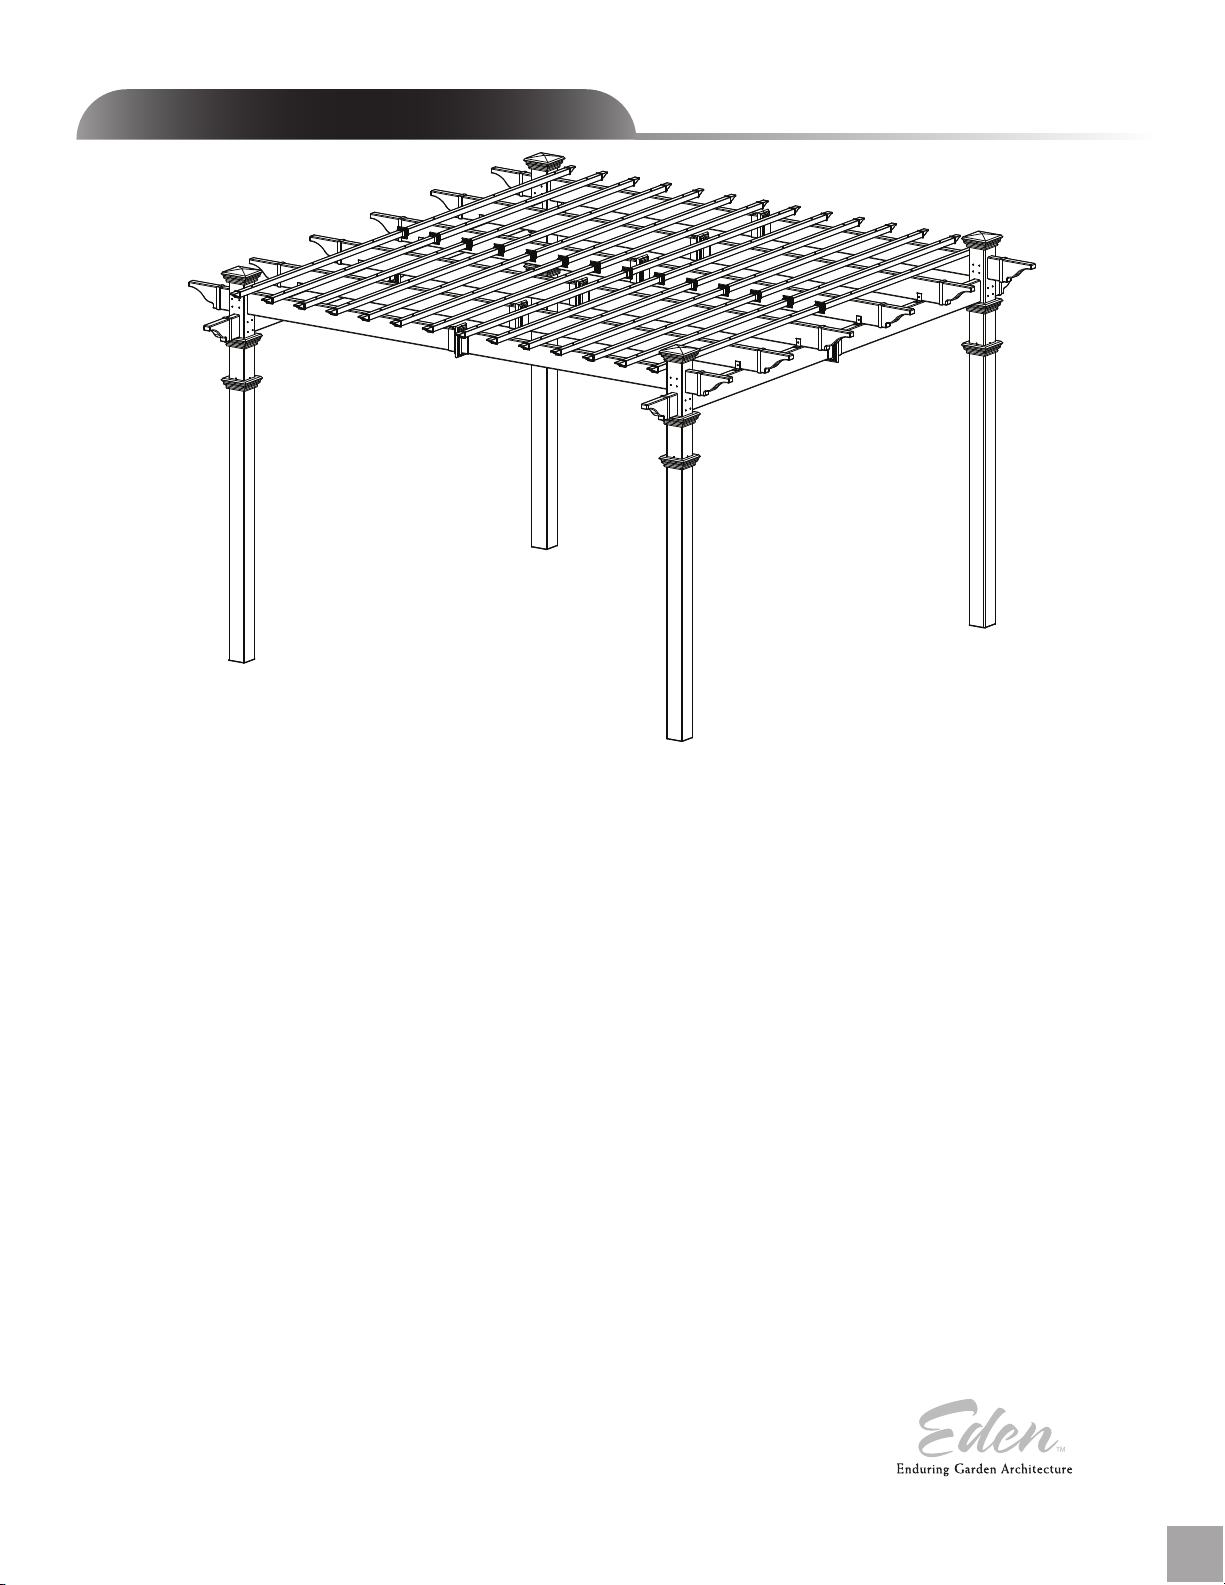
Int r oduc t i o n & O ver vi ew
(Regenc y Pergo la Shown)
Getting Started
First off, allow us to say thank you for the investment you have made in one
of our fine pergola kits. This kit is designed to be assembled and installed
ideally by two people with basic carpentry knowledge and tools. Do not
attempt alone, especially during the installation stage. Should you decide to
moderately modify the dimensions of your pergola from the standard kit size,
a circular saw with a sharp fine-tooth blade is all that is needed to cut, shorten
or modify the vinyl components.
non-abrasive surface (ie: shipping box) to avoid scratching. We recom mend a 15’ x 15’
use excessive force
area for unobstructed assembling. You should not need to
when
assembling any components.
When assembling components place on a
Planning & Preparing
The Regency Pergola is made to stand independent of your home and you
can
either locate it near your house or let it stand alone in the garden. By keep-
ing
it unattached from your home you will not have to deal with moving exis-
ting
gutters or matching eave heights. If you plan to build your pergola close
to the house, please keep the outer extremities of the pergola a minimum of
4 inches back from your eaves.
What looks like the toughest part of this project is actually the easiest, the
graceful, solid-looking columns. We’ve designed these columns to simply be
slipped over treated 4x4 wood posts that are either embedded in concrete or
directly mounted to a concrete or wood surface using our bolt down brackets.
See pages 7, 8 and 9 for more details.
Restriction of Use
This product is not designed to carry additional
weight loads such as swings, people or other
objects.
Please take the time to read this instruction
guide thoroughly prior to the construction
of your pergola. If you have any questions,
feel free to contact our technical dept by calling
1 800 282 9346, ext #20 (Mon to Fri 8:00 A.M
to 4:00 P.M. EST).
It is critical before you start that you consider the current slope of elevation
where the pergola is planned - if there is any. Also utility or sprinkler line
location is important to identify prior to excavating holes if necessary.
You should also check to verify
hood covenants, or height restrictions regarding this type of structure.
local building codes, ordinances, neighbour-
www.edenarbors.com
12 x 12 Flat Top Pergola
3
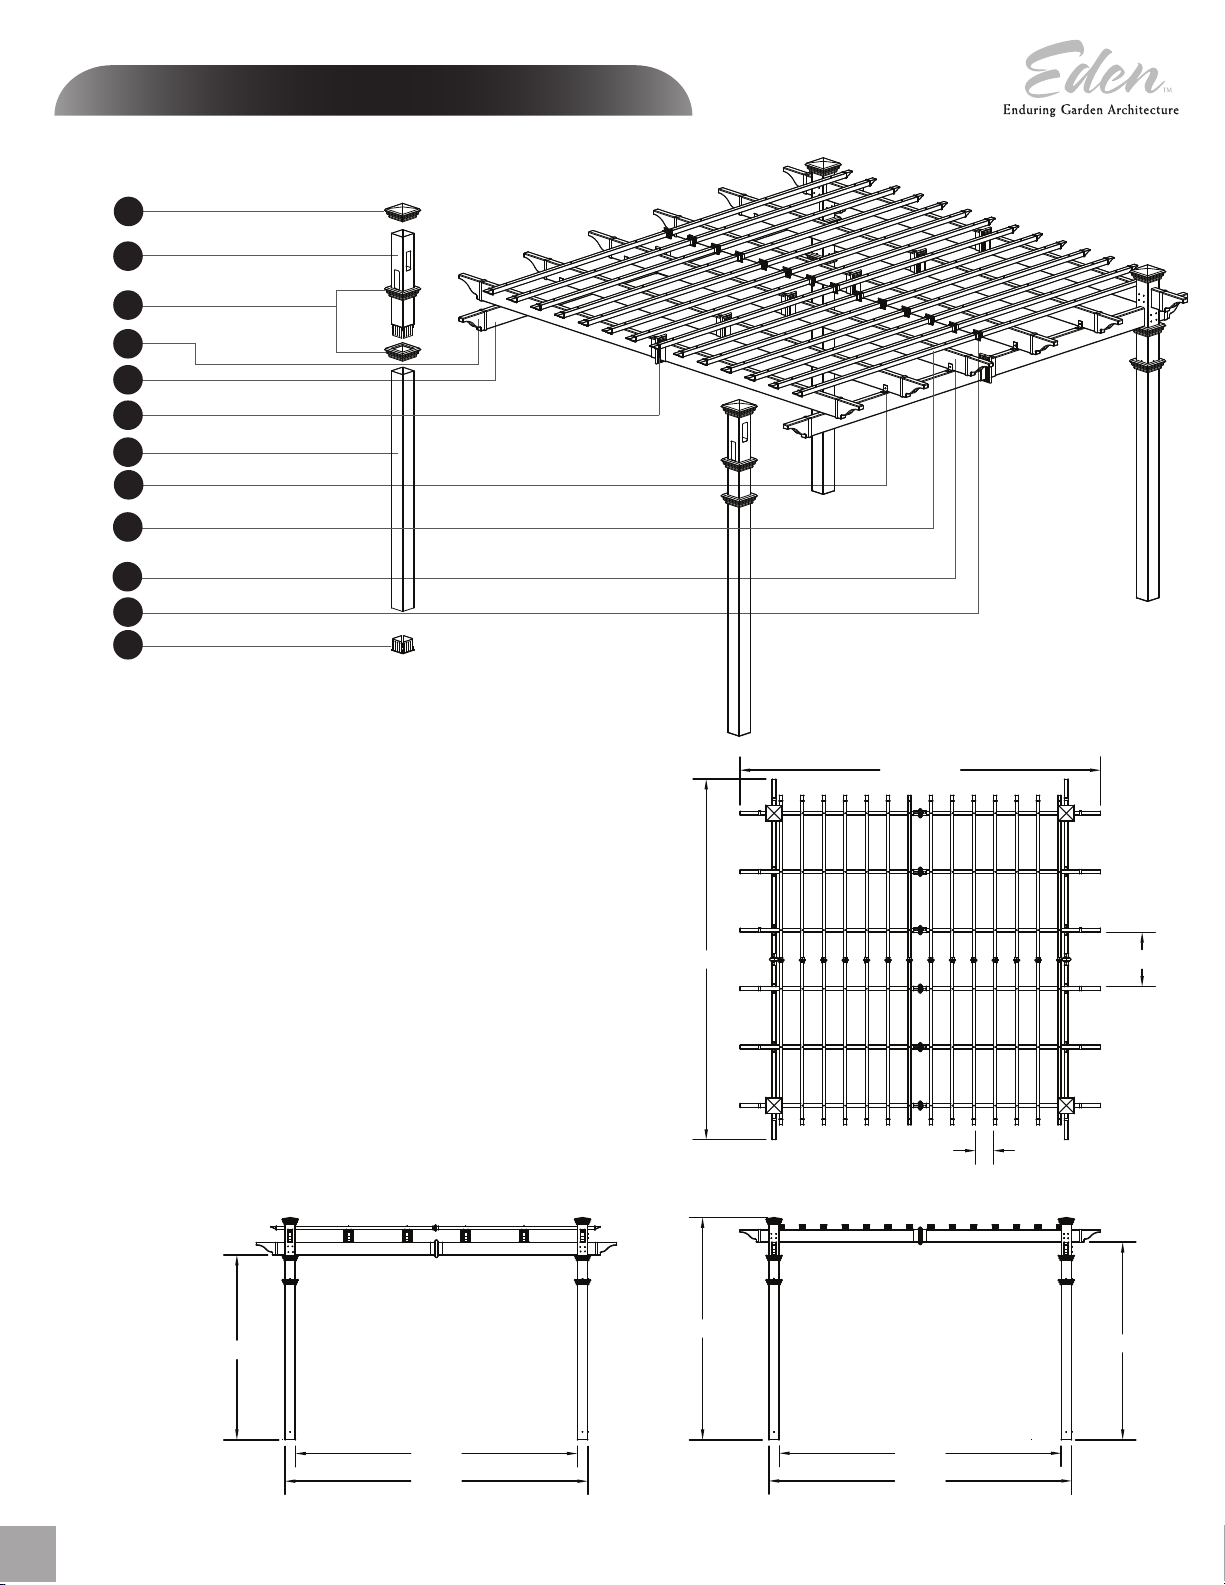
Regency Pergola Materials Overview
1
2
3
4
5
6
7
8
9
10
11
12
www.edenarbors.com
1. Post Caps (4)
2. Main Column Tops (4)
3. Post Trims (8)
4.
Rafter & Beam Decorative End Caps
5. Main Support Beams (4)
6. Beam & Rafter Joiners (8)
7. Main Column Bottoms (4)
8.
Rafter Brackets
9.
Shade Slats
10. Rafters (12)
11.
Shade Slat Joiners
12.
One Way 4”x4” Internal Wood Post Guide
(8)
(28)
(14)
(16)
(4)
171 1/2 in
171 1/2 in
25 13/16 in
8 11/16 in
Top View
4
87 7/8 in
12 x12 Flat Top Pergola
134 in
144 in
Side Vie w
105 3/4 in
94 in
134 in
144 in
Front Vie w

Regency Pergola Materials Breakdown
www.edenarbors.com
Check Boxes (Total of 6) for These Contents
In the event of missing or defective parts please call our customer service
dept. at
1 800 282 9346, ext #20 (Mon. to Fri. 8:00 AM to 4:00 PM EST).
1. Main Column Bottoms (4)
2. Main Column Tops (4)
3. Beam & Rafter Joiners (8)
4.
One Way 4”x4” Internal Wood Post Guide
5. Shade Slat Joiners (14)
6. Post Caps (4)
7. Post Trims (8)
8.
Rafter & Beam Decorative End Caps
9. Rafter Brackets (8)
10. Main Support Beams (4)
11. Rafters (12)
12.
Shade Slats
13. Rafter Hanger (6)*
(*) May be disposed of when installing
the Regency Pergola.
(28)
(4)
(16)
1
2
6
7
3
8
4
9
5
10
11
12
13
Not to Scale
12 x 12 Flat Top Pergola
5
 Loading...