

Page 1
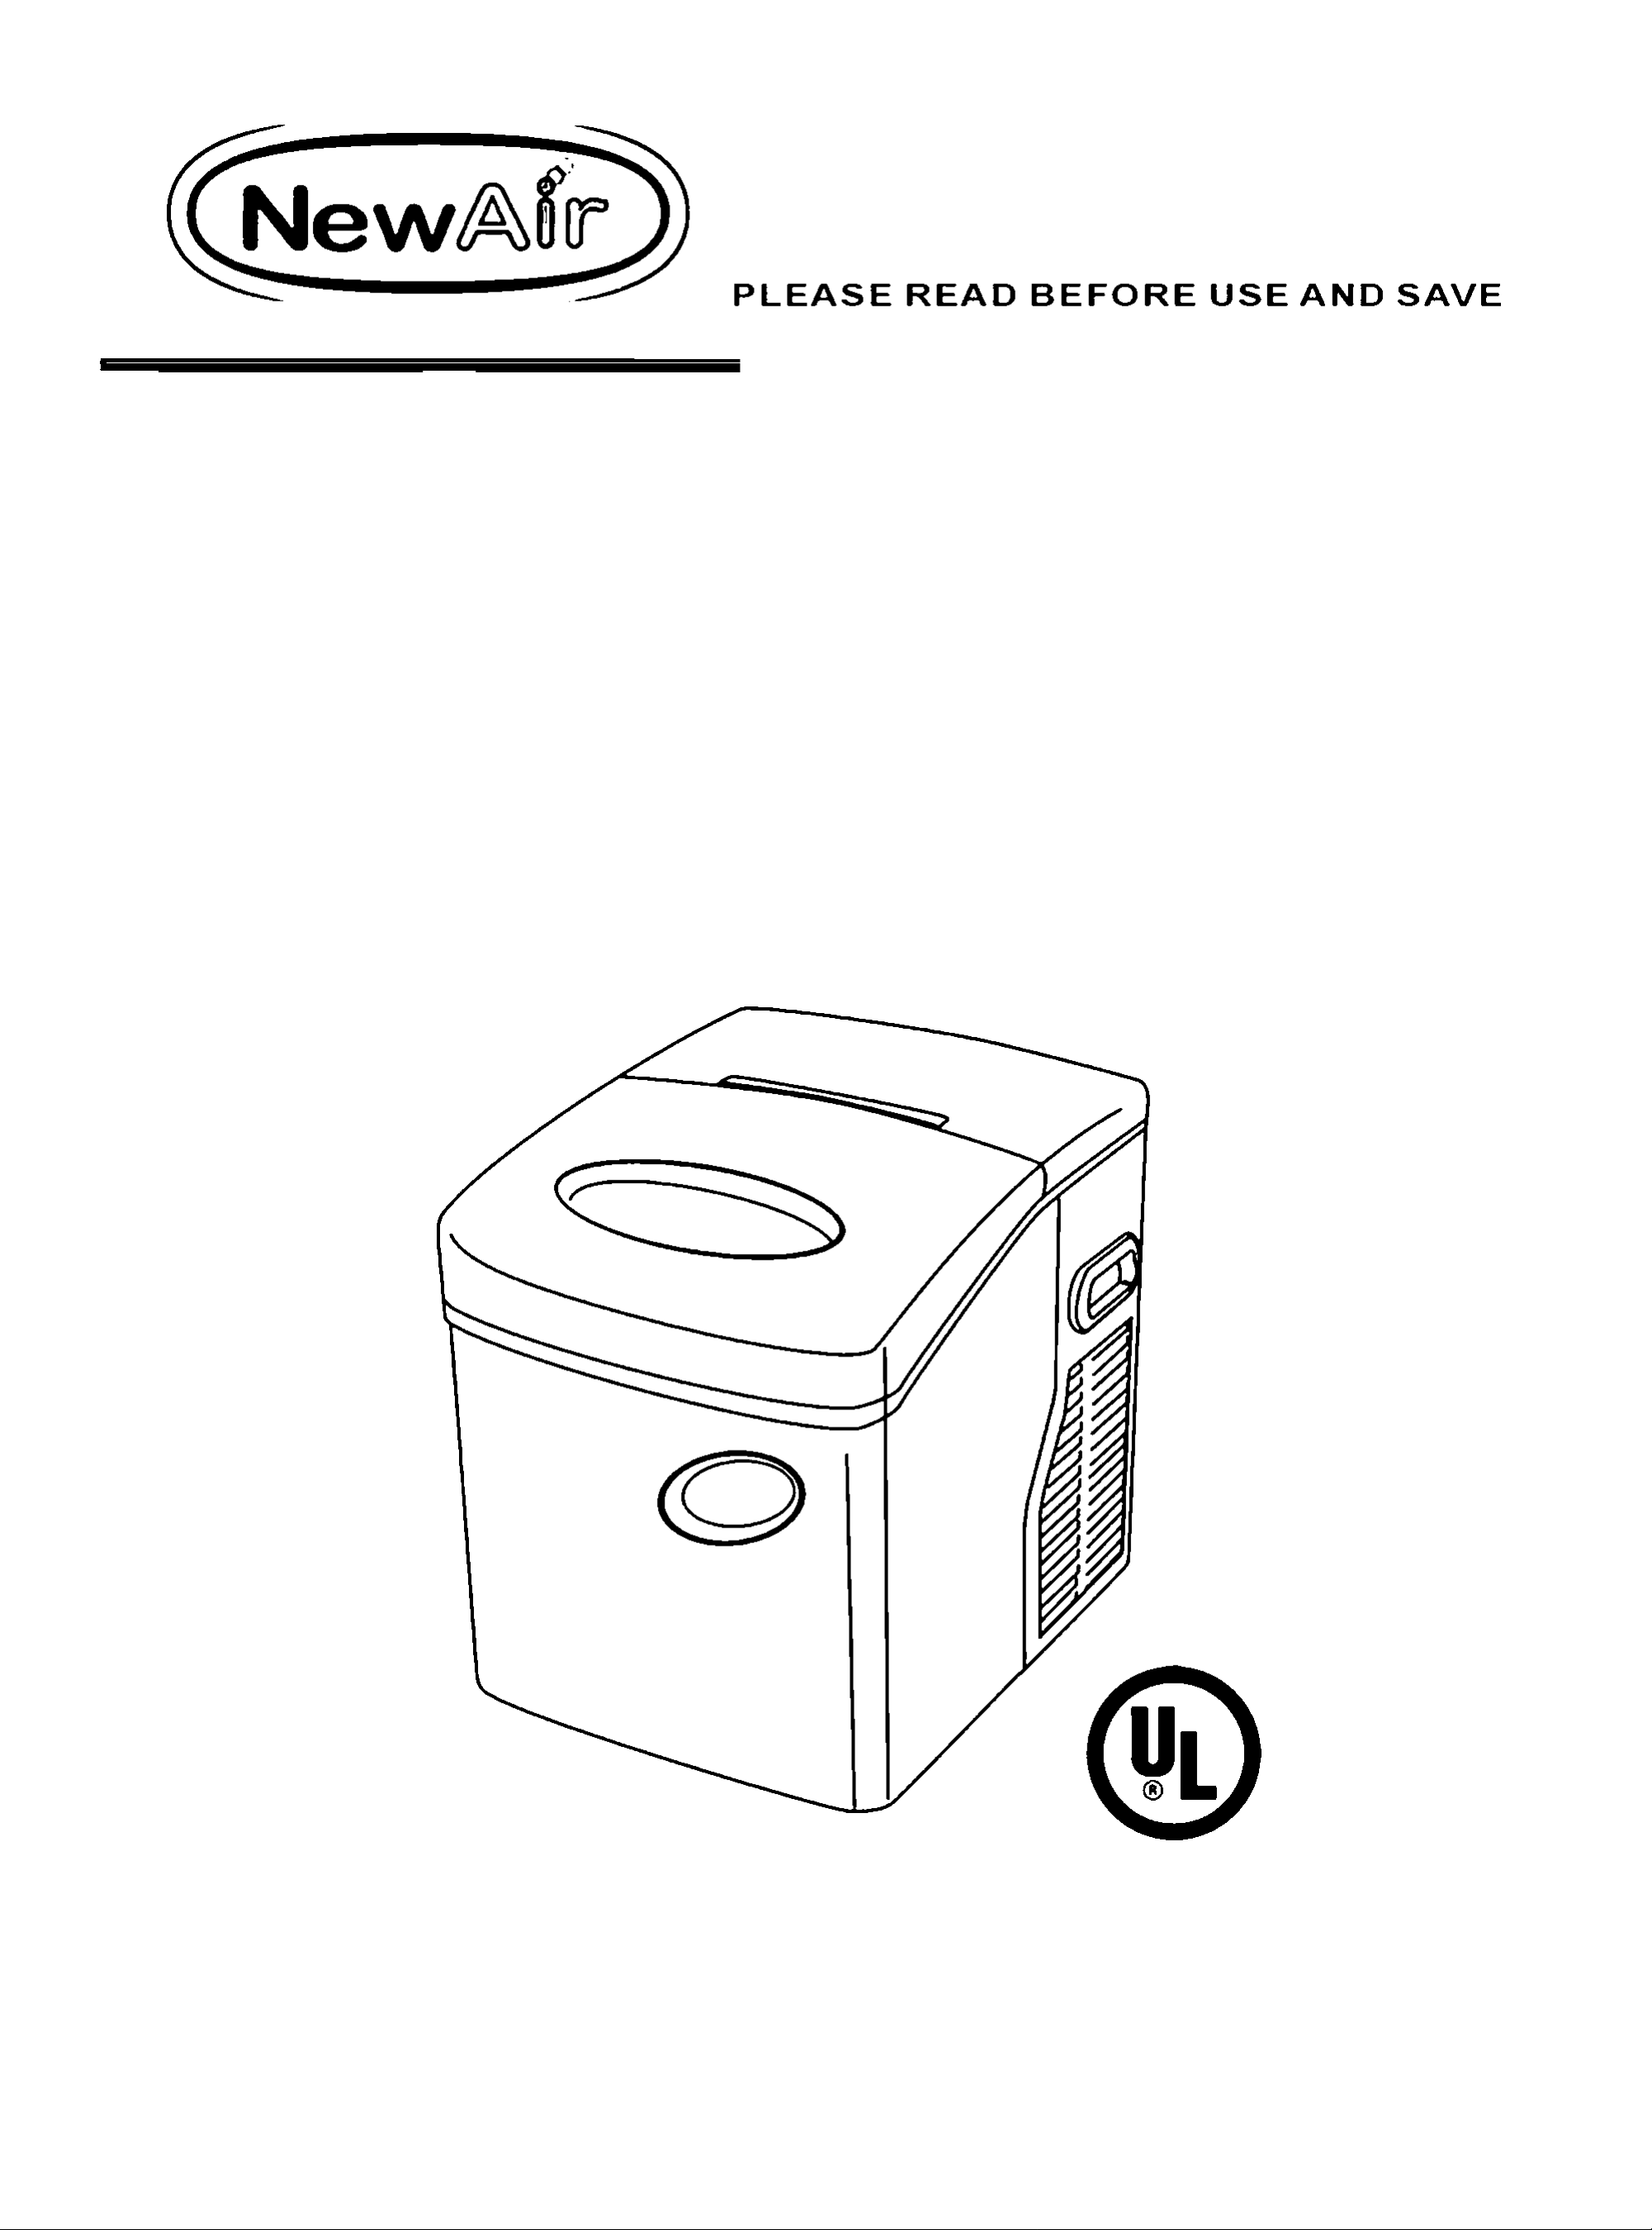
AI-200 Series
Portable Ice Maker
Owner’s Manual
Page 2

TABLE OF CONTENTS
SECTION 1: IMPORTANT SAFETY INSTRUCTIONS
1.1 Important Safety Instructions..................................................................................................1
SECTION 2: PREPARING YOUR ICE MAKER
2.1 Important Safety Tips..............................................................................................................2
SECTION 3: GETTING TO KNOW YOUR ICE MAKER
3.1 Knowing Your Ice Maker.........................................................................................................3
3.2 The Control Panel..................................................................................................................3
SECTION 4: GETTING YOUR ICE MAKER READY FOR USE
4.1 Unpacking Your Ice Maker......................................................................................................4
4.2 Electrical Shock Hazards.......................................................................................................4
SECTION 5: OPERATING YOUR ICE MAKER
5.1 To Operate Your Ice Maker...................................................................................................5
5.2 Cleaning And MaintainingYour Ice Maker
.............................................................................
6
SECTION 6: TROUBLESHOOTING
6.1 Problems, Possible Causes And Solutions.............................................................................7
SECTION 7: PARTS BREAKDOWN DIAGRAM..................................................................................................8
SECTION 8: ELECTRICAL DIAGRAM..................................................................................................................9
Page 3

SECTION 1 IMPORTANT SAFETY INSTRUCTIONS
1.1 IMPORTANT SAFETY INSTRUCTIONS
Your safety and the safety of others are very important
We have provided many important safety messages in this manual and on your appliance.
Always read and obey all safety messages.
!\ This is the safety alert symbol.
All safety messages will follow the safety alert symbol and either the word “DANGER" or “WARNING”.
These words mean:
You can be killed or seriously injured if you don’t immediately follow instructions.
All safety messages will tell you what the potential hazard is, tell you how to reduce the chance of injury,
and tell you what can happen if the instructions are not followed.
Page 4

SECTION 2 PREPARING YOUR ICE MAKER FOR USE
2.1 IMPORTANT SAFETY TIPS
When using electrical appliances, basic safety precautions should be followed to reduce
the risk of fire, electric shock and injury to persons or damage to properties.
Read all the instructions before using any appliances.
• Do not operate this Ice Maker if it has a damaged cord.
• No other appliance should be plugged into the same outlet. Be sure that the plug is fully inserted into
the receptacle.
• Do not place hands or objects on or near evaporator when ice maker is functioning
• Do not let the power cord cross over carpeting or other heat insulators. Do not cover the cord.
• Keep the cord away from high traffic areas.
• Do not submerge the cord into water.
• Turn off and unplug the Ice Maker before servicing.
• Take caution and USE supervision when the unit is working near children.
• If the Ice Maker is brought in from outside in wintertime, do not use for a few hours, allowing the unit to
warm up to the room temperature before operating.
• Do not clean your Ice Maker with any flammable fluids. The fumes may create fire or an explosion.
Before cleaning or other servicing to your Ice Maker, turn off and unplug the unit.
Page 5

SECTIONS GETTING TO KNOW YOUR ICE MAKER
3.1 KNOWING YOUR ICE MAKER
The diagram below shows you the basic parts of your Ice Maker.
Cover
Ice shovel
Ice scoop
Ice basket
Control panel
Water drain off cap
3.2 THE CONTROL PANEL
Water reservoir
(inside)
Button
Power
Select
S Indicates small size of ice is selected
M
L Indicates large size of ice is selected
Ice Indicates ice is full in the ice basket
addAwater
Turns on or turns off the unit
Selects ice size
Indicates medium size of ice is selected
Indicates water reservoir is empty
Page 6

SECTION 4 GETTING YOUR ICE MAKER READY FOR USE
4.1 UNPACKING YOUR ICE MAKER
1. Remove the Ice Maker out of the box. Throw away all plastic bags. Do not throw the box away.
Keep it at a proper place. You may need it for future storage.
2. Check the parts. There should be total 3 main parts in the package: Ice Maker, ice basket and
ice scoop.
3. Remove all the tape in the unit.
4. Use lukewarm water and soft cloth to clean the interior of the Ice Maker, the ice basket and the
ice scoop.
5. Place your Ice Maker away from direct sunlight and other source of heat such as a stove, furnace
and/or radiator.
4.2 ELECTRICAL SHOCK HAZARDS
Electrical Shock Hazard
Rug into a grounded outlet.
Do not use an extension cord.
Failure to follow these instructions can result in death, fire, or
electrical shock.
This appliance requires a standard 115V. 60Hz electrical outlet.
Check with a qualified electrician if you are not sure if the Ice Maker is grounded.
Note; Improper use of the grounded plug can result in the risk of electrical shock.
Do not use damaged power cord.
Page 7

SECTION 5
OPERATING YOUR ICE MAKER
5.1 TO OPERATE YOUR ICE MAKER
After initial cleaning, ensure that the Ice Maker is dry. Check your electrical power and the Ice Maker
placement.
If everything is satisfactory, your Ice Maker is ready to operate.
1. Plug in your Ice Maker. Once plugged in, the power has been activated. The green LED light on the
power button will blink approximately every 5 seconds.
2. Open the cover, take out the ice basket and fill up the water reservoir. Water should not pass the
water level line.
3. Put the ice basket back and close the cover.
4. Press the “Power” button. The unit automatically selects Medium (“M") sized ice. The green LED light
above “M”, on the control panel, should be on. After a while, you will hear the sound of the unit begin
to function.
5. Press the “Select" button to select the ice size. This unit can make three sizes of ice: small, medium
and large which are represented by “S" “M" and “L" respectively on the control panel. When the ice
size is selected, the LED light above the corresponding size will be on to indicate the size selected.
6. Each ice-making cycle lasts 7 to 13 minutes depending on the ice size selected. The machine will
begin its ice-making function within 13 minutes.
7. When one cycle of ice-making is finished, the unit will put the ice into the ice basket. Verify the ice
quantity periodically. When the unit produces the desired amount of ice, press the “Power" button to
stop the ice-making function.
8. The red “Ice” LED light will light up when the ice basket is full. The Ice Maker will stop automatically
when the ice basket is full. Gently remove the ice with the Ice Scoop. Once the basket has been
emptied and the cover closed, the unit will restart its ice-making function automatically.
9. Verify the water level periodically. The red “add/water" LED light will light up when there is no more
water in the reservoir. The Ice Maker will stop automatically when there is no more water. Press the
“Power" button to stop the ice-making function. Refill the Ice Maker with water (see Step 2). Press
the “Power" button to restart the ice-making function.
10. When the Ice Maker is finished making ice, press the “Power" button to stop the ice-making function.
11 .Once completely finished making ice, unplug the unit and open the drain cap to drain out any excess
water from the unit. Wipe down the Ice Maker and store in an appropriate place.
Page 8

SECTION 5
OPERATING YOUR ICE MAKER
5.2 CLEANING AND MAINTAINING YOUR ICE MAKER
We strongly recommend to keep your Ice Maker clean.
When cleaning your Ice Maker, make sure the unit is off and unplugged.
• Clean the interior with diluted detergent, warm water and a soft cloth.
• Clean the outside of the Ice Maker with mild detergent solution and warm water.
• Open the drain cap to drain out excess water.
• Dry the interior and exterior with a soft cloth.
• Tighten the drain cap to close the drain hose to let the unit be ready for the next use.
Note; When the unit is not in use, open the drain cap to drain out water completely.
Note; Wait at least 3 minutes to restart the unit after unplugging or powering off.
Page 9

SECTION 6 TROUBLESHOOTING
6.1 PROBLEMS, POSSIBLE CAUSES AND SOLUTIONS
If...
"Add/water" LED light
is on.
"Ice" LED light is on.
"Add/water" LED light
and "Ice" LED light are
both flashing.
Ice-making cycle is
normal but no ice is made.
Ice cubes are too small
Then...
Lack of water. Press "power" button to stop the unit. Ril up water then restart the unit,
if there is sufficient water, try cleaning the filter.
The Ice basket is full. Gently remove ice from the ice basket.
Ensure that ice tray is in correct position. Basket may be full. Remove ice as it may be
blocking sensor.
Refrigerant liquid has leakage or pipe is the cooling system is
blocked. Verify by a qualified technician.
The ambient temperature or the water temperature is too high. Select large size of ice
by pressing “setecr button.
Page 10

SECTION 7 PARTS BREAKDOWN DIAGRAM
8 i (9
dOi ai; (il) (13)
T
1. Control Panel
2. Display PCB
3. Panel
4. Inner Liner
5. Handle
6. Ice Shovel
7. Ice Case
;.3Î! @ (29) @ (27) (26) (25,! iM) (§! (^2Ï) (2Û (¡9: (18) (Ix
12. Cover
13. Left Board
14. Solenoid Valve
15. Filter
23. Adjustable Foot
24. Compressor
25. Underpan
26. Control Box
16. Container Of Refrigerant 27. Soft Pipe Of Drain
17. Back Board 28. Transformer
18. Strengthen Plate
39. Right Board
8. Evaporator
9. Steel Pipe Of Water Supply
10. Steel Shell
11. Component Of Switch
19. Cooling Fan
20. Condenser
21. Water Pump
22. Soft Pipe Of Water Supply
8
30. Driving Motor
31. ice Basket
Page 11

SECTION 8 ELECTRICAL DIAGRAM
POWER
SUPPLY
Black
MICRO SfITCH
MICRO SWITCH
OETEaiNG SWITCH
SENSOR FOR
CCKÍTROLING FAN
-2 MOTOR
v=f^ SENSOR FOR ICE
DETECTING
 Loading...