

Page 1
2. On the left navigation bar, Click Serial Port, Connection and Port Title #1
3. Log in to port 1.
Username root
Password dbps
4. Verify your connection to the port by typing some text. If the text appears correctly on
the screen, the configuration is correct.
5. Click Close to exit port.
Congratulations, you have successfully installed your
SERIMUX SECURE.
Configure the device for your application using your browser.
To get back to your SERIMUX after your initial configuration, enter the IP address in the
URL address bar and log in. Use the navigation bar on the left to alter your configuration.
Adapter Ordering Chart
Adapter NTI # Application
RJ45-DB25 Female
Console
DB25F-RJ45F DTE devices with DB25 male ports
RJ45-DB25 Male
Console
DB25M-RJ45F-T DTE devices with DB25 female ports
RJ45-DB25 Male
Modem
DB25M-RJ45F-C DCE devices such as modems
RJ45-DB9 Female
Serial
DB9F-RJ45F DB-9 DTE devices
RJ45 M/M UTP Cat5
Patch Cable
CAT5-xx-color
xx= length in feet
Connect SERIMUX to adapters or
directly to terminal
To order adapters either visit our website at www.nti1.com or call us at 1-800-RGB-TECH
(800-742-8324) or 1-330-562-7070.
MAN008QS Rev 6/27/2003
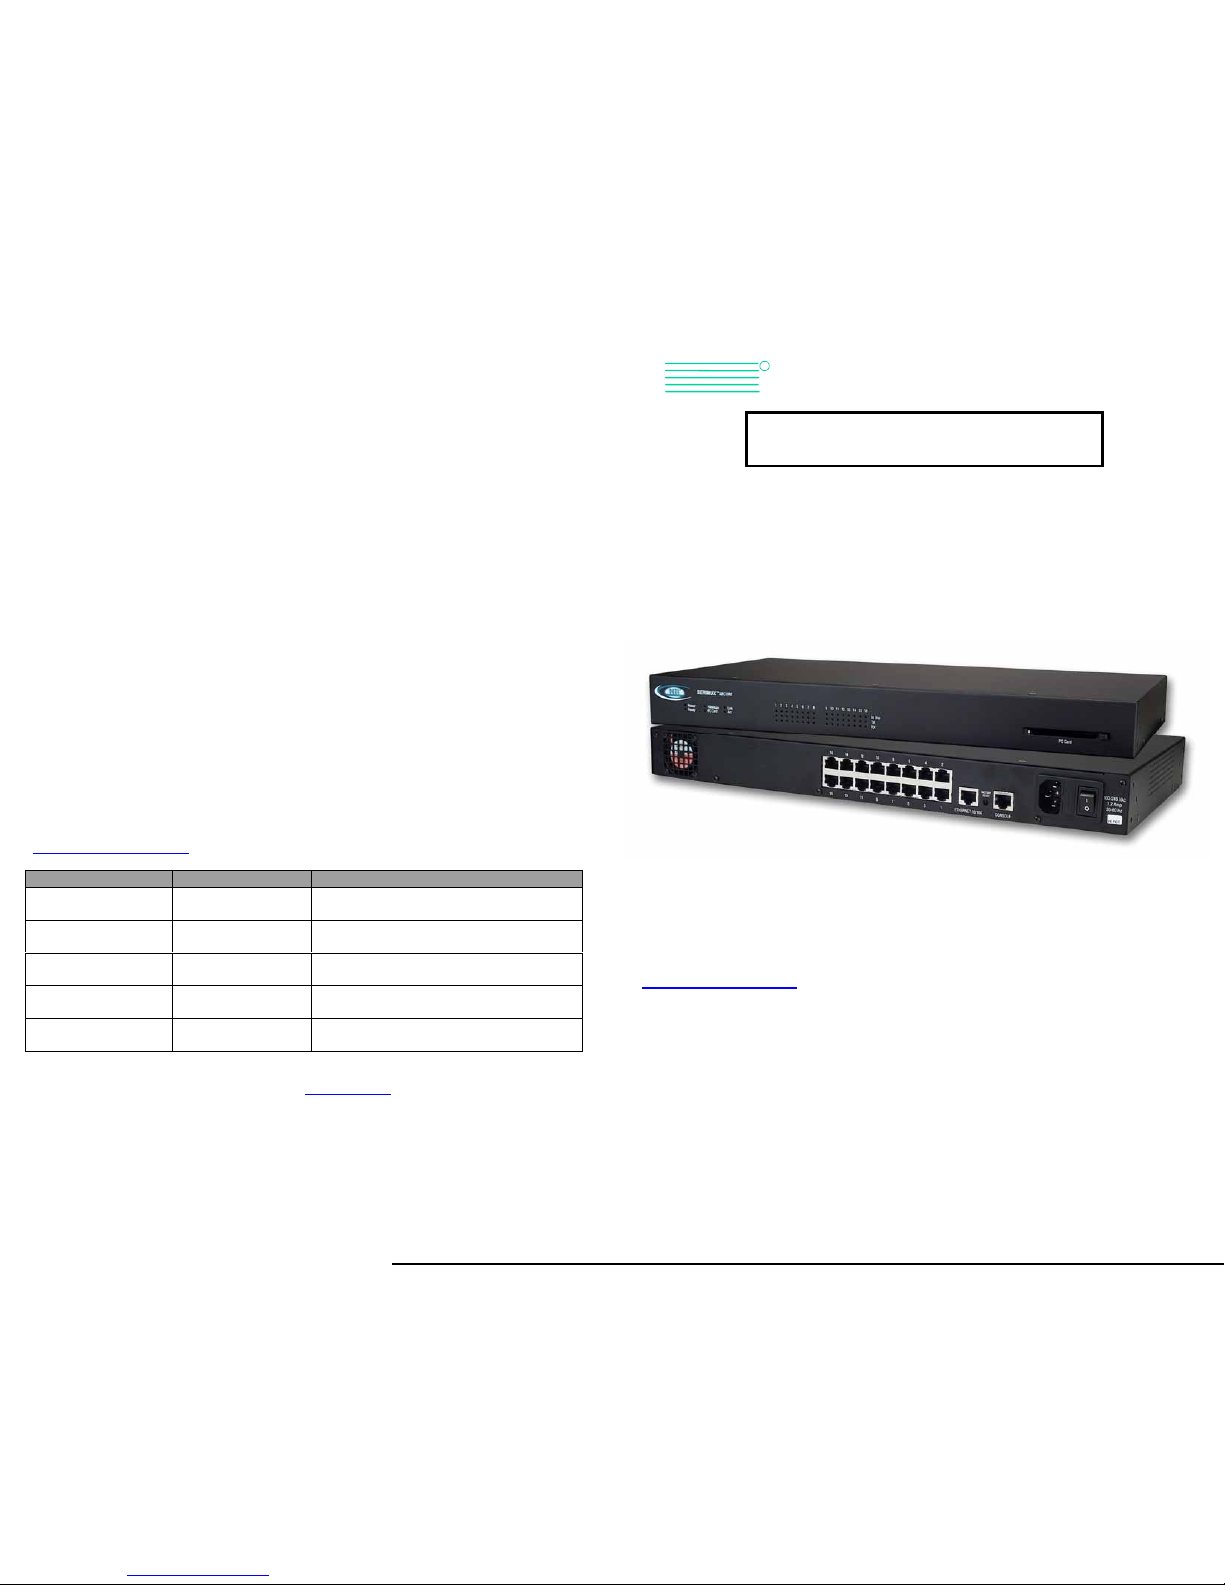
SERIMUX-SECURE-x
Secure Access Console Switch
Quick Start Guide
What's in the Box
• NTI SERIMUX-SECURE-x
• RJ45 M/M Cat5 UTP Patch Cable
• Console Adapter RJ45-DB25 Female
• Console Adapter RJ45-DB25 Male
• Modem Adapter RJ45- DB25 Male
• Serial Adapter RJ45-DB9 Female
• RJ45 Diagnostic Loop back Plug
• Mounting Kit
• AC Power Cable
• Owners Manual
• This Quick Start Guide
NTI
NETWORK
TECHNOLOGIES
INCORPORATED
Tel:330-562-7070
Fax:330-562-1999
1275 Danner Dr
Aurora, OH 44202
www.nti1.com
R
SERIMUXTM SECURE
Page 2
Are you a POWER USER?...Use the
configuration menu
1. Establish a serial connection through the
console port (9600, 8, N, 1).
2. Login as root and password dbps.
2. Type the command configmenu. Select Option
Network Configuration and follow the
prompts.
3. Enter the IP address in the URL address bar of the
browser and go to Test Configuration.
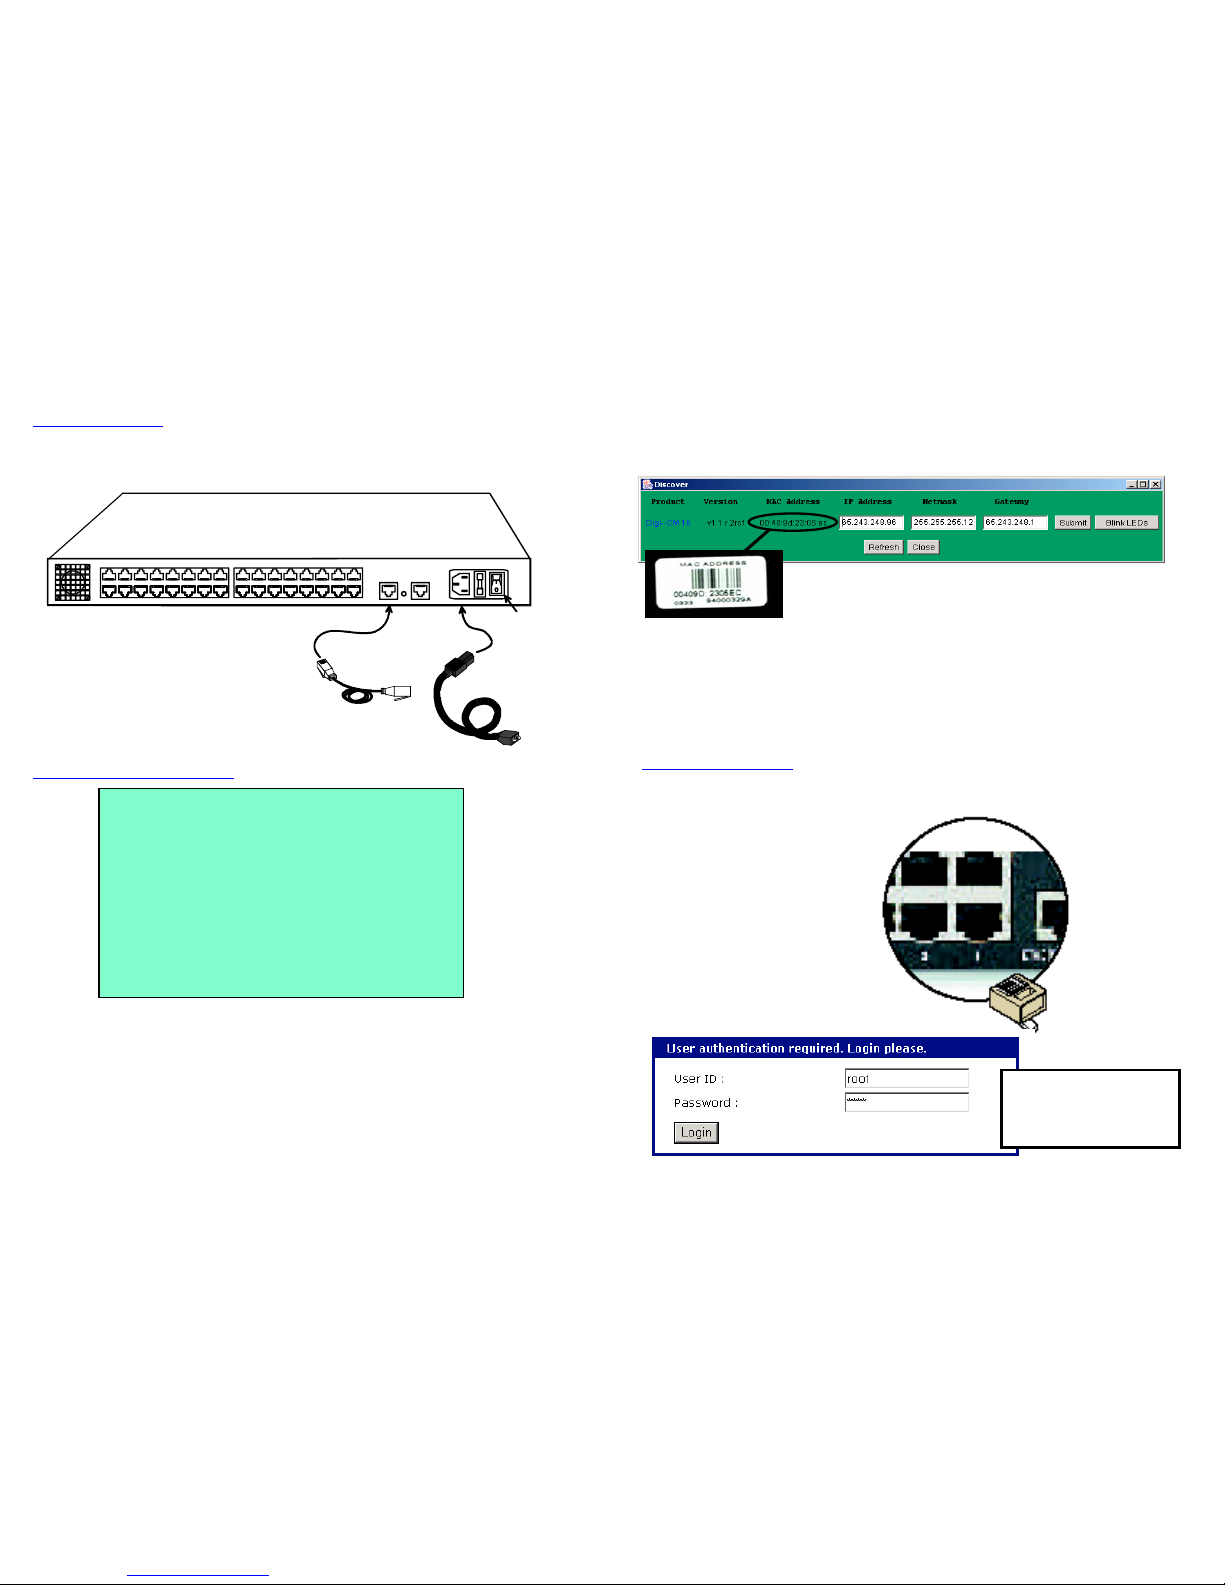
Hardware Setup
1. Plug in the power cable.
2. Connect to the Ethernet LAN
3. Switch on the SERIMUX SECURE.
Assign Network Settings
1. Open your browser to http://cm.digi.com.
2. Click Download (click Yes to accept security warning).
3. Click Discover button.
4. Match the MAC address printed on the white label on the back of the SERIMUX to
identify the specific device or use the Blink LEDs button to
flash all the LEDs on the desired SERIMUX.
5. Enter your IP address, Netmask, Gateway, and click Submit.
6. Click the product name to access the device.
Test Configuration
1. Insert RJ-45 diagnostic loop back into port #1.
216
11517
1832
31
ETHERNET 10/100 CONSOLE
FACTORY
RESET
100-240 VAC
1.2 Amp
50-60 Hz
Connect
Ethernet
Connect
Power cord
Switch ON
SERIMUX
Rear View of SERIMUX SECURE
Enter:
User ID
root
Password dbps
 Loading...