

Page 1
V
NTI
NETWORK
R
TECHNOLOGIES
INCORPORATED
1275 Danner Dr
Aurora, OH 44202
www.networkt echinc.com
Tel:330-562-7070
Fax:330-562-1999
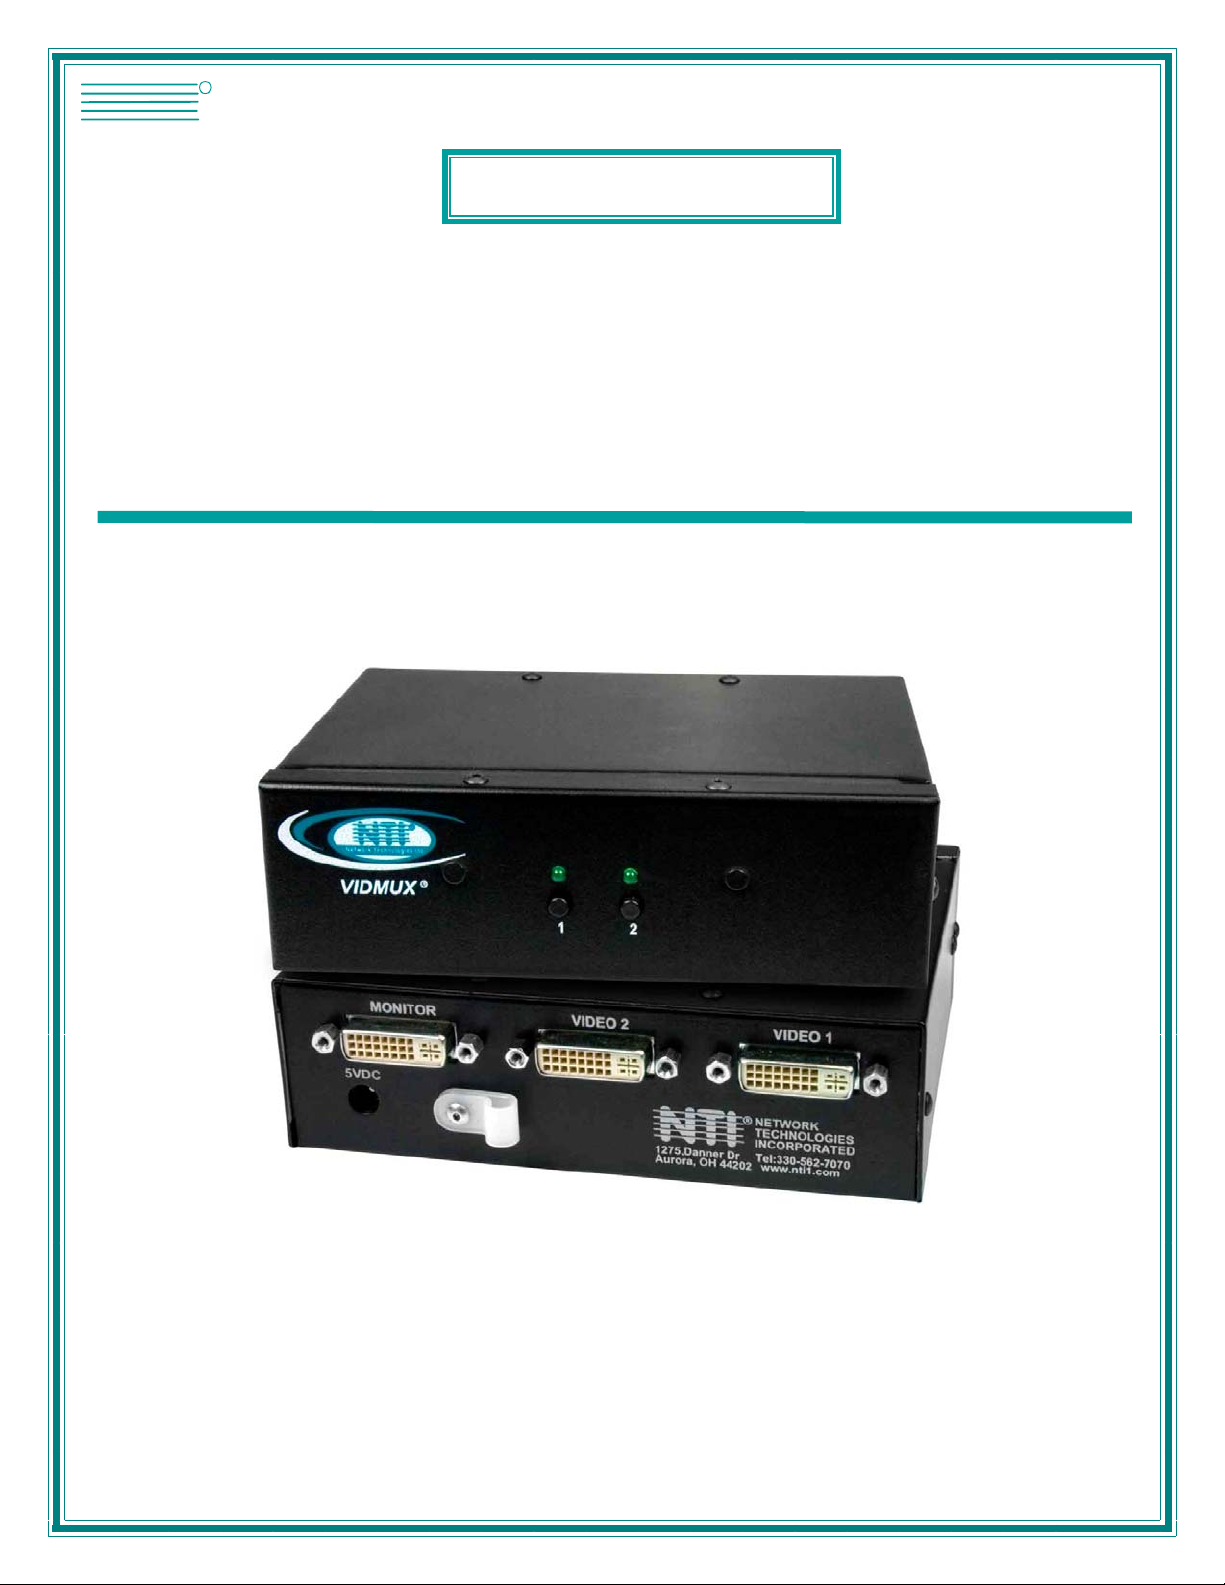
IDMUX®Series
SE-DVI-2
2 Port DVI Video Switch
Installation and Operation Manual
MAN068 Rev Date 5/24/2006
Page 2

TRADEMARK
VIDMUX is a registered trademark of Network Technologies Inc in the U.S. and other countries.
COPYRIGHT
Copyright © 2006 by Network Technologies Inc. All rights reserved. No part of this publication may be reproduced, stored in a
retrieval system, or transmitted, in any form or by any means, electronic, mechanical, photocopying, recording, or otherwise,
without the prior written consent of Network Technologies Inc, 1275 Danner Drive, Aurora, Ohio 44202.
CHANGES
The material in this guide is for information only and is subject to change without notice. Network Technologies Inc reserves the
right to make changes in the product design without reservation and without notification to its users.
i
MAN0068 Rev Date5/24/2006
Page 3

TABLE OF CONTENTS
Introduction......................................................................................................................................................................1
Materials..........................................................................................................................................................................1
Features And Functions..................................................................................................................................................1
Installation .......................................................................................................................................................................2
Operation.........................................................................................................................................................................3
Troubleshooting...............................................................................................................................................................4
Product Specification.......................................................................................................................................................4
Warranty Information.......................................................................................................................................................4
ii
MAN0068 Rev Date5/24/2006
Page 4

NTI VIDMUX Series 2-Port DVI Video Switch
INTRODUCTION
The VIDMUX Series SE-DVI-2 (VIDMUX) is a 2-port DVI video switch that enables two video sources such as a PC or HDTV
tuner to share one DVI monitor using DVI-I or DVI-D single-link connectors. The DVI interface technology implements di gital signal
transmission over the cable to eliminate noise and reduce undesired distortion.
See our catalog, visit our website at http://www.networktechinc.com, or contact an NTI sales representative at 800-742-8324 (800RGB TECH) or 330-562-7070 for more details.
MATERIALS
Materials Supplied with this kit:
• NTI SE-DVI-2 2 Port DVI Video Switch
• 120VAC or 240VAC at 50 or 60Hz-5VDC/2.0A AC Adapter
• Line cord, country specific
• This owners manual
Materials Not Supplied, but REQUIRED:
Three DVI-I/DVI-D interface cables ARE REQUIRED but not supplied.
• DVI-I cable
- VI-IS-xx-MM for video interface
Where:
xx is the length of the cable in feet
MM indicates male-to-male connector
All cables can be purchased from Network Technologies Inc by calling 800-RGB-TECH (800-742-8324) or (330)-562-7070.
FEATURES AND FUNCTIONS
Front View of SE-DVI-2
R
NTI
Network Technologies Inc
VIDMUX
R
12
2
1
5VDC
4
3
Rear View of SE-DVI-2
Monitor Video 2
+
5
Video 1
R
NTI
Aurora, OH 44202
www.networktechinc.com
NETWORK
TECHNOLOGIES
INCORPORATED
Tel:330-562-70701275 Danner Dr
Tel:800-742-8324
1. Input Select LEDs- for visual indication of the video input selected.
2. Input Select Switches- push to manually switch to a specific video input
3. 5VDC- 2.0A jack - connection jack for the AC adapter
4. MONITOR- DVI female connector for connection of the user monitor
5. Video Input- DVI female connectors for connecting video cables from DVI video sources
1
Page 5

NTI VIDMUX Series 2-Port DVI Video Switch
INSTALLATION
The VIDMUX is a Plug-and-Play device with no special configuration settings a nd easy installation steps:
1. Before connecting the VIDMUX to the video sources, make sure the video sources and the monitor are turned OFF.
cables.
WARNING! Damage may occur to the CPU if power is not disconnected before co nn ecting or disconnecting
!
2. Connect the monitor to the DVI female port labeled “MONITOR” on the rear panel of the VIDMUX using a male-to-male DVI-I
cable.
Note: Some monitors need to have their video input type set manually. In this case, select “Digital DVI” as the input
type.
Mating Face of
DVI Female
5VDC
Rear View of SE-DVI-2
Monitor Video 2
+
Video 1
R
NTI
Aurora, OH 44202
www.networktechinc.com
NETWORK
TECHNOLOGIES
INCORPORATED
Tel:330-562-70701275 Danner Dr
Tel:800-742-8324
DVI Enabled
Monitor
Mating Face of
DVI Male
3. Connect the video sources to their corresponding DVI ports labeled “VIDEO 1" and/or "VIDEO 2" on the rear panel of the
VIDMUX using male-to-male DVI-I cables.
Rear View of SE-DVI-2
Video 1
R
NTI
Aurora, OH 44202
www.networktechinc.com
NETWORK
TECHNOLOGIES
INCORPORATED
Tel:330-562-70701275 Danner Dr
Tel:800-742-8324
P
V
H
C
W
I
T
P
I
D
E
O
HDTV Tuner
Monitor Video 2
5VDC
+
DVI-IS-xx-MM
D
V
I
O
R
T
DVI-IS-xx-MM
Mating Face of
DVI Male
2
Page 6

NTI VIDMUX Series 2-Port DVI Video Switch
4. Plug the 5VDC AC adapter into the power jack on the rear panel.
Rear View of SE-DVI-2
Monitor Video 2
5VDC
+
Video 1
R
NTI
1275 Danner Dr
Aurora, OH 44202
www.networktechinc.com
NETWORK
TECHNOLOGIES
INCORPORATED
Tel:330-562-7070
Tel:800-742-8324
Barrel
5 VDC
ADAPTER
AC
Power Connector
5VDC @ 2.0A OUTPUT
(Outside
barrel)
2.1 mm x 5.5 mm Female
5. Power up the VIDMUX first.
6. Power up the monitor.
7. Power up one or both of the video sources.
Note: If one or both of the video sources is a PC, make sure the LED associated w i th that source is illuminated while the
PC boots up. Otherwise the PC may not properly initialize with the connected monitor. See OPERATION below.
(Inside
barrel)
OPERATION
Press the input select buttons to switch between video sources. The LED above each button will illuminate to indicate which
source is connected to the monitor. Only one source can be connected at a time.
Note: While booting up a PC, it is recommended that the monitor be connected to the PC (corresponding LED should be
illuminated) in order for the PC to properly initialize with the connected monitor.
Front View of SE-DVI-2
R
NTI
Network Technologies Inc
VIDMUX
R
LED indicates
Source at
VIDEO 1
is connected
12
3
Page 7

NTI VIDMUX Series 2-Port DVI Video Switch
TROUBLESHOOTING
If the VIDMUX is not working properly, please look for a solution in the list below:
PROBLEM:
SOLUTION:
PROBLEM:
SOLUTION:
PROBLEM:
SOLUTION:
If a solution was not found in the list above, answers may be found in the Frequently Ask Questions (FAQs) section of our
website at http://www.networktechinc.com or call us directly at (800) 742-8324 (800-RGB-TECH) or (330) 562-7070 and we will be
happy to assist in any way we can.
No video at all
Check cable connections on each video source, monitor and the VIDMUX. After reconnecting, if a CPU is the
video source, the CPU may need to be re-booted in order to sense the monitor connection.
No video on one port
Check cable connections on that port. Power cycle the corresponding video source while that port is connected
(the Input Select LED for that port should be illuminated)
Some artifacts in the picture
Check for any loose connection between cable and connectors. If loose, it may be necessary to reboot the CPU
to achieve a clear image.
PRODUCT SPECIFICATION
Video Source Connector
Monitor Port Connector
Operating Temperature
Maximum Display Resolution
Power Supply
Case Material
Dimension ( WxDxH) (In.)
2 x DVI-I Single Link (Digital Only)
1 x DVI-I Single Link (Digital Only)
0-45ºC
1600x1200, 1080i
120VAC or 240VAC at 50 or 60Hz-5VDC/2.0A Positive-tip AC Adapter
Electro-galvanized steel black powdercoated
5.7x4.5x1.8
WARRANTY INFORMATION
The warranty period on this product (parts and labor) is one (1) year from the date of purchase. Please contact Network
Technologies Inc at (800) 742-8324 (800-RGB-TECH) or (330) 562-7070 or visit our website at http://www.networktechinc.com
for information regarding repairs and/or returns. A return authorization number is required for all repairs/returns.
SERIAL NO.:
DATE:
INSPECTED BY: _______
Man068 Rev 5/24/06
4
 Loading...