

Page 1
USB-SUN
USB TO SUN ADAPTER
Installation Manual
MAN015 Rev Date 04/20/2006
Page 2

COPYRIGHT
Copyright © 2001, 2006 by Network Technologies Inc. All rights reserved. No part of this publication may be reproduced, stored
in a retrieval system, or transmitted, in any form or by any means, electronic, mechanical, photocopying, recording, or otherwise,
without the prior written consent of Network Technologies Inc, 1275 Danner Drive, Aurora, Ohio 44202.
CHANGES
The material in this guide is for information only and is subject to change without notice. Network Technologies Inc reserves the
right to make changes in the product design without reservation and without notification to its users.
i MAN015 Rev Date 04/20/2006
Page 3

TABLE OF CONTENTS
Introduction...................................................................................................................................................................... 1
Applications .....................................................................................................................................................................1
Installation ....................................................................................................................................................................... 2
USB-SUN Adapter to NTI KVM Switch........................................................................................................................ 2
Legacy SUN Keyboard/Mouse to USB SUN Adapter .................................................................................................3
Technical Specifications..................................................................................................................................................4
Warranty Information.......................................................................................................................................................4
TABLE OF FIGURES
Figure 1- Connect NTI Universal or Matrix KVM Switch to a SUN CPU with a USB port................................................................... 1
Figure 2- Connect a legacy SUN Keyboard/Mouse to a SUN CPU with a USB port .........................................................................1
Figure 3- Connect USB-SUN to NTI Universal KVM Switch .............................................................................................................. 2
Figure 4- End views of USB Type A and USB Type B male connectors............................................................................................ 2
Figure 5- Connect USB-SUN to SUN CPU with USB port ................................................................................................................. 3
Figure 6- Connect Legacy SUN Keyboard/Mouse to USB-SUN ........................................................................................................ 3
ii MAN015 Rev Date 04/20/2006
Page 4

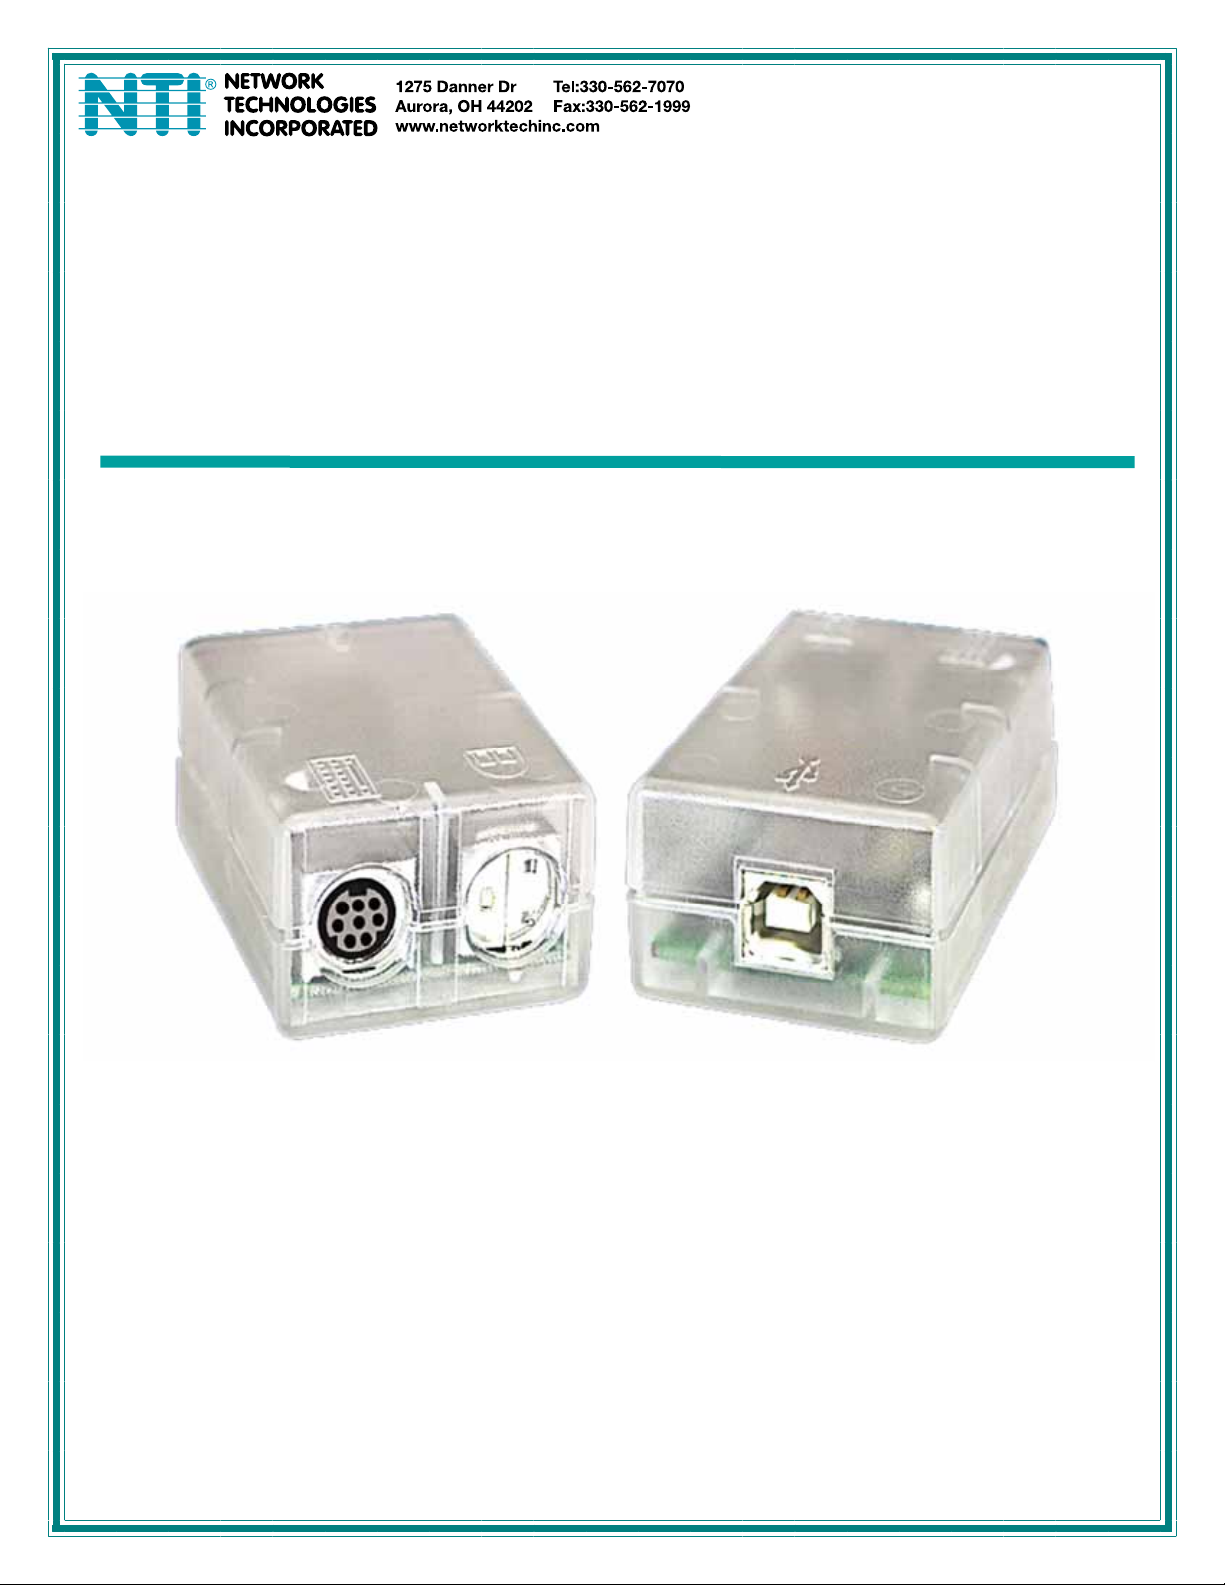
NTI USB-TO-SUN ADAPTER
INTRODUCTION
The NTI USB-SUN is a USB to SUN adapter that allows users to easily connect their SUN USB enabled CPU to an NTI Universal
Multi-Platform (ST-xU) or Universal Matrix (ST-nXm-U) KVM Switch.
Materials supplied:
1 NTI USB-SUN Adapter
1 USB-AB-0,5M-5T USB Type A male -to-USB Type B male cable
Cable that may be required but is not supplied:
Application NTI Cable
Connect adapter to NTI Universal Switch SKTINT-xx-MM
Legend:
xx is the length of the cable in feet.
MM indicates male-to-male connector.
APPLICATIONS
SUN CPU
With USB
Port
USB-AB-0,5M-5T
(supplied)
USB-SUN
Adapter
SKTINT-xx-MM
Figure 1- Connect NTI Universal or Matrix KVM Switch to a SUN CPU with a USB port
SUN CPU
With USB
Port
USB-SUN
Adapter
USB-AB-0,5M-5T
(supplied)
Connection made to NTI
KVM SwitchKeyboard and Mouse Inputs
ST-nXm-U
or
ST-xU
Existing Keyboard Cable
SUN Legacy Keyboard & Mouse
Figure 2- Connect a legacy SUN Keyboard/Mouse to a SUN CPU with a USB port
1
Page 5

NTI USB-TO-SUN ADAPTER
INSTALLATION
USB-SUN Adapter to NTI KVM Switch
When using the USB-SUN adapter to connect to an NTI KVM switch:
1. Connect one male 8 pin minDIN end of an SKTINT-xx-MM cable to a female 8 pin minDIN "Devices" input port
on the NTI KVM switch being used (see Fig. 3). Switch the power ON to the KVM switch if it isn't already.
2. Connect the other male 8 pin miniDIN end of the SKTINT-xx-MM cable to the 8 pin miniDIN female port on the USB-SUN
adapter.
Rear View of ST-8U Universal KVM Switch
CPU 6 CPU 5
CPU 2 CPU 1
Tel:330-562-70701275 Danner Dr, Aurora, OH 44202 www.nti1.com
DEVICES
MONITOR
8 4 7 3 6 2 5 1
Rear View of USB-SUN
NETWORK TECHN OLOGIES INC
CPU 8
CPU 7
R
S
2
CPU 4
CPU 3
3
2
8 pin miniDIN
Male Connector
SKTINT-xx-MM
8 pin miniDIN
Male Connector
VIDEOVIDEO
Figure 3- Connect USB-SUN to NTI Universal KVM Switch
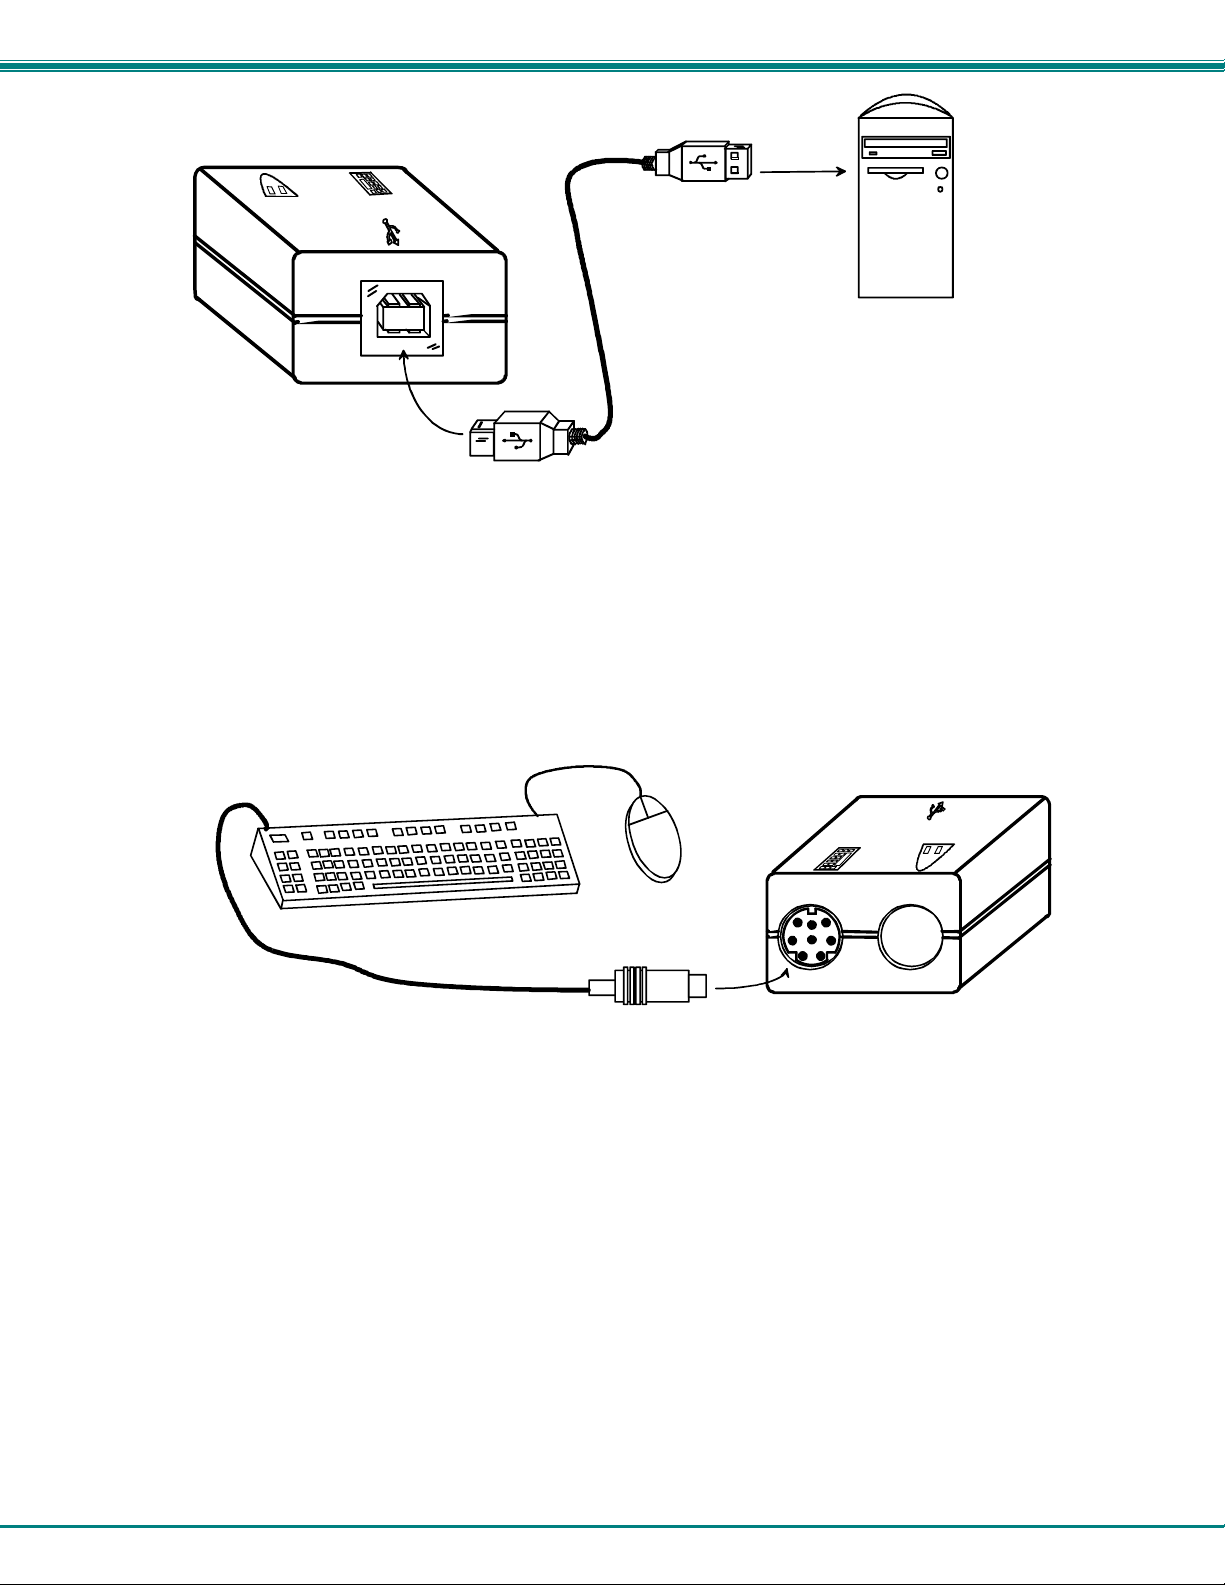
3. Connect the USB type B male connector (see Fig. 4) of the USB-AB-0.5M-5T cable to the USB type B female port on the
USB-SUN adapter.
4. Connect the USB type A male connector (see Fig. 4) of the USB-AB-0.5M-5T cable to a USB type A female port on the CPU.
See Figure 5.
Note: It is important to make this connection last, particularly if the SUN CPU is already ON at the time of connection.
USB Type A Male
Connector
USB Type B Male
Connector
Figure 4- End views of USB Type A and USB Type B male connectors
2
Page 6
NTI USB-TO-SUN ADAPTER
Front View of USB-SUN
USB Type B
Male Connector
USB Type A
Male Connector
To USB
Type A port
USB-AB-0.5M-5T
SUN CPU
With USB
Port
Figure 5- Connect USB-SUN to SUN CPU with USB port
Legacy SUN Keyboard/Mouse to USB SUN Adapter
When using the USB-SUN adapter to connect a SUN Keyboard and/or Mouse to a SUN CPU with a USB port:
1. Connect the 8 pin minDIN male connector of the SUN keyboard and mouse assembly into the female 8 pin miniDIN port
on the USB-SUN adapter.
SUN Keyboard / Mouse
8 pin miniDIN
Male Connector
Rear View of USB-SUN
Figure 6- Connect Legacy SUN Keyboard/Mouse to USB-SUN
2. Continue with steps 3 and 4 on page 2.
PLEASE NOTE: It is necessary to configure the SUN CPU such that the Sleep Mode is not enabled. If the SUN CPU goes
into sleep mode either automatically or manually, the user must reboot the CPU in order to resume use of the CPU.
To disable the Sleep Mode, perform the following steps:
1. Select "Power Manager"
2. Look for "Device Idle Time Before Power Saving Starts"
3. Select "Always ON"
4. Look for "Override Device Idle Time For:"
5. Make sure neither "Monitors " nor "Disks" are selected.
3
Page 7

NTI USB-TO-SUN ADAPTER
TECHNICAL SPECIFICATIONS
Mating face of a USB Type B Female
21
43
PIN # SIGNAL
1 +VCC 1 GND
2 - DATA 2 GND
3 +DATA 3 +5
4 GND 4 MOUSE
5 KYBD RCV
6 KYBD XMT
7 PWRN
8 +5
Mating Face of a 8 pin miniDIN Female
8 6
7
4
5 3
2 1
PIN # SIGNAL
WARRANTY INFORMATION
The warranty period on this product (parts and labor) is two (2) years from the date of purchase. Please contact Network
Technologies Inc at (800) 742-8324 (800-RGB-TECH) or (330) 562-7070 or visit our website at http://www.networktechinc.com
for information regarding repairs and/or returns. A return authorization number is required for all repairs/returns.
PRODUCT
SERIAL NO.:
DATE:
MAN015 Rev. 04/20/06
INSPECTED BY:
4
 Loading...