

Page 1

Wireless network adapter Quick Installation Guide
Wireless network adapter
Quick Installation Guide
Page 1 of 13
Page 2

Wireless network adapter Quick Installation Guide
1 About This Guide
This Quick Installation Guide only provides you some basic instructions. For more detailed
information, please refer to the User Ma n u a l .
Before you begin, you must have at least the following:
z A notebook /desktop pc with an available 32-bit Cardbus/PCI/USB slot
z At least a 300MHz processor and 32MB of memory
z Cardbus/PCI/USB controller properly installed and working in the computer
z An 802.11g or 802.11b Access Point (for infrastructure Mode) or another 802.11g or
802.11b wireless adapter (for Ad-Hoc; Peer-to-Peer networking mode.)
2 Install Driver and Utility
z Insert the Driver and Utility CD-ROM into the CD-ROM driver.
z The Wizard should run automatically, and Figure 2-1 should appear. If it dose not, click
the Start button and choose Run. In the field that appears, enter D:\autorun.exe (if ‘’D’’
is the letter of your CD-ROM drive).
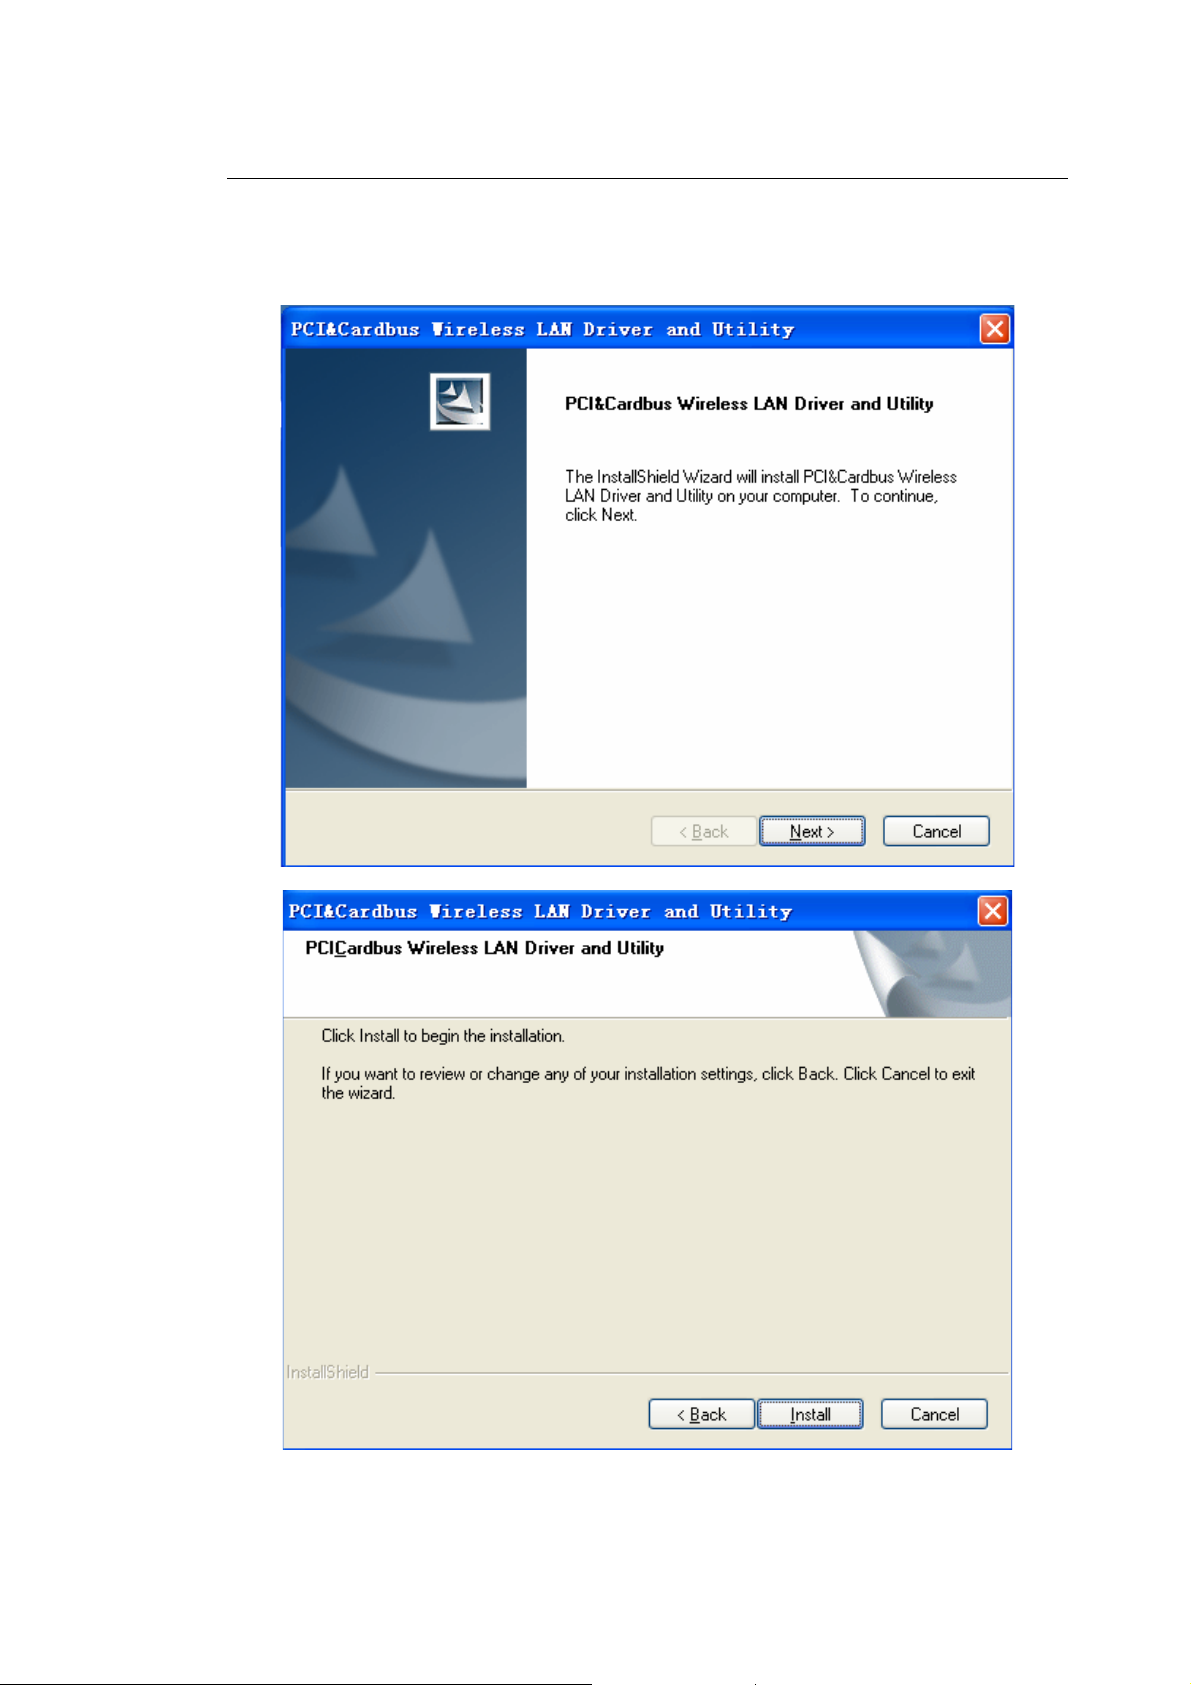
Figure 2-1
Page 2 of 13
Page 3
Wireless network adapter Quick Installation Guide
z Click Install Driver & Utility for Cardbus/PCI Wireless Adapter ( if your wireless
adapter is USB wireless adapter, please select Install Driver & Utility for USB
Wireless Adapter )on the Wireless Client Configuration Utility screen, and then select
the installing language from the next screen.
Figure 2-2
Page 3 of 13
Page 4
Wireless network adapter Quick Installation Guide
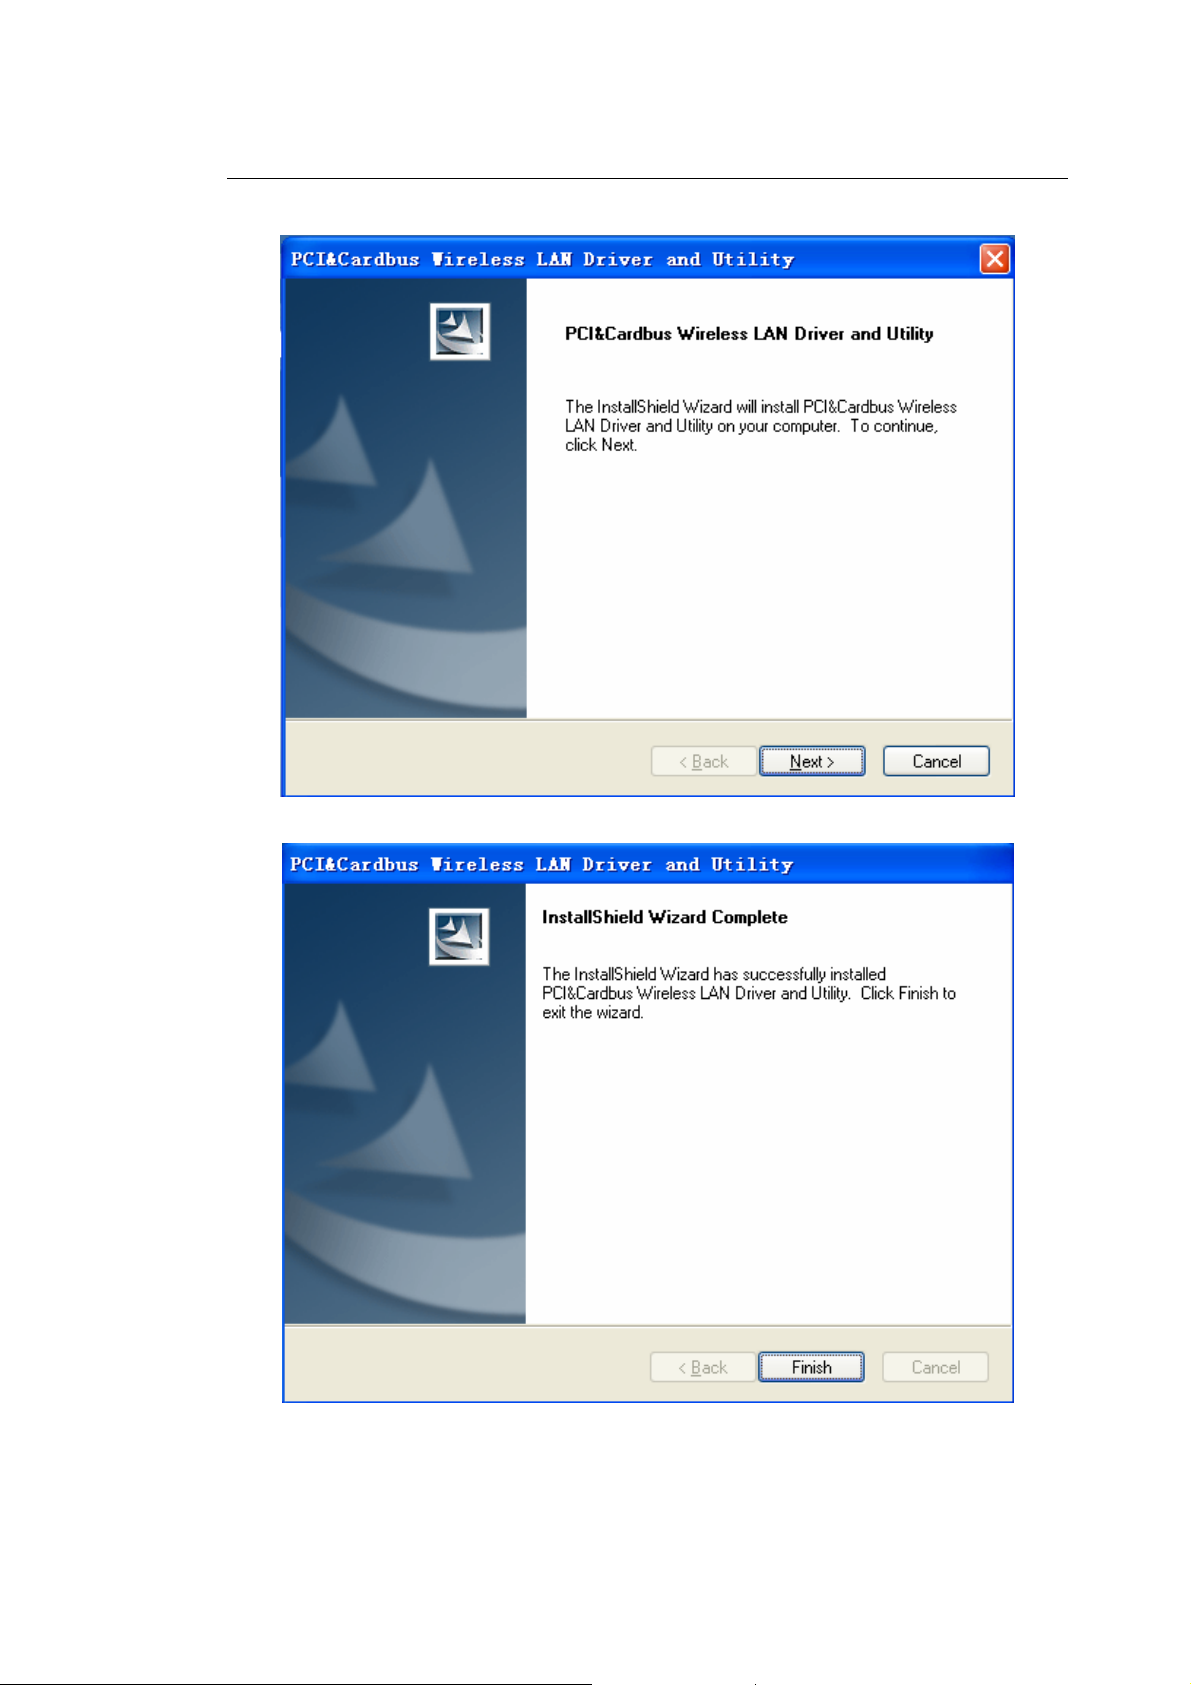
Figure 2-3
Figure 2-4
z Follow the Install Shield Wizard steps, and click Finish when done.
z Now turn off your PC or notebook
Figure 2-5
Page 4 of 13
Page 5

Wireless network adapter Quick Installation Guide
3 Install Wireless adapter
3.1 Cardbus Adapter
z Power on your notebook, let the operating system boot up completely, and log in as
needed.
z Hold the adapter with the LOGO facing up and insert it into a Cardbus slot.
Figure 3-1
z If the Found New Hardware Wizard displays, choose install the software
automatically (Recommended), and click Next button. The driver will be installed
automatically.
Page 5 of 13
Page 6

Wireless network adapter Quick Installation Guide
Figure 3-2
3.2 PCI Adapter
z Open your PC case and locate an available PCI on the motherboard.
z Slide the PCI Adapter into the PCI slot. Make sure that all of its pins are touching the
slot’s contacts. You may have to apply a bit of pressure to slide the adapter all the way in.
after the adapter is firmly in place, secure its fastening tab to your PC’s chassis with a
mounting screw. Then close your PC.
z Attach the external antenna to the adapter’s antenna port.
z Power on the PC.
Figure 3-3
z If the Found New Hardware Wizard displays, choose install the software
Page 6 of 13
Page 7

Wireless network adapter Quick Installation Guide
automatically (Recommended), and click Next button. The driver will be installed
automatically.
Figure 3-4
3.3 USB Adapter
z Power on your PC, let the operating system boot up completely, and log in as needed.
z Hold the adapter and insert it into a USB slot.
Figure 3-5
z If the Found New Hardware Wizard displays, choose install the software
automatically (Recommended), and click Next button. The driver will be installed
Page 7 of 13
Page 8

automatically.
Wireless network adapter Quick Installation Guide
Figure 3-6
You have now completed the driver and hardware installation for the Adapter.
4 Configuration your wireless adapter
z The Wireless Client Configuration Utility screen will appear automatically.
Page 8 of 13
Page 9

Wireless network adapter Quick Installation Guide
Figure 4-1
z Click the Set Wizard(S) tab to start connecting to Wireless-AP.
Figure 4-2
Page 9 of 13
Page 10

Wireless network adapter Quick Installation Guide
z Select Station(infrastructure), click Next
Figure 4-3
z To connect to one of the networks on the list, select the wireless network and click Next
Figure 4-4
Page 10 of 13
Page 11

Wireless network adapter Quick Installation Guide
z Click OK (if the wireless network have network key, you should import the network key,
please refer to Wireless network adapter -UM)
Figure 4-5
z Select Obtain an IP address automatically, Obtain DNS server address
automatically, and then Click Finish to complete configuration.
Page 11 of 13
Page 12

Wireless network adapter Quick Installation Guide
Figure 4-6
Congratulations! You’ve successfully configured your wireless adapter!
Page 12 of 13
Page 13

Wireless network adapter Quick Installation Gui de
FCC statement
This equipment has been tested and found to comply with the limits for a Class B
digital device, pursuant to Part 15 of the FCC Rules. These limits are designed to
provide reasonable protection against harmful interference in a residential
installation.
This equipment generates, uses and can radiate radio frequency energy and if not
installed and used in accordance with the instructions, may cause harmful
interference to radio communications. However, there is no guarantee that
interference will not occur in a particular installation. If this equipment does cause
harmful interference to radio or television reception, which can be determined by
turning the equipment off and on. The user is encouraged to try to correct the
interference by one of the following measures:
Reorient or relocate the receiving antenna.
Increase the separation between the equipment and receiver.
Connect the equipment into an outlet on a circuit different from that to which the
receiver is connected.
Consult the dealer or an experienced radio/TV technician for help.
To assure continued compliance, any changes or modifications not expressly approved
by the party responsible for compliance could void the user's authority to operate this
equipment.
FCC Radiation Exposure Statement
This equipment complies with FCC RF radiation exposure limits set forth for an
uncontrolled environment. This equipment should be installed and operated with a
minimum distance of 20 centimeters between the radiator and your body.
This equipment complies with Part 15 of the FCC Rules.Operation is subject to the
following two conditions:
(1) This device may not cause harmful interference, and
(2) This device must accept any interference received, including interference that may
cause undesired operation.
Page 13 of 13
 Loading...