

Netgate FW-7551 Installation Manual
Netgate® FW-7551 with pfSense® Version 2.1.X
Basic Installation Guide

Table of Contents
Table of Contents ................................................................................................................ 2
Introduction ........................................................................................................................ 3
Product includes ................................................................................................................. 3
Key features ........................................................................................................................ 4
Specifications ...................................................................................................................... 4
Plugging everything in ......................................................................................................... 5
Initial Configuration ............................................................................................................ 5
Logging into the web interface ........................................................................................... 5
Setup Wizard ....................................................................................................................... 6
Hostname ............................................................................................................................ 7
Domain ................................................................................................................................ 7
DNS Servers ......................................................................................................................... 7
Time Zone and Server ......................................................................................................... 7
WAN Configuration ............................................................................................................. 8
Configure LAN Interface ...................................................................................................... 9
Setting the password .......................................................................................................... 9
Introduction to the web interface .................................................................................... 10
Backing up and restoring .................................................................................................. 10
What else can I do? ........................................................................................................... 10
Console Access by Serial Interface .................................................................................... 11
Null Modem Cable ............................................................................................................ 11
Serial Terminal Emulation Client ...................................................................................... 11
Accessing the Console ....................................................................................................... 11
Configuring Serial Terminal Emulator ............................................................................... 11
Additional Support ............................................................................................................. 13
pfSense University .............................................................................................................. 14
Additional Support ............................................................................................................. 14
2
Introduction
Thank you for your purchase of the Netgate FW-7551 with pfSense® 2.1.x The Lanner hardware
platform in combination with the popular open source pfSense software provides a powerful, costeffective solution for your network security needs.
This Quick Start Guide will help you get up and running with a basic configuration on your FW-7551.
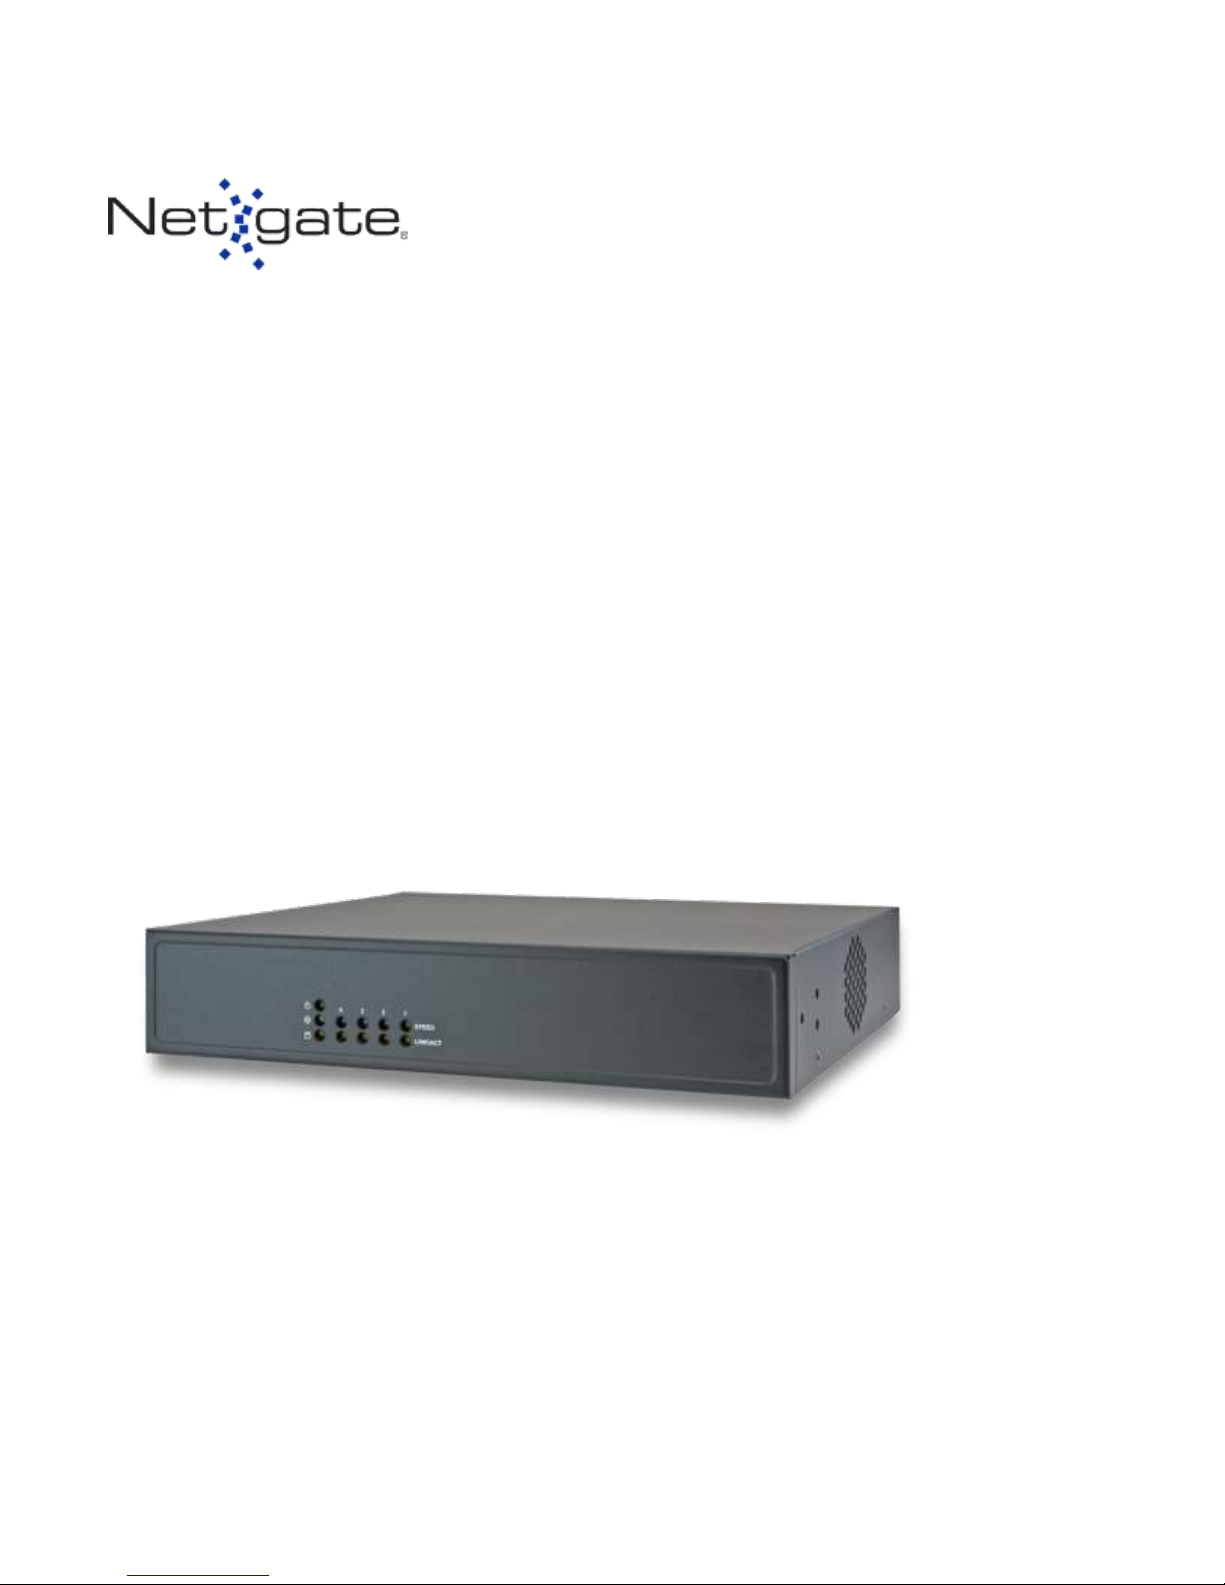
Product includes
Figure 1
1 Netgate FW-7551 preloaded with pfSense 2.1
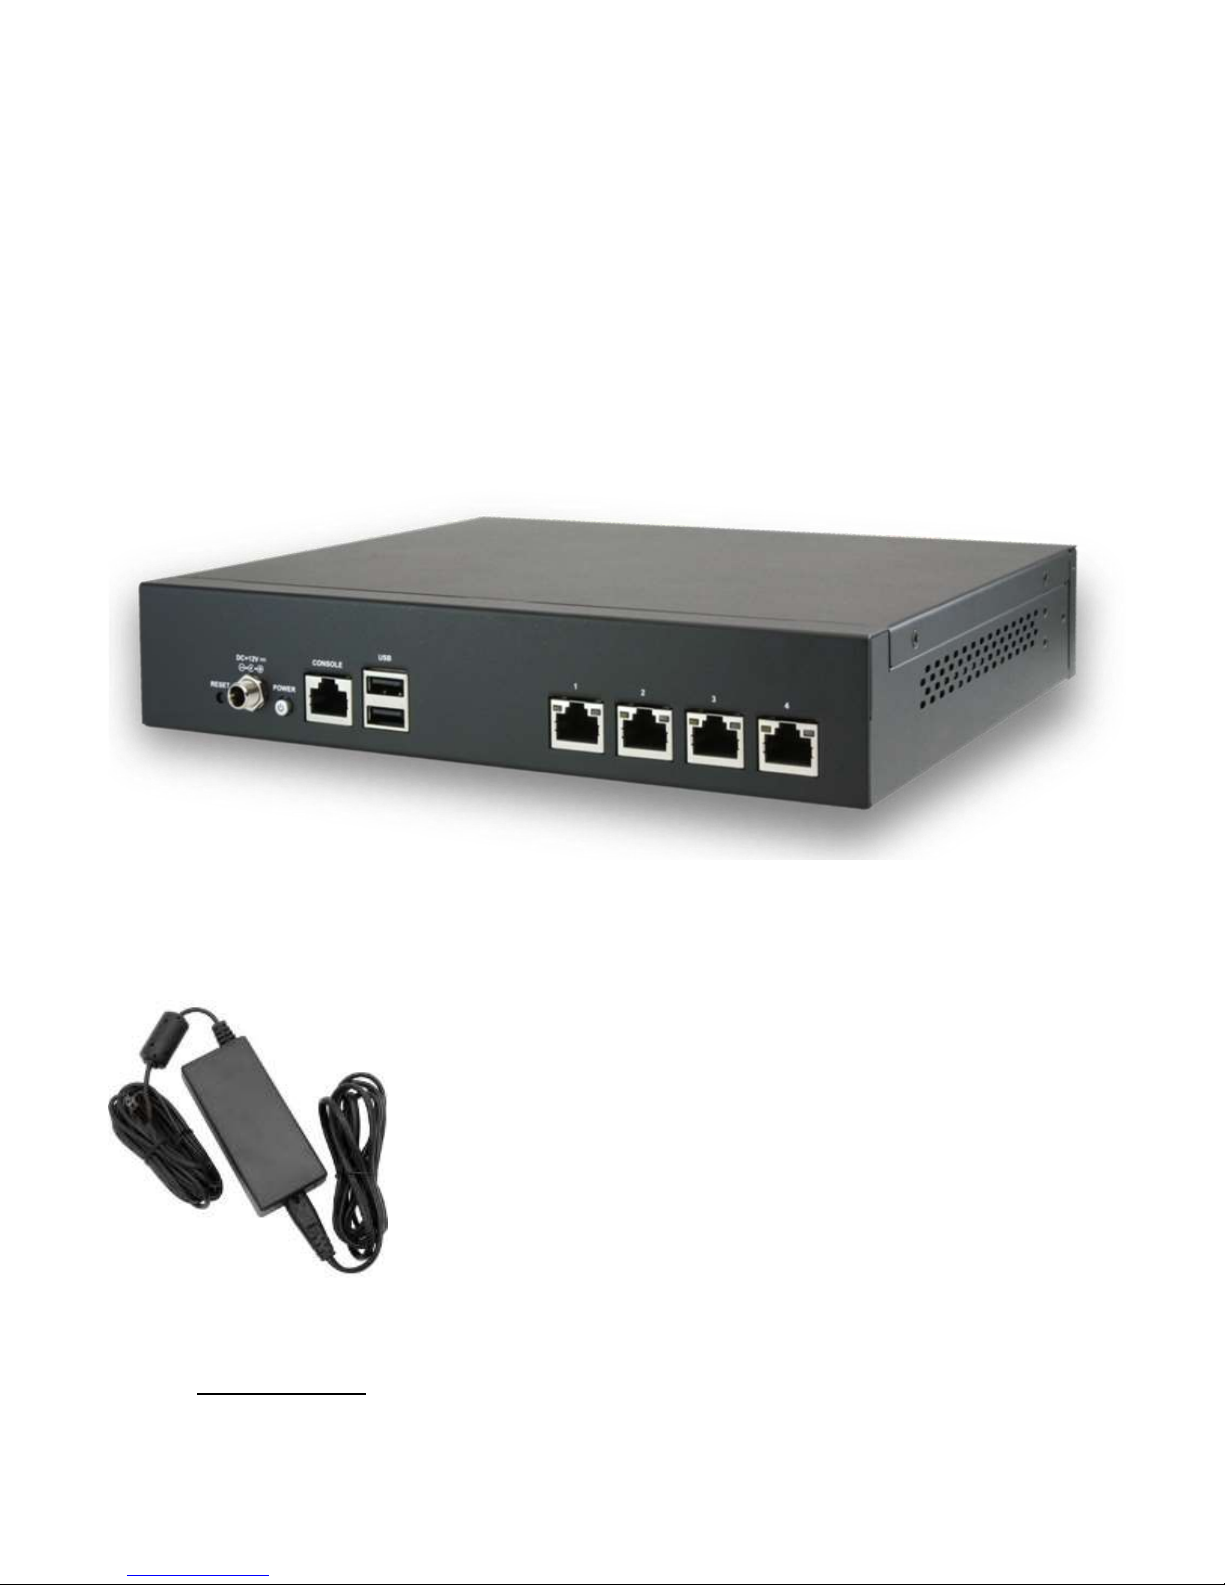
Figure 2
1 12VDC auto-switching power supply
1 Null modem cable to connect to the serial console (not pictured)
1 Ethernet cable to connect to modem and computer (not pictured)
3

Key features
CPU
2-core Intel® AtomTM processor C2000 series (Rangeley)
BIOS
AMI BIOS 16 Mb
Memory Technology
Dual-channel DDR3 1333/1600 MHz (ECC)
Memory Capacity
8 GB
Memory Socket
1 x 240-pin DIMM
IDE storage
S1 x CF card Type II
SATA storage
1 x 2.5” HDD/SSD kit (Optional)
Ethernet controller
2 x Intel i210AT, 1 x Marvell 88E1543
Ethernet
4 GbE RJ-45
Fan cooling
1 smart fan
Console
1 x RJ45 Serial
USB 2.0
2 x Type A
Processor cooling
CPU heatsink with fan duct
Operating temperature
0ºC to 40ºC
Intel Dual-core Atom C2000 SoC CPU (codenamed "Rangeley")
Compact desktop design
4 built-in GbE LAN ports
Supports Intel QuickAssist crypto acceleration
Supports up to 8 GB ECC DDR3 Memory
Intel i210AT LAN controller
1 x system cooling fan
Specifications
4
Plugging everything in
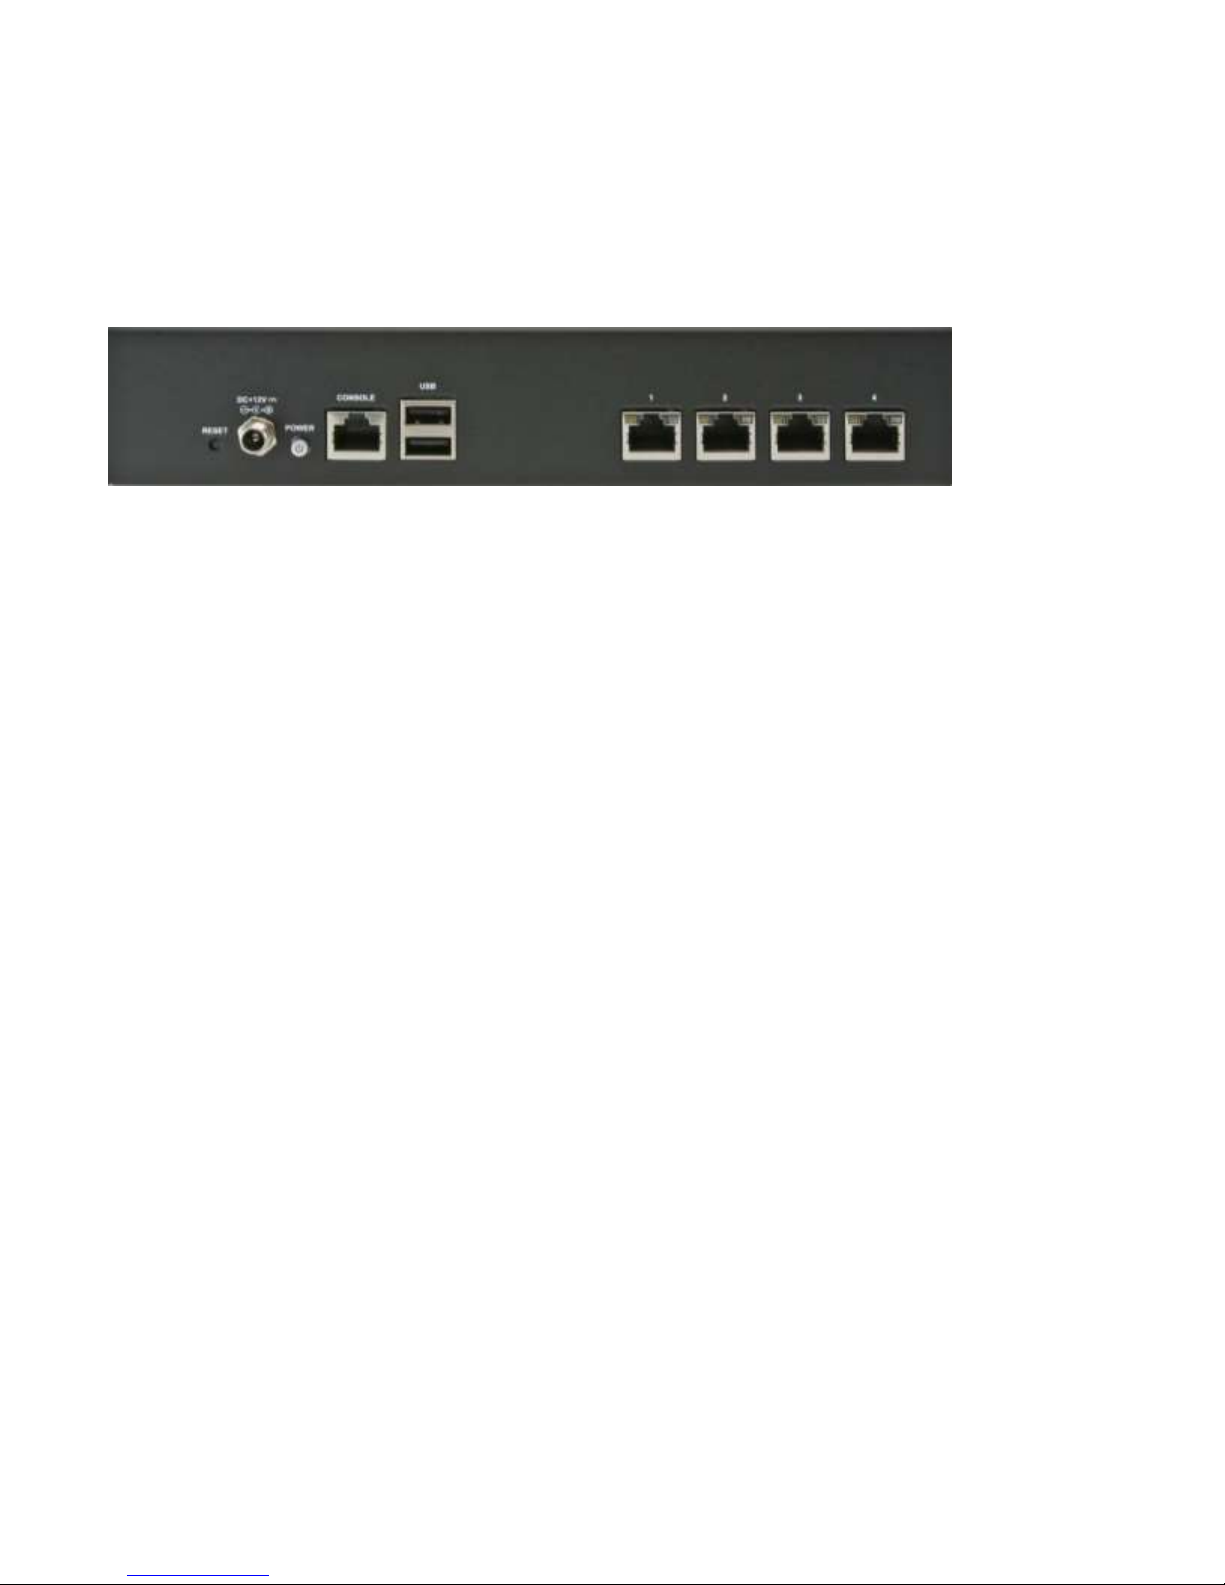
Figure 3 shows the location of the Reset button, power input, power button, serial console, USB, 4 x
GbE ports.
Figure 3
If you are replacing an existing firewall on a production network, you will want to go through the initial
configuration with the device not plugged into your production network. You can plug a laptop or
desktop PC into the LAN port to perform the initial configuration. For new networks, you can start by
plugging the LAN into your switch.
Note: The Lanner Ethernet ports are auto MDI/MDI-X, meaning you can use either a straight
through or crossover CAT5/6 cable regardless of the type of device you are connecting it to.
To get started, plug the LAN port into the network or system where you will perform the initial
configuration, and then plug in the power.
Initial Configuration
After powering on your Lanner, it will boot up and be ready for the initial configuration after
approximately two minutes. The initial boot takes longer if your WAN interface is not plugged into
something where it can receive a DHCP address, as it must wait for that to time out. Once the system is
booted, you should receive a 192.168.1.X IP address on the system(s) plugged into the LAN port from
the DHCP server.
Logging into the web interface
Browse to https://192.168.1.1 to access the web interface. In some instances, the browser will
respond with a message indicating a problem with an untrusted certificate. This is normal since the
pfSense WebGUI uses a self-signed certificate. Figure 4 is a typical example from Google Chrome. If
this message or similar message is encountered, it is safe to proceed.
5
 Loading...