

Page 1

Connecting NP204 with NP202Wn
(NP204, NP202Wn)
Page 2
Connecting NP204 with NP202Wn
1. Connect only the NP204 pair to the computer (one to the computer and another to
your modem/router or devices which you require to access). Install the utility
software.
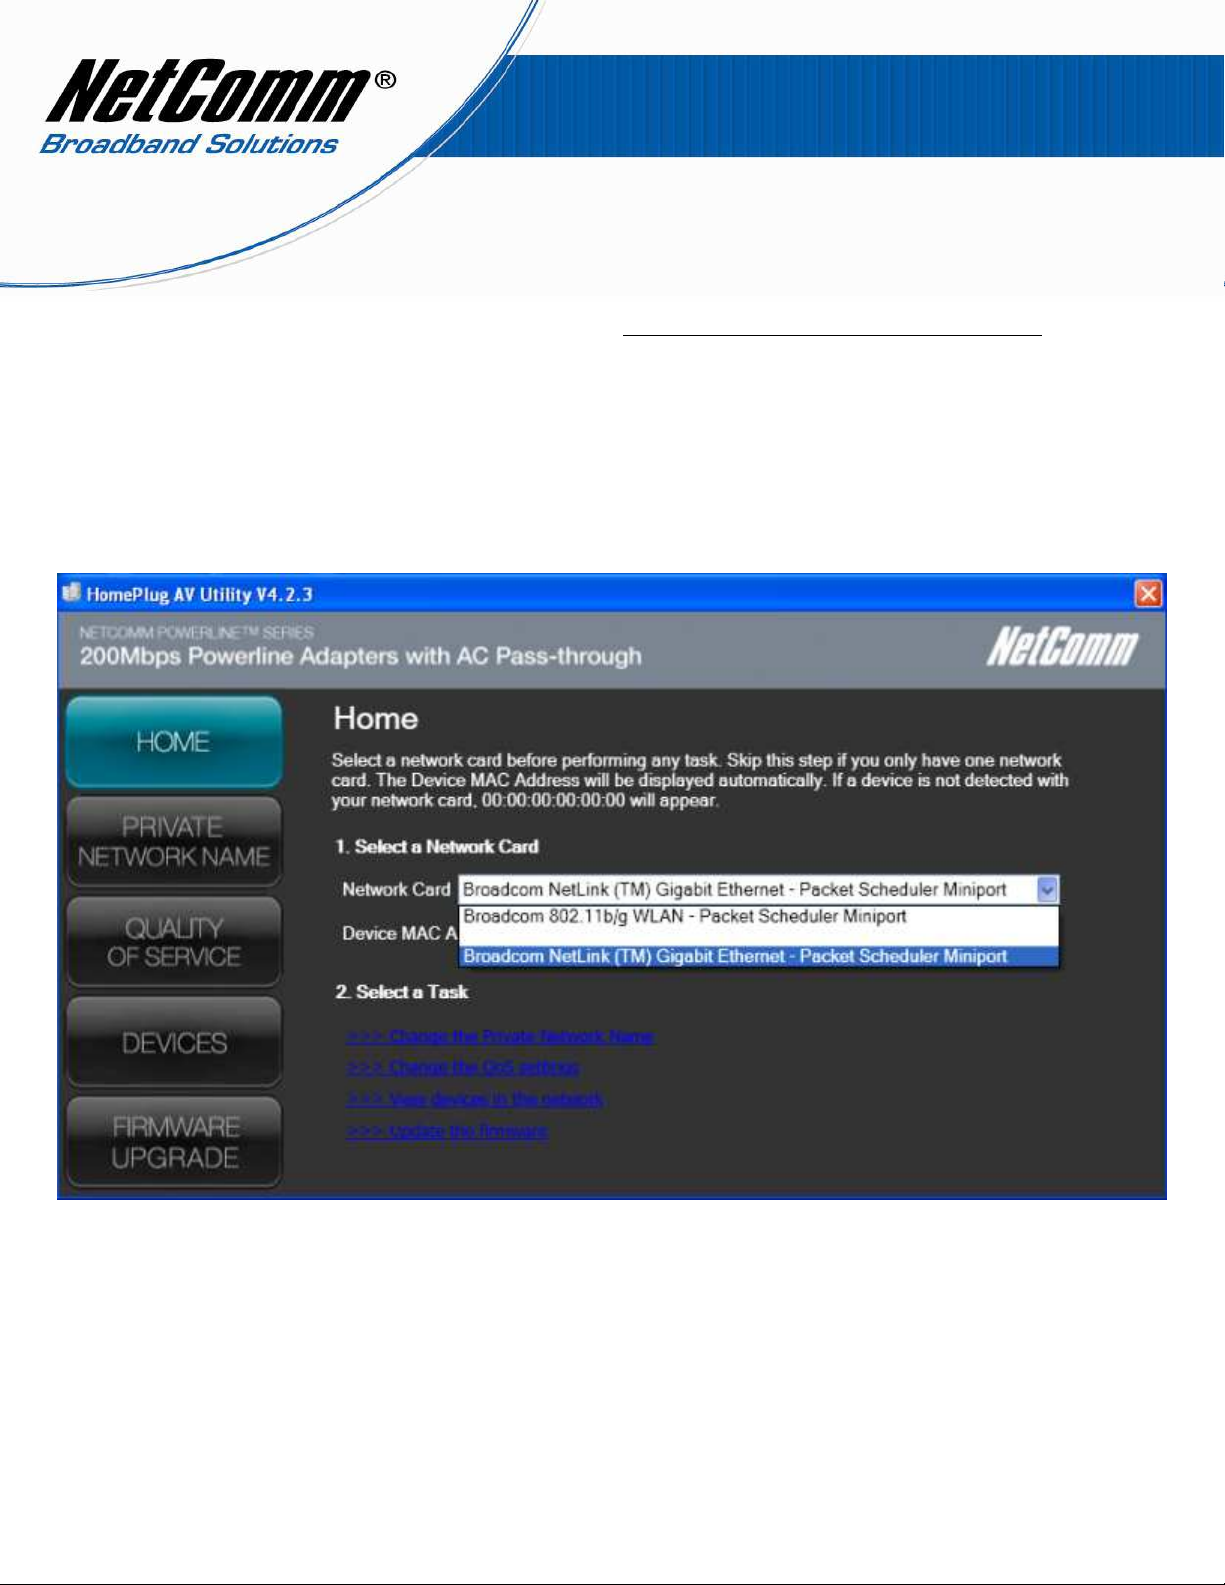
2. Make sure to select the Network Card to your computer's ethernet port network card,
in the example below “Broadcom NetLink ™ Gigabit Ethernet- Packet Scheduler
Miniport”.
Page 3

3.
Please make a note of the Network name which by default is “PrivateNetworkName”
Page 4

4.
Unplug the NP204 from the power and connect only the NP202Wn directly to the
computer (for best/easy result use second computer. This is because the NP202Wn
and NP204 utilities cannot co-exist on the same computer.). Install the NP202Wn
utility software and make a note of the default network name which is “HomePlugAV”
5.
By default the Network name on NP202Wn is “HomePlugAV”, as shown below.
Page 5

6.
Change the network name to “PrivateNetworkName” and press Apply. With “Simple
Connect” as the selected action press the “Simulate Push Button” button.
Page 6

NOTE: For the NP202Wn to work along with NP204 or vice-versa both units must have
the same Private Network name. The network name of either units (NP202Wn or NP204)
can be changed as explained above.
8. Now plug the entire power line units (both the NP204 and NP202Wn units) to the
power supply.
9. Connect the NP204 to the computer with the NP204 utility software and the NP202Wn
to the computer with the NP202Wn utility software.
10.
Go to the utility software for each device and Click “Simulate Push Button” of each.
All the connection lights of each unit should now be on. If the lights on each unit are
not on unplug the affected unit and replug after 10 seconds.
Page 7

11.
Now the entire home plug network have same Network name
“PrivateNetworkName”. The connection light should be lit on the entire units
indicating all can detect each other and work together.
 Loading...