

Page 1
Wireless N Hotspot
Quick Start Guide
Page 2

2 HS1100N Quick Start Guide
YML-QSG-HS
Preface
Revision History
Document Revision Change List
1.0—May 2011 Initial Document Release
The feature-rich NetComm Wireless N Hotspot HS1100N enables any business or ofce environment
to set up a hotspot location offering a wireless Internet connection for up to 100 users at a time.
Package Contents
The following items should be included in your HS1100N package.
1. 1 x HS1100N
2. 1 x Quick Start Guide
3. 1 x Console cable
4. 1 x Ethernet cable
5. 1 x DC power adapter
6. 2 x WiFi antennas
7. 1 x Wall mounting kit
8. 1 x Ground cable
If any of the above items are missing, please contact NetComm immediately.
Please note: It is recommended to keep the original packaging materials in case repair or maintenance is necessary.
This will protect the HS1100N from damage during transport.
Page 3
HS1100N Quick Start Guide 3
YML-QSG-HS
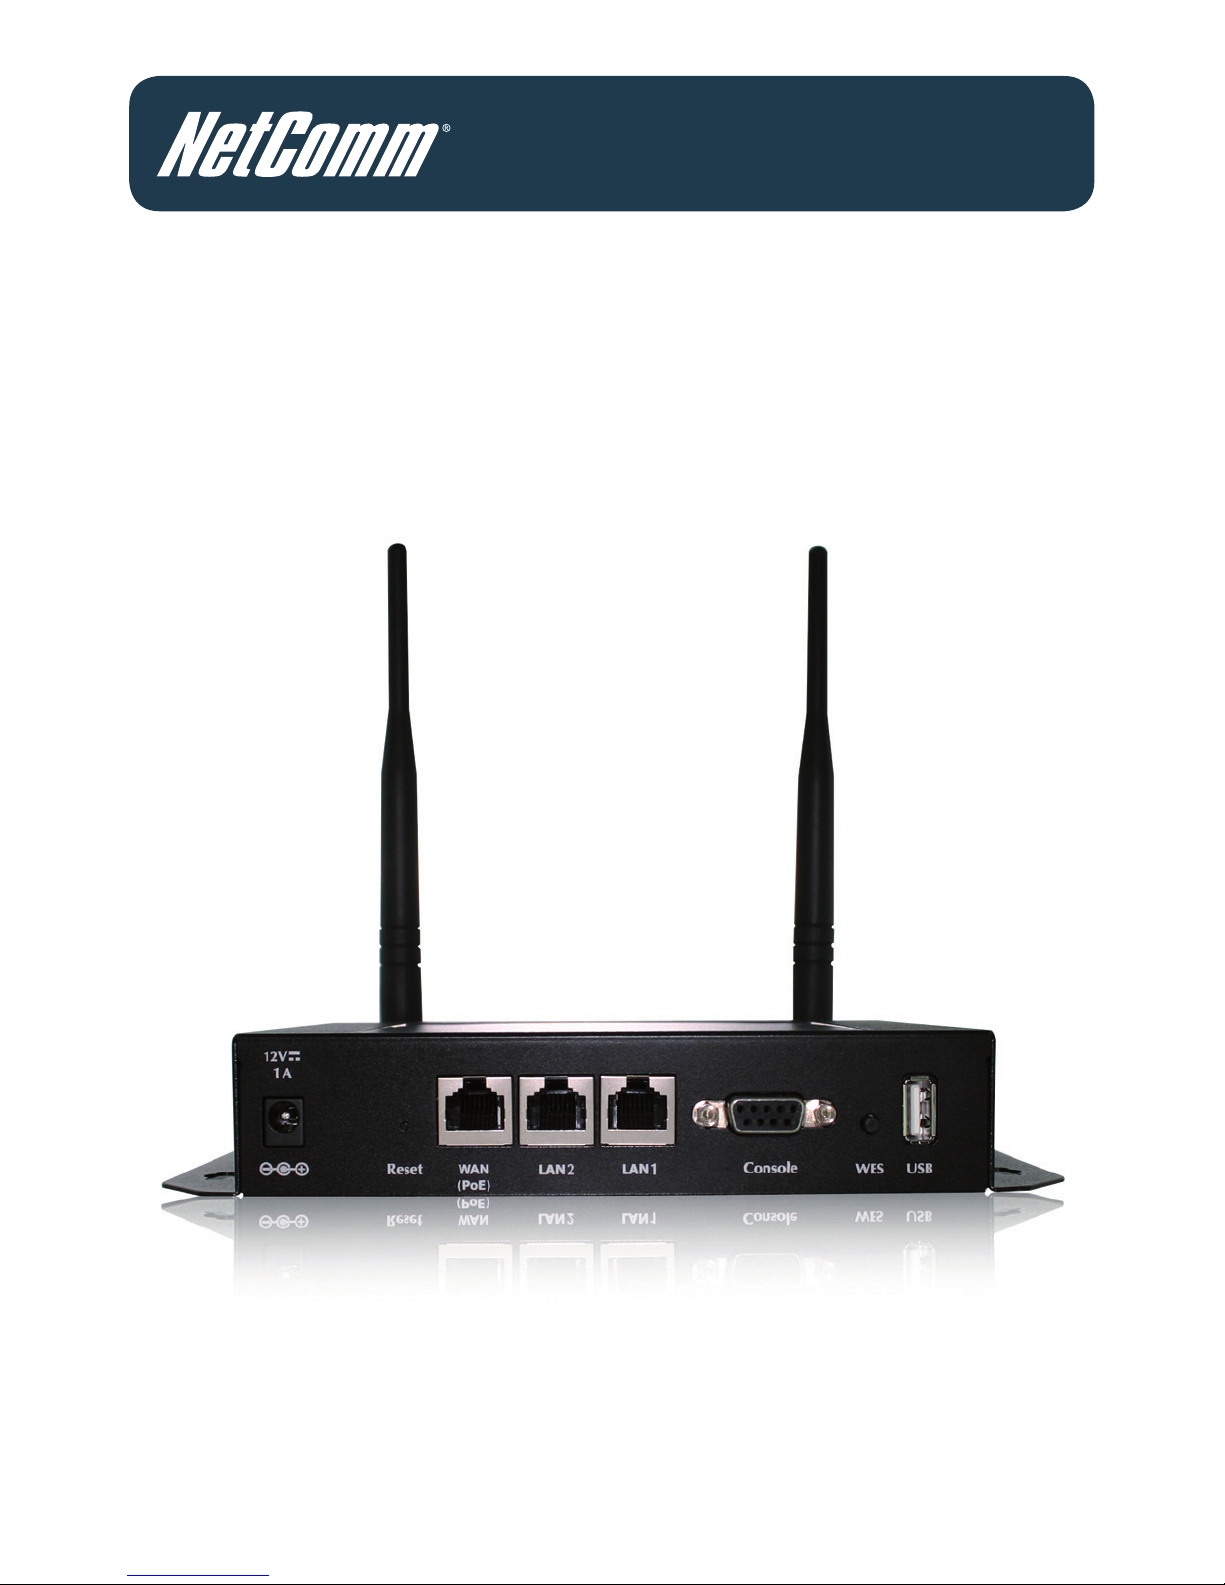
Wireless N Hotspot – HS1100N
System Overview
Front Panel
Item Description
Power Socket (12VDC / 1.5A) For connecting to an external power supply.
Reset Press once to restart the system.
WAN (PoE) For connecting to a wired external network. (The WAN port supports
powering the HS1100N via PoE)
LAN1 / LAN2 For connecting to a wired internal network.
LAN1 – Maps to the “Private Zone” and requires authentication.
LAN2 – Maps to the “Public Zone” and requires authentication.
Console For connecting an RS-232 console cable to perform system management.
WES Press to start the WES (WDS Easy Setup) process.
USB Reserved for future use.
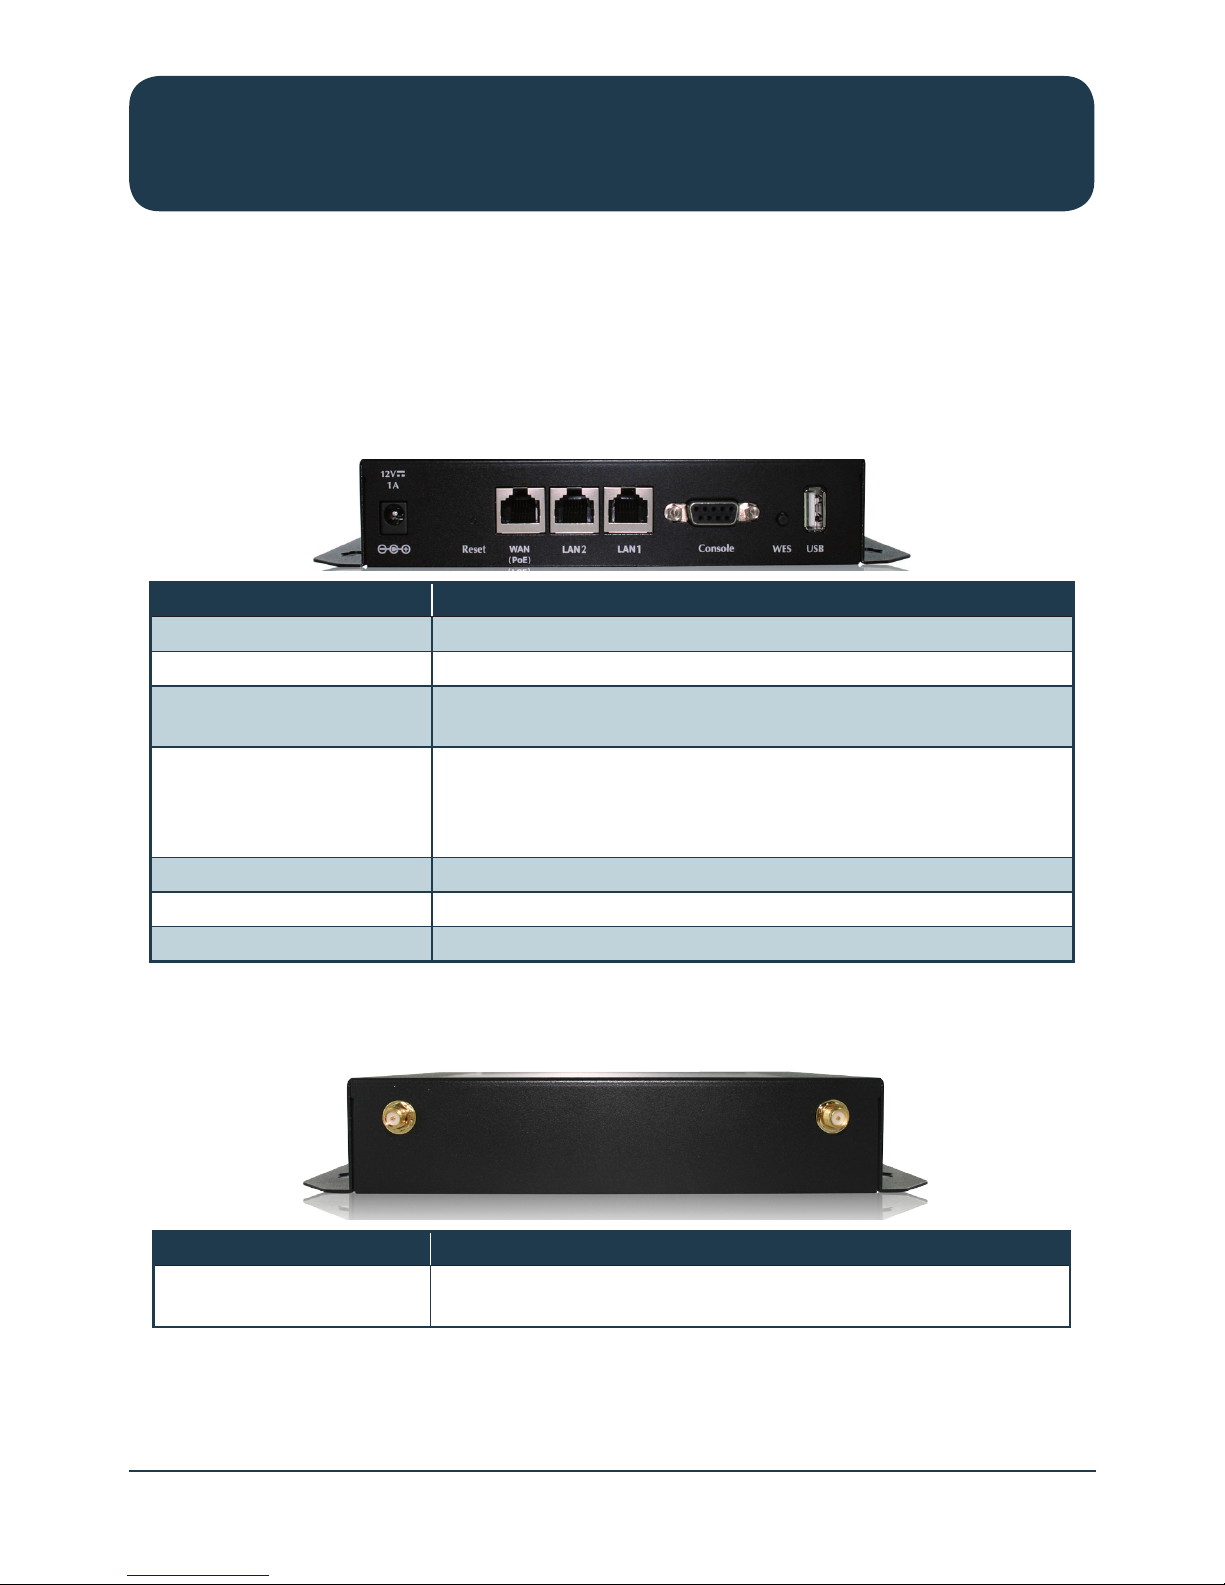
Rear Panel
Item Description
Antenna Connectors Attach the included WiFi antennas here. (The HS1100N offers 1 WiFi
interface with 2 SMA connectors)
Page 4

4 HS1100N Quick Start Guide
YML-QSG-HS
Top Panel
The following indicator lights (LEDs) provide a quick way to check the current status of the HS1100N.
Icon Item Description
Power LED on – Power is being supplied to the HS1100N
LED off – The HS1100N is not powered on
WAN LED on – The HS1100N is connected via the WAN port
LED ashing – Data is being transmitted through the WAN port
LED off – The HS1100N has no connection via the WAN port
/
LAN1 /
LAN2
LED on – The HS1100N is connected via the LAN port
LED ashing – Data is being transmitted through the LAN port
LED off – The HS1100N has no connection via the LAN port
WLAN LED on – The HS1100N is broadcasting wirelessly
LED off – The HS1100N is not broadcasting wirelessly
Internet LED on – The HS1100N is currently able to access the Internet
LED off – The HS1100N is not able to access the Internet
(The detection interval is 1 minute. Therefore this reects the connection status within the last minute)
Indicates the current WES (WDS Easy Setup) status during WES setup:
WES
Master Slave
WES Start LED Blinks Slowly LED blinks quickly
WES Negotiate LED Blinks Slowly LED blinks quickly
WES Fail (Negotiate Timeout) LED off LED off
WES Success LED on for over 5 seconds LED on for over 5
seconds (after master
displays ‘WES Success’)
USB Reserved for future use.
Page 5

HS1100N Quick Start Guide 5
YML-QSG-HS
Wireless N Hotspot – HS1100N
Hardware Installation
Please follow the steps mentioned below to install the HS1100N.
1. Place the HS1100N in the best location possible.
The best location for the HS1100N is usually at the centre of your wireless network. This ensures it is
able to get a clear wireless signal.
2. Connect the HS1100N to your outbound network device.
Connect one end of the supplied Ethernet cable to the WAN port on the front of the HS1100N.
Connect the other end of the Ethernet cable to the device in use that will be used to provide access
to the Internet. This may be an ADSL Router, a cable modem or a switch/hub. The WAN LED should
light up to indicate a proper connection.
3. Connect the HS1100N to your network device.
Connect one end of an Ethernet cable to the LAN1 port on the front of the HS1100N. Connect the
other end of the cable to the Ethernet port on the computer being used to congure the HS1100N.
The LAN1 LED should light up to indicate a proper connection has been made.
Please note: The HS1100N has two virtual ‘zones’ (Private and Public). These zones are mapped to LAN1
(192.168.110.1) and LAN2 (192.168.11.254) respectively.
4. There are two ways to supply power to the HS1100N.
a) Connect the DC power adapter to the power socket on the front panel of the HS1100N.
Please note: Only use the power adapter supplied with the HS1100N. Using a different power adapter may
damage the system.
b) The HS1100N is capable of receiving DC current via the WAN PoE port. Connect an IEEE
802.3af-compliant PSE device (For example: A PoE-switch) to the WAN port of the HS1100N
with an Ethernet cable.
Please note: To verify the wired connection between the HS1100N and the switch/hub/router, you can also check
the LED status indicators of these network devices.
5. Thehardwareinstallationisnownished.
Page 6

6 HS1100N Quick Start Guide
YML-QSG-HS
Getting Started
The HS1100N offers a web based conguration page. After completing the hardware installation
above, the HS1100N can be congured through a computer by utilising a web browser with
JavaScript enabled.
The default LAN IP addresses are:
1. LAN1: 192.168.110.1 – This is mapped to the Private Zone; User authentication is required to
access network resources.
2. LAN2: 192.168.11.254 – This is mapped to the Public Zone; user authentication is required to
access network resources.
Please note: The following instructions utilise the administration computer connected to the LAN1 port.
Page 7

HS1100N Quick Start Guide 7
YML-QSG-HS
Wireless N Hotspot – HS1100N
Conguration Steps
1. Once the hardware installation steps are complete, please follow the appropriate setup steps for
using DHCP in your operating system. The HS1100N will then be able to automatically assign an
IP address to the computer or connected device.
Windows XP
- Click on “Start” -> “Control Panel” (in Classic View). In the Control Panel; double click on
“Network Connections”.
- Right click on “Local Area connection”, and then left click on “Properties”.
- Double left click on “Internet Protocol (TCP/IP)”.
- Check “Obtain an IP address automatically” and “Obtain DNS server address automatically” then
click on “OK” to continue.
- Click “Show icon in notication area when connected” then click on “OK” to complete the
network conguration procedure.
Page 8

8 HS1100N Quick Start Guide
YML-QSG-HS
Windows Vista
- Click on “Start” -> “Control Panel” (in Classic View) -> “Network and Sharing Center”.
- In the Manage network connections on the left hand side of the window, click on “Manage
network connections” to continue.
- Right click on “Local Area connection”, and then left click on “Properties”.
- The screen will display the information “User Account Control”. Click “Continue” to continue.
- Double click on “Internet Protocol Version 4 (TCP/IPv4)”.
- Check “Obtain an IP address automatically” and “Obtain DNS server address automatically” then
click on “OK” to continue.
- Click on “OK” to complete the network conguration procedure.
Page 9

HS1100N Quick Start Guide 9
YML-QSG-HS
Wireless N Hotspot – HS1100N
Windows 7
- Click on “Start” -> “Control Panel” (in Category View) -> “View network status and tasks”.
- In the Control Panel Home, click on “Change adapter settings” on the left hand side of the
window to continue.
- Right click on “Local Area Connection”, and then left click on “Properties”.
- Double click on “Internet Protocol Version 4 (TCP/IPv4)”.
- Check “Obtain an IP address automatically” and “Obtain DNS server address automatically” then
click on “OK” to continue.
- Click on “OK” to complete the setup procedure.
Page 10

10 HS1100N Quick Start Guide
YML-QSG-HS
Mac OS X
- Click on the Apple menu and click on “System Preferences”.
- Click on the “Network” icon.
- Set “Location” to Automatic.
- Click on the “Ethernet” item in the list on the left hand side.
- In the “Congure IPv4” section, choose “Using DHCP”
- Click on “Apply”.
Page 11

HS1100N Quick Start Guide 11
YML-QSG-HS
Wireless N Hotspot – HS1100N
2. Open your web browser and type http://192.168.110.1 into the address bar at the top of the
page. The following Login page should then be displayed. Type “Admin” into both the username
and password elds and click the “Login” button.
3. The “Home Page” should then be displayed.
Please note: To logout, click the “Logout” link in the upper right-hand side of Home Page to return to the
Login page.
Page 12

12 HS1100N Quick Start Guide
YML-QSG-HS
Common Settings
Setup Wizard
The HS1100N provides a “Setup Wizard” for quick and easy conguration. Click on the “Setup
Wizard” button to start the conguration process.
Page 13

HS1100N Quick Start Guide 13
YML-QSG-HS
Wireless N Hotspot – HS1100N
Step 1: General
Step 1 of the setup wizard enables you to congure your Administrator password, System Time
settings and the web page address connected computers are redirected to.
1. Enter a new administrator password in the “New Password” eld and then re-enter the same new
password in the “Verify Password” eld.
Please note: A maximum of 20 characters (with no spaces) is allowed.
It is strongly recommended to change the administrator password from the default setting.
2. Select the appropriate time zone from the “Time Zone” drop-down list and enter the URL of a
valid NTP server to setup the system time. Ensure the NTP server is active and contactable.
For example: 0.netcomm.pool.ntp.org
3. A connected computers browser will be redirected after successfully logging into the system.
The page this is redirected to can be set instead of utilising the default homepage set on the
computer by entering an address in the “URL” eld.
Click “Next” to continue.
Page 14

14 HS1100N Quick Start Guide
YML-QSG-HS
Step 2: WAN and Wireless Interfaces
Step 2 of the setup wizard enables you to congure your WAN and Wireless network settings.
1. Click on the “WAN” interface radio button and select the appropriate type of
WAN connection.
a. Static:
Enter the appropriate IP address, subnet mask, default gateway and DNS server information for your
WAN device (such as an ADSL modem or 3G router).
b. Dynamic:
Network conguration information is automatically obtained via DHCP from your WAN device (such
as an ADSL modem or 3G router).
c. PPPoE:
Enter the username and password required to connect to your WAN service.
Page 15

HS1100N Quick Start Guide 15
YML-QSG-HS
Wireless N Hotspot – HS1100N
2. Click on the “Wireless” interface radio button.
a. Band:
Using the drop-down menu, select to offer an 802.11b, 802.11g, 802.11b+g or 802.11g+n type of
wireless network. The default setting of 802.11g+n should be suitable in most cases.
b. Channel:
Using the drop-down menu, select to operate the wireless network on a specic channel if necessary.
Please note: There may be other wireless networks nearby using channel 6, in which case try using channel 1 or
channel 13.
c. ESSID (Public):
Enter your chosen wireless network name here.
Please note: A maximum of 32 characters is allowed for the ESSID.
Please note: The HS1100N supports two Virtual Access Points (VAP), one under a Public zone (Default Setting:
NetComm_HS1100N) and one under a Private zone (Default Setting: NetComm_HS1100N_2). The
ESSID for the Private zone is not broadcast.
Detailed conguration options for the VAPs can be found by clicking the “Home” link at the top of the
page, followed by the System Overview button and then the appropriate VAP link.
3. Click “Next” to continue.
Page 16

16 HS1100N Quick Start Guide
YML-QSG-HS
Step 3: Authentication Settings for the Public Zone
Step 3 of the setup wizard enables you to congure the authentication settings for the public wireless
network zone.
1. By default, authentication is enabled for the Public zone. This means clients will need to login to
the network in order to access network resources. To disable authentication, click the “Disable”
radio button.
Please note: When authentication is enabled, a default authentication server must be selected. The HS1100N
supports 4 types of authentication server – Local, Radius (x 2) and On Demand. By default, Ondemand is selected.
For more information regarding authentication server settings, postxes, policies and billing plan
conguration, please refer to the HS1100N User guide.
a. Server 1 (LOCAL):
When specifying a Local authentication server, select the appropriate security policy to apply to the
user account and enter the selected username and password.
b. Server 2 (RADIUS):
When specifying a Radius authentication server, select the appropriate security policy to apply to
the user account and enter the Radius server address, the Radius authentication port, the Radius
accounting port and the Radius secret key. You can then select to enable or disable
Radius accounting and select the appropriate authentication protocol as provided by your Radius
server administrator.
Page 17

HS1100N Quick Start Guide 17
YML-QSG-HS
Wireless N Hotspot – HS1100N
c. Server 3 (RADIUS):
When specifying a Radius authentication server, select the appropriate security policy to apply to
the user account and enter the Radius server address, the Radius authentication port, the Radius
accounting port as provided by your Radius server administrator.
d. Ondemand (ONDEMAND):
Select the appropriate security policy to apply to the user account and then create an On-Demand
account by clicking on the “Create” button.
Please note: If On-demand accounts are not required click “Next” to skip this step, however it is recommended to
create at least one On-demand account in order to test the system conguration upon completion of
this wizard.
The following page will be displayed:
1. Select to either manually create a username and password or have the system generate the
username and password.
2. Enter a Reference name or number for the user
(For example: A room number or the customers name)
3. Enter an External ID for the user.
4. Click “Create”
Page 18

18 HS1100N Quick Start Guide
YML-QSG-HS
5. You should then see the following page:
After you have printed out the ticket generated or noted down the username and password, close
the “On-demand User Receipt” window and click the “Next” button.
Page 19

HS1100N Quick Start Guide 19
YML-QSG-HS
Wireless N Hotspot – HS1100N
Step4:ConrmandRestart
Step 4 of the setup wizard enables you to save the conguration entered or go back and adjust
previous settings.
1. To save the current conguration and restart the HS1100N, click the “Finish” button. A dialog box
will then appear asking you to conrm that the system will restart.
Please note: A restart is required to apply the new conguration.
If you would like to change any previously congured settings, click the “Back” button until you reach
the conguration option you would like to change and then click the “Next” button to continue back
to the “Conrm and Restart” page.
2. A “Conrm and Restart” message will show on the page while the HS1100N is restarting.
Do not unplug the system during this process.
Please note: The HS1100N is attempting to contact your chosen DNS server during this period. A longer start up
time may occur if the chosen DNS cannot be contacted.
The restart process has completed when the following page is displayed:
Page 20

20 HS1100N Quick Start Guide
YML-QSG-HS
User Login
To verify whether the conguration of the new On-demand account created via the Setup Wizard was
completed successfully, you can perform the following test:
1. Connect a client device (For example: A laptop computer) to the Public zone wireless network.
Simply scan for the Public zone ESSID and connect to it. The client device should automatically
obtain an IP address via DHCP.
2. Open a web browser on the client device and attempt to load a web page. The following User
Login page will be shown:
Enter the username and password of the On-demand account created during the setup wizard and
then click “Submit”.
The Login Success page should then be displayed as per the screen shot below.
This indicates the client has logged in successfully and that the HS1100N has been
correctly congured.
Please note: The format of a full (valid) username is userid@postx, where “userid” is the username of the account
created and “postx” is the type of authentication server selected for the account (For example:
testuser@ondemand).
 Loading...