

Page 1
NETCOMM EXPRESS
TM
SERIES
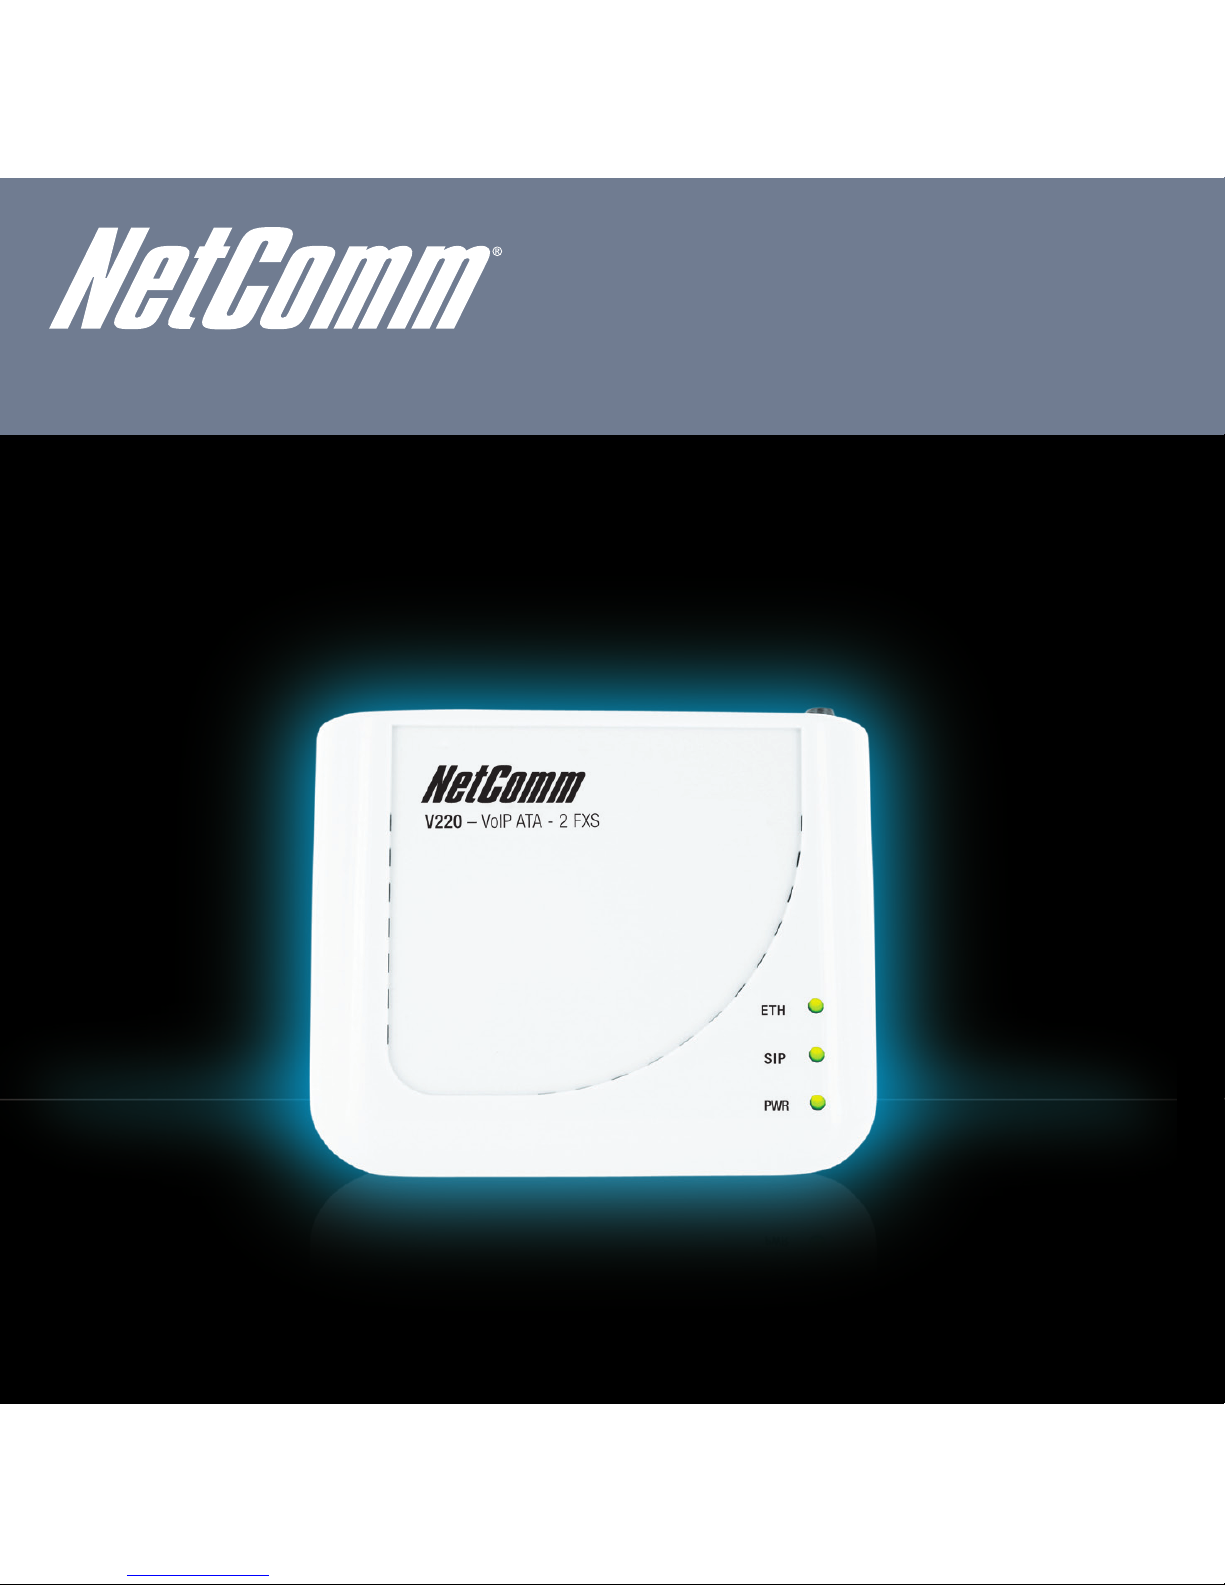
Dual Port VoIP Adapter
Page 2
1
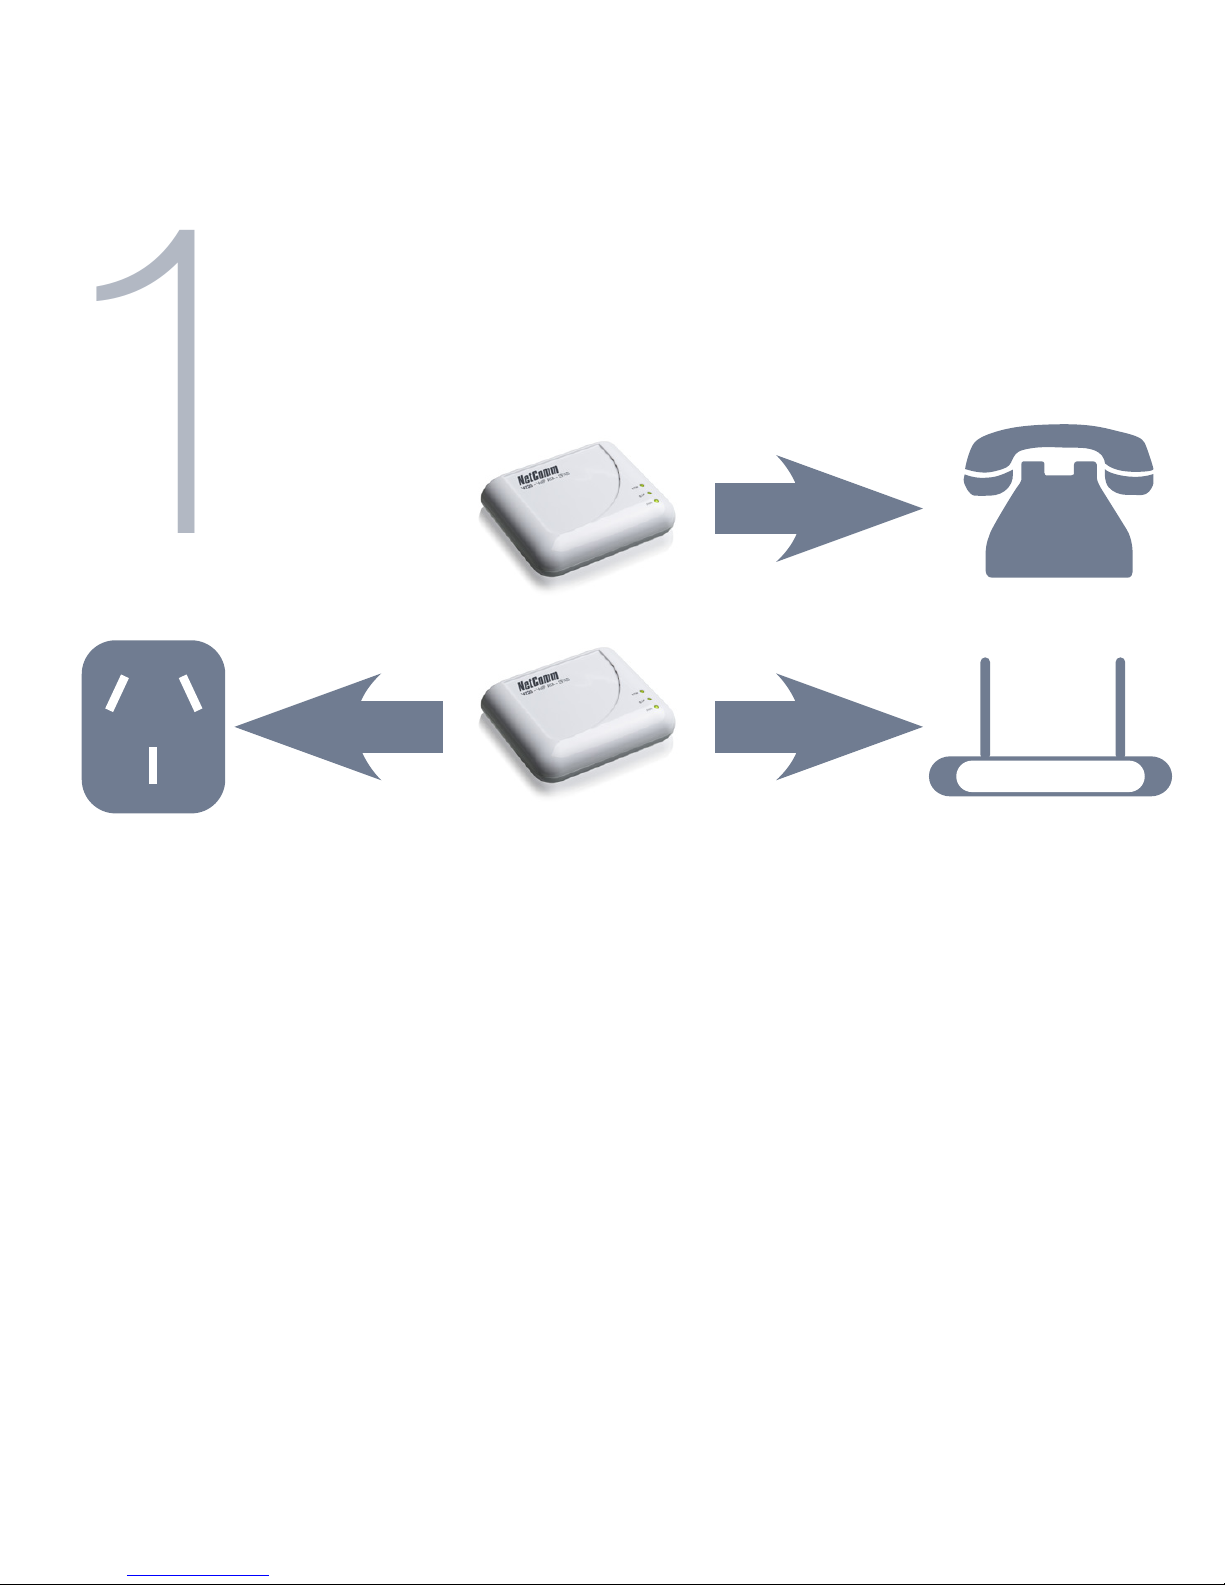
Hardware Installation
1. With the supplied Ethernet cable, connect the LAN port of your modem/router
to the WAN port on the back of your VoIP ATA
2. If you would like your PC to be connected to the network through your VoIP ATA
connect another Ethernet cable (not supplied) from your PC to the LAN port on
the back of your VoIP ATA.
3. Connect your telephone handset to the Phone port. You can connect an
additional handset to the Phone 2 port.
5. Connect the supplied power adapter and press the power button to turn your
ATA on. After 2 minutes the Power and Ethernet LEDs will be lit.
Page 3

2
Software Conguration
1. Insert the supplied CD into your PC. The CD should auto-run
2. The default Internet access is DHCP Client Mode. Click on WAN Conguration
to change the Internet access type.
3. Enter the SIP Proxy Domain, Proxy Server, Outbound Proxy, Username, Auth. ID
and Auth. Password that are provided by your VSP
4. Click on Setup and the VoIP ATA will start to congure. Follow the prompts to
complete the conguration.
5. After a few minutes the VoIP ATA should report that the setup has been
successsful
Page 4

Cannot establish a connection
• You can use the web interface for more advanced setup options
• Open a web browser (e.g. Internet Explorer, Safari) and type 192.168.22.1 into
the address bar and press Enter
• Enter the default username and password which is admin for both
3
Troubleshooting
Page 5

• Under the Conguration tab on the left hand menu, select WAN for advanced
Internet settings
• Under the Conguration tab on the left hand menu, select VoIP and click on
SIP Service Provider for advanced VoIP settings
• Click on Save Settings/Reboot to use the newly entered settings
Page 6

NetComm MicrolterTM Series
ADSL2+ Splitter-Filter-EM1550
Stops your ADSL signal from interfering with telephones and fax machines
- Designed to get the best from your ADSL2+ Internet connection
- Telstra Approved
- Splitter and lter in 1. Connect your telephone/fax and ADSL modem to a single
telephone wall socket
4
 Loading...