

Page 1
NetCommWireless
QUICK START GUIDE
Wireless
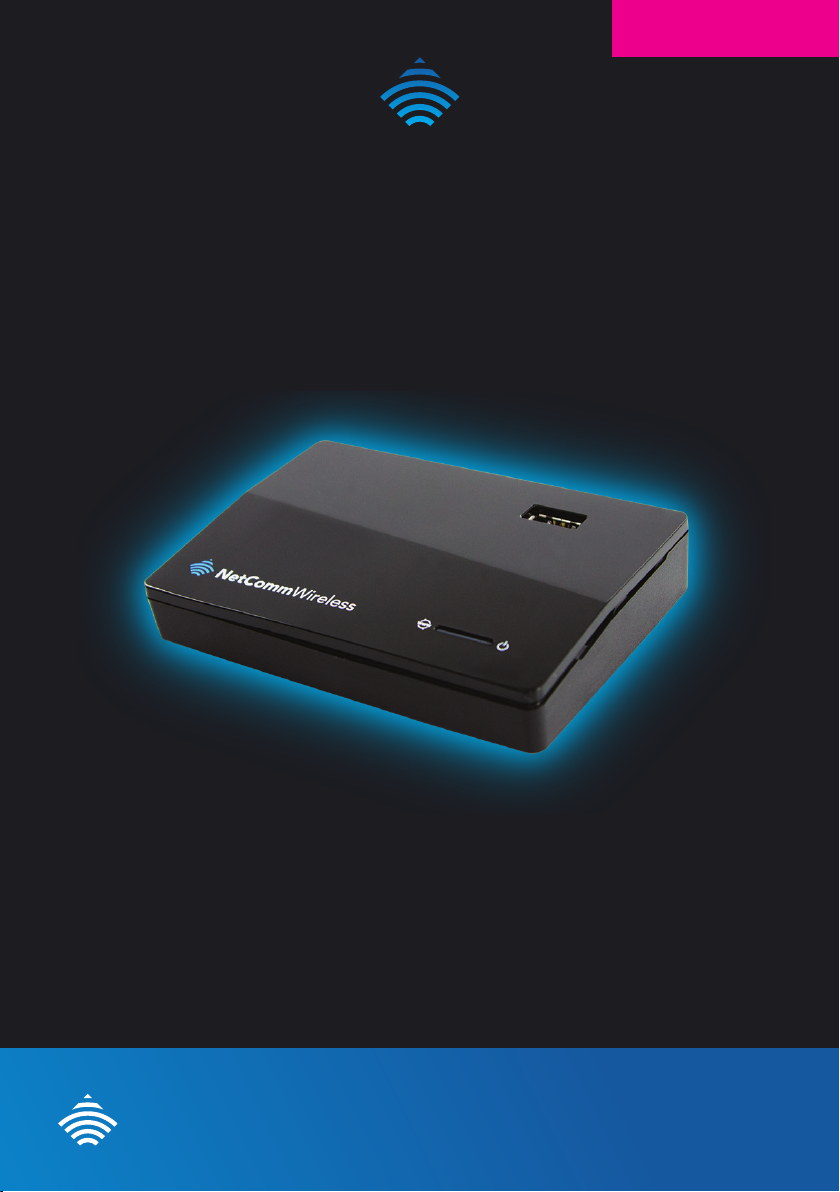
3G/4G Dual Band AC WiFi Router
NetComm
4GM3W
Page 2

Wireless
THANKS FOR PURCHASING NETCOMM WIRELESS
This quick start guide is designed to get you up and running quickly with your new router. More
advanced set up instructions can be found in the user manual which can be downloaded from
www.netcommwireless.com
HARDWARE INSTALLATION
1
3
If you are using a 3G/4G connection
1. Connect your 3G/4G USB modem to the USB port on the top panel of the router.
2. Ensure the 4G/WAN switch on the back of the router is set to 4G.
3. Connect the power supply unit to the DC IN port on the rear panel of the router, plug the
other end into a wall socket and switch on the power.
4. Wait approximately 60 seconds for the 4GM3W to boot up.
2
CONNECTING TO THE ROUTER WITH ETHERNET
1. Connect the supplied yellow Ethernet cable to the WAN/LAN port.
2. Connect the other end of the Ethernet cable to your computer or to another Ethernet
enabled device like a gaming console, a TV or a home cinema system.
3. Wait approximately 30 seconds for the connection to be established
CONNECTING TO THE ROUTER WITH WIFI
You can connect multiple wireless devices, including laptops, desktops and PDA’s to your
router by following these two basic steps.
1. Using your wireless device, scan the wireless networks in your area and select the wireless
network name listed on the included Wireless Security Card and then click connect.
Please note: If you change the default wireless network name at any time, select the wireless network displaying the new name you entered.
2. Enter the wireless security key listed on the included Wireless Security Card.
Please note: If you change the default wireless security password at any time, enter the new password you entered.
To ensure wireless security, we recommend that you change the default settings through the
web based user interface.
NetComm
Page 3

CONNECTING THE ROUTER TO THE INTERNET
Via a 3G/4G USB modem
After completing the hardware installation, you must congure the router to be able to connect
to your Internet Service Provider. This is done with an easy to use set-up wizard that will guide
you through the process
1. On your computer, open a web-browser (such as Internet Explorer, Firefox, or Safari),
type 192.168.20.1 into the address bar at the top of the screen and press Enter.
2. At the login screen, type admin into the username and password eld and then click
Login to continue. This will take you to the First-time Setup Wizard page.
3. Click Yes, let’s get started with the wizard to begin conguring your 4GM3W.
4. Use the drop down menus to select the country and service provider with which
you will be using your router. In the PIN and Conrm PIN elds, enter the PIN number
provided to you by your carrier to unlock the SIM card. Click Next to continue
Please note: If you are using the BigPond service in Australia, you are required to enter the username and password provided to you by
BigPond to access the service.
5. Select settings for the 2.4GHz WiFi network. You can turn the Wireless 2.4GHz (WiFi)
on or off, choose whether you want the SSID Broadcast on or off, or change the SSID
Broadcast Name. To keep the current settings, click Next.
6. The router is precongured with wireless security but if you wish to change these settings
use the Security Key Type drop down menu to select a wireless security key type and
enter a security key in the Security Key eld. To keep the current settings, click Next.
7. Repeat steps 5 and 6 for the 5GHz WiFi settings.
8. Change the username and password required to login to the web based user interface
pages. By default, the username and password are admin. To keep the current settings,
click Next.
9. Once nished, click on Finish and allow the router approximately one minute to
complete the conguration.
• If you are connected successfully, the Internet light will be illuminated green.
• If the Internet light is red or not illuminated, check your settings and try again.
3G/4G Dual Band AC WiFi Router - 4GM3W
Page 4

Wireless
Via the Ethernet WAN port
The 4GM3W can be connected to the Internet through the Ethernet port and use a 3G/4G
USB modem as a backup connection. See the User Guide for further instructions on
conguring Automatic 3G/4G Backup. To use the Ethernet port as the primary method of
Internet access:
1. Ensure the 4G/WAN switch on the back of the router is set to WAN.
2. Connect the supplied yellow Ethernet cable to the WAN/LAN port.
3. Connect the other end of the Ethernet cable to your external network (e.g. ADSL router).
4. Follow the instructions in the Connecting to the router with WiFi section to connect
your devices to the router.
USING THE TELSTRA IPWAN SERVICE
The Telstra IPWAN Mobile Broadband services require a username and password, issued to
you by Telstra at the time of purchase, which must be entered in your 3G/4G Dual Band AC
WiFi Router before use. Please follow the steps below to setup your Telstra connection:
1. Login to the web based management console by opening your web browser (Internet
Explorer/Firefox/Safari) and type http://192.168.20.1 into the address bar
2. At the login screen, type admin into the username and password eld and then click
the Login button to continue. The First-time Setup Wizard is displayed.
3. Click the Switch to advanced view link at the bottom of the page.
4. Click the Network Setup menu at the top of the page, select the rst menu option
labelled Network Setup.
5. From the WAN Type drop down list, select Mobile Broadband if it’s not already selected.
6. In the APN eld, enter the APN required for your service (i.e. telstra.corp) and enter the
username and password as supplied by Telstra.
7. Next to the NAT option, clear the Enable checkbox to disable NAT Masquerading.
8. Click the Save button at the bottom of the page to store the new conguration settings
and connect to the Telstra IPWAN Mobile Broadband service.
NetComm
QSG-00036 rev1
 Loading...