

Neptune Apex WAV Quick Start Manual
Apex WAV
QuickStart Guide

Table of Contents
PACKAGE CONTENTS ...................................................................................................... 1
FIRMWARE ..................................................................................................................... 1
ASSEMBLY ...................................................................................................................... 1
INSTALLATION ............................................................................................................... 3
Initial Connections - 1LINK ................................................................................................ 3
Startup – 1LINK............................................................................................................... 3
Initial Connection - WAV ................................................................................................... 4
VERIFY THE INSTALLATION ........................................................................................... 4
PROGRAMMING (APEX FUSION INTERFACE) .................................................................. 5
PROGRAMMING (CLASSIC WEB INTERFACE) .................................................................. 6
WAV PROFILE TYPE .......................................................................................................... 6
WAV Types/Modes of Operation ......................................................................................... 7
WAV MONITORING AND ALERTS .................................................................................... 8
FLO ............................................................................................................................... 11
MAINTENANCE ............................................................................................................. 13
NEPTUNE SYSTEMS LIMITED WARRANTY ..................................................................... 13
CE DECLARATION OF CONFORMITY .............................................................................. 14
WAV QuickStart Guide Page 1
PACKAGE CONTENTS
The WAV 2-pump starter kit comes with these items in the box from Neptune Systems:
1. WAV pumps (2)
2. WAV magnetic mount sets (2)
3. 1LINK AquaBus module
4. 24VDC power supply
5. 6’ Aquabus cable
6. Packet of (4) screws for mounting the 1LINK modules (use of mounting screws is optional)
If any of these items are missing, please contact Neptune Systems Support (see last page for contact
information).
FIRMWARE
IMPORTANT: Your Apex Base Unit must be running firmware version 4.40 or higher to
support the WAV. The current firmware version can be checked from the Apex Display on the Self
Test screen. If needed, please upgrade the Apex Base Unit firmware before proceeding with the
installation of the 1LINK and WAV(s). See the Firmware Updates page on the Neptune Systems web site for
firmware upgrade instructions. Do not connect any WAV pumps to the 1LINK module until the 1LINK module
firmware has been updated.
ASSEMBLY
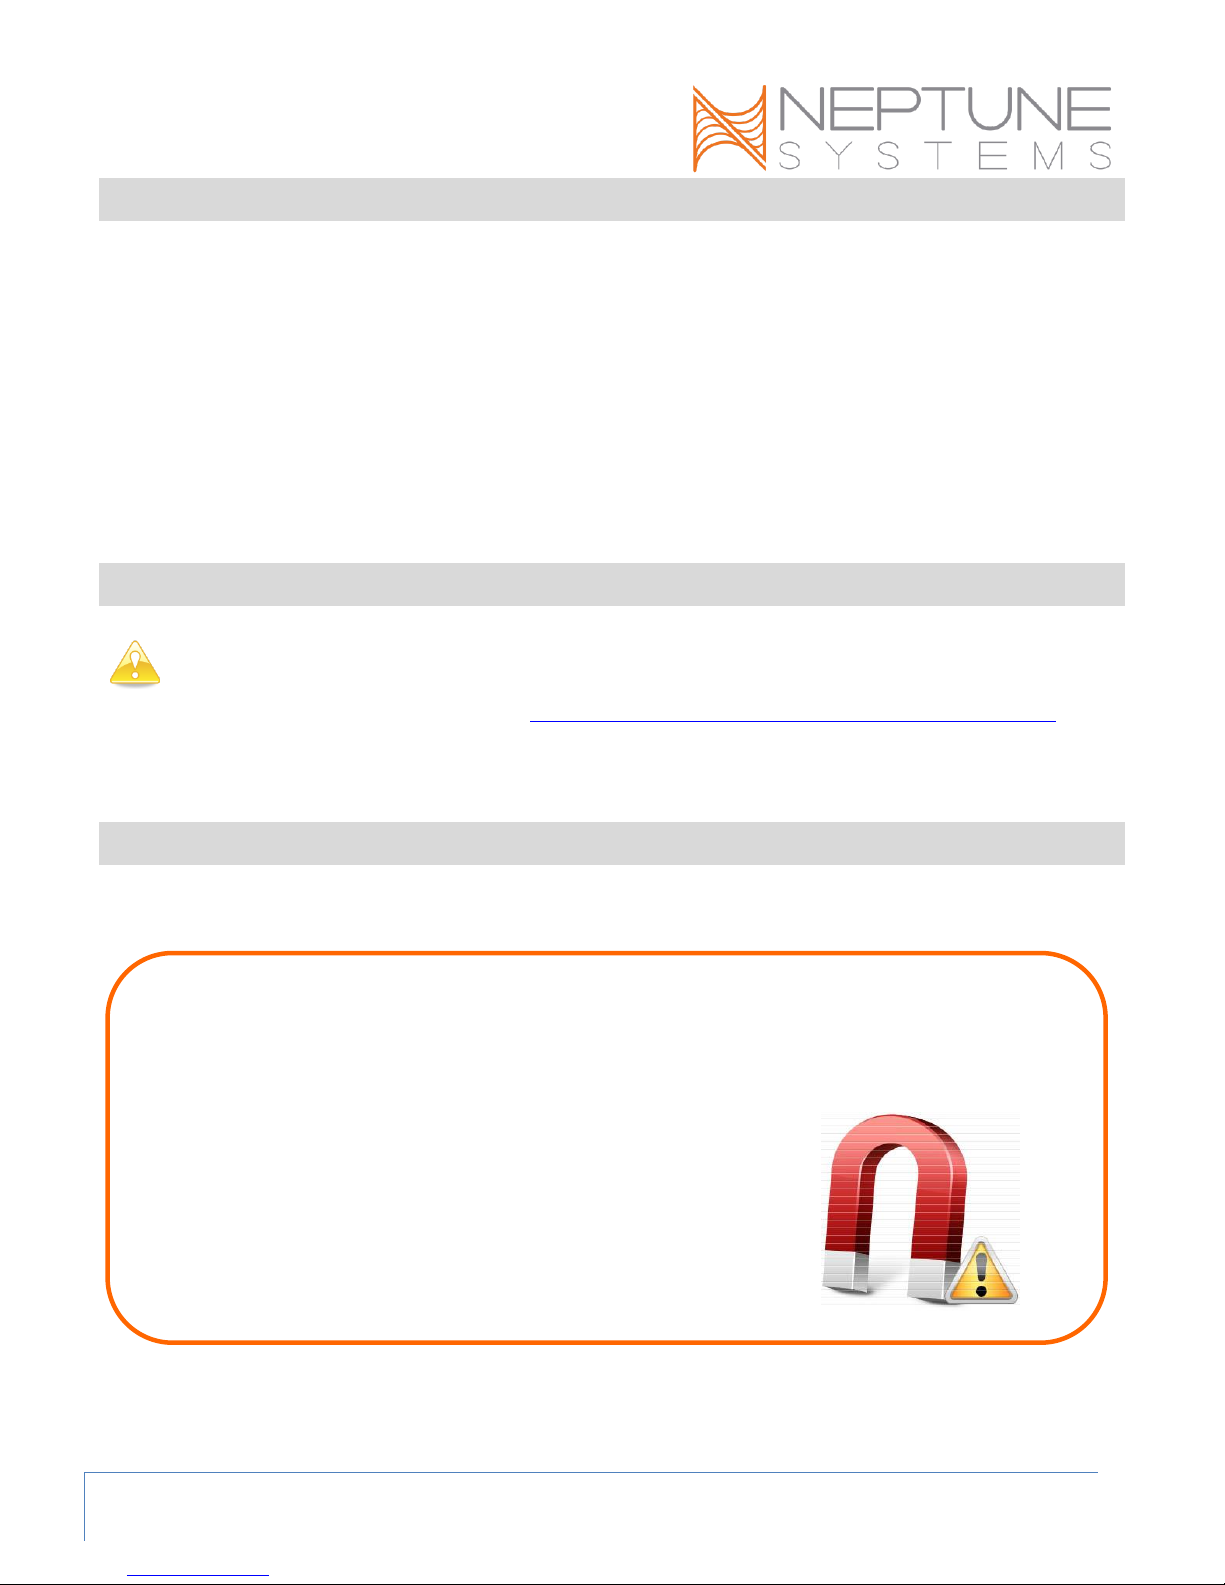
WARNING
THE WAV MOUNTS CONTAIN POWERFUL MAGNETS
Be extremely careful not to allow the
magnets to snap togther, as damage to the
mounts and/or personal injury may result.
WAV QuickStart Guide Page 2
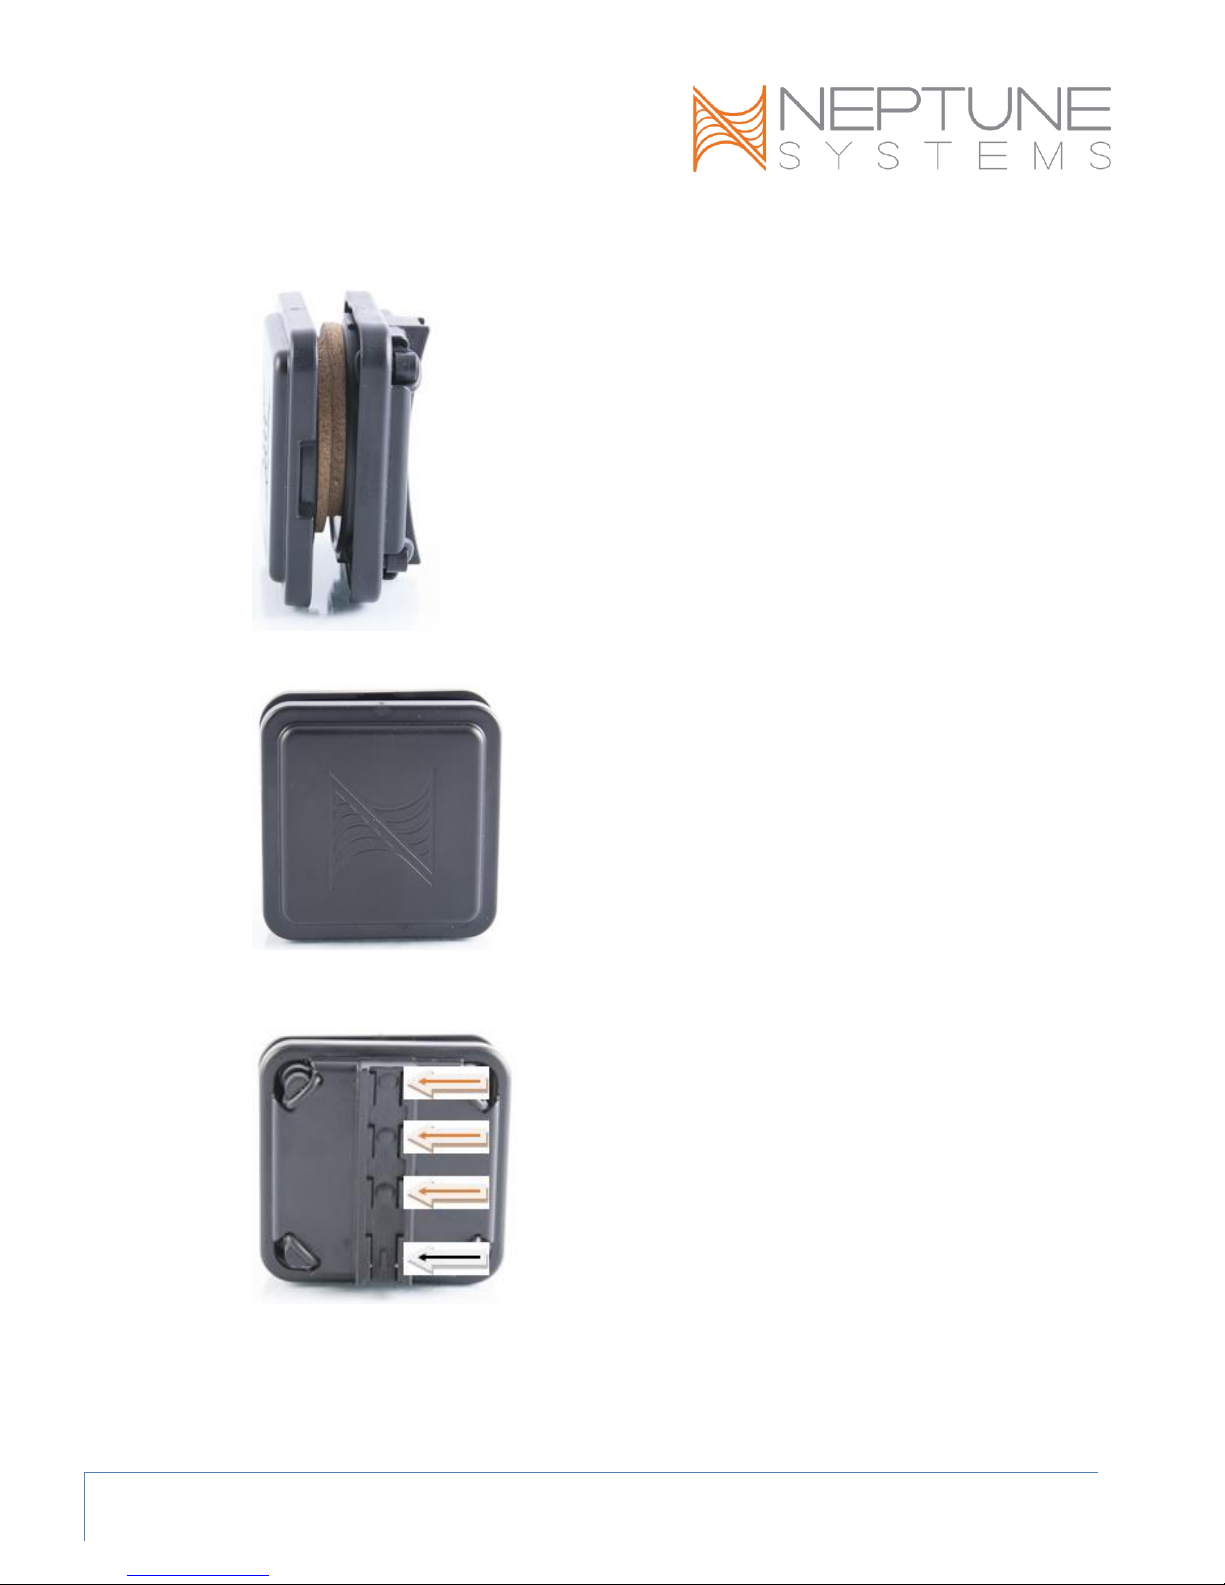
Assembling the WAV pump
1. Unpack a WAV pump and magnetic mount set.
2. Carefully separate the two halves of the magnetic mount. Retain the packing material used as a
spacer between the magnets for future use.
3. Set aside the outer magnet.
4. Pick up a WAV, and hold it upright (with the cable at the top)
a. Note that the inner magnet assembly has a center channel with 3 round bumps and 1
rectangular ridge. The ridge is near the bottom of the inner mount.
b. In your other hand, pick up the inner magnet and hold it as shown in the image below, with
the rectangular ridge at the bottom.
c. Starting with the inner magnet below the pump, slide the inner magnet upward onto the track
on the back side of the WAV pump.

WAV QuickStart Guide Page 3
d. Center the mount on the pump initially; you can change the angle of the pump as desired
later.
5. Repeat for the second pump and mount set.
6. Keep the two outer magnets well separated; do not allow them to snap together.
INSTALLAT ION
1. Mount the 1LINK as desired; a packet of 4 screws are included for this purpose.
2. Position the 24VDC power supply in a safe place where it is unlikely to get wet or splashed.
3. Install the WAVs in your display tank as desired. The recommended starting point and most common
usage will be to have a WAV on the left and right side of the tank. To install each WAV:
1) Place the WAV in your tank with the inner mount up against the tank wall in the desired position.
2) SLOWLY and CAREFULLY place the outer magnet assembly up against the outside of the tank
directly opposite the WAV inner mount. Rotate the outer mount as needed to mate up with the
inner mount magnet.
NOTE: The outer mount magnet is sealed and submersible and can be placed, for example, in an
aquarium overflow if desired.
NOTE: The top of the pump is where the cable goes into the pump. When the pump is upright, you may
change the direction of flow +/- 20° by sliding the pump within its mount. You may also rotate entire the
pump any amount desired to point the flow in any direction desired within the +/- 20° adjustment range of
the mount.
To reposition a pump:
1. Completely pull off the outer magnet
2. Move the pump away from the inside of tank wall slightly
3. Reposition the pump as desired
4. Carefully put the outer magnet back into place.
Do not drag the mounts across the glass or acrylic; there are large O-rings on both halves of the magnet
mount which may become dislodged or be damaged.
INITIAL CONNECTIO NS - 1L INK
Plug one end of the included AquaBus cable into either of the AquaBus ports on the 1LINK and the other end
into an available AquaBus port anywhere on your existing Apex system. It makes no difference which AquaBus
port is used and you do not need to power down the system when connecting AquaBus accessories as the
system is plug-and-play. Then connect the included power supply to the 24V jack on the 1LINK. Plug the
power supply into a regular wall outlet or power strip outlet. Plugging in the 1LINK power supply into an Apex
EnergyBar outlet is not recommended. Ensure that the AquaBus cable and both power supply cables have a
drip loop
WARNING: NEVER plug standard USB devices into any AquaBus connector or AquaBus accessories
into computer USB ports. Damage to the AquaBus accessory and/or USB device may result.
STARTUP – 1LINK
As soon as the 1LINK is connected to an active AquaBus, the module will power up and begin to initialize.
When first connected to an Apex Base Unit (through the AquaBus), the 1LINK will automatically be assigned
 Loading...