

Neo-Neon SRM-25007 User Manual
ELC 250WATT MINI NEO-ONE
Neo-Neon International
1
All rights reserved. No part of this manual may be reproduced, in any form,
Without the express permission, in writing from Neo – Neon LTD GUANGDONG,
SRM-25007
© Neo Neon LTD, GuangDong china
China
Printed in China 2006

ELC 250WATT MINI NEO-ONE
Neo-Neon International
CONTENTS
1. Introduction…………………………………..2
2. AC Power………………………………….....4
3. Installation……………………………………6
4. Control Panel…………………………………7
5. Optical Path Configuration………………….12
6. Trouble Shooting……………………………14
7. Technology Specifications………………….14
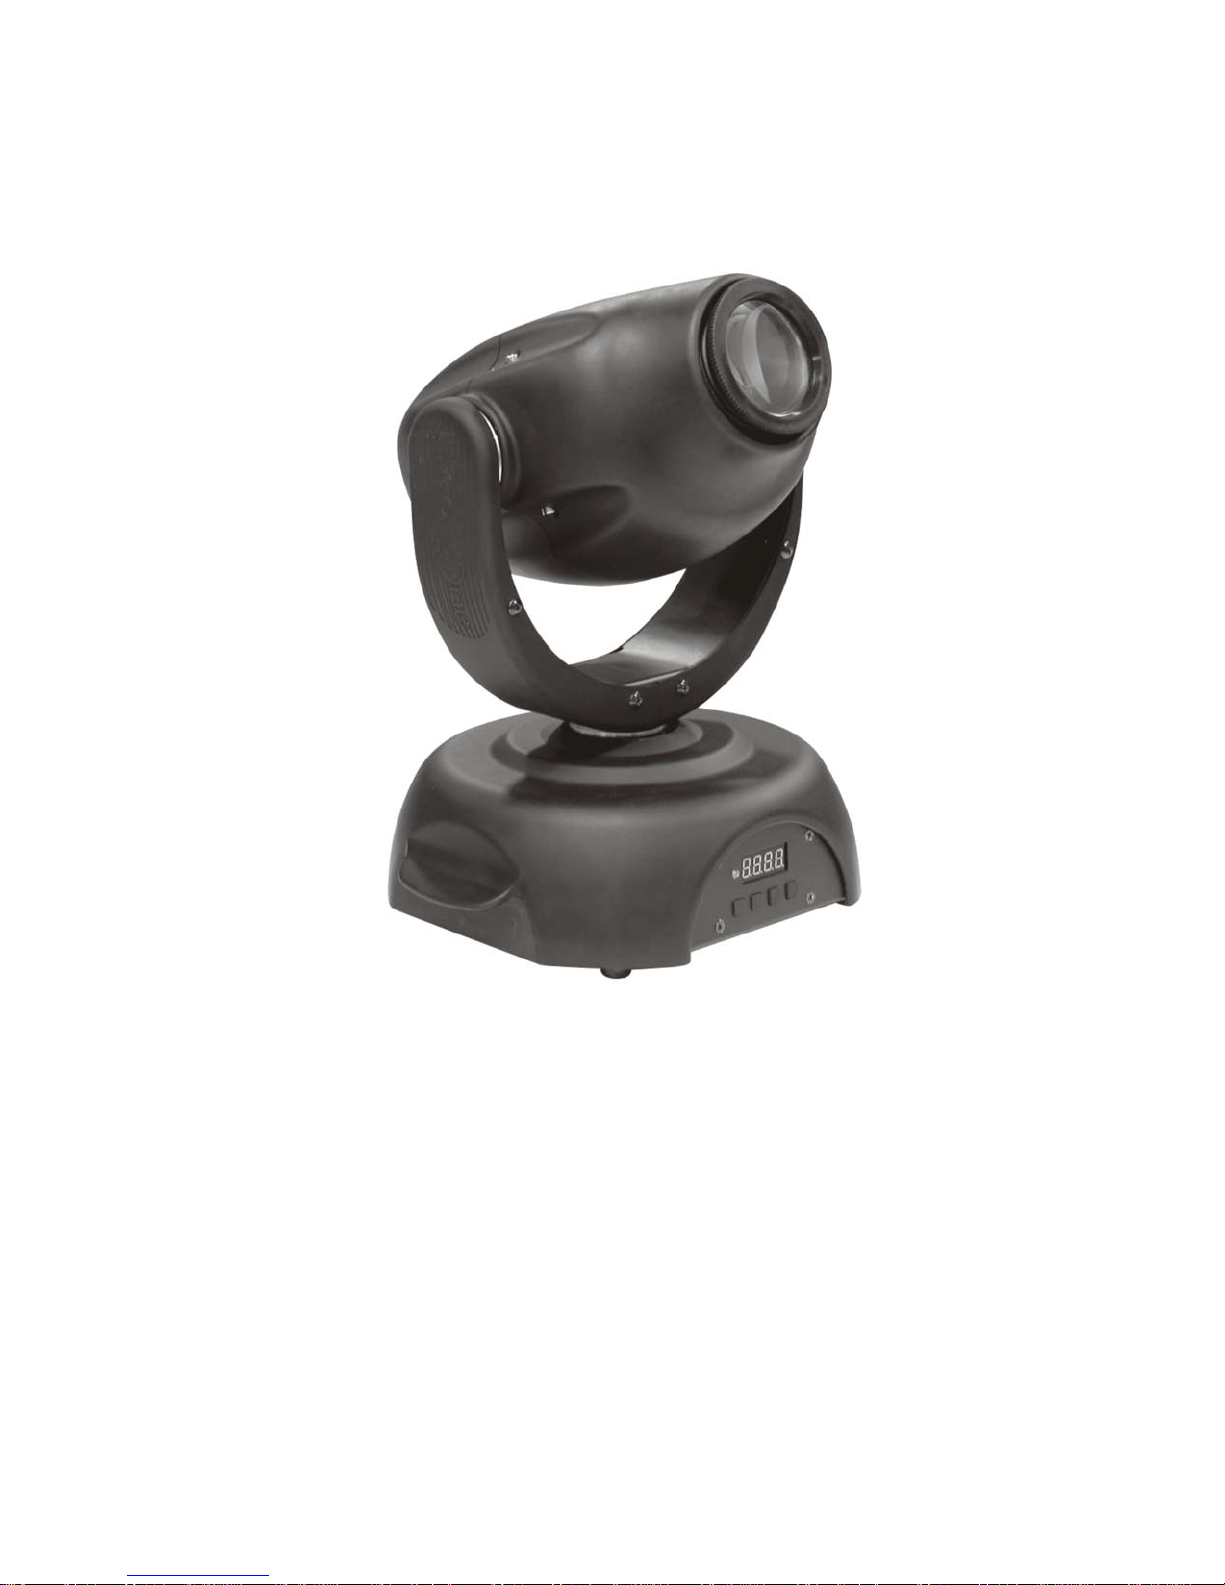
INTRODUCTION 1
Thank you for selecting the Neo One Mini Profile. This automated luminary
provides 8 dichroic color filters, high-speed mechanical shutter, 4-digit LED
control
Panel, 510° of pan by 260° of tilt, DMX, Stand-Alone, and Master/Slave
control
Options; and switch-selectable power supply settings. The Neo One Mini
Profile provides a 17° hard-focused beam, manually ad ju stabl e foc u s, an d 7
Gobos.
SAFETY INFORMATION
Warning! This product is for professional use only. It is not for
household Use.
This product presents risks of lethal or severe injury due to fire and heat, el ectric
shock, ultraviolet radiation, lamp explosion, and falls. Read this manual before
powering or installing the fixture, follow the safety precautions listed below and
observe all warnings in this manual and on the fixture. If you have questions
about how to operate the fixture safely, please contact your Neo-Neon dealer or
call CHINA (+86) 13929029266
To protect yourself and others from electric shock
• Disconnect the fixture from A C p ower be fore re moving or insta lling the
lamp, fuses, or any part, and when not in use.
• Always ground (earth) the fixture electrically.
• Use only a source of AC power that complies with local building and
electrical codes and has both overload and ground-fault protection.
2
All rights reserved. No part of this manual may be reproduced, in any form,
Without the express permission, in writing from Neo – Neon LTD GUANGDONG,
© Neo Neon LTD, GuangDong china
China
Printed in China 2006

ELC 250WATT MINI NEO-ONE
Neo-Neon International
• Do not expose the fixture to rain or moisture.
• Refer all service to a Neo-Neon service technician.
To protect yourself and others from UV radiation
and lamp
Explosion
.
• Never operate the fixture with missing or damaged lenses and/or covers.
• When replacing the lamp, allow the fixture to cool for at least 5 minutes
before opening the fixture or removing the lamp. Protect your hands and
eyes with gloves and safety glasses.
• Do not stare directly into the light. Never look at an exposed lamp while
it is lit.
• Replace the lamp if it becomes defective or worn out.
To protect yourself and others from burns and fire
• Never attempt to bypass the the rmostatic switch or fuses . Always
replace defective fuses with ones of the specified type and rating.
• Keep all combustible materials (for example fabric, wood, paper)
at least 0.3 meters (12 inches) away from the fixture. Keep
flammable materials well away from the fixture.
• Do not illuminate surfaces within 0.3 meters (12 inches) of the
fixture.
• Provide a minimum clearance of 0.1 meters (4 inches) around fans
and air vents.
• Never place filters or other materials over the lens.
• The exterior of the fixture can reach temperatures up to 60° C
(140° F). Allow the fixture to cool before handling.
• Do not modify the fixture or install other than genuine Neo-Neon
parts.
• Do not operate the fixture if the ambient temperature (Ta) exceeds
40° C (104° F).
To protect yourself and others from injury due to
falls
• When suspending the fixture above ground level, verify that the
structure can hold at least 10 times the weight of all installed
devices.
• Verify that all external covers and rigging hardware are securely
fastened and use an approved means of secondary attachment such
as a safety cable.
3
All rights reserved. No part of this manual may be reproduced, in any form,
Without the express permission, in writing from Neo – Neon LTD GUANGDONG,
© Neo Neon LTD, GuangDong china
China
Printed in China 2006

ELC 250WATT MINI NEO-ONE
Neo-Neon International
• Block access below the work area whenever installing or removing
the fixture.
UNPACKING
The packing material is carefully designed to protect the fixture during
shipment - always use it to transport the fixture.
The Neo One Mini comes with:
• ELC 24V 250W lamp
• 3 m, 3-pin IEC mains cable
• Attachment bracket for mounting clamp
• User manual
AC POWER 2
The Neo One Mini has switch-selectable settings to configure the power
supply for local conditions. Always use the setting that is closest to the
local AC supply.
Warning! For protection from electric shock, the fixture mus t be
grounded (earthed). The power supply shall have overload and
ground-fault protection.
Important! Install fuse and verify that power supply settings match
local
AC supply before use.
To change the voltage setting
1. Disconnect the fixture from power.
2. Remove the 4 base cover bolts with a 4 mm Allen wrench.
Move the cover out of the way of the switches without
disconnecting wires.
3. Set the 5-position switch (A) to the setting closest to the AC
voltage. Use the higher setting if the voltage is halfway
between 2 settings. For example, use the 230 V setting
instead of the 210 V setting for operation with 220 V power.
4. Set the 2-position switch (B) to the AC frequency (50 / 60
Hz).
5.
Replace the cover and apply a new power setting label to the
serial number label.
4
All rights reserved. No part of this manual may be reproduced, in any form,
Without the express permission, in writing from Neo – Neon LTD GUANGDONG,
© Neo Neon LTD, GuangDong china
China
Printed in China 2006
ELC 250WATT MINI NEO-ONE
Neo-Neon International
To install the main fuse
Fuses are provided for 100 - 130 V and 200 - 250 V op erat ion.
Use only the fuse specified for the operating voltage.
1. Locate the bag containing the fuse for your AC voltage.
Insert the fuse in the fuse holder. The holder may be
packed with the other fuse.
2. Remove the label covering the mains input socket.
3. Insert the fuse holder in the empty slot in the mains input
socket (C).
To install a plug on the power cable
The power cable must be fitted with a grounding-type cord cap that fits
your power distribution system. Consult an electrician if you have any
doubts about proper installation.
Following the cord cap manufacturer’s instructions, connect the yellow
and green wire to ground (earth), the brown wire to live, and the blue wire
to neutral. The table below shows some pin identification schemes.
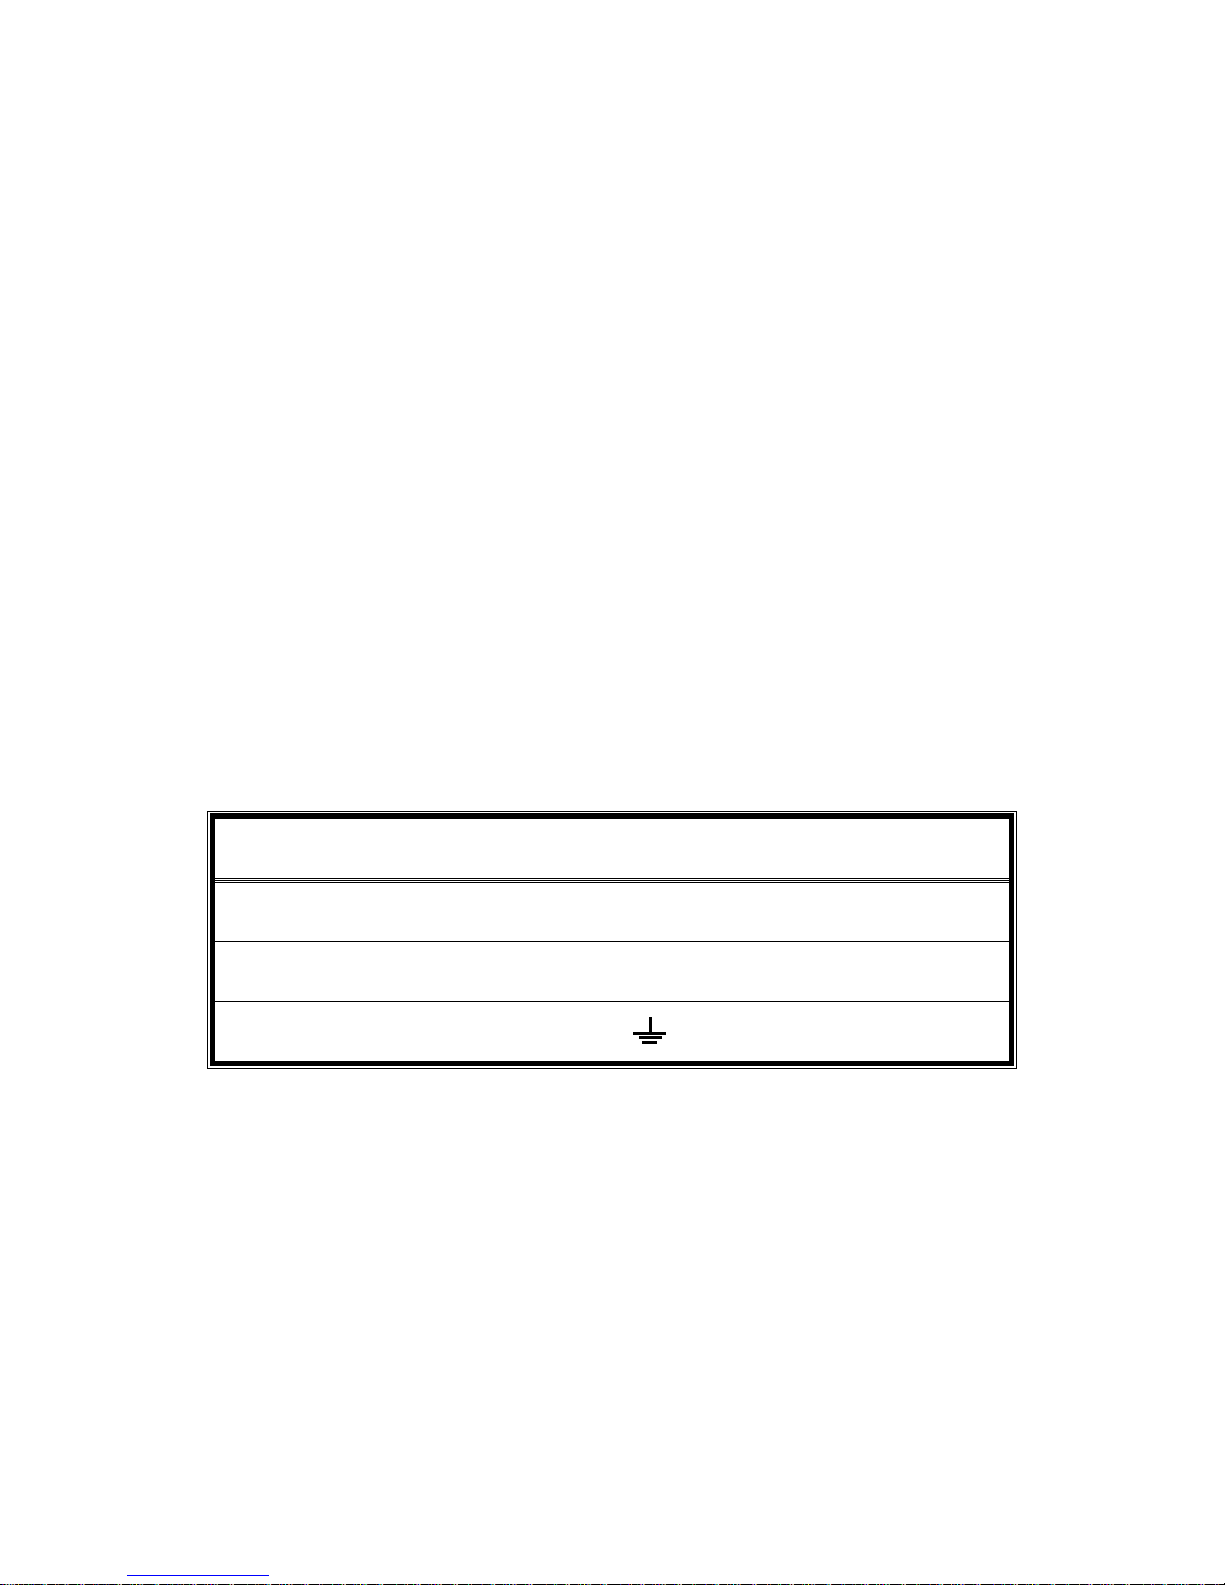
Table 1: Cord cap connections
Wire Pin Marking Screw color
brown live “L” yellow or brass
blue neutral “N” silver
yellow/green ground
green
To apply power
Warning! The power cables must be undamaged and rated for the electrical requirements of
all connected devices. Important! Powering through a dimmer system can damage the
fixture.
• Connect the prepared cable to the mains input socket and the AC mains distribution system. Do
not connect the fixture to a dimmer system.
5
All rights reserved. No part of this manual may be reproduced, in any form,
Without the express permission, in writing from Neo – Neon LTD GUANGDONG,
© Neo Neon LTD, GuangDong china
China
Printed in China 2006
 Loading...