

Page 1
Operating Instructions
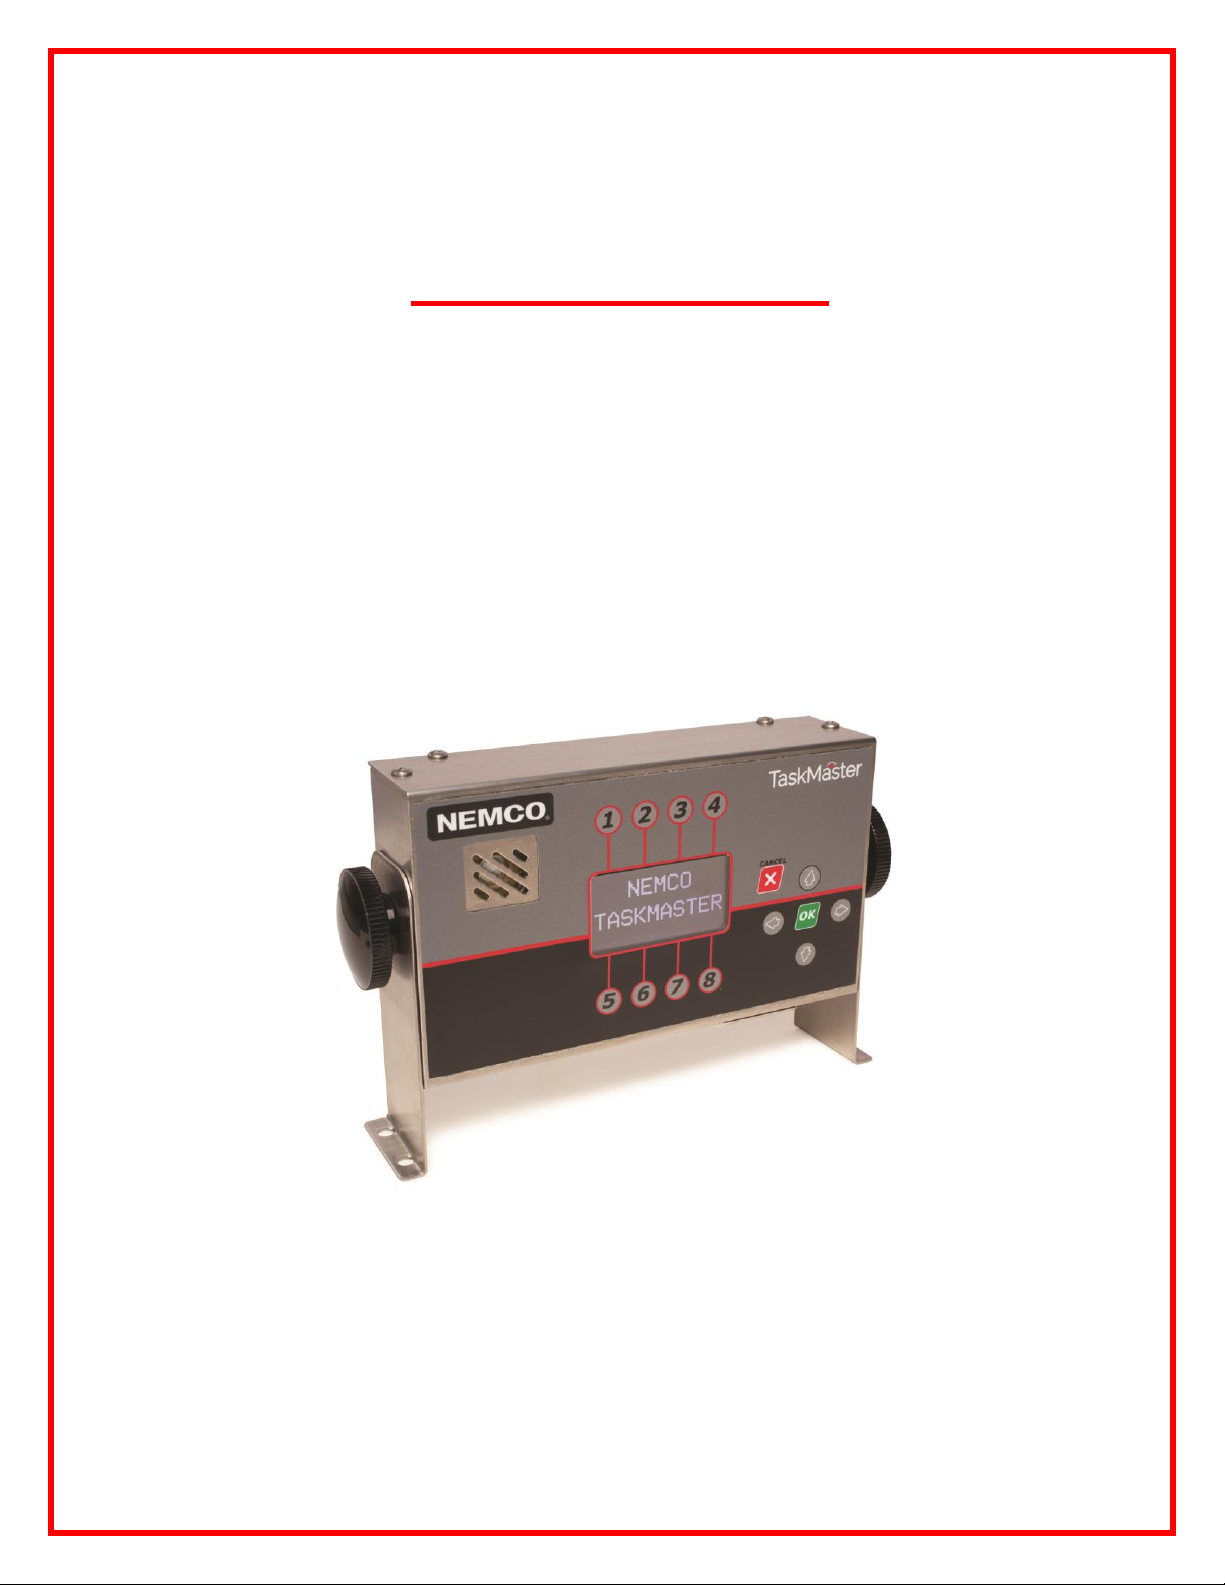
NEMCO Taskmaster
8-Channel 2550-8 & 16-Channel 2550-16
Programmable Timer
NEMCO Food Equipment
301 Meuse Argonne Street
Hicksville, OH 43526
419-542-7751
Page 2

Designed for Today’s Fast-Paced Foodservice Industry
The NEMCO Taskmaster Programmable Timer is designed for today’s fast-paced foodservice
industry, with easy-to-understand and easy-to-use controls and storing up to 64 menu items
with up to 10 functions apiece.
Table of Contents
Cautions and Warnings……………………………………..…………. 3
Installation………………………………………………………………. 3
Controls Overview……………………………………………………… 4
Operating Instructions…………………………………………………. 4
Power up……………………………………… 4
Running single menu item functions……….. 4
Viewing menu item parameters…………….. 6
Running items from additional stored menu pages………… 6
Running multiple menu item functions……………………… 7
Programming Menu Items…………………………………………….. 7
Programming items………………………….. 7
Resetting menu items……………………….. 8
Setting USB options…………………………………………………… 9
Load Menu option……………………………. 9
Save Menu option…………………………… 9
Upgrade Firmware option……………………. 10
Saving statistics………………………………. 11
Setting timer attributes…………………………………………………. 11
Operation mode……………………………… 11
Testing timer attributes……………………… 12
Viewing menu item statistics………………………………………….. 13
Resetting statistics…………………………… 13
View version information………………………………………………. 13
Technical Support……………………………………………………… 14
Hardware Specifications………………………………………………. 14
NEMCO TASKMASTER Timer Editor Instructions…………………. 15
2
Page 3

Cautions and Warnings
Cleaning
Prevent grease buildup on the timer by wiping it down with a clean, damp cloth every day. Avoid
using abrasive or chemically reactive cleaners, which could damage the control panel.
Non-120-volt operation
This device is shipped with a three-pronged, 120-volt-compatible outlet plug (NEMA 5-15P). If
your local power supply is not compatible with this type of outlet plug, consult an authorized
electrician for modification of the outlet plug.
Installation
A logical location in which to install the timer is on the surface of a fume hood above cooking
equipment. You will need the following hand tools to install the timer:
Electric drill
Screwdriver with #2 Phillips head
3/8” hex tool
Hardware accessories that are packaged with the unit are:
1. Two hanging brackets, 2. two adjustable knobs, 3. two large washers, 4. four machine
screws, 5. four nuts.
To install:
With holed flanges facing either inward or outward, slide a hanging bracket over the
adjustable knob’s threads and then slide on the large washers.
Fasten the knob to one side of the timer and repeat for the opposite side.
Use the timer assembly to mark the four mounting holes.
Drill the four mounting holes.
Place the timer assembly over the 4 mounting holes and press the four supplied screws
through the mounting brackets into the mounting surface (the hanging brackets can be
removed from the timer to reduce the weight during mounting).
Use the Phillips screw driver and 3/8” tool to fasten the supplied nuts to the mounting
screws.
Loosen the adjustable knobs and rotate timer to desired orientation and retighten knobs.
3
Page 4

Controls Overview
A. Menu item buttons: Correspond to menu items on main menu. Buttons corresponding to
menu items start, halt Repeat, and halt Manual alarms. Corresponding buttons display
remaining time in current function. Create/edit menu items, set options for USB flash drive, set
or test timer attributes.
B. Right and left displays: Show menu items and item/function statuses. Press Left/Right arrow
(see control F) to switch display; active display indicated by triangle symbol in upper right. In
Program Mode, these prompt the operator to edit or change menu item parameters.
C. OK: Initiates actions, confirms inputs. Examples: selecting additional stored menu items,
changing item names, editing item parameters, resetting menu items, uploading menu items
from a USB flash drive, setting timer attributes, and testing timer attributes.
D. X/Cancel: Examples of actions/screens cancelled: viewing menu item parameters, menu
page copying process, Program Mode, return to main display from Load Menu, return to
programming screen from testing timer attributes.
E. Up/Down: Initiates actions such as selecting additional pages of stored menu items, changing
menu item names by changing individual characters, editing menu item parameters, choosing
submenus to create or edit and locating the desire submenu parameters, setting timer
attributes, and testing timer attributes.
F. Left/Right Arrow: Initiates actions such as selecting display, viewing menu item parameters,
entering Program Mode, choosing menu item parameters to edit, resetting menu items to last
saved name and submenu options.
Operating Instructions
Powering up
Make sure that the timer is plugged in and flip the On/Off switch on the front of the unit to “On.”
The left display, designated as active with the triangle symbol, will read READY. Press the Right
Arrow to switch to the right display (16-Channel timers only).
Running single menu item functions
In Single Page Mode, the display reads READY. Stored menu items correspond to the buttons
on the active display. The names of menu items are displayed along the top and bottom of the
4
Page 5

center display, above or below their corresponding buttons. Buttons that do not have
corresponding menu items will show blank spaces.
Pressing the button that corresponds to the desired menu item will start the first item
function. The center display area briefly shows the menu item name and STARTED. The
menu item name then flashes to indicate that the cycle is active and the time for the first
function counts down. The menu item name alternates with an asterisk (*).
Each menu item can have up to 10 functions, each of which is displayed as the time counts
down on the function. The seven default settings are:
CHECK
REMOV (remove)
SHAKE
HOLD
STIR
TURN
SEAR
Cancelling function: Hold down the menu item’s corresponding button until the display reads
ITEM_CANCELLED.
Pre-Alarms: With this feature, five short beeps sound when five seconds remain in a function,
informing the operator.
View remaining time, last function: Press the corresponding button on an item in operation
to view the current function name and time. Press the item button again and the last function
will display for 5 seconds and revert to the next function.
Alarms: The timer will beep when a function is complete and operator action may or may not be
necessary. The display shows the expiring function until the alarm stops. There are three
different alarm settings:
Auto – The timer beeps for a few seconds and stops.
Repeat – The timer beeps; press the corresponding menu item button to stop the alarm within
five seconds or the alarm will change to a higher pitch and faster rate until the timing cycle is
restarted by the press of a button. HOLD cannot be set to repeat.
5
Page 6

Manual – The timer beeps; press the corresponding menu item button to stop the alarm within
five seconds or the alarm will change to a higher tone and faster beep rate until cancelled. After
the alarm stops, the display will change to the next function and the time remaining.
Viewing menu item parameters
To review times without changing menu items on the display page, make sure that no item is
being timed and the center display shows the current page.
Press the Left Arrow button on the timer; the display will show VIEW ITEM. Then press the
desired menu item button. The display will show the menu item name, all of the functions,
and their programmed times. After a few seconds, the display will return to the previous
display, or simply press the X button to cancel. This function is only available on the left
display.
Running items from additional stored menu pages
Up to eight pages of menu items can be stored in the timer.
No active timing cycles can be present. Press the Left Arrow button and the Right Arrow
button on the unit simultaneously. At the password prompt, enter 2-1-2-1.
The left display will show PROGRAM with seven submenus corresponding to buttons 1, 2, and
4-8: STAT, VERS, TEST, MENU, USB, SET UP, and OPER MODE.
Select button 8, OPER MODE. Make sure that MULTI is displayed.
If MULTI is not displayed, press the Down Arrow and select Page Mode. Press OK. Toggle
the Up or Down Arrow until MULTI blinks. Press OK again.
To save changes, press the X button. Press the X button again to get back to the screen
showing menu items (this happens automatically after 10 seconds). The display will show
the page name.
Press the Up or Down Arrow button until the desired page of items is located. Initiate the
selection sequence by pressing OK. The display will then show DFLT MENU?
Press OK again to copy the page to the left display. Press the OK button again within 10
seconds to confirm or the main display will reappear. Pressing the X button cancels the
process.
6
Page 7

Running multiple menu item functions
Up to 16 menu items can be in operation at any given time.
Pressing the corresponding items’ buttons starts their timing sequences.
In Single Page Mode, the item name with the least time remaining is displayed and blinks,
alternating with an asterisk (*). In Multi Page Mode, the item name with the least time remaining
is displayed and blinks. The operator can check the time remaining on any other running items
by pressing the corresponding buttons.
Programming Menu Items
The Program Mode allows the operator to develop or edit menu items and test the timer. All
programming takes place on the left display.
To enter Program Mode, press the Left Arrow button and the Right Arrow button on the unit
simultaneously. The timer will prompt for a password in the selected display. Enter 2-1-2-1.
The display will show PROGRAM with seven submenus corresponding to buttons 1, 2, and 4-8:
STAT, VERS, TEST, MENU, USB, SET UP, and OPER MODE.
Programming items
Press button 5, which corresponds to MENU.
Two messages will alternately display: PROGRAM and the page number. To select a
different menu page from that on the display, press the Up or Down Arrow button.
Press the button corresponding to the desired menu item.
The menu item name in the upper left of the display will blink and EDIT? will be shown at the
top. Press OK to edit the item name.
Move the cursor over the desired character(s) using the Left or Right Arrow button. Use the
Up or Down Arrow button to change characters. To leave a space blank, scroll to the
selection before zero (0). An item name may contain up to eight characters (letters or
numbers). Press OK to complete edits on each line.
To edit parameters, move the cursor to the desired submenu using the Up or Down Arrow
button, press OK, and move the cursor to the desired parameter using the Left or Right
Arrow button. The desired parameter will blink.
7
Page 8

Press the Up or Down Arrow button to locate the desired parameter choice and the Left or
Right Arrow button to select a parameter:
Function: CHECK, REMOV, HOLD, SHAKE, STIR, TURN, SEAR, - - - - - (Note: If - - - - -
is selected, the submenu will have no function, even if a time is set for that line.)
PRE ALM (Pre-Alarm): Y, N Function type: REGULAR (functions performed in order of
their time setting based on start of cycle) or HOLD (functions performed in order of their
time setting based on when last regular functions ends)
Alarm setting: AUTO (automatic), REPT (repeat), MANU (manual)
Alarm rate (S in S1): S (SLOW), M (MEDIUM), F (FAST)
Alarm pitch (1 in S1): 1 (0.9 KHZ), 2 (1.0 KHZ), 3 (1.1 KHZ), 4 (1.2 KHZ), 5 (1.3 KHZ)
(Note: the settings are from lowest to highest pitch.)
To change to hours and minutes, use Left or Right Arrow to place the cursor over colons (:)
in function time. Toggle the Up and Down Arrow to change to HH:MM.
Once the desired choices are selected, press OK. The entire submenu will blink. Move the
cursor to the next submenu to make more changes, or press X to save changes and go
back to the Program Mode screen.
To change a page name, Press button 5, which corresponds to MENU on the PROGRAM
screen. The current page name will be displayed. To select a different menu from that on
the display, press the Up or Down Arrow button. Press OK while the page is displayed. The
first character will be highlighted and can be edited by pressing the Up or Down Arrow
button. Press the Left or Right Arrow button to move the cursor to the next character. When
finished, press the OK button to save.
Press the X button at any time to stop the editing process without any changes.
Resetting menu items
To reset an item back to its last saved name and submenu settings, move the cursor to the
upper left corner of the center display in the item editing screen. Press the Left or Right Arrow
button. EDIT? will briefly change to RESET?; press OK before EDIT? reappears.
To exit Program Mode, press the X button (automatic exit occurs in 10 seconds).
8
Page 9

Setting USB Options
The operator can upload new menu items to the timer from a USB flash drive, download menu
directory information to a USB flash drive from the timer, upload new timer firmware from a USB
flash drive and export the statistical data to a USB flash drive.
From the Program screen, press button 6, which corresponds with USB.
The next screen will display USB and the following options, which correspond to buttons 1 and
5-7:
SAVE LOAD SAVE UPGRADE
STAT MENU MENU FIRMWARE
Press the button that corresponds to the desired option.
Load Menu option
Under this option, the timer will attempt to read any menu files on the USB flash drive.
To load the new items, insert a USB flash drive into the USB port on the front of the timer.
Press button 5, which corresponds to LOAD MENU.
If the timer finds menu files, the display will show the files corresponding to the numbered
buttons on the control panel. The items will be numbered, starting with 0001, or names of
actual menu files.
Press the numbered button that corresponds to the item to be uploaded and then OK; if OK
is not pressed within a few seconds, the screen will revert to the USB Load Menu screen. To
go back to the main display, press the X button twice.
If no valid menu files are located on the flash drive, the display will show NO MENUS FOUND.
Save Menu option
This option allows the operator to save menu files from the timer to a USB flash drive.
Install the USB flash drive into the USB port on the front of the unit.
From the Program Mode screen, press button 6, which corresponds to USB.
Press button 6, which corresponds to SAVE MENU.
If the timer identifies the USB flash drive, the middle of the active display will show:
XX ZZ.ZZ SAVE MENU
9
Page 10

Press the button corresponding to the desired menu to be saved: 1 through 8.
You can save the current menu or create a new name by pressing a button with no
corresponding menu name. The first character will be highlighted and can be edited by
pressing the Up or Down Arrow button. To display the next character, press the Left or Right
Arrow button. When finished, press the OK button to save. Press the X button at any time to
stop the editing process without any changes.
Warning: This will overwrite any existing file on the USB flash drive with the same name.
Upgrade Firmware option
The timer firmware can be upgraded via a USB flash drive. During this process, the current
timer menu will be overwritten with a generic menu file; it is recommended that you save the
current timer menu to a USB flash drive before performing this function (see “Save Menu
option”).
Install the USB flash drive containing the new firmware into the USB port.
From the Program Mode screen, press button 6, which corresponds with USB.
The next screen will display USB and the following options, which correspond to buttons 5-7:
SAVE SAVE UPGRADE
STAT MENU FIRMWARE
Press Button 7, UPGRADE FIRMWARE, and the timer will read applicable files on the USB
flash drive.
Up to eight files will show up on the display. If no valid menu files are located on the USB
flash drive, the display will show NO MENUS FOUND.
Press the key corresponding to the program you want to upgrade.
The selected program name will flash, alternating with OK. Press OK to continue the
upgrade. If OK is not pressed after five seconds, the unit returns to the previous screen.
The screen displays UPGRADING and the timer creates a file named UEZIMAGE.ROM on the
USB flash drive for reprogramming. The display then shows PLEASE CYCLE POWER TO
COMPLETE UPGRADE. The program will update the next time the unit is powered up and the
new file will be deleted.
Press the X button at any time to stop the editing process without any changes.
10
Page 11

After the firmware is upgraded, removal of the firmware upgrade file is recommended from
the USB flash drive to prevent accidental reloading.
Saving Statistics
To save all menu statistics to a .TXT file on the USB flash drive, press the SAVE STAT
button. The display will read SAVING STATISTICS TO STATXXXX.TXT, with XXXX
indicating the date.
Setting Timer Attributes
From the Program Mode screen, press button 7, SET UP.
Move the cursor to the desired attribute to edit using the Up or Down Arrow button and
press OK. The options for the attribute will blink; use the Up or Down Arrow button to select:
VOLUME: 0-10 (default: 2)
CONTRAST: 1-20 (default: XX)
PIXEL MODE: NORMAL: white text on black background (default); REVERSE: black text on
white background
Current date and time: You can edit these settings.
When the desired attribute is edited, press OK. Move the cursor to other attributes using the
Left or Right or Up or Down Arrow button to edit and repeat the process. Press OK to save
the changes.
Operation mode
Press Button 8, which corresponds to Operation Mode. The unit will display the following:
TIMER MODE (default: Sorted). If you select Sorted, the function with the least amount
of time finishes first. You can see the sequence of functions, and the total cook time is
based on the function with the most time. If you select List, the total cook time will be the
sum of all function times.
PAGE MODE (default: Single). If you select Single, the timer will have one page of menu
items. The Multi setting gives you eight pages of menu items.
IDLE PAGE: Two are listed, one for the left display and one for the right display.
Identifies the menu page displayed at power on. Select any of up to eight menu pages.
11
Page 12

MESSAGE 1 and MESSAGE 2: These are displayed when the timer is turned on; you
can customize them. Up to 10 characters are available.
Press the Up or Down Arrow button and the OK button to select the desired setting. Press
the Left or Right and Up or Down Arrow buttons to move the cursor over the desired
characters and change the settings. When a setting is complete, press OK to save and allow
selection of another item. Press the X button at any time to stop the editing process without
any changes.
Testing timer attributes
Make sure that the left display is selected. Press the Left Arrow button if necessary.
Press TEST (button 4) on the programming screen. SYSTEM TEST will be displayed.
Move the cursor to the desired function to test it. The function on the same line as the cursor
will blink. Press OK to test that function and OK again when the function is set correctly.
The operator can test the following timer functions. Hold down OK to test the next function.
Push and hold the X button to cancel.
KEYS ----: Test any key on the panel by pressing it and ---- will display to the right of the
function. The ---- portion of message will change to the button just pressed.
VOLUME (default 30%): A continuous alarm will be audible. Press the Up or Down
Arrow button to ensure that the volume increases with the Up button and decreases with
the Down button between 0 and 100 percent; the alarm sounds at the displayed level.
FREQUENCY (default 1500 Hz): A continuous alarm will be audible. Press the Up or
Down Arrow button to ensure that pitch increases with the Up button and decreases with
the Down button between 0100 and 9900 Hz.
PIXEL MODE (default NORMAL): Press the Up or Down Arrow button and ensure that
the background changes from NORMAL (white text on black background) to REVERSE
(black text on white background). When PIXEL MODE flashes on the left display, press
the Right Arrow button to select the right display. Press the Left Arrow button to go back
to the left display.
CONTRAST (default 15): Press the Up Arrow button to change the currently set number
(00 to 20) and make the text brighter against the background and the Down Arrow button
and make the background brighter compared with the text. When CONTRAST flashes
12
Page 13

on the left display, press the Right Arrow button to select the right display. Press the Left
Arrow button to go back to the left display.
BACKLITE (default ON): Press the Up or Down Arrow button to turn it OFF or ON.
To return to the Program screen, press the X button.
If any of the functions do not operate properly during testing, see the Technical
Support/Replacement section.
Viewing Menu Item Statistics
In Program Mode, press Button 1, which corresponds to STAT. STATISTICS AND PAGE 1 or
READY will alternate on the display.
To view the statistics, press the button corresponding to the desired menu item. The unit will
display the menu item name, cycles (number run since last reset), cycle % (cooking cycles of
the item as a percentage of all cooking cycles) and reset on (date of last reset).
Resetting statistics
When the main Statistics page is displayed, press the Left or Right Arrow button and the unit
will display the Reset Screen. NO will flash under RESET ALL STATISTICS.
Press the Up or Down Arrow button and the display will flash YES under RESET ALL
STATISTICS. Press OK to reset the statistics. The unit will briefly display RESETTING ALL
STATISTICS NOW.
To cancel and return to the main Statistics screen, press the X button.
View Version Information
Press Button 2, which corresponds to VERS, from the Program screen.
This sub-mode displays the version numbers of the files currently being used in the timer. The
Control version is the main timer program being used. The ROM Menu (00.xxNC) is the original
menu list that was shipped with the timer and is used when reloading menu settings, where xx is
the current version. The Menu Code is the menu data structure. The Boot Loader controls the
USB operational program.
13
Page 14

Technical Support
If this unit fails to work properly when first operated call NEMCO customer service at 1-800-7826761 or visit http://www.nemcofoodequip.com/contact-us/customer-support
Hardware Specifications
Operating voltage: 105 to 265 Vac, 50/60Hz
Power consumption: 20 VA (max.)
Operating temperature: 40OF to 140OF (4OC to 60OC)
Display: 128 x 64 LCD graphic display; white on black
Timing accuracy: +/-1%
Audio alert: 80db, +/-5db @ 3.2 Khz @ 2 ft from speaker
Maximum menu list: 64 menu items, with 10 functions per item
Number of simultaneous timing cycles: 16 channels
Programmable time range of functions: 0 to 59 minutes in the minutes and seconds range and
17 hours and 59 seconds in the hours and minutes range
14
Page 15

NEMCO TASKMASTER Timer Editor Instructions
The Timers can be programmed with an USB flash drive by using the NEMCO
TASKMASTER Timer Editor to create customer specific menus.
To use the Timer Editor, simply double click on NEMCOME.exe and the program will open.
Below is an explanation of all of the programs features/functions.
15
Page 16

Section Descriptions;
1. Page Names Box: This box contains the names for the eight possible pages of menu items
and Radio Buttons for selecting which pages are the default pages when the timer is
powered ON. Refer to section 2 for setting the default menu page and section 3 for setting
page names.
2. Default Page: There are 2 radio buttons by each page number and when you click the
button the center will light indicating it is selected as the default power ON page. When the
left radio button is selected the page will be selected for the left display, when the right radio
button is selected the page will be selected for the right display. Only one page can be
selected for the left and right display, it can be the same page or two different pages. The 8
channel timer only has 1 display so there is only 1 selection.
3. Page Name: This name represents the menu items on that page, it can be as simple as
PAGE 1 or LUNCH to represent items cooked during that time of the day. When you click in
the page name box you can type in 1 to 10 alpha numeric characters. During operation this
name appears on the display when the timer is configured as Multi Page Mode. When the
page name is blank the page will not appear in the operating mode.
4. Status Messages Box: There are two lines of text that briefly appear during the power on
sequence. They can be customized to identify the timer menu name or appliance it is
intended to operate, such as Grill Timer or Fryer Timer. When you click in the message box
you can edit each line using up to 10 alpha-numeric characters in each line.
5. Page Mode: This box selects whether the unit will operate in Multi Page Mode or in Single
Page Mode. Multi Page Mode allows up to 8 pages of menu items to be cooked during
operation, Single Page mode defines one page of menu items per display during operation.
Click the corresponding Radio Button to select the desired operating mode.
6. Timer Mode Box: There are two selections Sorted and List Mode, Sorted Mode will sort the
cooking functions based on the time setting for each function and the total cook time is the
longest function time. List mode will perform the cooking functions in the order they are
shown in the menu list and the cook time will be the sum of all the individual functions. Click
the desired Radio Button to select the desired operating mode.
7. Model Box: There are two selections 8 Channel and 16 Channel mode. 8 Channel mode are
for the 2550-8 series single display timers, 16 Channel mode is for the 2550-16 series dual
display timers, select the Radio Button for the series timer you are using.
16
Page 17

8. Page Details: When you click the arrow to the left of individual page names the menu items
in that page will be displayed. Clicking the same arrow a second time will close that page’s
list of menu items. Refer to section 9 for viewing of menu item functions.
9. Menu Item Functions: When you click the individual menu item names the functions will be
displayed. Clicking the same name a second time will close that menu items functions. Refer
to section 18 for viewing and editing of menu item functions.
10. Print Button: This button will print all the timer parameters for the currently displayed menu.
11. Clear Button: This button clears the current loaded menu and allows for creation of a new
menu. Prior to erasure a confirmation to delete message is displayed.
12. Load Button: This button will load (open) a previously saved menu list. These files have a
.XML suffix, and are only used by the menu editor program for editing and creating menu
files and are not suitable for loading directly into the timer. The file name must be 8 alphanumeric characters.
13. Save Button: This button will save a .XML file for future editing, the file name must be 8
alpha-numeric characters.
14. Export Button: This button will create and save 2 files, one file will have a .TMR suffix and
this file is used for updating the timer through the USB connector using a flash drive. The
second file is a .TXT file which may be used to document the menu list function settings.
15. Import Button: This button will open a menu list that was down loaded from a timer. It will
open any file that has a .TMR suffix. After editing the file it may be exported for use in the
timer or saved as described in the previous sections.
16. Preview Button: When selected a simulated timer will be displayed showing the pages on
the timer as they are now programmed. Use the left and right arrow buttons to select display
and the up and down arrows to view different pages.
17. Menu File Name: This line is the name of the menu file that is currently open.
18. Time Range box: There are 2 choices for the time range minutes and seconds (MM:SS) or
hours and minutes (HH:MM). When set for “MM:SS” the function times for this menu item
will represent minutes and seconds, and when “HH:MM” is selected the function time
settings will be hours and minutes. Click the corresponding Radio Button for the desired
range.
19. Menu Item Name: This box is for entering the menu items name, they are enter as a 8
character alpha-numeric name, this name will be displayed as 2 four character lines during
17
Page 18

normal operation. When entering the name a space should not be used between characters
4 and 5.
20. Menu Item Functions: This box contains all ten of the possible timing functions for each
menu item, the various settings are described below.
a. Name: This is the function name and may be 1-5 alpha-numeric characters. When
this box is blank the function will not appear in the operating mode.
b. Type: This is a drop down box, click the down arrow button to view the possible
selections. There are two selections Regular or Hold, regular selection will allow the
functions to be sorted based on their time settings. Hold selection is used for a
function that is to be performed after the last function is completed and the time
entered for this function starts when all the regular functions have been completed.
When more than one function is a hold function they will occur in the order of their
time setting.
c. Time: This is the time the function is to performed after the cycle has been started.
The regular function with the longest time will be the cook total cook time.
d. Cancel Mode: This parameter determines how the audio alert that occurs when the
function ends will be cancelled This is a drop down box, click the down arrow button
to view the possible selections. There are 3 selections Auto Cancel, Manual Cancel
and Repeat. The Auto selection will cancel the alert and message automatically after
5 seconds, if a menu button is pressed during the alert the alert will be cancelled.
Manual Cancel selection requires a menu button be pressed in order to cancel the
audio alert and message. The Repeat selection is for repeating functions such as
“STIR” the Soup, the function will continue to repeat until the cooking cycle is
cancelled by pressing and holding the menu button for 3 seconds. Normally when
repeat is selected there will be no other functions for that item.
e. Pre-Alert Mode: Pre-Alert mode allows for a pre-alert to a function that is about to
end, when selected yes there will be a 2 beep alert 5 seconds before function ends.
This is a drop down box, click the down arrow button to view the two selections, YES
a pre-alert occurs or “NO” no pre-alert.
f. Beep Rate: This setting allows for 3 different beep rates which can be used to
identify different function alerts. This is a drop down box, click the down arrow button
to view the three selections, Slow, Medium or Fast.
18
Page 19

g. Tone Box: This setting allows for 5 different Tones which can be used to identify
different function alerts. This is a drop down box, click the down arrow button to view
the five selections, Tone 1, Tone 2, Tone 3, Tone 4 or Tone5. The higher the tone
setting the higher the tone frequency.
21. Copy and Paste: The copy and paste function is done by left clicking and highlighting the
desired text or time to copy, then Right click and select copy. Then select area where it is to
be pasted then Right click and select paste function.
19
Page 20

Notes
20
 Loading...