

Page 1
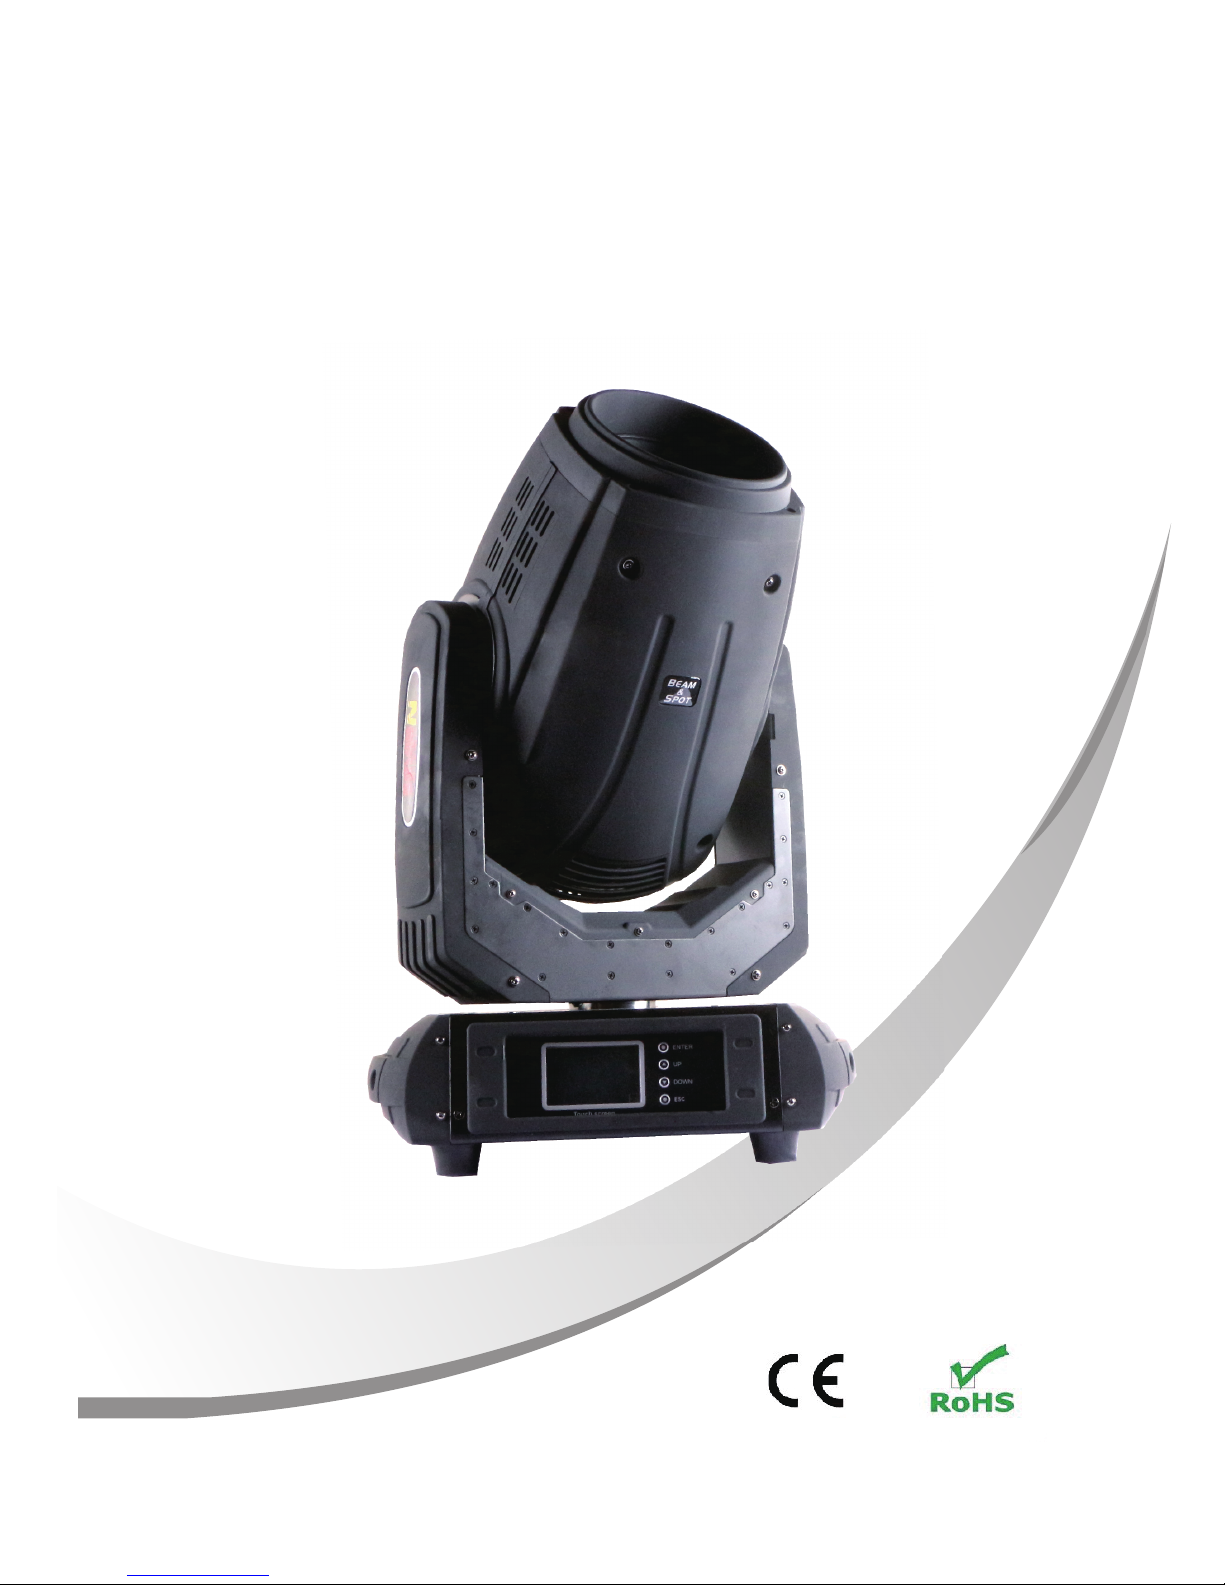
17R Spot\Beam Light
USER MANUAL
Please Read Over This Manual Before Operating The Light Fixture
Page 2
1.1 PRODUCT SPECIFICATIONS
The 17R Spot\Beam light is an improved version of Beam 350W. The upgraded
software enables the faster and more quietly rotation.
The smoother rotation can bring various awesome effects in a short time.
Voltage110W~240V/50-60Hz
Ballast:Electronic Ballast
Lamp:Huadeng 350w 17R bulb
Average Lifespan: 2200Hrs
Power consumption: 500W
Lens : high precision optical lens
Color wheel: 12 dichroic filters + white
Rotating Gobo Wheel: 12 gobos+white
(outside diameter: 15.4 mm, image diameter: 13 mm)
Static Gobo wheel with 17 fixed gobos+ white
Prism : 8-facet circular prism rotating in both directions at different speeds
Zoom: parallel beam angel 2.5°-20° change
Wash effect : adjustable Wash effects angle
Focus: linear adjustment
Dimmer : 0-100% linear adjustment
Strobe : (1-20times/ second)
Pan/Tilt : X axis 540° Y axis 270°automatically accurate positioning
Fixation option: Pan/Tilt-lock mechanism
Control mode : Standard DMX512, Automatic and Master/ slave mode
Channel : 16 CHs / 24 CHs
Controller can open the lamp and reset, including delaying function
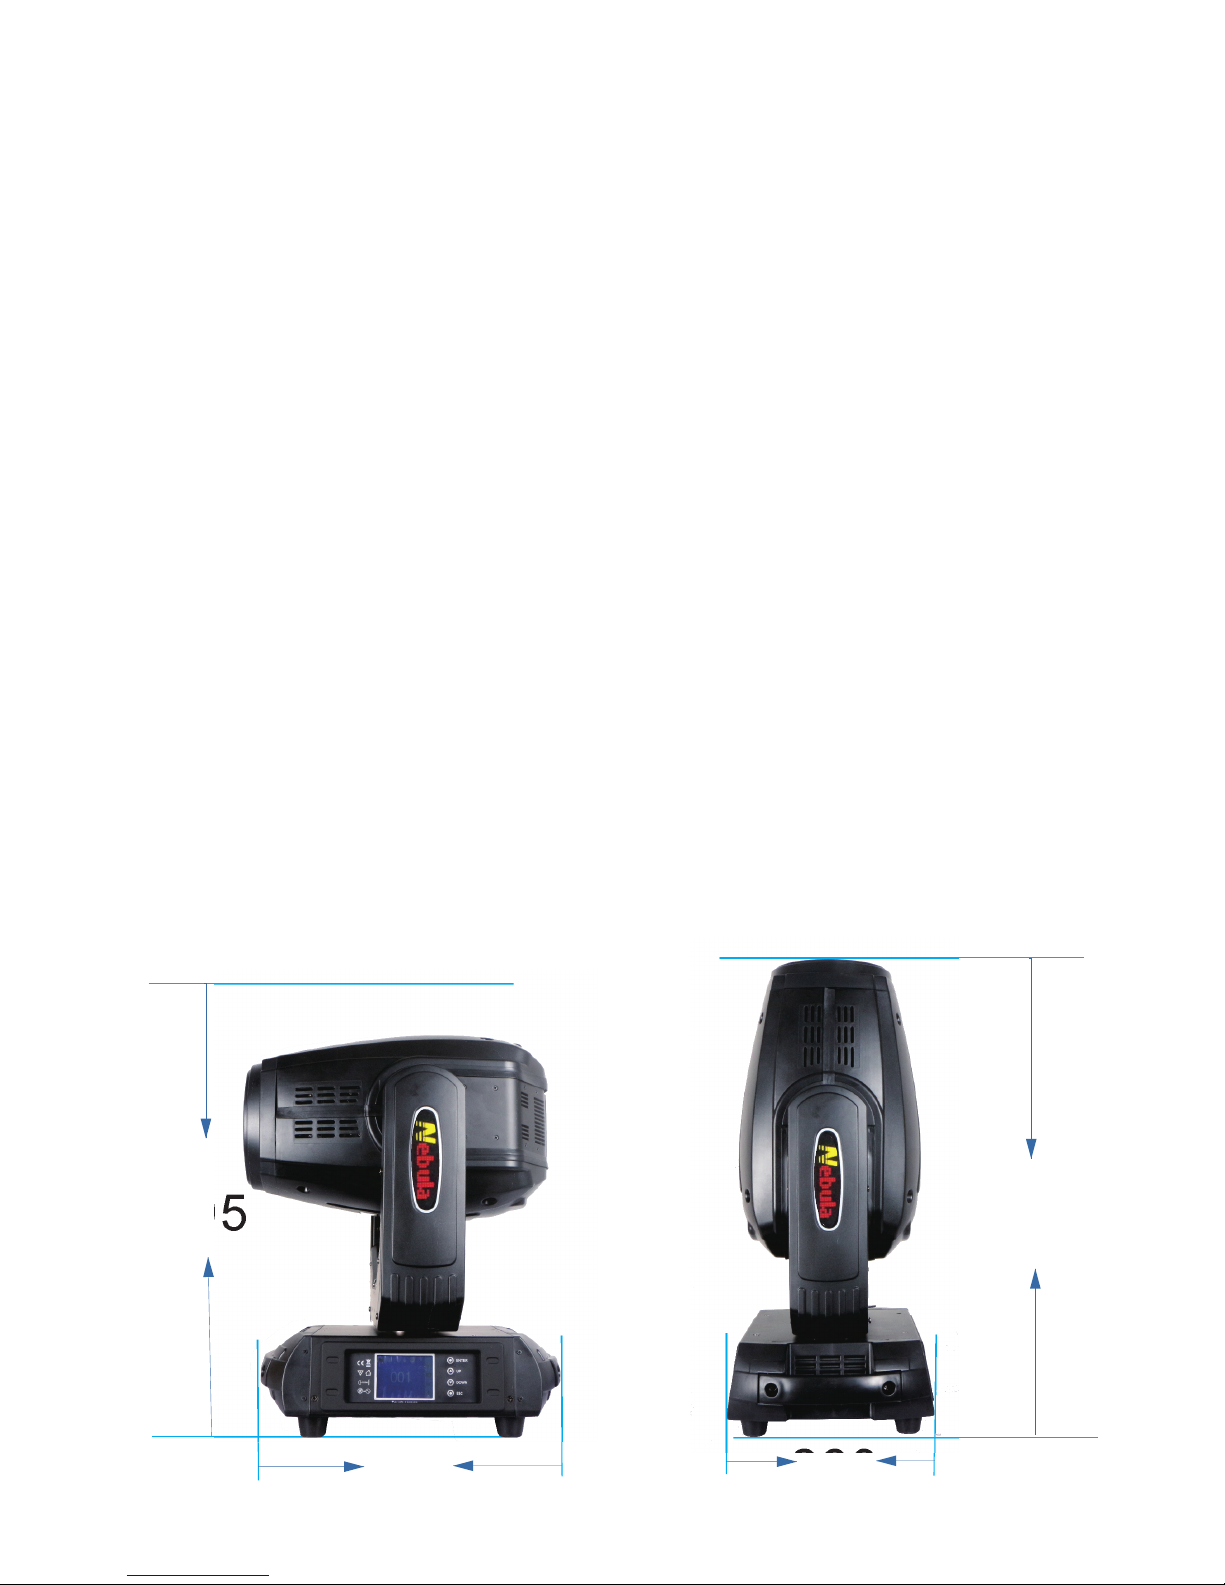
Weight : 18.5kG
Dimension: 380 (L) X 260 (W) X 595 (H) mm
495
610
1 PRODUCT SPECIFICATIONS1 PRODUCT SPECIFICATIONS
.1.
380
260
3
3
0
3
3 0
595
Page 3
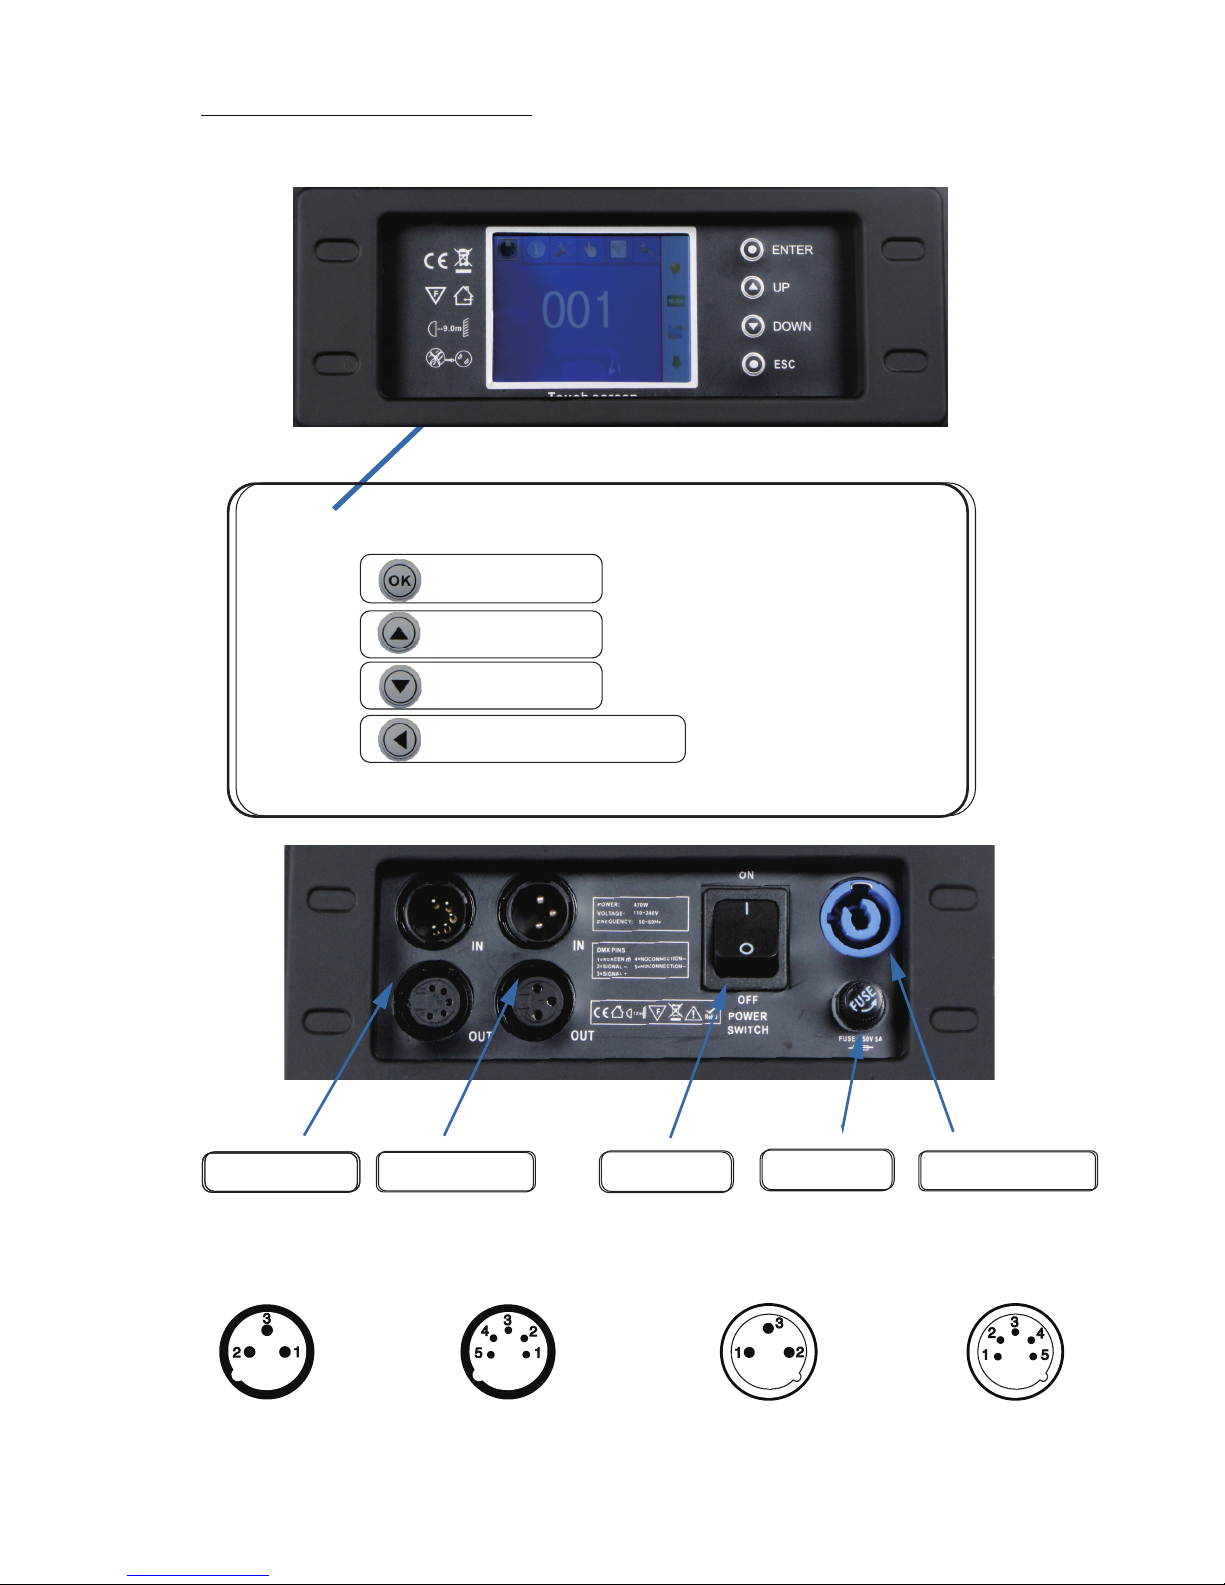
1.2 PRODUCT FEATURES
Enter
UP
DOWN
ESC
5 pinDMX
3 pinDMX
POWER IN
FUSE
SWITCH
.2.
DMX-input
XLR mounting-sockets (rear view):
XLR mounting-plugs (rear view):
If you are using the standard DMX controllers, you can connect the DMX output of the controller directly with
the DMX input of the first fixture in the DMX-chain. If you wish to connect DMX-controllers with other XLR-outputs, you need to use adapter-cables.
1 - Shield
2 - Signal (-)
3 - Signal (+)
4 - Not connected
5 - Not connected
1 - Shield
2 - Signal (-)
3 - Signal (+)
4 - Not connected
5 - Not connected
Page 4
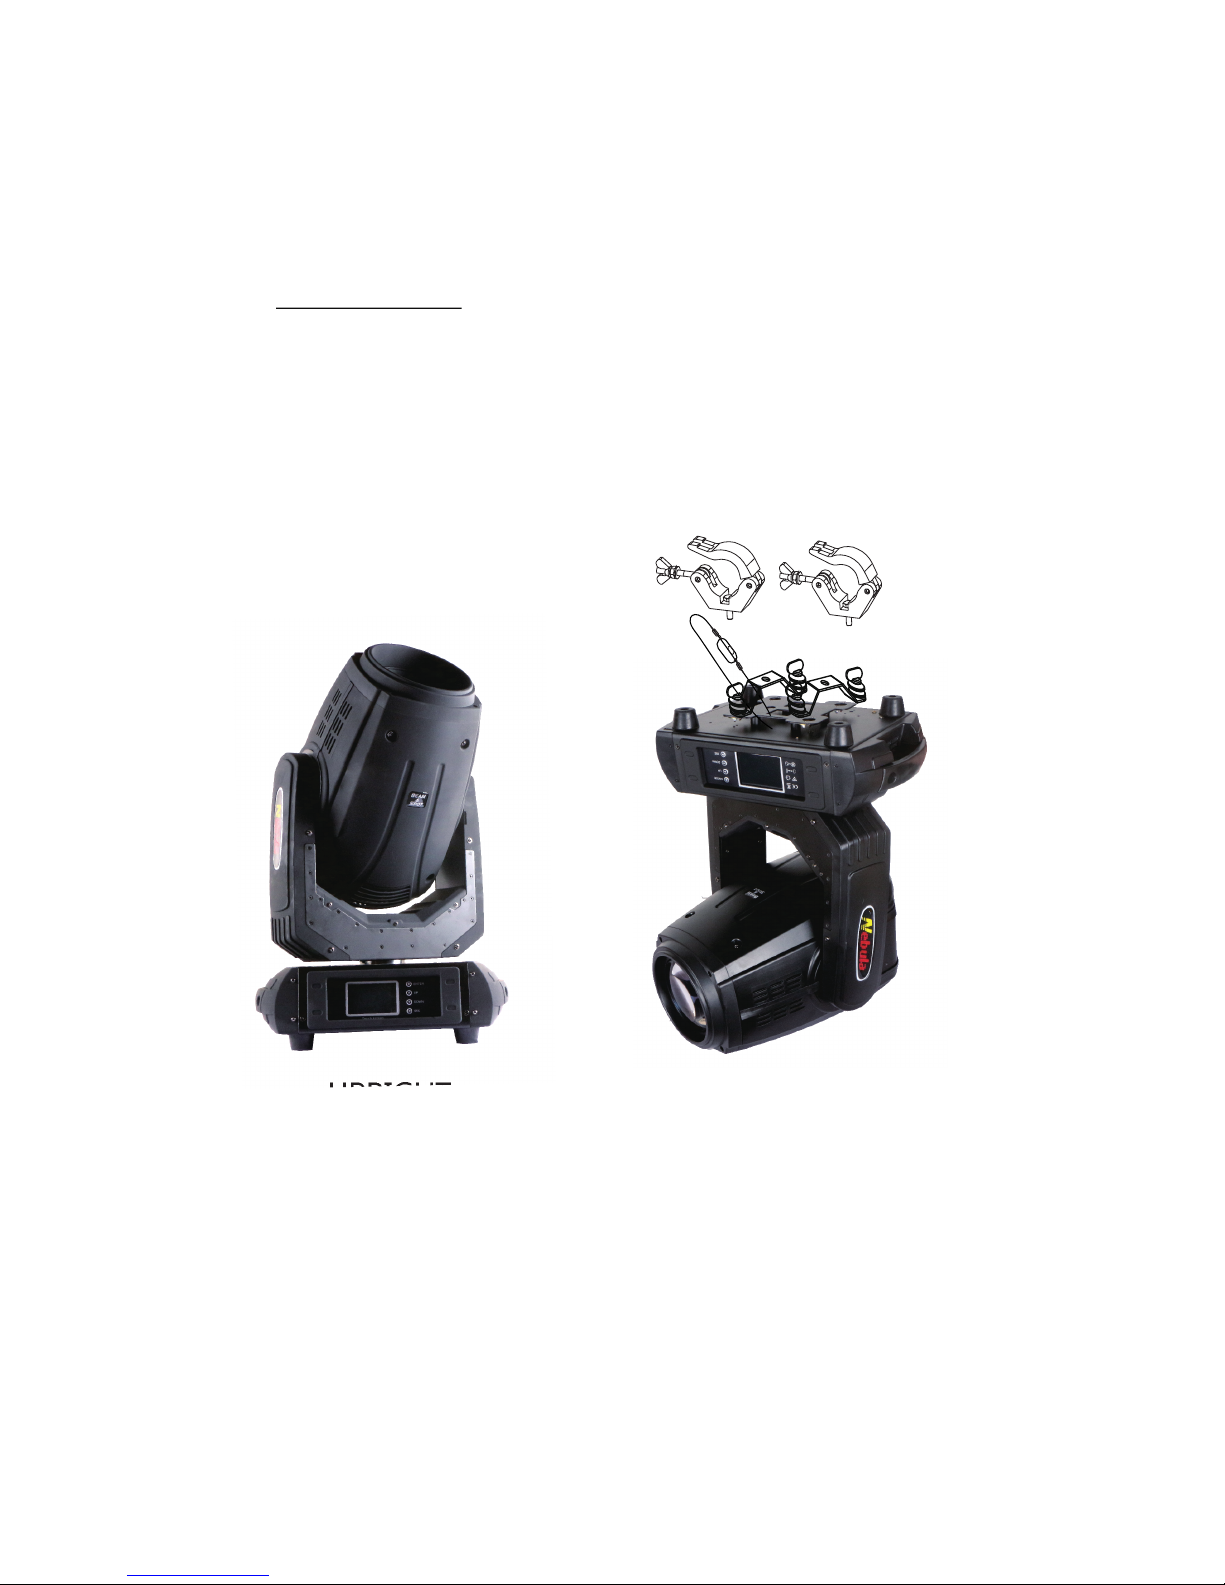
2.1
MOUNTING:
2 INSTALLATION
IMPORTANT SAFETY NOTE!!
Always use a safety cable when installing this unit!!
Be sure that the safety cable is connected to a solid load-bearing structure.
HANGING
●The fixture can be mounted in any position.
●Always ensure that mounting surface can withstand 10 times the weight of the
fixture.
●Always use a safety cable when mounting the fixture in any elevated position.
UPRIGHT
CLAMP
.3.
Page 5

2.2 FUSE REPLACEMENT
SAFTY CAP
FUSE
●
● F
● I
● I
Remove the safety cap by a screwdriver.
etch the old fuse from safety cap.
nstall a new fuse.
nstall the safety cap.
2. 3 S A F ETY WARNI N G
IM POR TAN T
【ALWAYS R EA D TH E USE R MA NU AL B EF ORE O PE RAT IO N. 】
【PL EAS E CO NF IR M TH AT THE P OW ER S UP PLY STATE D ON T HE
PRODUCT IS THE SAME AS THE MAINS POWER SUPPLY IN YOUR AREA.】
● This pro du ct must b e insta ll ed by a qua lifie d pr ofess ional .
● Alway s op era te t he equi pm ent a s de scrib ed i n the u se r manua l.
●A minim um d ist an ce of 0.5 m mu st be m ai ntain ed b etw ee n the equ ip men t an d combu st ibl e su rface .
● The prod uc t must al ways be p la ced in a we ll vent il ate d ar ea.
● Alway s ma ke su re t hat the e qu ipm en t is inst al led s ec urely.
●DO NOT sta nd c lose to t he equi pm ent and s tare di re ctly in to the LE D li ght sou rce.
● Alway s di sco nn ect the p ow er su pp ly befo re a tte mp ting an d ma int en ance.
● Al wa ys make sur e th at the suppor ting stru ct ure is soli d an d ca n su pport t he c om bined w ei ght of the
prod uc ts.
● The eart h wi re must a lways b e co nnect ed to the g ro und.
● Do not t ou ch th e po wer cab le s if yo ur h ands ar e we t.
ATTEN T ION
● Th is pr odu ct le ft th e pla ce of m anu fac tur e in pe rfe ct co ndi tio n. In o rde r to ma int ain t his c ond iti on
and for saf e o per ati on, th e u ser mu st alw ays fo llo w the instructi ons and safety warnings described
in this user man ual .
● Avoi d shaking or strong impac ts to a ny pa rt of t he eq uip ment.
● Make sure that a ll pa rts o f the e qui pme nt are kept clean and free of d ust .
● Always make su re th at th e pow er co nne ctions are connected co rre ct an d sec ure .
● If there is any ma lfu nct ion o f the e qui pment, contact you r us im med iat ely.
● When transfe rri ng th e pro duc t, it i s advisable to use the orig ina l pac kag ing i n whi ch the product
left the fa cto ry.
● Shields, len ses o r ult rav iol et sc reens shall be changed if t hey h ave b eco me da mag ed to s uch an
extent that th eir e ffective nes s is im pai red .
● The lamp (LED) s hal l be ch ang ed if i t has b ecome damaged or therma lly d efo rme d.
● Fuse:6A,250V
.
.4.
Page 6

DOWN
UP
3.1 BASIC
【ENTER】Enter the currently selected menu or confirm the current function
value
【 DOWN】Scroll 'DOWN' through the menu list or decrease the value of the
current function
【 UP 】Scroll 'UP' through the menu list or increase the value of the
Current function
3 DISPLAY PANEL OPERATION
ENTER
ESC
【ESC 】Exit menu
.5.
ENTER
UP
DOWN
ESC
Icons used in the touch screen menu:
- [back arrow] used to move back to the previous screen (menu).
- [up arrow] used to move up on the previous page.
- [down arrow] used to move down on the next page.
- [confirm] used to save adjusted values, to leave menu or to perform desired action.
- [cancel] used to leave menu item without saving changes.
- [lamp menu] used to switch on/off the lamp and to set lamp functions.
- [display turn] used to turn the display by 180°.
-
[slider control] used to recall slider system for setting desired value.
-
[keyboard control] used to recall keyboard system for setting desired value.
The menu page displays icons for each function that you can perform from the touch screen.
After switching the fixture on, the touch screen shows the screen with the ROBE logo:
[DMX Address] 0~512 (menu).
-
-
Fixture Information.
Fixture setting.
-
-
Auto run mode.
-
Language.
Page 7

CHANNEL
.6.
4 CHANNEL
16Channels 24Channels Value Functions
1 1 0~255 Pan 0~540°
2 0~255 Pan Fine
2 3 0~255 Tilt
4 0~255 Tilt Fine
3 5 0~255 Pan/Tilt Speed Mode
Functions
130~139 Lamp On
140~149 Pan/Tilt Reset
150~159 Colour System Reset
160~169 Gobo Wheels Reset
170~179 Dimmer/Shutter Reset
180~189 Zoom/Focus/Prism Reset
200~209 Total Reset
230~239 Lamp Off
0~129 13color+white
130~134 Deep Red
135~138 Deep Blue
139~143 Yellow
144~147 Green
148~152 Magenta
153~157 Azure
158~161 Red
162~166 Dark green
167~171 Amber
172~176 Blue
177~180 Orange
181~185 CTO
186~189 UV filter
190·220
Clockwise rotate from slow to
fast
221~224 Stop
225~255
Anti-clockwise rotate from slow to
fast
8 0~255 Colour wheel fine
6 9 NC NC
5
4 6
7
Page 8

.7.
16Channels 24Channels Shaking Functions
Static Gobo wheel
0~2 Open/hole
3~5 Gobo 1
6~8 Gobo 2
9~11 Gobo 3
12~14 Gobo 4
15~17 Gobo 5
18~20 Gobo 6
21~23 Gobo 7
24~26 Gobo 8
27~29 Gobo 9
30~32 Gobo 10
33~35 Gobo 11
36~38 Gobo 12
39~41 Gobo 13
42~44 Gobo 14
45~47 Gobo 15
48~50 Gobo 16
51~53 Gobo 17
54~61 Gobo 1 Shaking
62~69 Gobo 2 Shaking
70~77 Gobo 3 Shaking
78~85 Gobo 4 Shaking
86~93 Gobo 5 Shaking
94~101 Gobo 6 Shaking
102~109 Gobo 7 Shaking
110~117 Gobo 8 Shaking
118~125 Gobo 9 Shaking
126~133 Gobo 10 Shaking
134~141 Gobo 11 Shaking
142~149 Gobo 12 Shaking
150~157 Gobo 13 Shaking
158~165 Gobo 14 Shaking
166~173 Gobo 15 Shaking
174~181 Gobo 16 Shaking
182~189 Gobo 17 Shaking
190~255
Water-flow effect from fast to
slow to fast (anticlockwise)
7 10
Page 9

.8.
16Channels 24Channels Value Function
0~2 Open/Hole(default)
3~5 Gobo 1
6~8 Gobo 2
9~11 Gobo 3
12~14 Gobo 4
15~17 Gobo 5
18~20 Gobo 6
21~23 Gobo 7
24~26 Gobo 8
27~29 Gobo 9
30~32 Gobo 10
33~35 Gobo 11
36~38 Gobo 12
39~46 Gobo 1 Shaking
47~54 Gobo 2 Shaking
55~62 Gobo 3 Shaking
63~70 Gobo 4 Shaking
71~78 Gobo 5 Shaking
79~86 Gobo 6 Shaking
87~94 Gobo 7 Shaking
95~102 Gobo 8 Shaking
103~110 Gobo 9 Shaking
111~118 Gobo 10 Shaking
119~126 Gobo 11 Shaking
127~134 Gobo 12 Shaking
135~195
Water-flow effect from fast to
slow (anticlockwise)
196~255
Water-flow effect from slow to
fast (clockwise)
8 11
Page 10

.9.
16Channels 24Channels Value
Gobo Rotation
Prism
Prism rotation
Frost
Zoom
Fine zooming
Focus
Fine focusing
Function
9 12
0 No rotation
1~127
Forwards gobo
rotation from fast to
slow
128~129 No rotation
130~255
Backwards gobo
rotation from slow to
fast
* 13 NC NC
10 14
0~19 Open position(hole)
210~49
6-facet linear rotating
prism-indexing
50~75
6-facet linear rotating
prism-rotation
76~105
8-facet circular
roating prism-
lndexing
106~127
8-facet circular
rotating prismrotation Prism/gobo
macros
11 15
0 No rotation
1~127
Forwards prism
rotation from fast to
slow
128~129 No rotation
130~255
Backwards prism
rotation from slow to
fast
12 16
0~127 Open
128~255 Frost 100%
13 17 0~255
* 18 0~255
14 19 0~255
* 20 0~255
* 21 NC NC
Page 11

.10.
16Channels 24Channels Value
Shutter
Dimmer
Function
15 22
0~31 Shutter closed
32~63
Shutter open,Full
lamp power
64~95
Strobe-effect from
slow to fast
96~127 Shutter open
128~143
Opening pulse in
sequences from slow
to fast
144~159
Closing pulse in
sequences from fast
to slow
160~191 Shutter open
192~223
Random strobe-
effect from slow to
fast
224~255
Shutter open,Full
lamp power
0~255
0~255 Fine dimming
16 23
24
Page 12

5 CONTROLLER
.11
The fixture is equipped with both 3-pin and 5-pin XLR sockets for DMX input and output.The sockets are wired
in parallel.
Only use a shielded twisted-pair cable designed for RS-485 and 3-pin or 5-pin XLR-plugs and connectors in
order to connect the controller with the fixture or one fixture with another.
DMX - output
DMX-input
XLR mounting-sockets (rear view):
XLR mounting-plugs (rear view):
If you are using the standard DMX controllers, you can connect the DMX output of the controller directly with
the DMX input of the first fixture in the DMX-chain. If you wish to connect DMX-controllers with other XLR-outputs, you need to use adapter-cables.
Building a serial DMX-chain:
Connect the DMX-output of the first fixture in the DMX-chain with the DMX-input of the next fixture. Always
connect one output with the input of the next fixture until all fixtures are connected.
Caution: At the last fixture, the DMX-cable has to be terminated with a terminator. Solder a 120
Ω
resistor
between Signal (–) and Signal (+) into a 3-pin XLR-plug and plug it in the DMX-output of the last fixture.
1 - Shield
2 - Signal (-)
3 - Signal (+)
4 - Not connected
5 - Not connected
1 - Shield
2 - Signal (-)
3 - Signal (+)
4 - Not connected
5 - Not connected
 Loading...