

Page 1

User Manual
Nebula Mars
Model:D2311
Page 2

2
Table of Contents
1 General Safety Information ......................................................................... 3
Setting up the Device ................................................................................. 3
Power Supply ........................................................................................... 4
Repairs .................................................................................................... 5
2 Overview..................................................................................................... 6
Symbols on the Host and Adapter ................................................................ 6
3 Settings....................................................................................................... 7
Network ................................................................................................... 7
Bluetooth ................................................................................................. 7
Projector .................................................................................................. 7
App Manager ................................ ............................................................ 7
General ................................ .................................................................... 7
Date & Time ............................................................................................. 7
Upgrade ................................................................................................ ... 8
About ...................................................................................................... 8
4 Connecting to the Playback Device ............................................................. 8
Supplied Cables ........................................................................................ 8
Connecting to the Devices with HDMI output ............................................... 8
Connecting an USB Storage Medium ........................................................... 8
Connecting the Headphones........................................................................ 8
5 Maintenance ............................................................................................... 9
Battery maintenance .................................................................................. 9
Deep discharge of battery ......................................................................... 10
Cleaning ................................................................................................ 10
Cleaning the Lens................................................................ .................... 10
Device Overheated ................................................................ .................. 10
6 Appendix ....................................................................................................11
Technical Data ......................................................................................... 11
Technology / Optical.................................................................................11
Power Supply ..........................................................................................11
Built-in Rechargeable Battery ................................ ....................................11
Page 3

3
1 General Safety Information
Do not make any changes or settings
that are not described in this user manual.
Physical injury or damage to the device
or loss of data can result from improper
handling. Take note of all warnings and
safety notes indicated.
Setting up the Device
The device is exclusively for indoor use.
To avoid possible injuries to persons or
damage to the device itself, the device
should be placed securely on a stable,
flat surface. Position all cables in such a
way that no one will stumble on them.
Do not plug in the device in moist rooms.
Never touch the mains cable of the
mains connection with wet hands.
The device must have sufficient
ventilation and may not be covered. Do
not put your device in closed cabinets or
boxes.
Do not place the machine on soft
surfaces such as tablecloths or carpets
and do not cover the ventilation slits.
Otherwise the device could overheat or
catch fire.
Protect the device against direct sunlight,
heat, large temperature fluctuations and
moisture. Do not place the device in the
vicinity of heaters or air conditioners.
Observe the information on temperature
and humidity in the technical data.
When the device is running for a long
period of time, the surface becomes hot
and a warning symbol appears on the
projection. Then the device switches
automatically to stand by mode when it
gets too hot. After the device has cooled
down, you can continue playback by
pressing any key.
Do not allow liquids to enter into the
device. Switch off the device and
disconnect it from the mains supply if
liquids or foreign substances end up
inside the device. Have the unit
inspected by a technical service
department.
Always handle the unit with care. Avoid
touching the lens. Never place heavy or
sharp objects on the projector or the
power cable.
If the projector gets too hot or emits
smoke, shut it down immediately and
unplug the power cable. Have the device
examined by trained professionals at a
technical service location. To prevent the
spread of fire, open flames should be
kept away from the device.
Under the following conditions, a layer of
moisture can appear inside the device
which can lead to malfunctions:
※ if the device is moved from a cold to a
warm area;
Page 4
4
※ after a cold room is heated;
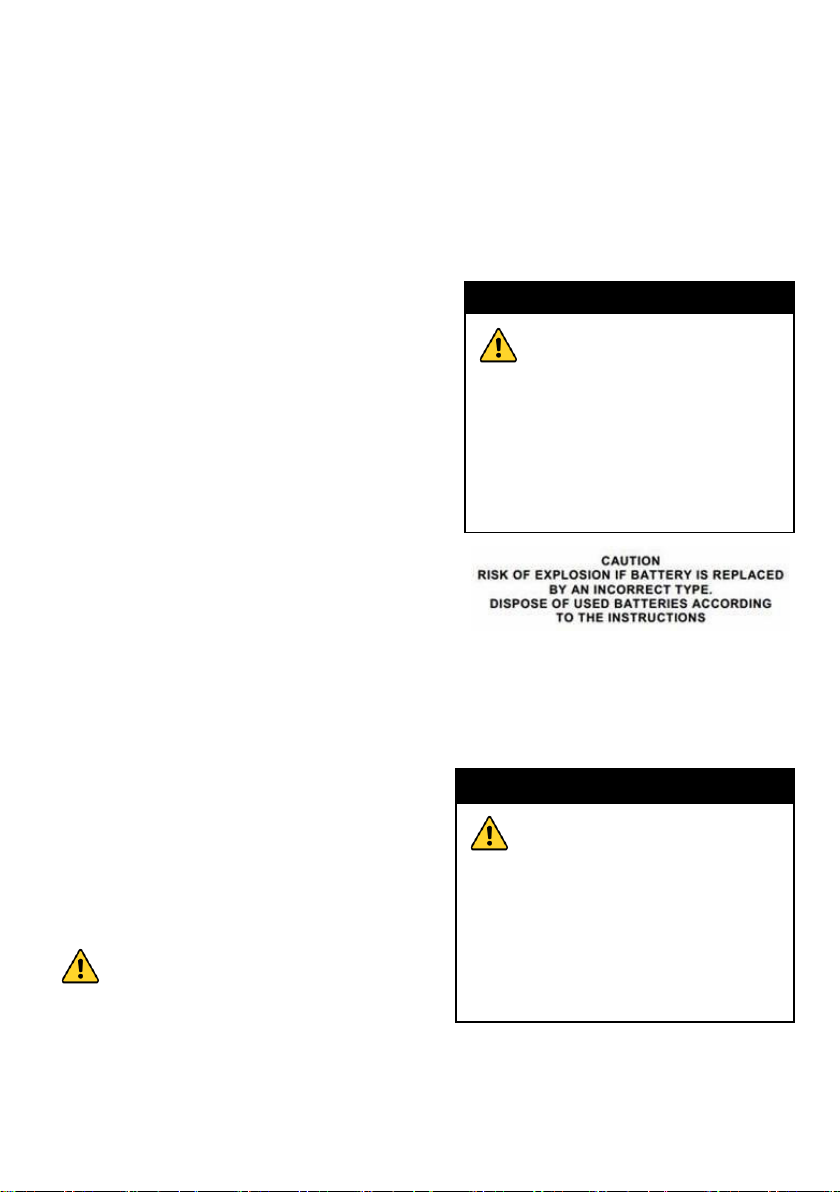
DANGER
Risk of explosion with
incorrect type of batteries
Do not try to replace the battery
yourself.
There is a risk of explosion if
the incorrect battery type is
used.
DANGER
High Power LED
This device is equipped with a
high power LED (Light Emitting
Diode), which emits very bright
light. Do not look directly into the
projector lens. This could cause
eye irritation or damage.
※ when this device is placed in a damp
room.
Proceed as follows to avoid any moisture
build-up:
1 Seal this device in a plastic bag before
moving it to another room, in order for it
to adapt to room conditions.
2 Wait one to two hours before you take
the device out of the plastic bag.
The device should not be used in a very
dusty environment. Dust particles and
other foreign objects may damage the
unit.
Do not expose the device to extreme
vibrations. It may damage the internal
components.
Do not allow children to handle the
device without supervision. The packing
materials should be kept out of the hands
of children.
Power Supply
the power supply, the battery is defective.
Contact an authorized service center to
replace the battery.
Do not try to replace the battery yourself.
Incorrect handling of the battery or using
the wrong type of battery can cause
damage to the device or cause injury.
Switch the device on or off before
removing the power supply from the
socket.
Use only the enclosed power adapter
(see chapter Appendix/ Technical Data).
Check whether the mains voltage of the
power supply matches the mains voltage
available at the setup location.
The adapter could be connected to
IT power distribution systems.
The capacity of the battery diminishes
with time. If the device functions only with
Turn off the device and remove it from
the power supply before cleaning the
surface. Use a soft, lint-free cloth. Never
Page 5

5
use liquid, gaseous or easily flammable
Warning
DANGER
Danger of hearing damage
Do not use the device over a
longer time at high volume –
especially when using
headphones. This could lead to
the risks of hearing damage.
cleansers (sprays, abrasives, polishes,
alcohol). Do not allow any moisture to
reach the interior of the device.
Repairs
Do not make any repairs to the device by
yourself. Any improper maintenance may
result in injuries or damage to the device.
Only have your device repaired by an
authorized service center.
Do not remove the type label from your
device; this would void the warranty.
This device complies
with part 15 of the FCC Rules. Operation
is subject to the following two
conditions: (1) This device may not
cause harmful interference, and (2) this
device must accept any interference
received, including interference that may
cause undesired operation.
Page 6

6
Symbols
Explanation
Class Ⅱ equipment
AC voltage
DC voltage
Polarity of output terminals
Indoor use only
Energy efficiency Marking
RECYCLING
This product bears the selective sorting symbol for Waste electrical
and electronic equipment (WEEE). This means that product must be
handled pursuant to European directive 2012/19/EU in order to be
recycled or dismantled to minimize its impact on the environment.
User has the choice to give his product to a competent recycling
organization or to the retailer when he buys a new electrical or
2 Overview
Symbols on the Host and Adapter
Page 7

7
electronic equipment.
3 Settings
Network
In this section, the systems will auto-scan
the available networks to display on the
screen.
Select one network and input password if
necessary to connect.
Bluetooth
The Bluetooth function enables you to
exchange files between the projector and
other Bluetooth devices.
Before this step, please activate
the Bluetooth function of other
device (mobile phone, Bluetooth earphone
etc.) and make sure the device is in range.
Touch the Bluetooth switch behind of the
Bluetooth item to turn on the Bluetooth
function and then the system will auto-scan
the visible Bluetooth device nearby and
display on the screen. Touch the desired
Bluetooth device to start pairing. Then
according to the indications on both side,
users can complete the connection
successfully in seconds. After pairing, you
can share files between the unit and the
Bluetooth device.
Projector
Touch to open the relating settings,
including Brightness, Auto Keystone
Correction, Auto Focus, Project mode,
Manual Focus.
App Manager
Touch to check the current Apps
information, or manage the current Apps.
General
Language
Select your desired language with the
navigation buttons.
Keypad Tone
Turn on/off the keypad tone.
Automatic Sleep Interval
Select the time of system automatic sleep
interval.
Background
Choose the desired background, such as
Default, Starry Sky, Flowers, Aurora, and
Jellyfish.
Date & Time
Option is about the current system date &
time setting. You can set the date and time,
and their format of the projector.
Page 8

8
Upgrade
Touch to check the system upgrade.
About
The detailed information about the unit,
including its Model, System Version,
ROM/RAM, IP Address, MAC, Recovery.
4 Connecting to the Playback Device
Only use the supplied cable or the cables
that are available as accessories to
connect the projector.
Supplied Cables
Adapter cable
Connecting to the Devices with
HDMI output
Use the HDMI cable to connect the
projector to a computer or laptop.
Connecting an USB Storage
Medium
Connect the USB storage medium to the
USB socket on the reverse side of the
device.
Connecting the Headphones
1 Before connecting the headphones,
turn down the volume on the device.
2 Connect the headphones to the
projector’s headphone slot. The device
speakers deactivate automatically when
the headphones are connected.
3 After connecting the headphones,
increase the volume to a comfortable
level.
Page 9

9
DANGER
Do not Replace the Battery by
Yourself
Do not try to replace the battery by
yourself. Incorrect handling of the
battery or using the wrong type of
battery can cause damage to the
device or cause injury.
5 Maintenance
Battery maintenance
The capacity of the battery diminishes
with time. To prolong the life of the
battery, please observe the following
instructions:
Without a power supply, the device
operates itself through the built-in
battery. When the battery does not
have sufficient capacity, the device
will turn off. Connect the device with
USB cable on an USB port.
When the device is in low battery,
the battery icon in the status bar
turns red.
When the device overheats after
running for a long period of time, a
warning icon will appear on the
projection. The device behaves as
follows:
1 The speed of the fan reaches the
highest level.
2 When the brightness is set to a
maximum level, a overheat
Icon will appear in the status bar and
then the brightness will be automatically
set to a minimum level.
3 When the brightness is set to a
minimal level, a overheat icon will show
for three seconds in the middle of the
screen. Then the device will turn off
automatically.
After the device has cooled down, you
can continue playback.
Use the device at least once a
week.
Charge the battery regularly. Don’t
store the device with a completely
discharged battery.
If the device is not used for several
weeks, discharge the battery a little
by using the device before storing
it.
If the device can only work via the
USB connection or with the power
supply, it proves that the battery
has lost effectiveness.
Keep the device and the battery
away from heat sources.
Page 10

10
DANGER
Instructions for Cleaning!
Use a soft, lint-free cloth. Never use
liquid or easily flammable cleansers
(sprays, abrasives, polishes, alcohol,
etc.). Do not allow any moisture to reach
the interior of the device. Do not spray
the device with any cleaning fluids.
Wipe over the surfaces gently. Be
careful that you do not scratch the
surfaces.
DANGER
Do not use any Liquid Cleaning
Agents
Do not use any liquid cleaning
agents for cleaning the lens, to
avoid damaging the coating film
on the lens.
Deep discharge of battery
If the device has not been used for a long
period of time the battery may be deep
discharged and the unit cannot be
switched on.
Please connect it to the power adapter
before switching it on again.
Cleaning
Cleaning the Lens
Use a brush or lens cleaning paper to
clean the lens of the projector.
Device Overheated
A overheat icon appears if the device is
getting too hot. The device behaves as
follows:
1 The speed of the fan reaches the
highest level.
2 When the brightness is set to a
maximum level, an overheat icon will
appear in the status bar, then the
brightness will be automatically set to a
lower level.
3 When the brightness is set to a minimal
level, an overheat icon will be shown for
three seconds in the middle of the screen.
Then the device will turn off
automatically.
After the device has cooled down, it can
be switched on and used again.
Page 11

11
6 Appendix
Technical Data
Dimensions (L*W*H)…mm
Weight……………………….About 1815g
Operating Temperature…….……….5-35℃
Packed Storage Temperature……-25-60℃
Unpacked Storage Temperature…...0-45℃
Operating Humidity……….……15-85% RH
Packed Storage Humidity…..…..5-93% RH
Unpacked Storage Humidity…15-85% RH
Technology / Optical
CPU Model No.….…..…………MST6A628
CPU Frequency………………...…. 1.5GHz
Operating System…………….Android 4.4
Light s ource……………....………RGB LED
Resolution………….……...….…1280*800
Aspect Ratio……………………… 16:09:00
White Light Brightness……. 400lm/650lm
Contrast ratio………………….……. >600:1
Projected image size........…….…20”~120”
Screen distance……………0.5m up to 3m
Power Supply
DC-IN…………………19V/3A or 19V/6.3A
Built-in Rechargeable Battery
Battery t ype…………….………..Li-Polymer
Capacity………....………..6700mAh/11.4V
Charging time……………………………3 h
Page 12

12
This device complies with part 15 of the
FCC Rules. Operation is subject to the
following two conditions: (1) this device
may not cause harmful interference, and (2)
this device must accept any interference
received, including interference that may
cause undesired operation.
Any changes or modifications not
expressly approved by the party
responsible for compliance
could void the user's authority to operate
the equipment.
NOTE: This equipment has been tested
and found to comply with the limits for a
Class B digital device, pursuant to Part 15
of the FCC Rules. These limits are
designed to provide reasonable protection
against harmful interference in a
residential installation. This equipment
generates, uses and can radiate radio
frequency energy and, if not installed and
used in accordance with the instructions,
may cause harmful interference to radio
communications. However, there is no
guarantee that interference will not occur in
a particular installation.
If this equipment does cause harmful
interference to radio or television
reception,
which can be determined by turning the
equipment off and on, the user is
encouraged to try to correct the
interference by one or more of the
following measures:
-- Reorient or relocate the receiving
antenna.
-- Increase the separation between the
equipment and receiver.
-- Connect the equipment into an outlet on
a circuit different
from that to which the receiver is
connected.
-- Consult the dealer or an experienced
radio/TV technician for help.
To maintain compliance with FCC’s RF
Exposure guidelines, This equipment
should be installed and operated with
minimum distance between 20cm the
radiator your body: Use only the supplied
antenna.
FCC-ID: 2AB7K- D2311
 Loading...